
We'll now take a look at how to create profiles to package these preferences into usable profiles that you can switch between, based on the situation that you are in.
When you're using Wireshark, any of the changes that you make to it, whether it's your preferences that you might be changing, display filters that you might be creating or capture filters, or any of that, they all go under what is known as the default profile. And when you create new profiles, they will work as a copy of the default profile. Thus, it's recommended that you make minimal changes to your default profile. You can maybe make a few overreaching changes to your environment, but don't do anything specific, and instead make a profile for different specific situations that you might need. You can do that in the bottom right-hand corner of the Wireshark interface. As you can see, there's the Profile: Default selected there, and if you click on that it'll allow you to select between the different profiles that you have on your system:

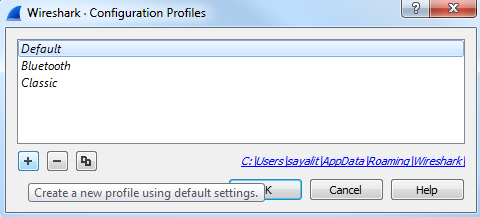
By default, you have a Classic and a Bluetooth profile that's included in Wireshark. You can see we're currently using the Default profile. If you wish to manage these profiles and create them, you can right-click on Profile: Default. And you'll now see a new window that pops up and allows you to manage your profiles or create one:

They take you to the same spot, though. So what we'll do is we'll just go into Manage Profiles..., and you can see the listing of profiles that we currently have. To create a profile, we just need to click on the plus sign:
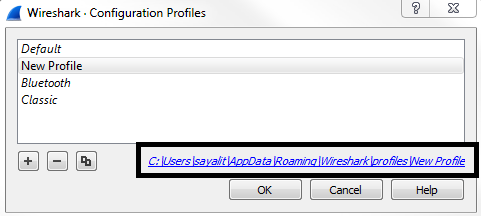
Alternatively, if you were in that previous window, you could simply click on New... and it brings you to the exact same window; but, instead, it automatically clicked on the plus sign for you. What we can do is name our profile here. We'll call this New Profile, and you'll see that it says Created from default settings on the right-hand corner:

We can see how it copies the default settings, whatever you had already configured, in your system. Now, it's creating a new profile for us, and if we click on OK, it will create it; you see something's changed in the interface, and in the bottom right it says Profile: New Profile and we're now using that:

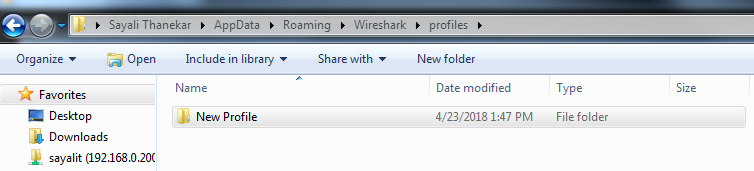
What you can do is right-click on Profile: New Profile and go to Edit..., and you'll see it has the path to the profile:
Wireshark stores profiles as folders, so click on that link and it will open up the New Profile folder. Then, we'll go back to the profiles folder and you'll see that under the profiles folder, every new profile you create will show up as a new folder:
And if you go back even one step, that is in the Wireshark folder, you'll see the default files that have been created in your Wireshark installation, and there'll be different ones depending on what you might have changed:
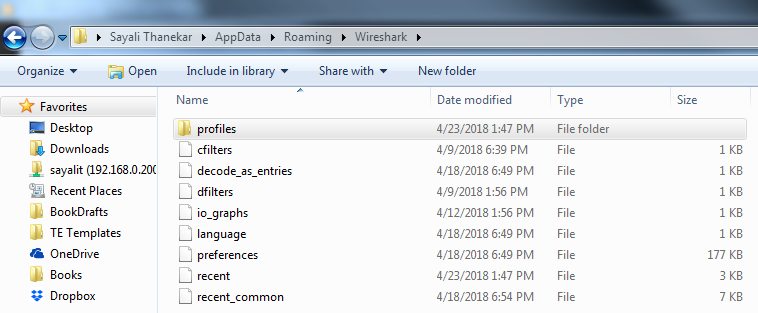
For example, there's cfilters, which is your capture filters, and we can show that. Remember that these capture filters are under your Capture options, and if you click on this bookmark, it's an easy way to get there. You can then manage your capture filters. Remember, I made a custom one at one point previously. That's why it has that saved. Additionally, we have io_graphs preferences; we have the language selections now that Wireshark is in multiple languages; and we have the recent files and the preferences, as we were just using in the previous section. And another one would show up if I'd created display filters; there would be a dfilters file too, which would have customized display filters. Now what we can do is we can edit these files as well. These are text files. What you can do is right-click on any file and edit it.
Now, if you wish to share your profiles with other people, you can go into the profiles folder and simply copy the New Profile folder for whatever profile you wish to share. Maybe you have an 802.11 wireless one, or a TCP analysis one, a corporate network one, or a major errors one-whatever it is that you might have-and you have multiple IT administrators or analysis individuals that are in your organization. You can share these profiles among each other by simply copying and pasting these folders between your different computers, and you could share it as a ZIP file or whatever suits you best.