
The first prerequisite is to install the pcap libraries. I'm using a Windows computer here as our test machine, so I'll install the WinPcap libraries, which are a Windows port of the libpcap libraries originally written for Linux. So what I'll do is go to https://www.winpcap.org/ and download the WinPcap libraries. Once it finishes downloading, I'll go ahead and just click on Next with the installer, and there's no need to customize anything there.
The next step is to set up a local administrator account which is going to be a service account for the pcap service, the remote pcap service that is running on this remote system. That is used in the authentication of the system that's running the Wireshark GUI when we add the remote interface. In order to do so, we'll perform the following steps:
- Press the Windows key + R; it'll bring up the Run command.
- Enter control userpasswords2.
- Go ahead and click on OK.
- We will go to Advanced and click on Advanced again.
- Go to Users and we'll make a New User...; we will call this pcap.
- We'll say it's a Service Account and give it a password:
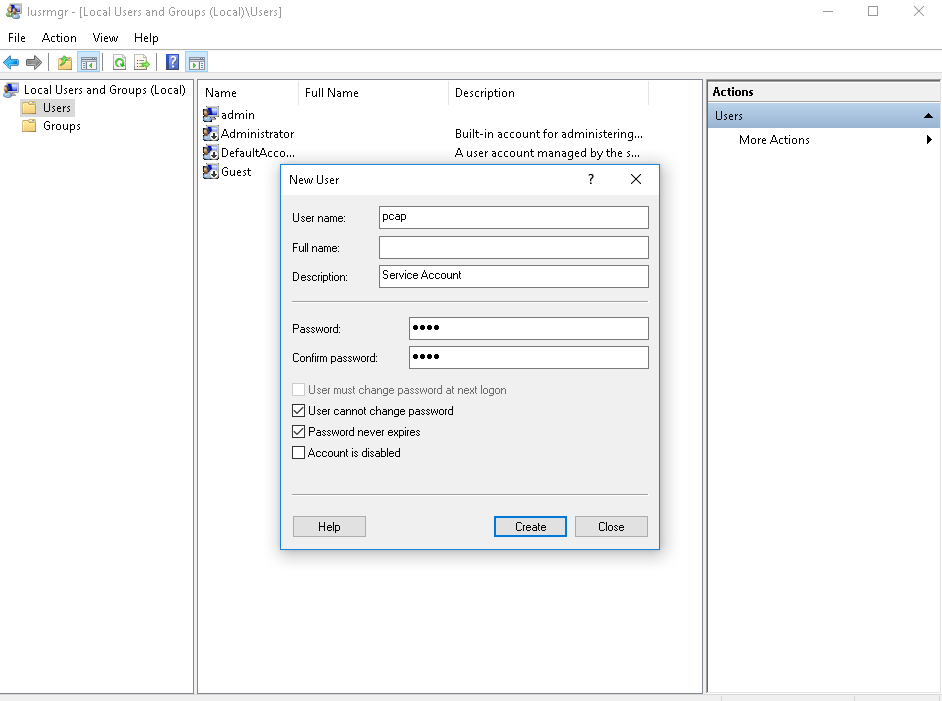
- I'll uncheck the first option there to force the user to create a new password since this is a service account. We'll also prevent it from changing its password and never let it expire. We certainly don't want the password changing on the service account as we're trying to use it.
- Now that we have our pcap service account, we need to give it administrator privileges. So we do that by right-clicking on pcap. Go to Properties | Member Of | and we're going to click Add.... Type in Administrators, and go ahead and click on Check Names, which tells it to verify that the group Administrators is correctly typed in:
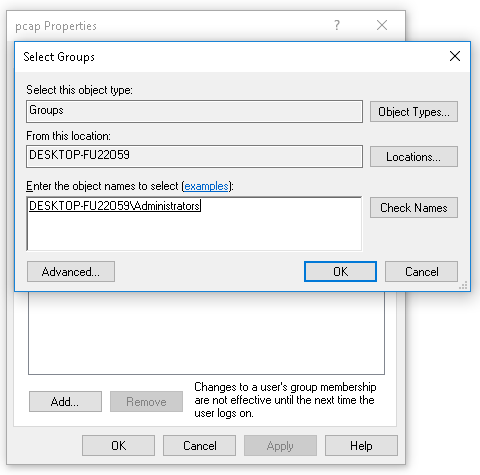
- Click on OK, and we can go ahead and click on OK again.
- Now the pcap service account has administrator privileges. The last step for setting up the remote WinPcap service is to press the Windows key again and then press R. We'll bring up our Run prompt and type in services.msc.
- Go ahead and press Enter or click on OK, and we'll scroll down until we see Remote Packet Capture Protocol v.0 (experimental). Although it says v.0 and experimental, this has been a service that has been available for a long time now, and I've never had any problems with it.
- Go ahead and right-click on it. Go to Properties and click on the Log On tab.
- We'll select the This account: radio option and Browse... to the pcap user, or whatever you named yours. Enter that and click on Check Names. It verifies that it's the correct spelling and it found the account.
- And then we'll enter in the password that we gave it. All right. Click on OK:
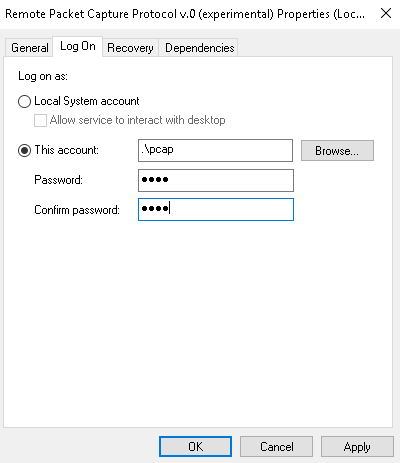
It'll say it's been granted service rights; that's good. And at this point, we can tell it to start the service.
You can do so by clicking on the little play icon at the top; click on the Start shortcut there; or right-click on the service until it starts.
It should say running at this point. What I like to do, just in case, is to go up at the top here and click on refresh—just refresh a few times; make sure that the service didn't crash at all.
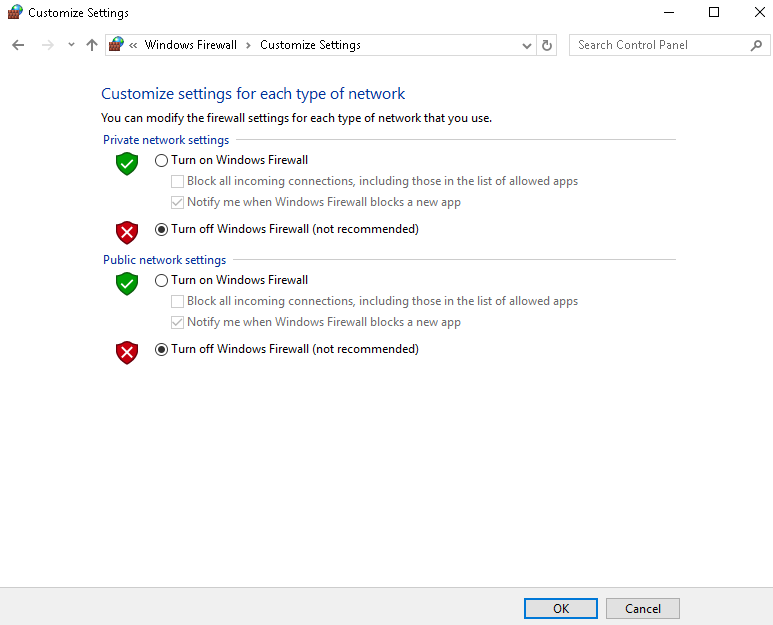
At this point, everything is set up and ready to be used. The last thing to check is to ensure that the Windows Firewall is either turned off, or port 2002 is enabled to pass through the Windows Firewall. For the sake of simplicity, we'll turn it off, so push the Windows key, bring up the Windows Start menu, and we'll search for the firewall. So in Windows 10 here, you can just type and it'll start searching. I'll go to the Control Panel in Windows Firewall, and you'll see here that it is currently enabled. So we'll click on Turn Windows Firewall on or off, and I'll turn it off. Click on OK and we can close that:
And that's all there is to it to set up a remote pcap system. So, in this section, we've gone over all of the configuration and installation needs for a remote system. Next up, we'll go over the remote capture usage, and how to set that up in a Wireshark GUI and start capturing traffic from a remote device.