Table of Contents for
Kali Linux 2 – Assuring Security by Penetration Testing - Third Edition
 Kali Linux 2 – Assuring Security by Penetration Testing - Third Edition
Published by
Packt Publishing, 2016
Kali Linux 2 – Assuring Security by Penetration Testing - Third Edition
Published by
Packt Publishing, 2016
- Cover
- Table of Contents
- Kali Linux 2 – Assuring Security by Penetration Testing Third Edition
- Kali Linux 2 – Assuring Security by Penetration Testing Third Edition
- Credits
- Disclaimer
- About the Authors
- About the Reviewer
- www.PacktPub.com
- Preface
- What you need for this book
- Who this book is for
- Conventions
- Reader feedback
- Customer support
- 1. Beginning with Kali Linux
- Kali Linux tool categories
- Downloading Kali Linux
- Using Kali Linux
- Configuring the virtual machine
- Updating Kali Linux
- Network services in Kali Linux
- Installing a vulnerable server
- Installing additional weapons
- Summary
- 2. Penetration Testing Methodology
- Vulnerability assessment versus penetration testing
- Security testing methodologies
- General penetration testing framework
- Information gathering
- The ethics
- Summary
- 3. Target Scoping
- Preparing the test plan
- Profiling test boundaries
- Defining business objectives
- Project management and scheduling
- Summary
- 4. Information Gathering
- Using public resources
- Querying the domain registration information
- Analyzing the DNS records
- Getting network routing information
- Utilizing the search engine
- Metagoofil
- Accessing leaked information
- Summary
- 5. Target Discovery
- Identifying the target machine
- OS fingerprinting
- Summary
- 6. Enumerating Target
- Understanding the TCP/IP protocol
- Understanding the TCP and UDP message format
- The network scanner
- Unicornscan
- Zenmap
- Amap
- SMB enumeration
- SNMP enumeration
- VPN enumeration
- Summary
- 7. Vulnerability Mapping
- Vulnerability taxonomy
- Automated vulnerability scanning
- Network vulnerability scanning
- Web application analysis
- Fuzz analysis
- Database assessment tools
- Summary
- 8. Social Engineering
- Attack process
- Attack methods
- Social Engineering Toolkit
- Summary
- 9. Target Exploitation
- Vulnerability and exploit repositories
- Advanced exploitation toolkit
- MSFConsole
- MSFCLI
- Ninja 101 drills
- Writing exploit modules
- Summary
- 10. Privilege Escalation
- Password attack tools
- Network spoofing tools
- Network sniffers
- Summary
- 11. Maintaining Access
- Working with tunneling tools
- Creating web backdoors
- Summary
- 12. Wireless Penetration Testing
- Wireless network recon
- Wireless testing tools
- Post cracking
- Sniffing wireless traffic
- Summary
- 13. Kali Nethunter
- Installing Kali Nethunter
- Nethunter icons
- Nethunter tools
- Third-party applications
- Wireless attacks
- HID attacks
- Summary
- 14. Documentation and Reporting
- Types of reports
- The executive report
- The management report
- The technical report
- Network penetration testing report (sample contents)
- Preparing your presentation
- Post-testing procedures
- Summary
- A. Supplementary Tools
- Web application tools
- Network tool
- Summary
- B. Key Resources
- Paid incentive programs
- Reverse engineering resources
- Penetration testing learning resources
- Exploit development learning resources
- Penetration testing on a vulnerable environment
- Online web application challenges
- Virtual machines and ISO images
- Network ports
- Index
The purest penetration testers will often comment that using an automated vulnerability scanner is cheating, but in some cases, such as penetration testing, with a limited amount of time, vulnerability scanners are critical to gaining a great deal of information about a target network, in a short amount of time. In Chapter 1, Beginning with Kali Linux, we discussed how to install additional tools into Kali Linux. One such tool was the vulnerability scanner, Nessus. In regards to vulnerability assessment tools, Nessus is a great addition to your tool set.
As previously stated, we have addressed installing Nessus in a previous section, so in this chapter we will focus on configuring and executing a vulnerability scan against two targets; a Windows XP workstation and the vulnerable Metasploitable Linux Distribution. From those, you can gain a good understanding of how to use the tool.
To configure a vulnerability scan:
- Navigate to
https://localhost:8834and log in. Once you log into Nessus, you will be brought to the Scans page: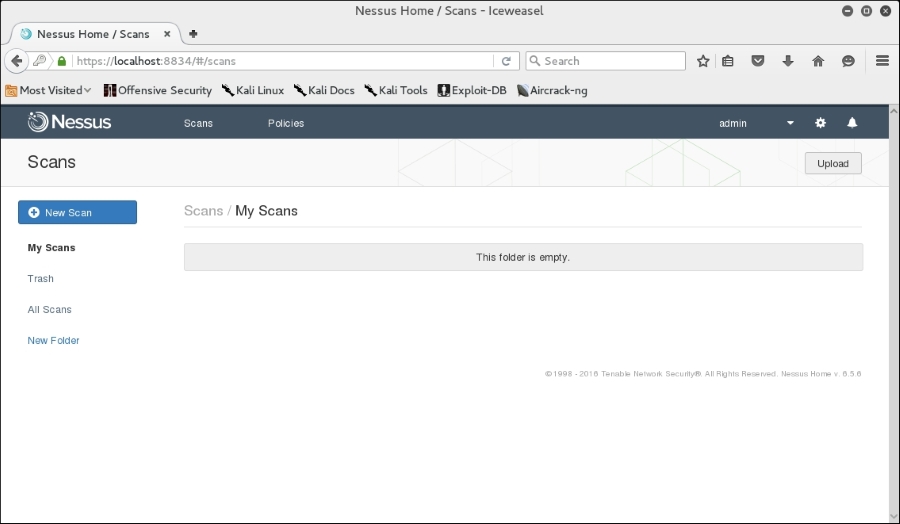
- We start our scanning by clicking on the New Scan bar. From there, we come to the scan policy page:
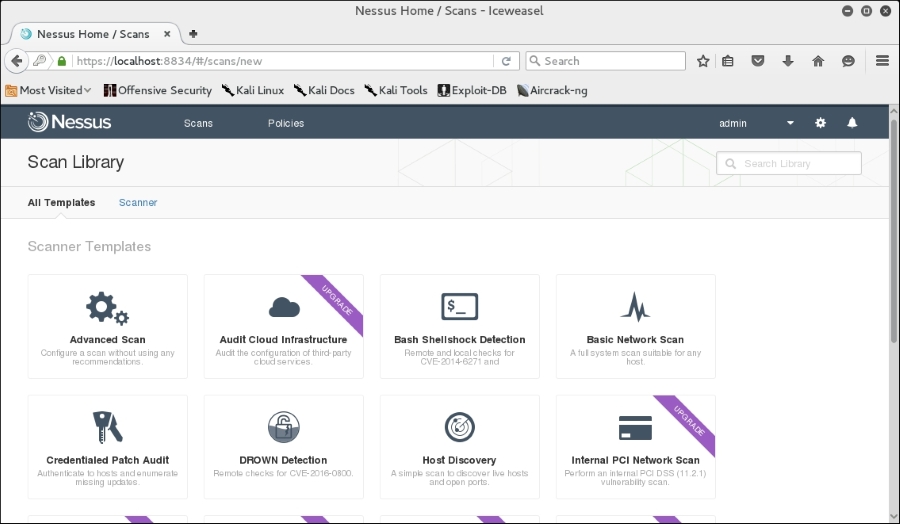
- The how to use version has a number of additional templates available, but we will be able to utilize the Basic Network Scan. Click on Basic Network Scan. You will then be brought to the Basic Network Scan page:
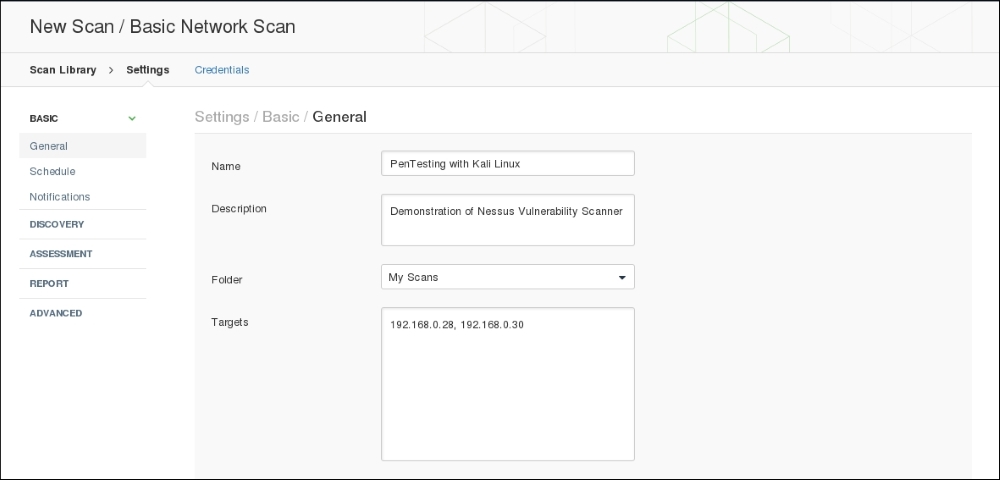
Complete the Name, Description and Targets boxes. These are all that are necessary to complete a scan but, as you can see, in the left-hand column, there are a number of different settings. Each of these allows you to customize the scan to fit your specific requirements:
- General: This is the basic information concerning the scan.
- Schedule: This allows you to configure a scan and have it run at a specific time. It's especially useful in organizations that want testing to be done after business hours.
- Notifications: Nessus can be configured with an organization's exchange environment to send e-mail notifications to specific individuals, notifying them when the scan is completed.
- Discovery: Nessus utilizes a number of different methods for discovering live hosts. Here you can set specific parameters for host discovery.
- Assessment: Allows you to set the type and depth of scan.
- Reporting: When it is time to prepare a penetration testing report, having detailed information about the vulnerability scan is important. This feature allows you to set the reporting parameters.
- Advanced: The advanced settings allow you to change the number of hosts scanned at once and other timing parameters.
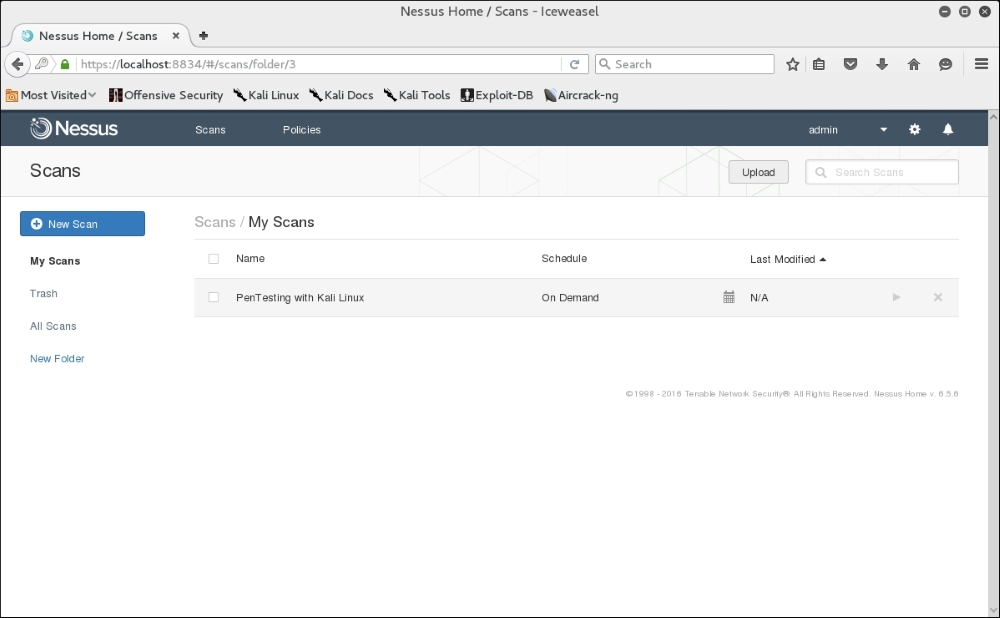
- Once you have configured your scan, select Save. You will now see your scan listed under My Scans:
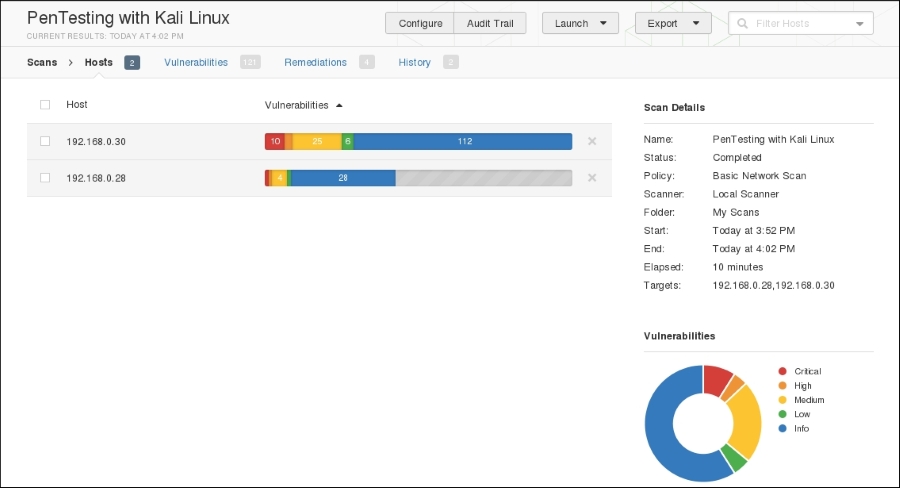
- Click on the play icon to the right of the scan name. This will run the scan. If you click on the scan name while it is running, you will see the hosts and general vulnerability information:
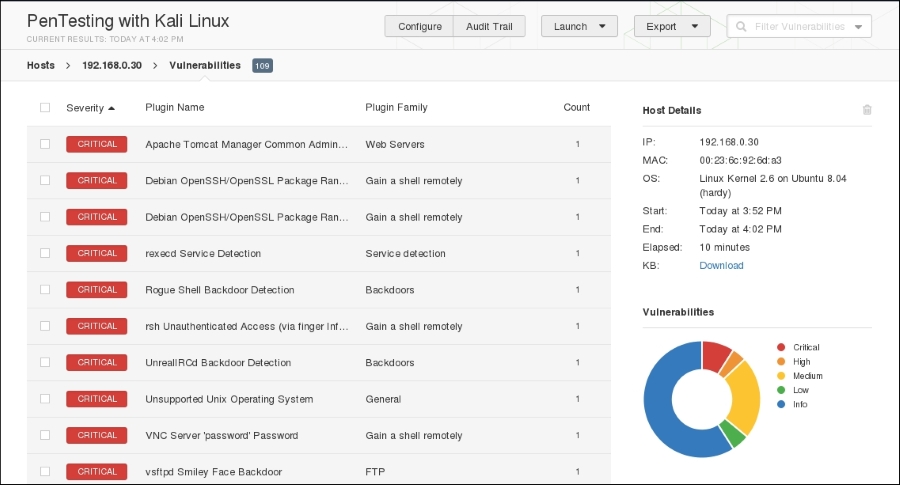
- Clicking on one of the hosts brings you to a more detailed list of vulnerabilities discovered:
- Clicking on a vulnerability gives the tester more detailed information about the vulnerability:
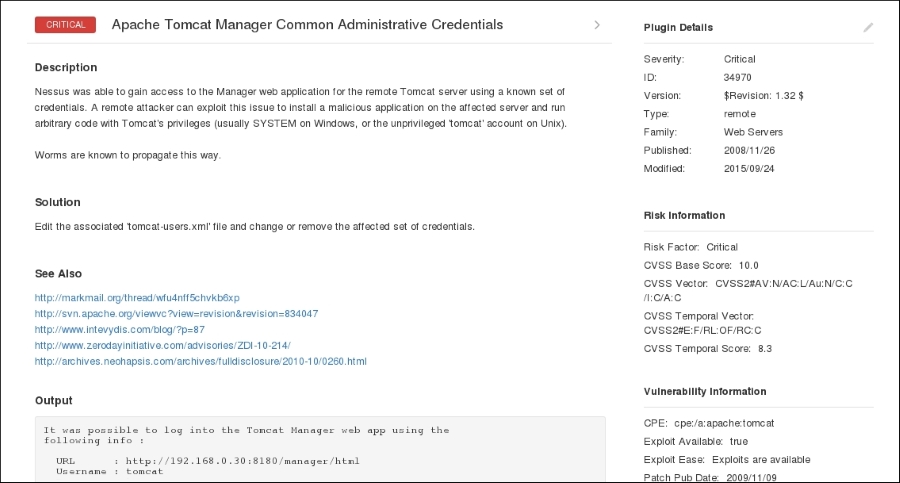
This information includes not only information about the vulnerability, but also information on whether there is an exploit available. This allows the penetration tester the ability to craft additional attacks against these vulnerabilities.
Nessus is a powerful tool to use in any penetration testing engagement. It provides a great deal of information and functionality that could not be addressed in this section. It is recommended that you spend some time understanding the features available and how to use them. In addition, Tenable makes the home version free for you to test with. In the event that you have external IPs, or are using Nessus for a client, you will have to use the paid version.