
Travis is an online CI service that installs, builds, and tests our project. Travis is free for open source projects and integrates well with other popular services such as GitHub. There's also nothing to install—all we have to do is include a .travis.yml configuration file at the root of our repository, and configure the repository in Travis's web application. Travis has a very shallow learning curve and can save us a lot of time. To get started, go to travis-ci.org and sign in using your GitHub account.
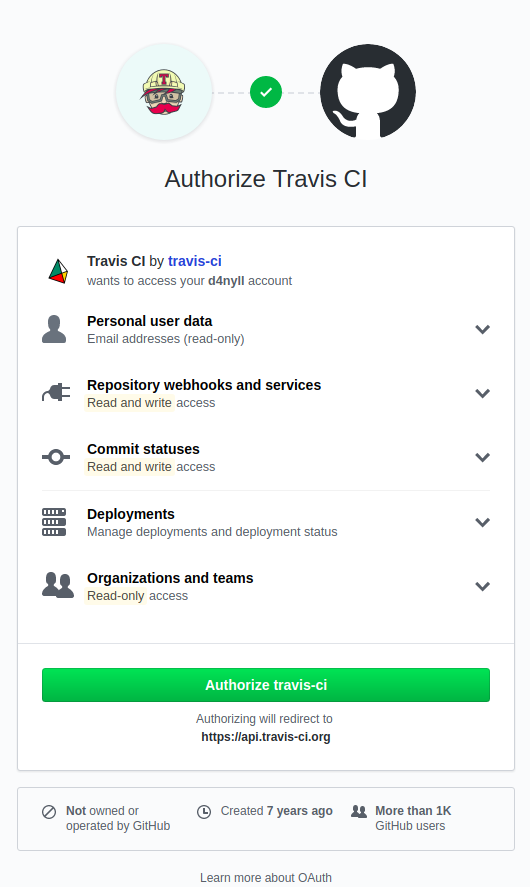
It will ask you for many permissions; these permissions are required for Travis to do the following:
- Read the contents of all repositories associated with your account: This allows Travis to view the content of the .travis.yml file, as well as to be able to clone your repository in order to build/test it.
- Install webhooks and services: This allows Travis to add hooks into your repositories, so that when any changes are pushed to your repository, GitHub can inform Travis and execute the instructions defined in the .travis.yml file.
- Register with the Commit Status API: This allows Travis to inform GitHub of the result of a build/test, so that GitHub can update its UI.
After you've reviewed these permissions, click Authorize travis-ci:
After the authorization step, you'll be brought back to the main Travis dashboard, where you can see every repository under your control:
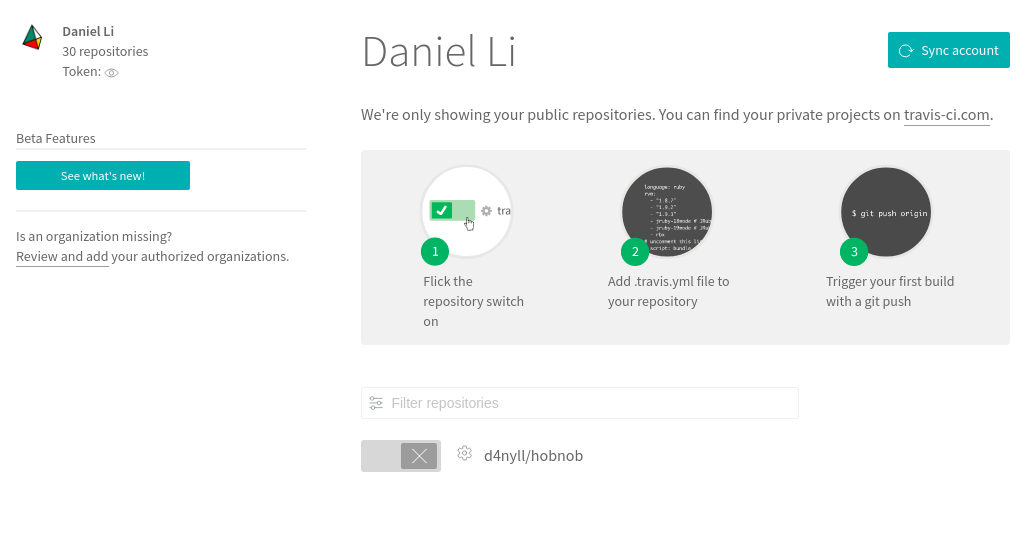
Here, we only have one project, which we should enable by clicking on the toggle button. This will make Travis install a GitHub service hook for that repository. Once installed, GitHub will send a message to Travis whenever changes are pushed to that repository.