After signing into your DigitalOcean account, click on the Kubernetes tab on your dashboard. You should be greeted with the message Get started with Kubernetes on DigitalOcean. Click on the Create a Cluster button and you will be shown a screen similar to how you configured your droplet:
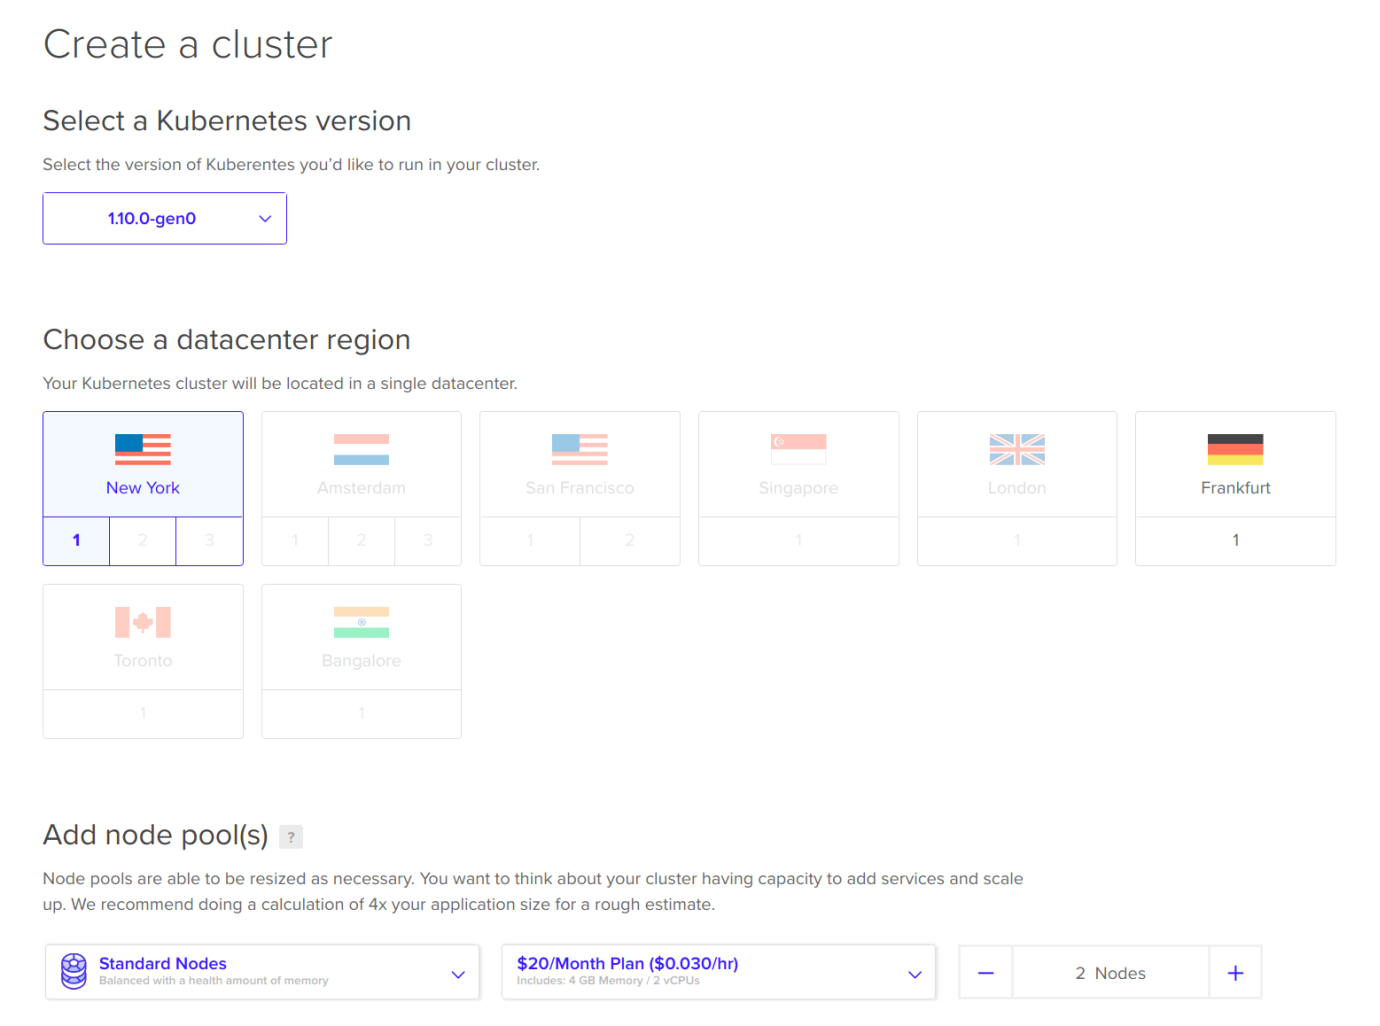
Make sure you select at least three Nodes, where each node has at least 4 GB of RAM. Then, click Create Cluster. You'll be brought back to the main Kubernetes tab, where you can see that the cluster is being provisioned:

Click on the cluster and you'll be brought to the Overview section for the cluster:
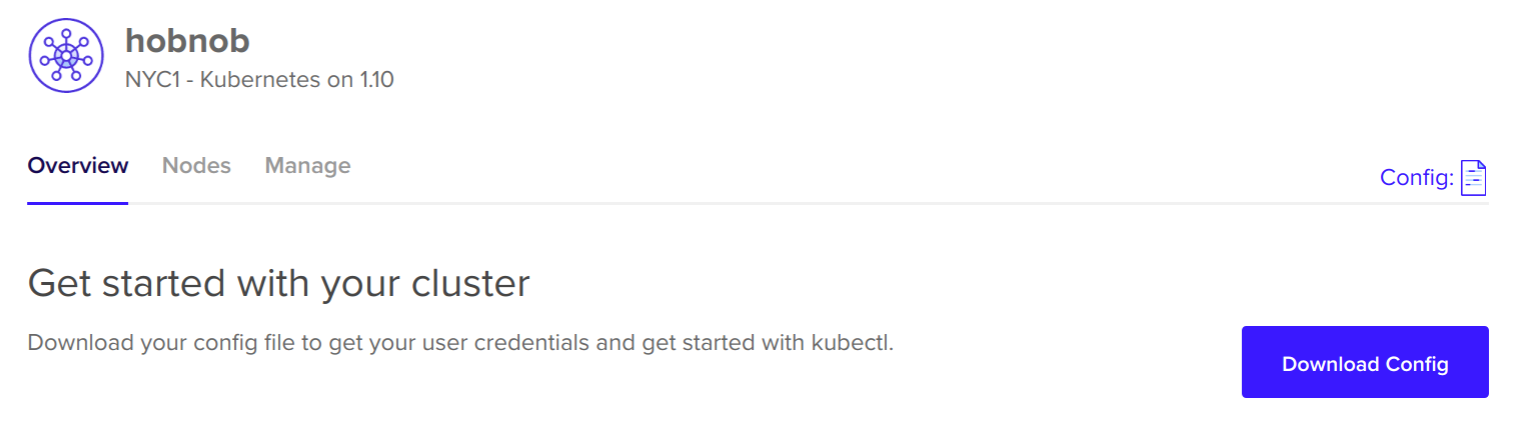
Click on the Download Config button to download the configuration required to connect with our newly-created cluster on DigitalOcean. When you open it up, you should see something similar to this:
apiVersion: v1
clusters:
- cluster:
    certificate-authority-data: S0tL...FFDENFRJQV0
    server: https://8b8a5720059.k8s.ondigitalocean.com
  name: do-nyc1-hobnob
contexts:
- context:
    cluster: do-nyc1-hobnob
    user: do-nyc1-hobnob-admin
  name: do-nyc1-hobnob
current-context: do-nyc1-hobnob
kind: Config
preferences: {}
users:
- name: do-nyc1-hobnob-admin
  user:
    client-certificate-data: LUMMmxjaJ...VElGVEo
    client-key-data: TFyMrS2I...mhoTmV2LS05kRF
Let's examine the fields to understand why they're there:
- apiVersion, kind: These fields have the same meaning as before
- clusters: Define different clusters to be managed by kubectl, including the cluster's server's hostname, and certificates required to verify the identity of the server
- users: Defines user credentials that are used to connect to a cluster; this may be certificates and keys, or simple usernames and passwords. You can use the same user to connect to multiple clusters, although normally you'd create a separate user for each cluster.
- context: A grouping of clusters, users, and namespaces.
It will take a few minutes for the nodes to initialize; in the meantime, let's see how we can configure kubectl to interact with our new remote cluster.