Table of Contents for
Python Geospatial Development - Third Edition
 Python Geospatial Development - Third Edition
Published by
Packt Publishing, 2016
Python Geospatial Development - Third Edition
Published by
Packt Publishing, 2016
- Cover
- Table of Contents
- Python Geospatial Development Third Edition
- Python Geospatial Development Third Edition
- Credits
- About the Author
- About the Reviewer
- www.PacktPub.com
- Preface
- What you need for this book
- Who this book is for
- Conventions
- Reader feedback
- Customer support
- 1. Geospatial Development Using Python
- Geospatial development
- Applications of geospatial development
- Recent developments
- Summary
- 2. GIS
- GIS data formats
- Working with GIS data manually
- Summary
- 3. Python Libraries for Geospatial Development
- Dealing with projections
- Analyzing and manipulating Geospatial data
- Visualizing geospatial data
- Summary
- 4. Sources of Geospatial Data
- Sources of geospatial data in raster format
- Sources of other types of geospatial data
- Choosing your geospatial data source
- Summary
- 5. Working with Geospatial Data in Python
- Working with geospatial data
- Changing datums and projections
- Performing geospatial calculations
- Converting and standardizing units of geometry and distance
- Exercises
- Summary
- 6. Spatial Databases
- Spatial indexes
- Introducing PostGIS
- Setting up a database
- Using PostGIS
- Recommended best practices
- Summary
- 7. Using Python and Mapnik to Generate Maps
- Creating an example map
- Mapnik concepts
- Summary
- 8. Working with Spatial Data
- Designing and building the database
- Downloading and importing the data
- Implementing the DISTAL application
- Using DISTAL
- Summary
- 9. Improving the DISTAL Application
- Dealing with the scale problem
- Performance
- Summary
- 10. Tools for Web-based Geospatial Development
- A closer look at three specific tools and techniques
- Summary
- 11. Putting It All Together – a Complete Mapping System
- Designing the ShapeEditor
- Prerequisites
- Setting up the database
- Setting up the ShapeEditor project
- Defining the ShapeEditor's applications
- Creating the shared application
- Defining the data models
- Playing with the admin system
- Summary
- 12. ShapeEditor – Importing and Exporting Shapefiles
- Importing shapefiles
- Exporting shapefiles
- Summary
- 13. ShapeEditor – Selecting and Editing Features
- Editing features
- Adding features
- Deleting features
- Deleting shapefiles
- Using the ShapeEditor
- Further improvements and enhancements
- Summary
- Index
The built-in admin application is enabled by default in new Django projects. Before we can use it, however, we need to register the various database models we want it to support. To do this, edit the admin.py module within the shapeEditor/shared directory, and enter the following into this file:
from django.contrib.gis import admin
from shapeEditor.shared.models import *

admin.site.register(Shapefile, admin.ModelAdmin)
admin.site.register(Feature, admin.GeoModelAdmin)
admin.site.register(Attribute, admin.ModelAdmin)
admin.site.register(AttributeValue, admin.ModelAdmin)
The ModelAdmin class tells Django how to display the model within the admin interface. Notice that we use the GeoModelAdmin class for the Feature class. Because the Feature object includes geometry fields, using the GeoModelAdmin class allows the admin interface to edit these geometry fields using a slippy map. We'll see how this works shortly.
Now that the admin module has been configured, let's try running it. Type the following into your terminal or command-line window:
python manage.py runserver
This will start up the Django server for your project. Open a web browser and navigate to the following URL:
http://127.0.0.1:8000/admin/shared
You should see the Django administration login page:
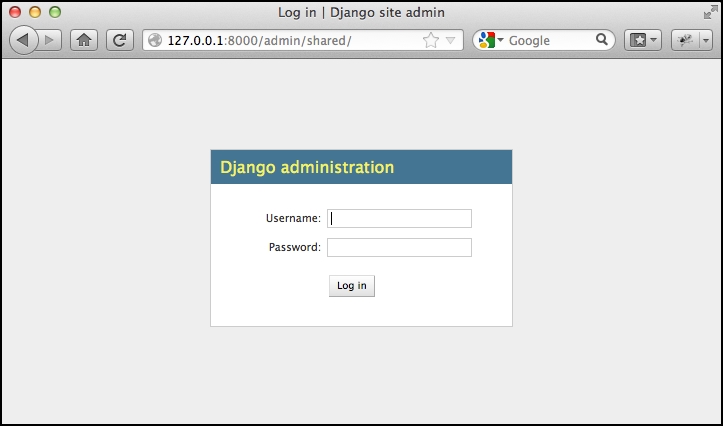
Enter the username and password for the superuser you created earlier, and you will see the main admin interface for the shapeEditor.shared application:
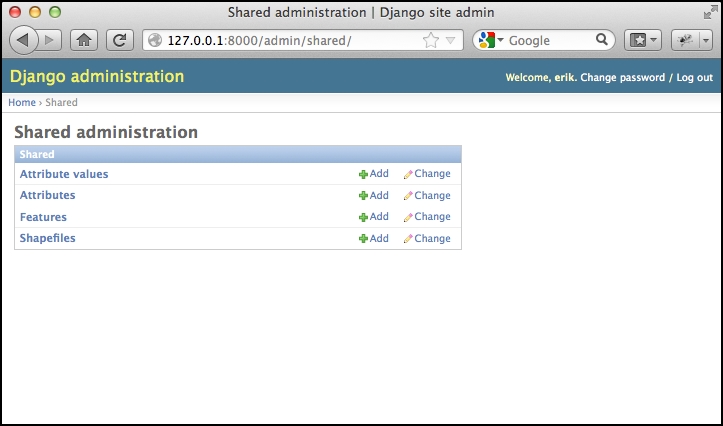
Let's use this admin interface to create a dummy shapefile. Click on the Add link in the Shapefiles row, and you will be presented with a basic input screen for entering a new shapefile:

Enter some dummy values into the various fields (it doesn't matter what you enter), and click on the Save button to save the new Shapefile object into the database. A list of the shapefiles that are present in the database will be shown. At the moment, there is only the Shapefile record you just created:
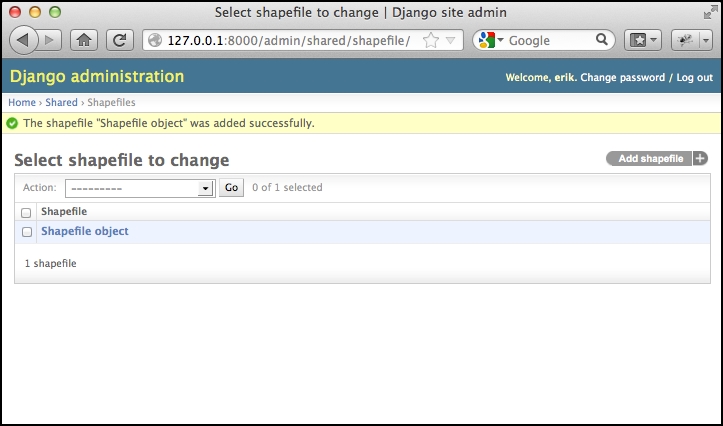
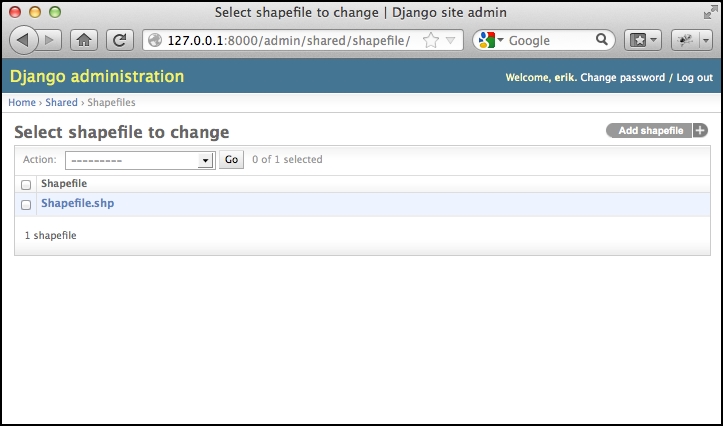
As you can see, the new shapefile object has been given a rather unhelpful label: Shapefile object. This is because we haven't yet told Django how to label the shapefile. To fix this, edit the shared.models file and add the following method to the end of the Shapefile class definition:
def __str__(self):
    return self.filename
The __str__ method returns a human-readable summary of the Shapefile object's contents. In this case, we are showing the filename associated with the shapefile. If you then reload the web page, you can see that the shapefile now has a useful label:
Go ahead and add the __str__ method to the other model objects as well:
class Attribute(models.Model):
    ...
    def __str__(self):
        return self.name

class Feature(models.Model):
    ...
    def __str__(self):
        return str(self.id)

class AttributeValue(models.Model):
    ...
    def __str__(self):
        return self.value
While this may seem like busywork, it's actually quite useful for your database objects to be able to describe themselves. If you wanted to, you could further customize the admin interface, for example, by showing the attributes and features associated with the selected shapefile. For now, though, let's take a look at GeoDjango's built-in geometry editors.
Go back to the shared application's administration page (by clicking on the Shared hyperlink near the top of the window), and click on the Add button in the Features row. As with the shapefile, you will be asked to enter the details for a new feature. This time, however, the admin interface will use a slippy map to enter each of the different geometry types supported by the Feature object:
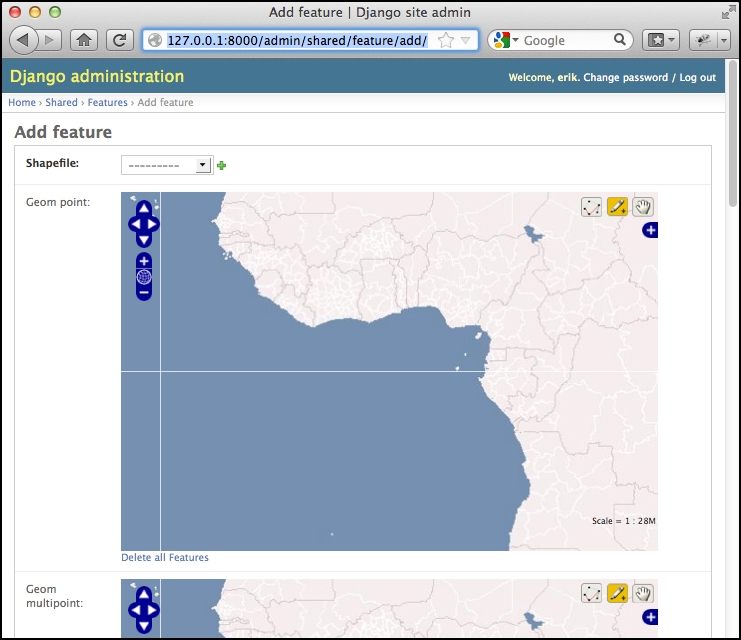
Obviously, having multiple slippy maps like this isn't quite what we want, and if we wanted to, we could set up a custom GeoModelAdmin subclass to avoid this, but that's not important right now. Instead, try selecting the shapefile to associate with this feature by choosing the shapefile you created from the Shapefile menu, and then scroll down to the Geom multipolygon field and try adding a polygon or two to the map. To do this, click on the map to start drawing a new polygon, click repeatedly to add points to the current polygon, or hold down the Shift key and click to finish creating a polygon. The interface can be a bit confusing at first, but it's certainly usable. We'll look at the various options for editing polygons later. For now, just click on the Save button at the very bottom of the page to save your new feature. If you edit it again, you'll see your saved geometry (or geometries) once again on the slippy maps.
This completes our tour of the admin interface. We won't be using this for end users, as we don't want to require users to log in before making changes to the shapefile data. We will, however, be borrowing some code from the admin application so that end users can edit their shapefile's features using a slippy map.