You may remember that the last time we exported KML, our focus was to only get the data out of the database so we can check whether our import had actually been successful. This time we'll issue a similar command, but with one important change - we'll specify the name field and the description field for the output KML.
A full format information page can be found at http://www.gdal.org/drv_kml.html.
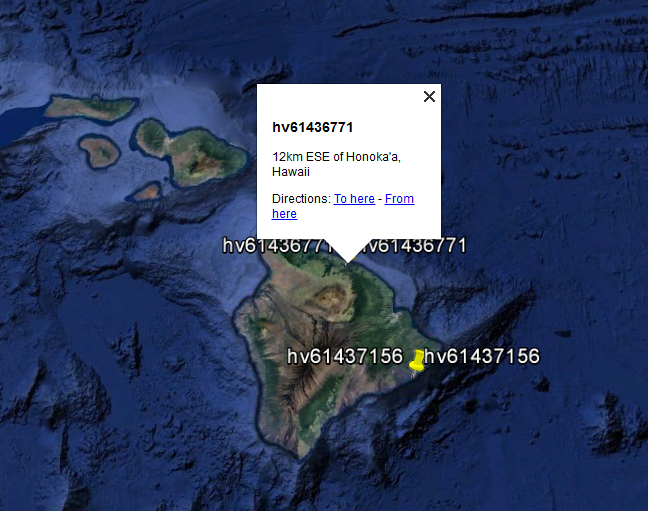
ogr2ogr -f "KML" earthquakes_from_postgis.kml PG:"host=localhost port=5434 user=postgres dbname=mastering_postgis" -t_srs EPSG:4326 -dsco NameField=id -dsco DescriptionField=place data_import.earthquakes_subset_with_geom
If you opened the exported KML, this time you will have noticed that the object icons have their names displayed, and when a pop-up is opened, the name and description now come from the columns specified:
If an output format supports multiple layers, and KML does indeed, it is possible to export multiple data tables to one output file - for example:
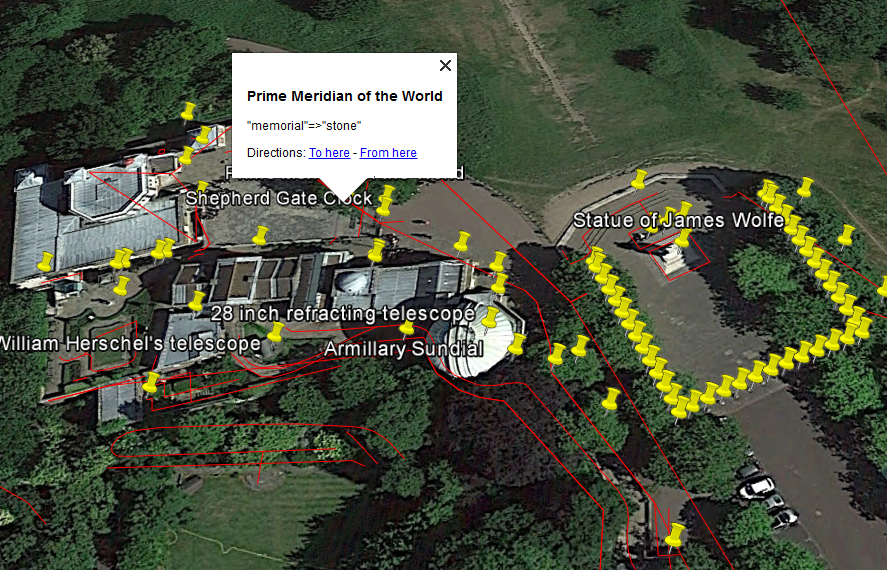
ogr2ogr -f "KML" greenwich.kml PG:"host=localhost port=5434 user=postgres dbname=mastering_postgis" -s_srs EPSG:900913 -t_srs EPSG:4326 -dsco NameField=name -dsco DescriptionField=tags public.planet_osm_line public.planet_osm_point
Our Greenwich KML should look like this, when opened in Google Earth: