
In this chapter, you review how to create images for a gallery, GIF animation, and video with an image poster for your website.
Note
This chapter has projects that are in four folders. You can use the files in the Chapter 9 folder to practice opening and viewing for this lesson. They are at https://github.com/Apress/graphics-multimedia-web-adobe-creative-cloud .
In this chapter, you will create four items for a website known as Hot Glass Tango. This site tells the story (through images, animation, video, and audio) of how handmade glass items are created. The multimedia items that you create in this chapter and other “Putting It into Practice” chapters are used to finish the final website in Part 6 of this book.
Exporting Images for a Gallery
In Chapter 4, you looked at how to export images for a gallery. In Chapter 5, you looked at how to use actions and automation to speed up that process. In this chapter, there is a folder called Gallery Images that contains about 11 PSD files (g_image1.psd, g_image2.psd, etc.) that you will use to create a final gallery in Dreamweaver in Part 6.
An image gallery is composed of images that are JPEG, PNG, or GIF files. If the image is a logo or illustration with not much photographic content or major gradient transitions, then saving the image as a static GIF is OK. However, if the image contains a lot of color or photographs, then it is better to use a JPEG or a PNG image. PNG and JPEG are comparable in quality for photographs; however, in photographic images that you want a lot of detail, I find that JPEG is the best option. Nevertheless, if download time is a concern, the choice is up to you. You may have to compare different formats of them side by side, using the 2-up or 4-up tabs as in the Save for the Web (Legacy) dialog box in Chapter 4.
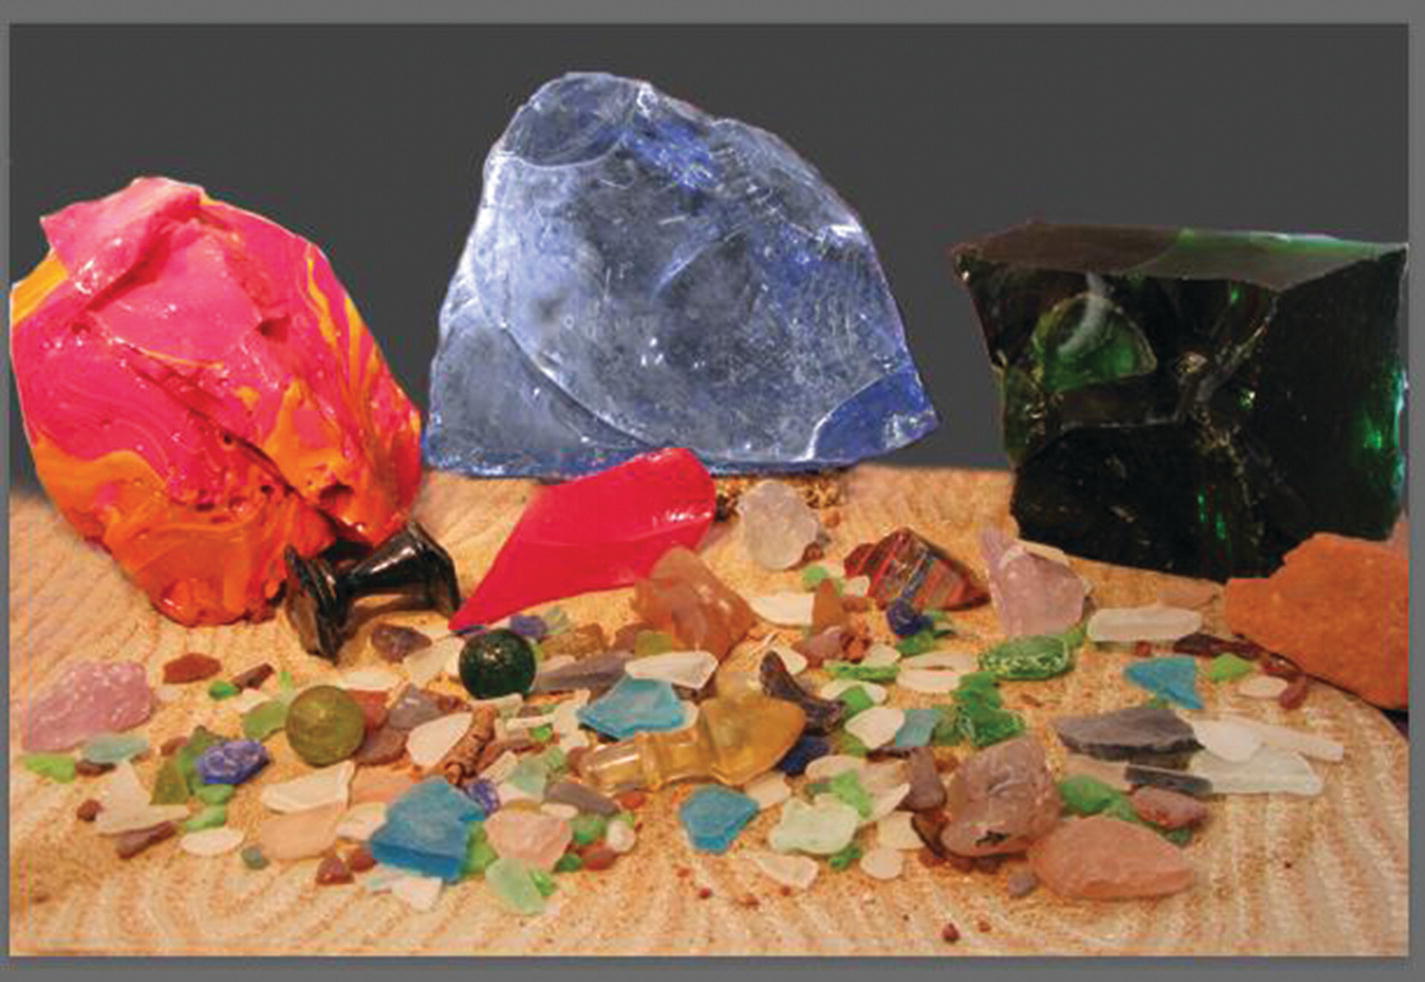
The first image that appears in my gallery of glass
Each PSD file has several custom layer adjustments, so creating an action set for these steps other than to set a similar image size would not be practical. However, if all of the images in your gallery only have minor color adjustments that were consistent throughout, then creating actions or a batch action may be the best workflow for you.
However, since you only have 11 images, to get the optimum quality, you will create a simple action called Export For Web that brings up the File ➤ Export ➤ Save For Web (Legacy) dialog box so that you can make minor adjustments to each file as you go along.
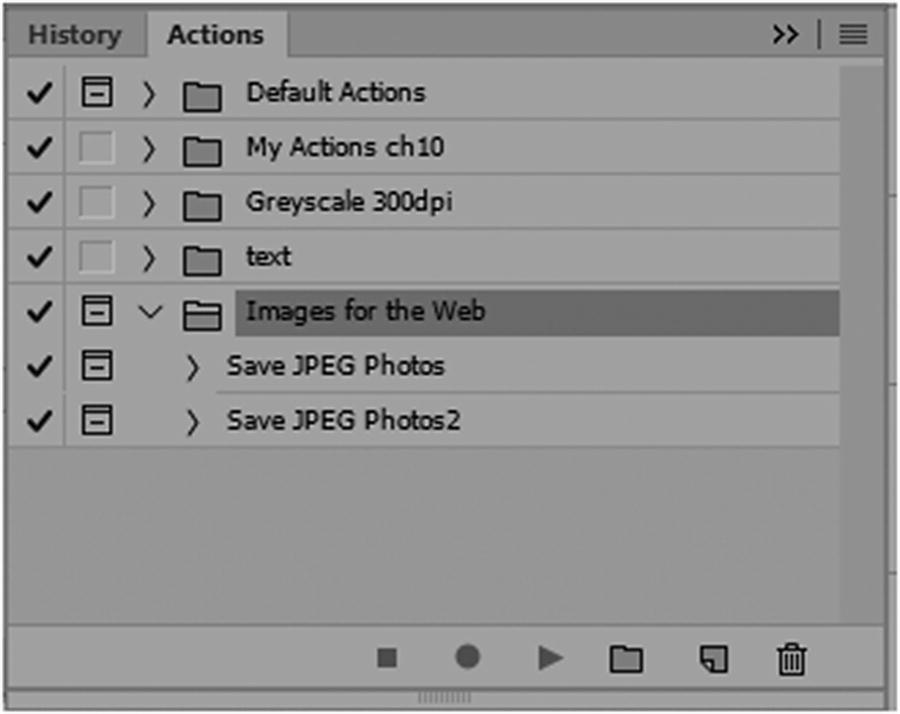
Creating another action for your set
Click the Create New Action button at the bottom of the dialog box.
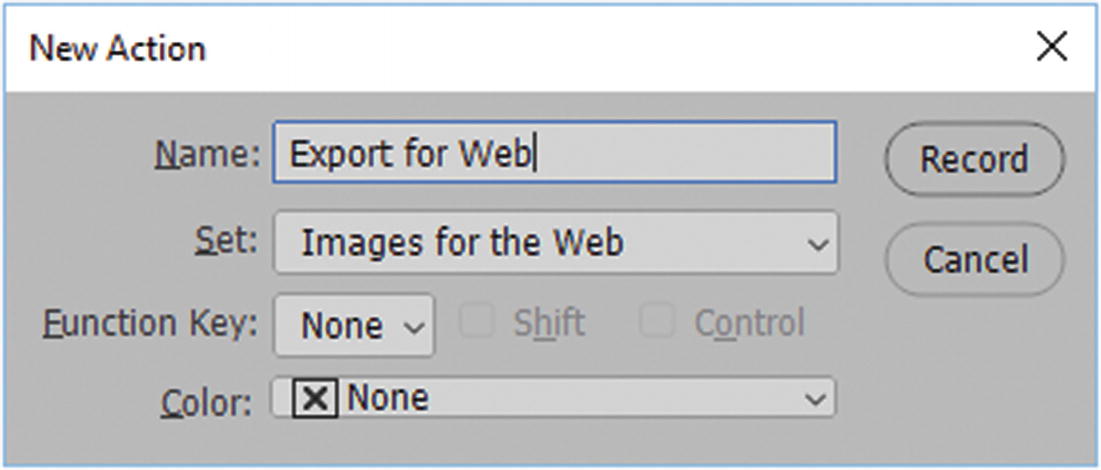
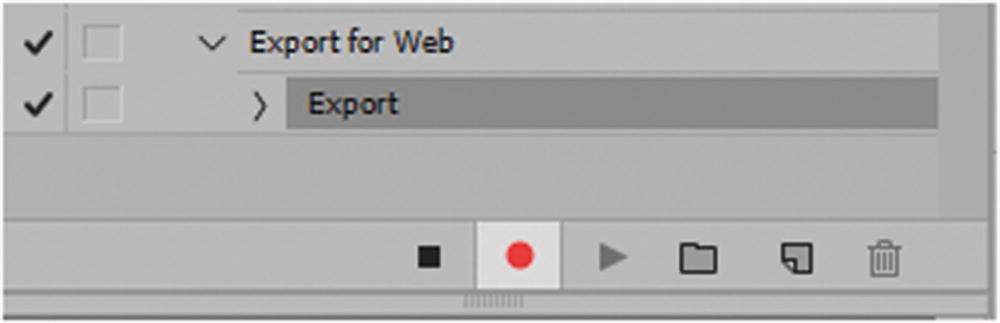
Creating a new action
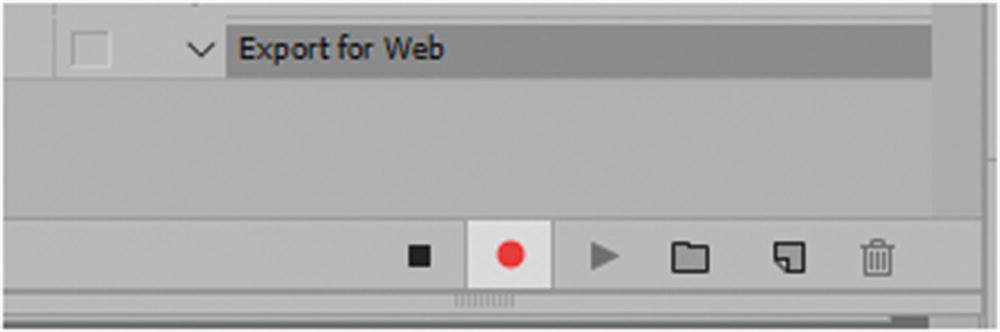
The actions are recording
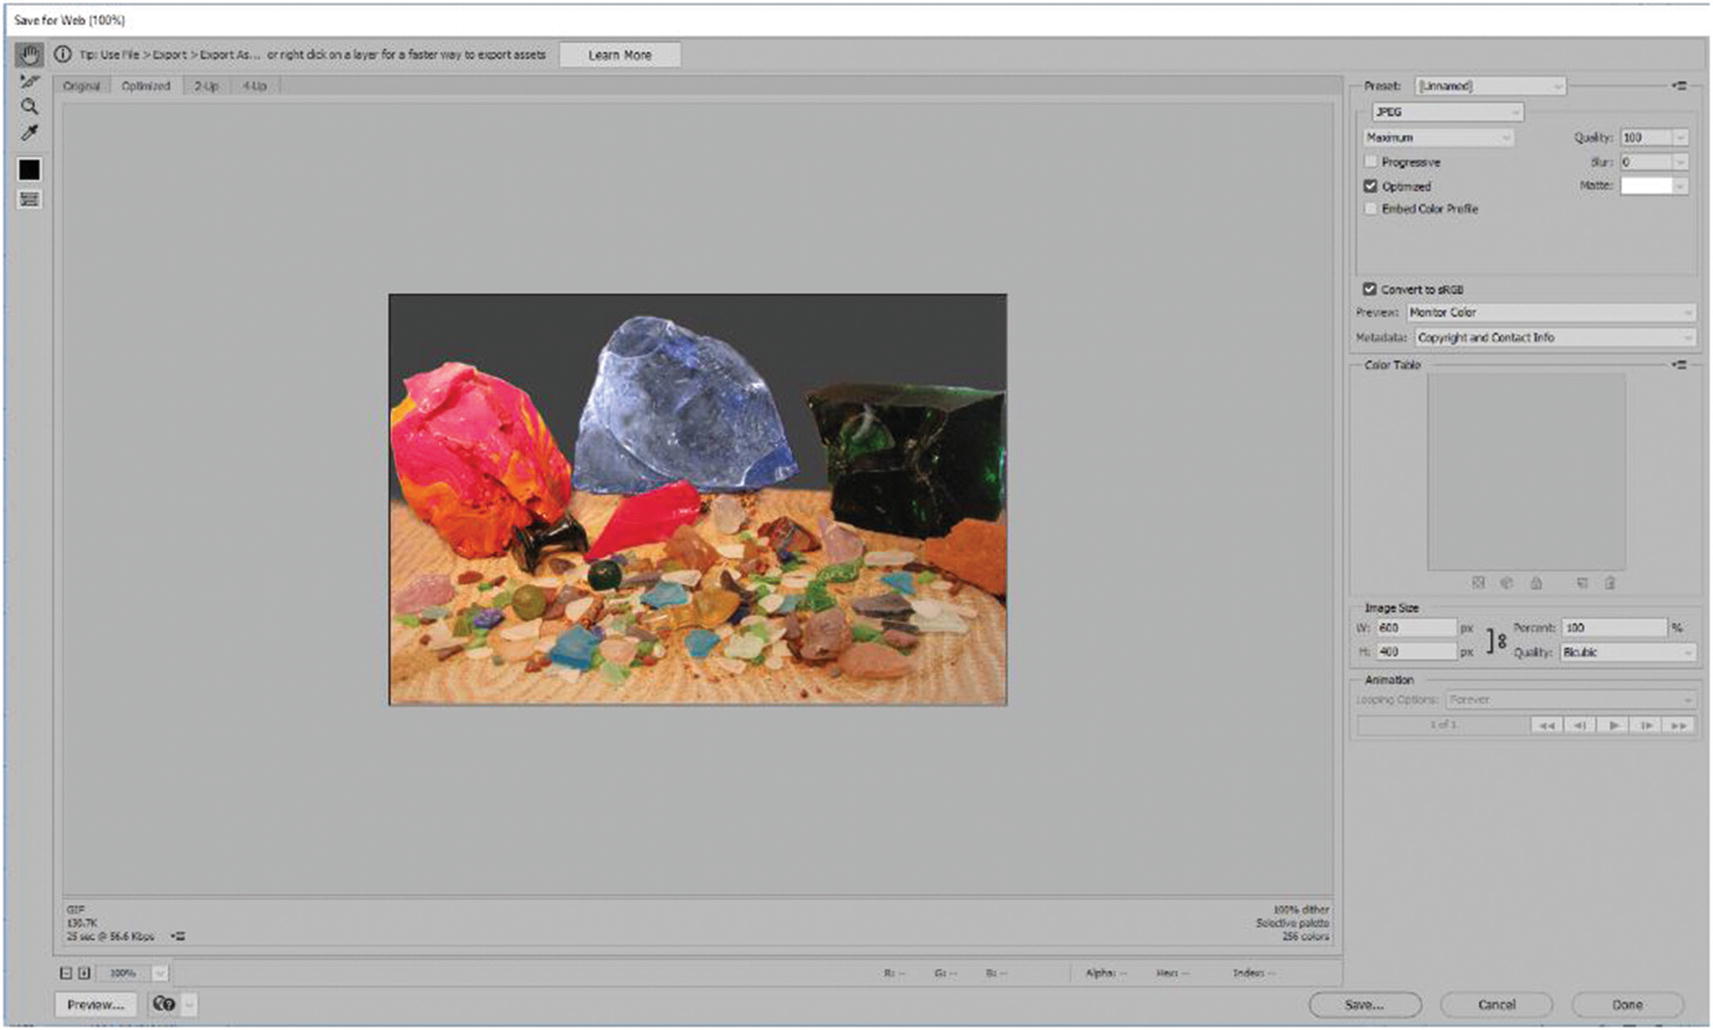
The Save for Web dialog box
At this point, you could choose a preset as a JPEG, PNG, or a GIF once you are content with the settings (I chose JPEG Maximum, optimized).

Click Save so you can export your image for the gallery
If you have a website started, save this image into the Images folder; if not, save it in your current folder or your choice location.
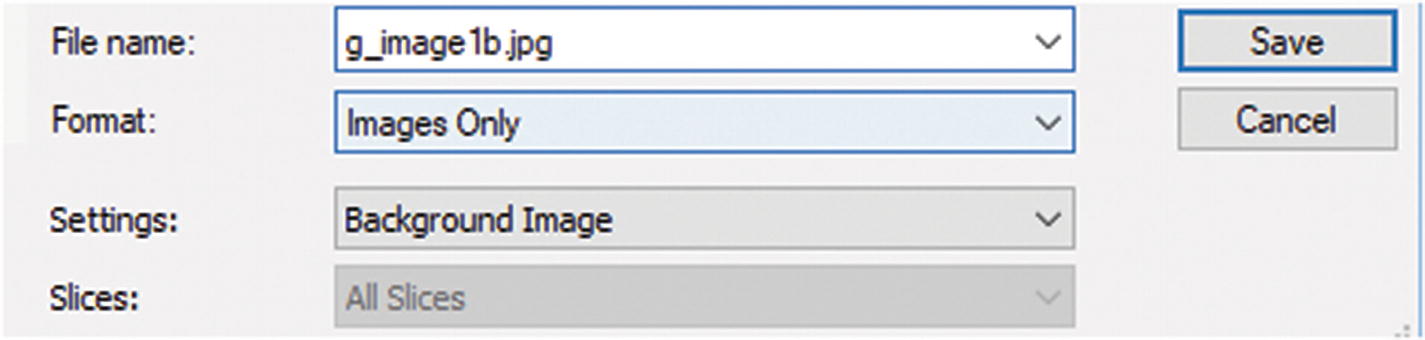
Naming file and saving as images only
Click Save.
Another step is added to the Actions panel
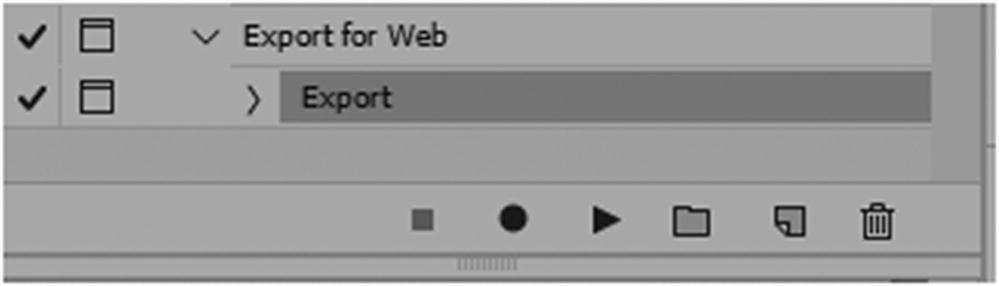
You can now press the square Stop icon (on the left) to stop the action.
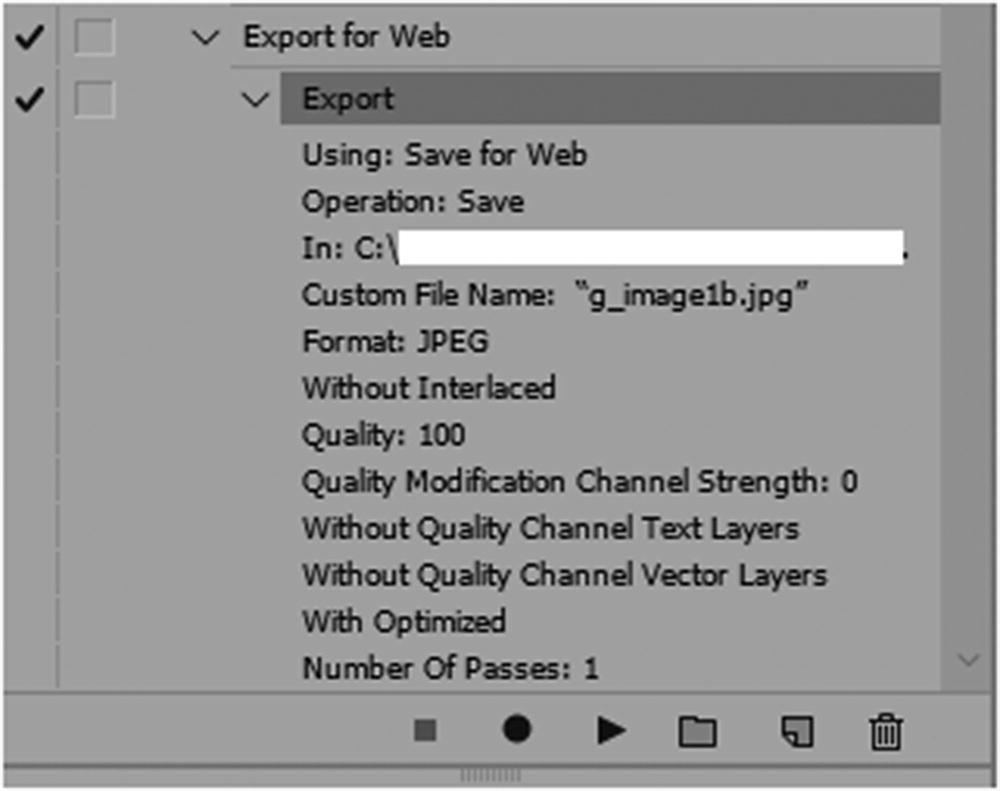
Many setting have been applied to the action
These are all recorded so that you do not have to make the same adjustments each time.
Turn on the settings that allow the window dialog box to open
You can close the first image, and then select File ➤ Open to open g_image2.psd
This time, you just need to just select the Export for Web action from the Actions panel, and press Play for the action to play again. You can always make different adjustments or keep the same settings. In the dialog box, click Save and give this file a new name in your images folder. The action always keeps its original settings for each new file. However, if you keep the same image open and play it again, it uses the most recent setting in the export; so make sure to close the PSD files without saving changes and open it again to keep original export settings.
Take some time to save the 11 images as either JPEGs or PNGs for the gallery by using the action. You could speed up the process even further by creating a batch action or even a droplet, as in Chapter 5, if you had more image files to work with.
Now let’s move on to the second project.
Exporting a GIF Animation
In Chapter 6, you looked at some of the basic steps to create a simple GIF animation that could be used for instructional purposes or as a beautiful ever-looping picture for a webpage. In other cases, you may want a very subtle change to take place in the background of your website, such as a slight graphic background shift.
In Chapter 8, you looked at some miscellaneous tools that can be used for the web; one that is very useful is the offset filter for repeating backgrounds. You can create a repeating background, but you can also animate it and use CSS to make it only repeat on the x or y axis to create a division on the page or appear as a stripe across the top of the page. From a design point of view, I do not recommend covering the entire page with a repeating animated GIF because this would look gaudy; however, if done correctly, it can add interest to your website.
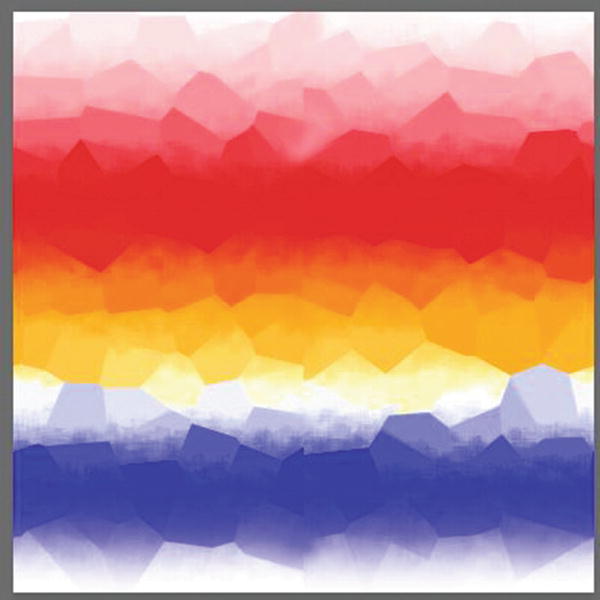
This gradient looks fractured like hot glass that is gradually cooling
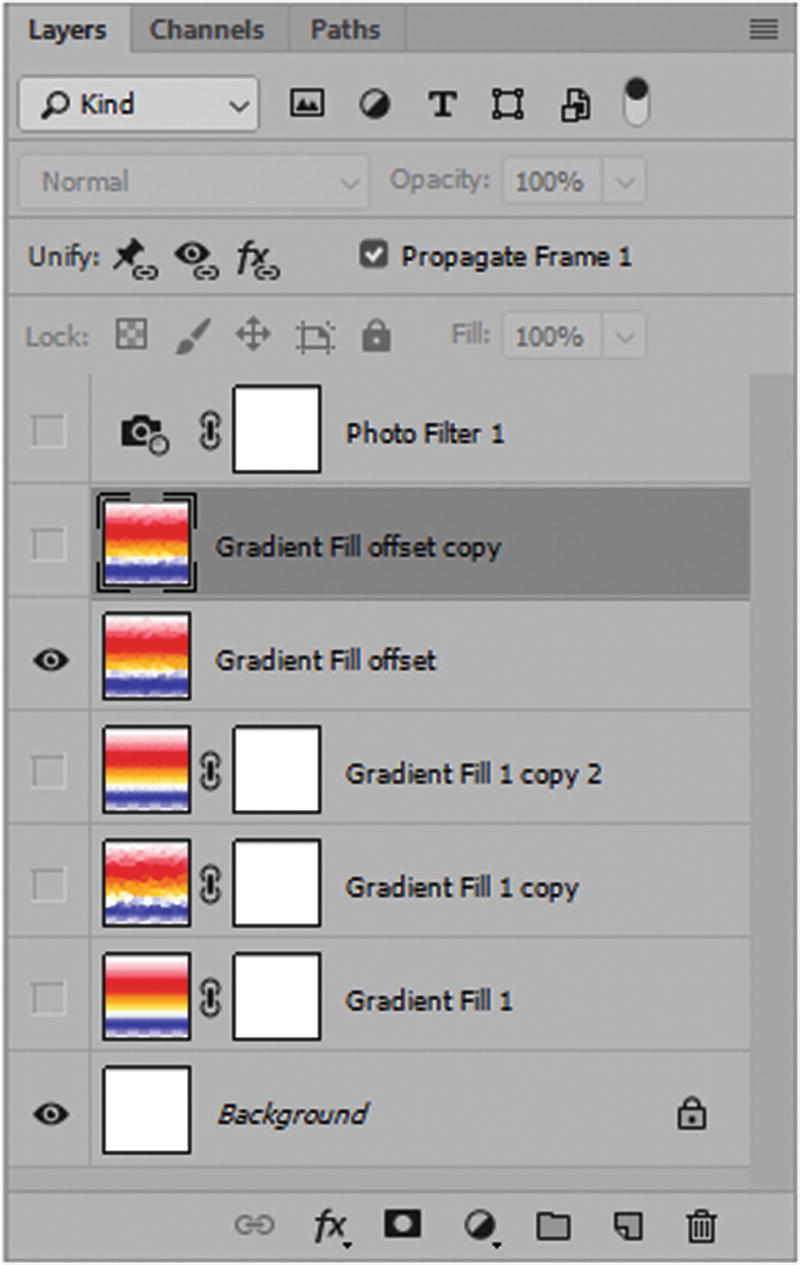
The Layers panel contains different gradients and layers for the GIF frame animation
Note
In my original file, when I used the offset filter, it left a small seam down the middle that I had to use the Clone Stamp tool in the Tools panel to correct. I also set undefined areas of the offset filter to wrap around. In this case, the filter work is done for you.

Timeline for the GIF animation
In this file, I added some transparent areas into the layers so that you have the option to blend my animation on top of other backgrounds.
There is a time delay for each frame, and the animation is set to play once.
Once the animation is complete, and you have previewed it using the Timeline’s play features, choose File ➤ Export ➤ Save for the Web (Legacy).

Transparency is optional; in my case, the background is white, so you could leave it unchecked.
Choose a white matte. At this point, you could play the animation again to test it or adjust the looping.

Click Save to save the animation
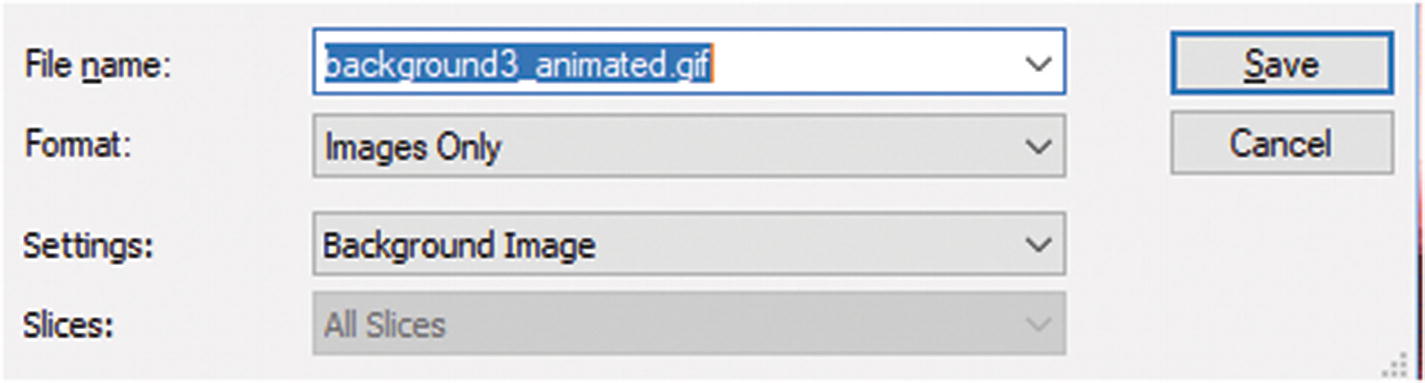
Save the animation in your website’s Images folder
Find your website’s Images folder and save it there with the other gallery images. Close the original PSD file without saving any changes.
Note
Although this image contained gradients, they were distinct enough that the quality of the image did not deteriorate when you saved it as a GIF animation. There was no option to save it as a JPEG or PNG since these formats cannot be animated.
Now that you have completed the second project, let’s look at project number three: the video poster.
Exporting a JPEG Poster Image for Your Movie for the Web
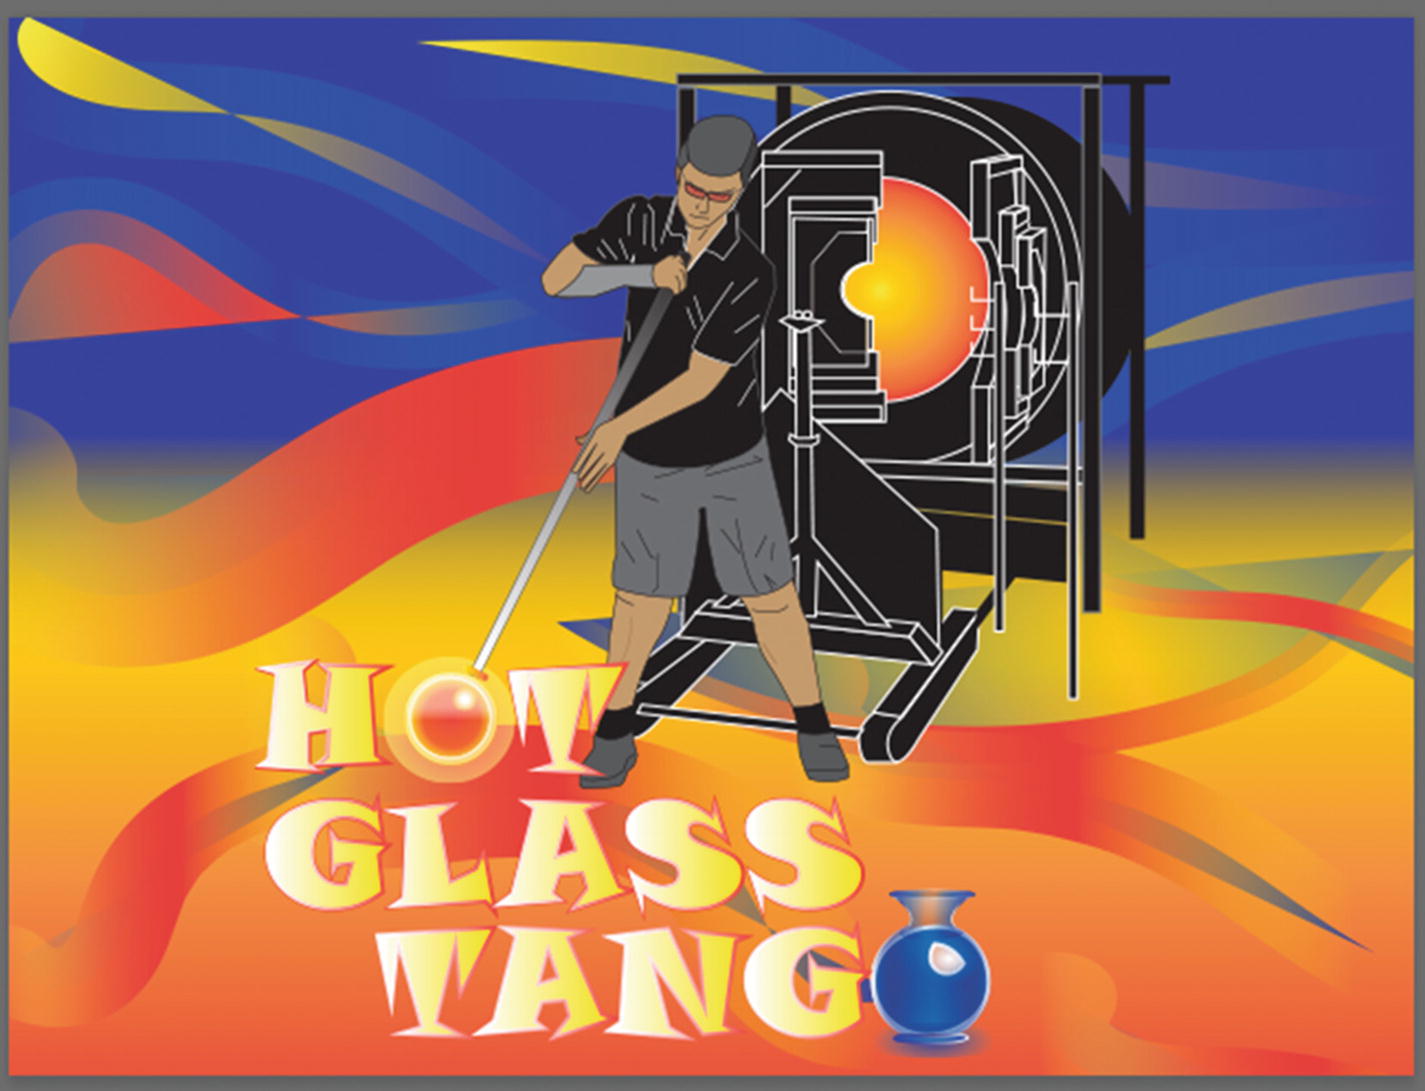
This is the poster for the movie Hot Glass Tango
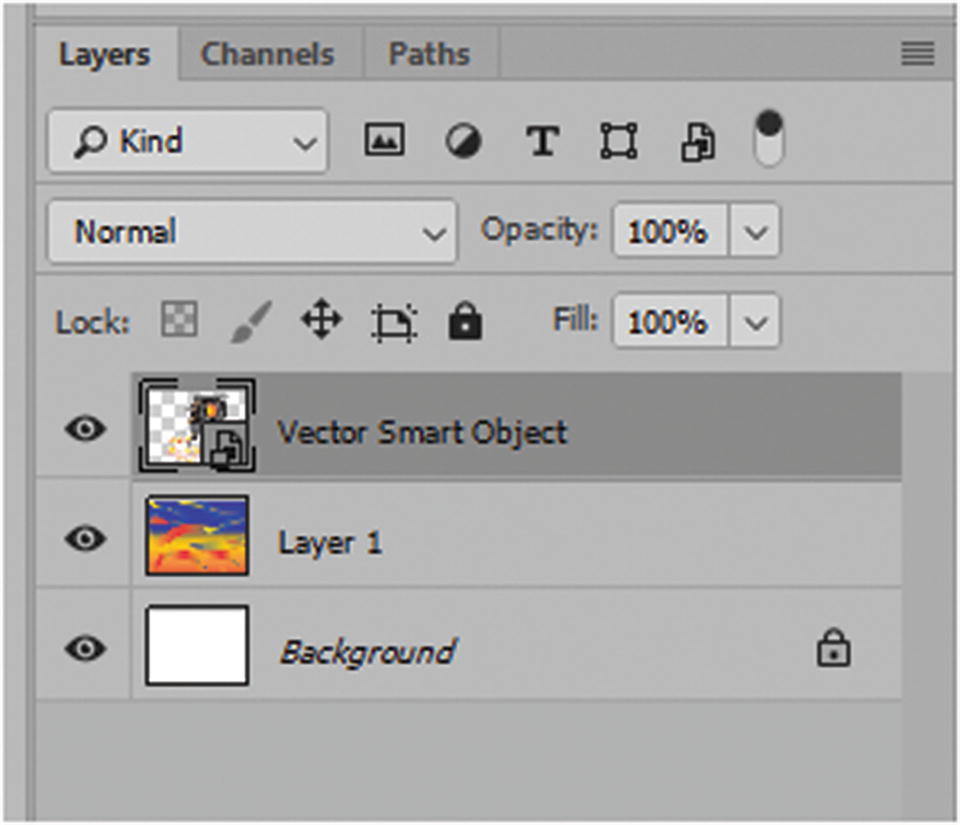
The Layers panel for the video poster
The poster must be the exact same size as the final video; otherwise, distortion occurs and there is a size change when you click Play for the HTML5 video on your website.
In this case, it is 640 × 480 pixels.
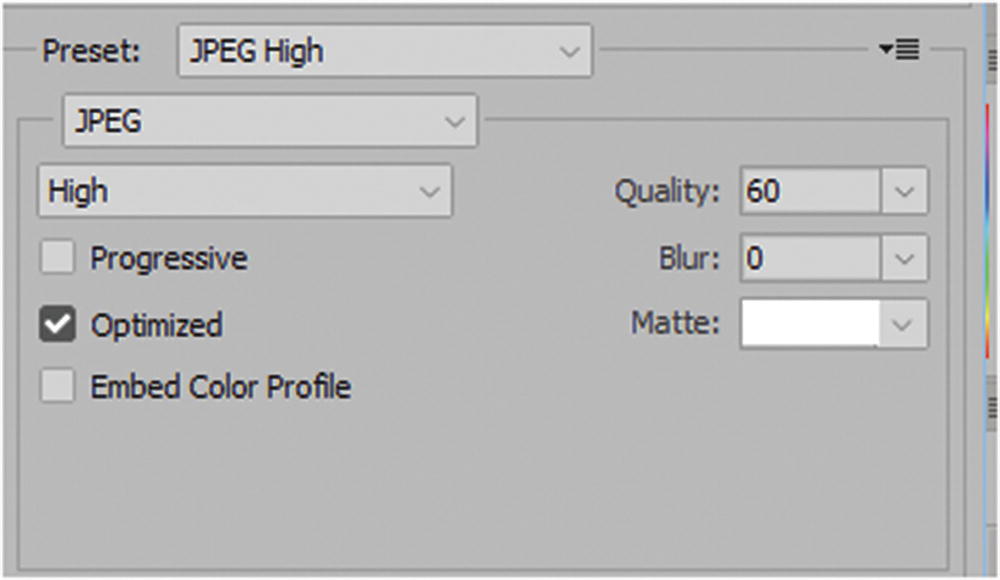
Setting for the poster in the Save for Web dialog box

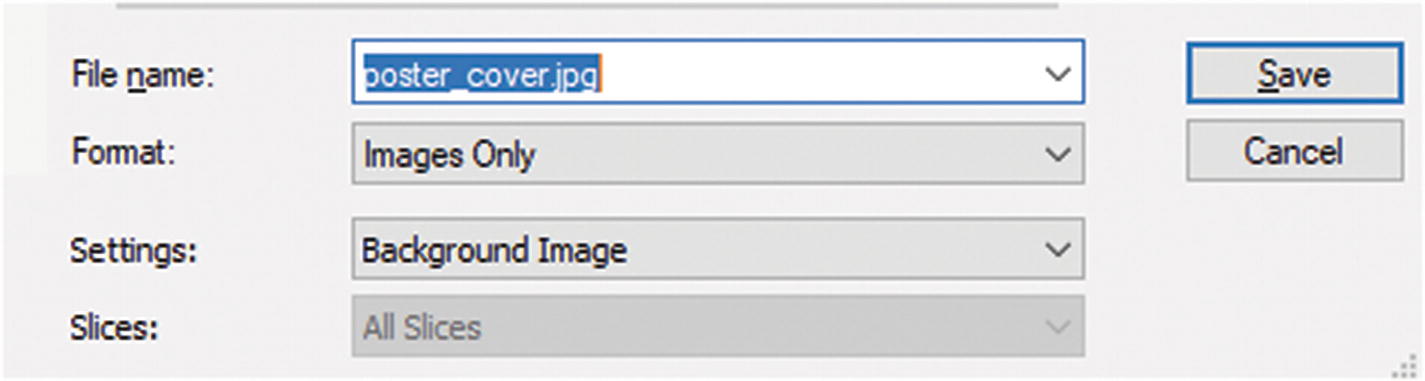
Save the poster image in the Images folder of your website
When done, close the PSD file without saving changes. You will now move on to the fourth and final project: rendering the video.
Rendering Your Movie
The last item you need to work on in Photoshop CC is rendering the video. If you have created your own video for a project with your footage, use it in these final steps; otherwise, follow along with the video I have created.
Open the Movie folder’s Movie_Glass_Tango_Part2.psd file. The file is linked to quite a few MP4 and MP3 files, so it may take a few moments to open. Also, you may get an alert saying that the files have become unlinked, as seen in Chapter 7, where I talk about video groups. You may need to relink the files; those that are in the same folder will automatically relink.
Make sure that the Timeline and Layers panels are opened so that you can see how I laid out the file and the links.
Note
This assignment has a lot of video files. To make the video about 17 minutes and 30 seconds long, some clipping was done. Before rendering, make sure to copy all the files to an external drive so that you do not crash your computer during the rendering process. Open the PSD file again on the external drive, and then you render from it as an MP4 on the external drive as well. You can always copy the final MP4 back onto your home computer later when you combine it for the website in Part 6; otherwise, refer to the final MP4 file I created if you don’t want to attempt rendering right now.
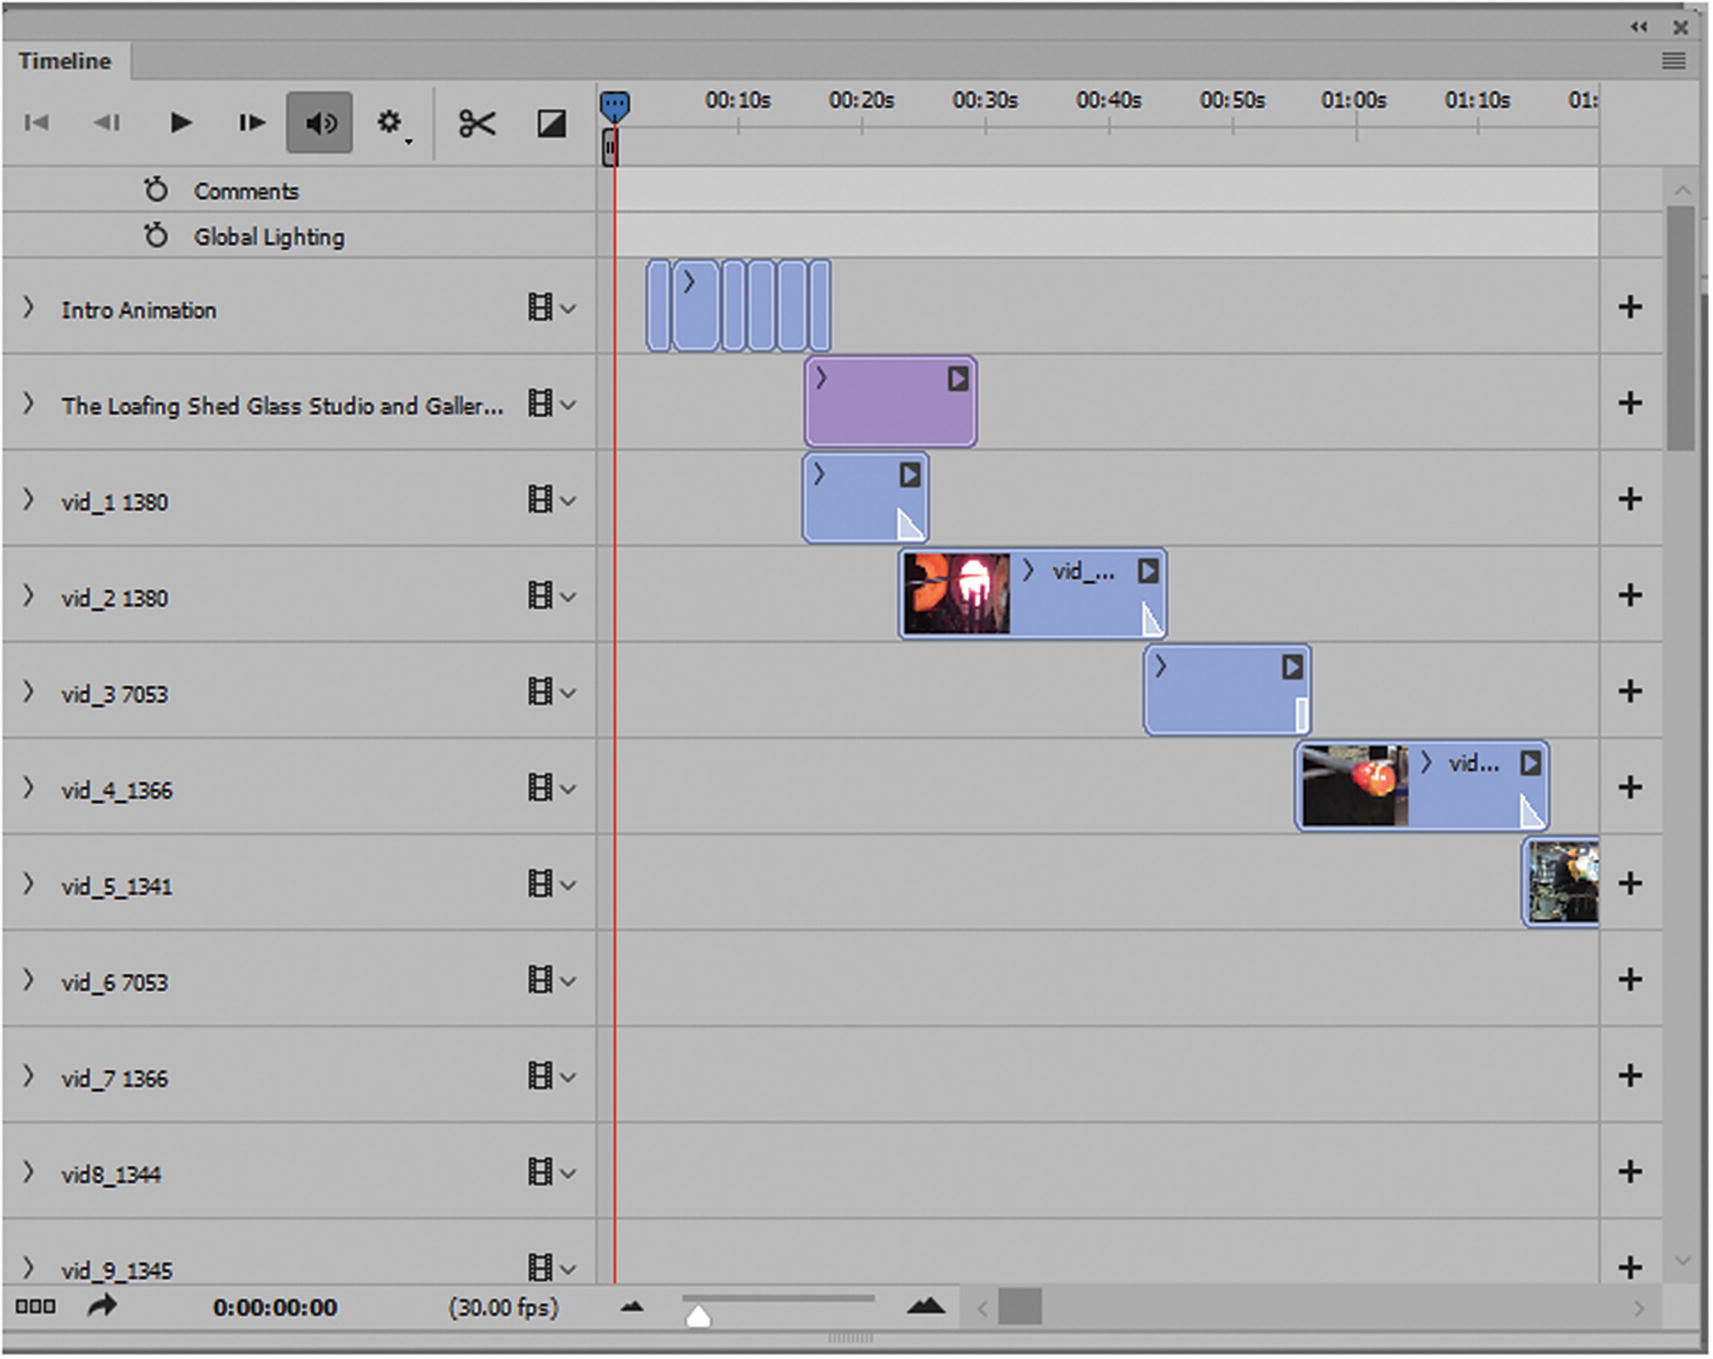
The Timeline panel with many tracks
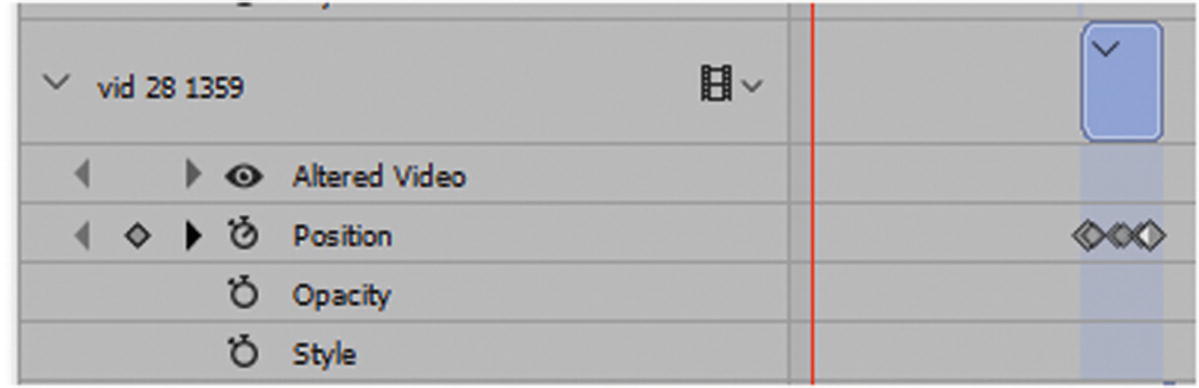
Keyframes to adjust position were added to some tracks
As the video moves along, you move to lower tracks or layers to reveal them

Adding a text layer over the video footage
Once I added the video layers, I dragged each track to the correct location in the video timeline before adding the transitions and audio. Often, you have to use the Play button several times to watch the video and stop the play head to make corrections as you go along. In this case, the video is set up for you, so use it as a guide for your future videos.
The videos that you create for the web likely will not have this much footage; possibly only 1 to 5 minutes in length. However, if you think your video will be longer than 20 minutes, a program like Premiere Pro and Adobe After Effects are better options for building longer stories with additional special effects.
Note
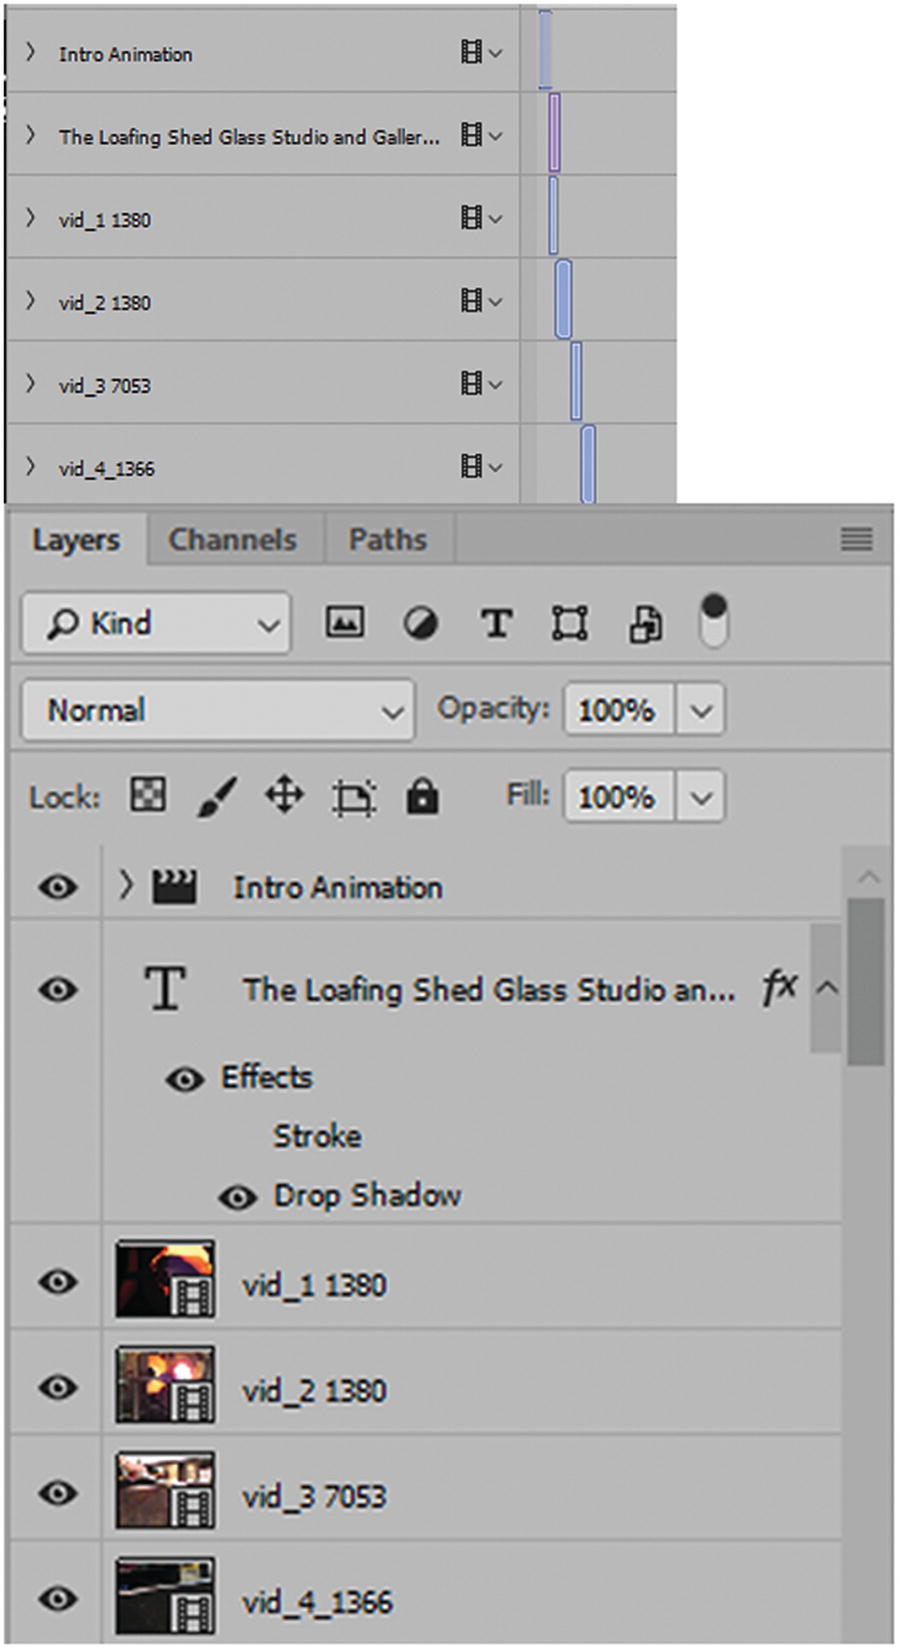
I named each layer/track with the same name as my linked footage; this way, I can always return to my original AVI or MOV files (not supplied in the lesson) so that I can re-render them as MP4 files in case I need to make an adjustment.

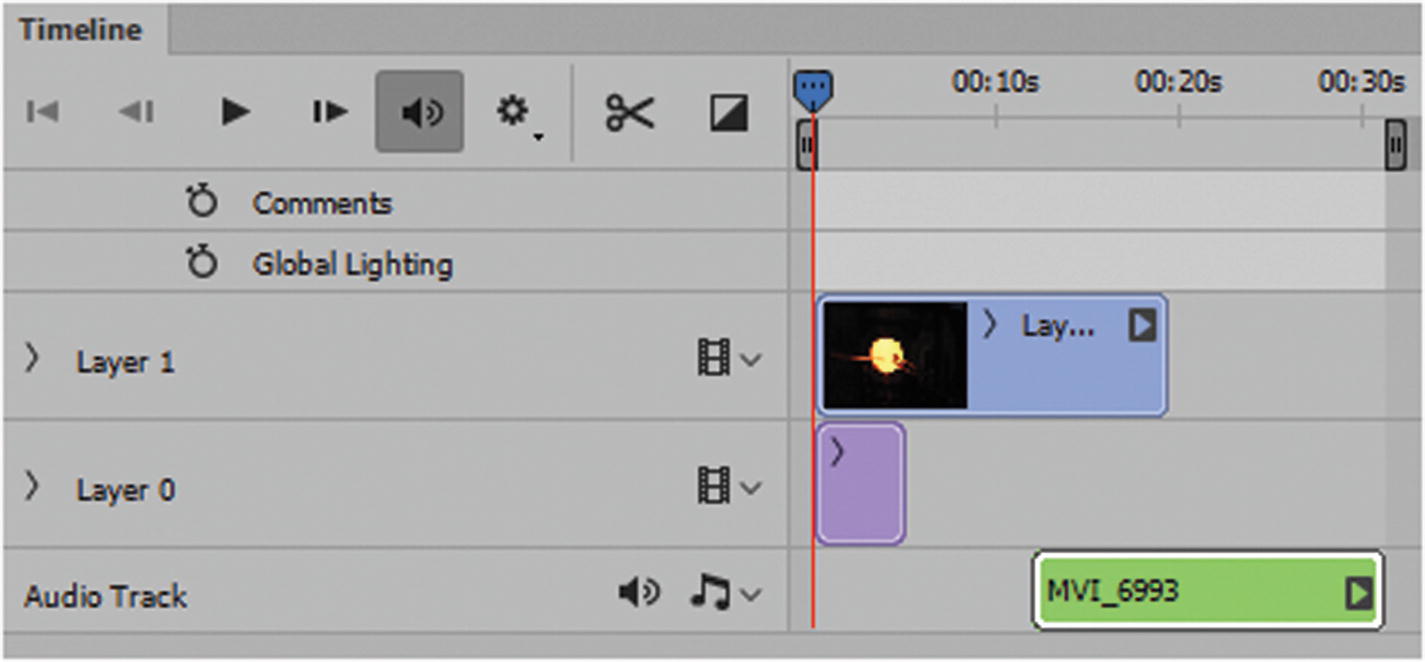
This file has three audio tracks
I cannot name each audio layer separately to identify it; however, I can give a unique name to my audio files, like sound_name or voice, so that I know what is happening and can then refer to the original files.
The audio does not show up in the Layers panel, only in the video timeline.

You may need to move the audio by dragging it to a new location
Don’t move the audio beyond the bounds of the movie or it will increase its length with no footage present
The next audio track I added was my voice. I kept it at 100% volume so that you can hear me narrate the actions of the people creating the glass vase (Robert Gary Parkes and his apprentice, Jay). Your video may not contain narration, but you might use this track as an area to dub in another language, or the thoughts or backstory of a character as they are doing some action, or someone who is not yet in the scene or who left the scene; this is known in the movie industry as split edits, or J cuts and L cuts.
Note
In Photoshop CC, you cannot split the audio from the video track to work with them separately. You can do this in Premiere Pro CC, however. An alternative option in Photoshop is to import the video into the audio track and then import the video as a video layer and set the sound to mute audio. Media Encoder also allows you to split audio and video as two separate files that you can add separately in Photoshop. Refer to Figure 9-29.
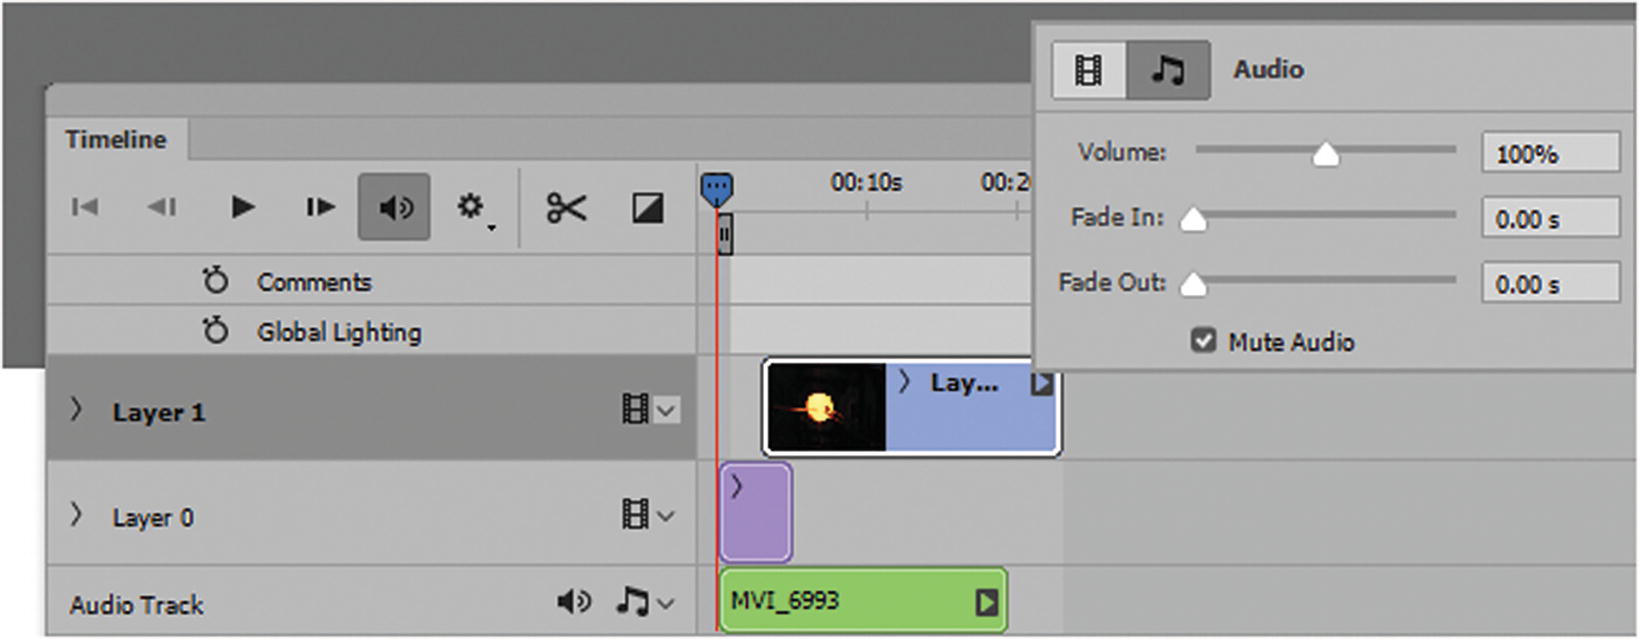
An alternative way to do an audio video split edit
The Lower audio track in my Hot Glass Tango video is the background music. If you listen to most commercials or movies, when the actors are not talking, or even sometimes when they are talking, music is often quietly playing in the background; usually, at a lower volume than the voices speaking.
Background music enhances the scene and often adds excitement and sets the mood. I find it beneficial when there are gaps in dialog to keep the flow of the story so that the silence is not tedious. Nevertheless, there are times where silence is good and gives a transitional break. You can always fade or overlap sound so that you go from music to silence at key moments.
Once you have previewed the video and adjusted the audio tracks to the correct location, it’s time to render the video.
Note
For your own personal video, make sure to save any changes you have made to your PSD file as you go. Do not save mine. Instead, work on a copy so that you do not accidently adjust the original file.

Render the video

Render Video dialog box
You can select a folder and create a subfolder, or render into the same folder as your files. Just make sure that with each new render, you delete any old files that you do not want to save.
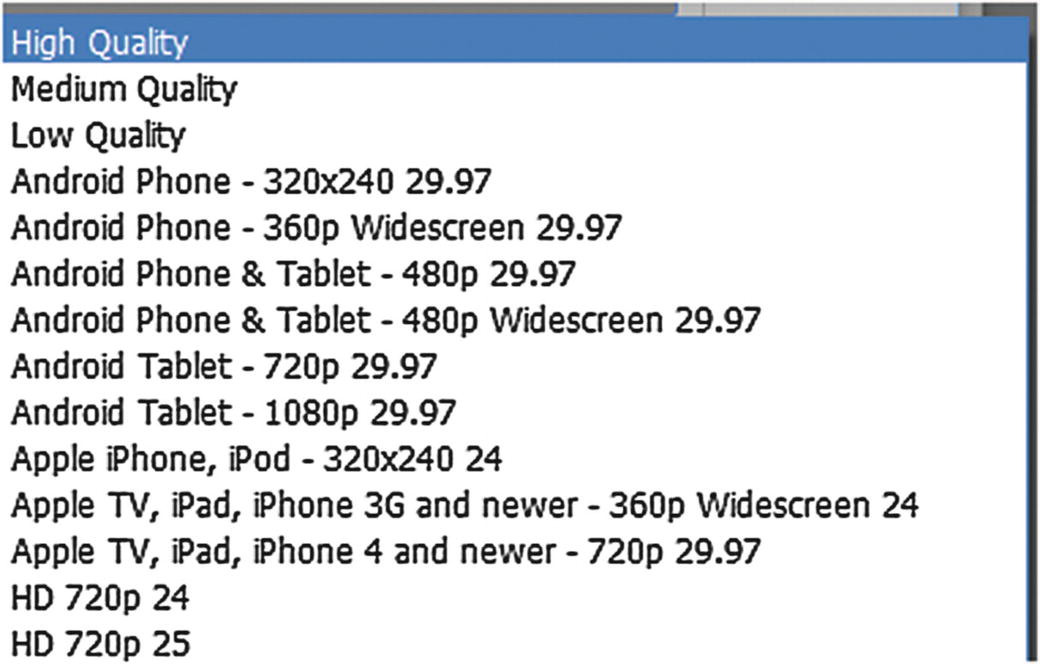
There are many preset options to choose from on the Preset drop-down list
There are presets that give a variety of frame rates and varying dimensions. Just be careful to choose the correct width, height, and frame rate for your video in the preplanning stages; otherwise, you may get some unexpected results or grainy footage if you upscale, change the field order, or adjust the aspect ratio.
Media Encoder can determine the dimensions and frame rate of your raw video files before you bring them into Photoshop. You’ll look at how to check this in Part 5.
For the range, render all frames (see Figure 9-30); however, you may want to render only part. If you know which frame a scene and audio starts and stops, you should be able to do this successfully.
In this case, you do not touch the render options because you have no 3D graphics or alpha channels.
When done, press the Render button on the right of the dialog box. The video will begin to render into the folder in your external drive.
Rendering may take a few minutes or an hour, depending on the size of the video and how fast your computer is. If you have another computer, do some other work while the rendering is happening.
Tip
It’s a bad idea to render, check email, and download files at the same time on one computer. Also, it’s good to have a backup battery connected to your computer in case there is an electrical surge or power outage that happens while the rendering is taking place. Having your files corrupted or destroyed when the power goes out, is a real time waster for everyone, especially on a tight deadline.
Once the file has rendered, you should find it in the folder you assigned for output. You can preview it in your computer’s media player. At more than 17 minutes, my file is a little over 806MB, which is probably the largest size limit I would want for an HTML5 video file that streams online. As for duration, it’s as long as I would want to hold the audience’s attention.
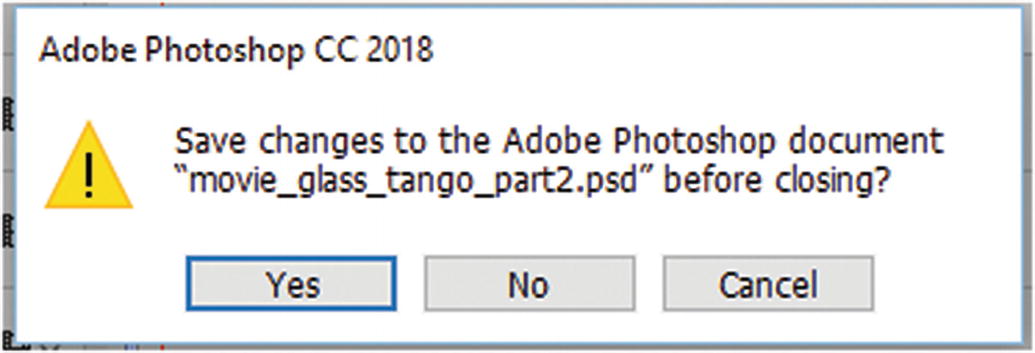
Do not save changes to the original PSD video file
You have now completed the final project in Photoshop CC.
Summary
In this chapter, you reviewed how to create images, GIF animations, a poster image, and video for the Hot Glass Tango website. This chapter concludes your study of Photoshop. At this point, review any areas of Part 2 that you don’t understand so that you feel comfortable with working with your own graphics in Photoshop.
In Part 3, you journey to the next junction point in the software maze: Adobe Illustrator CC. You’ll discover how it can be used to create web graphics.