
This chapter focuses on one specific file format: the GIF animation. As you saw in Chapters 4 and 5, GIF files are static images used for illustrations or logos; however, unlike the other image formats you have read about so far, they can also be used to create small animations within Photoshop CC and used on a website in several diverse ways, which you explore in Part 6.
Note
This chapter does not have any actual projects; however, you can use the files in the Chapter 6 folder to practice opening and viewing for this lesson. They are at https://github.com/Apress/graphics-multimedia-web-adobe-creative-cloud .
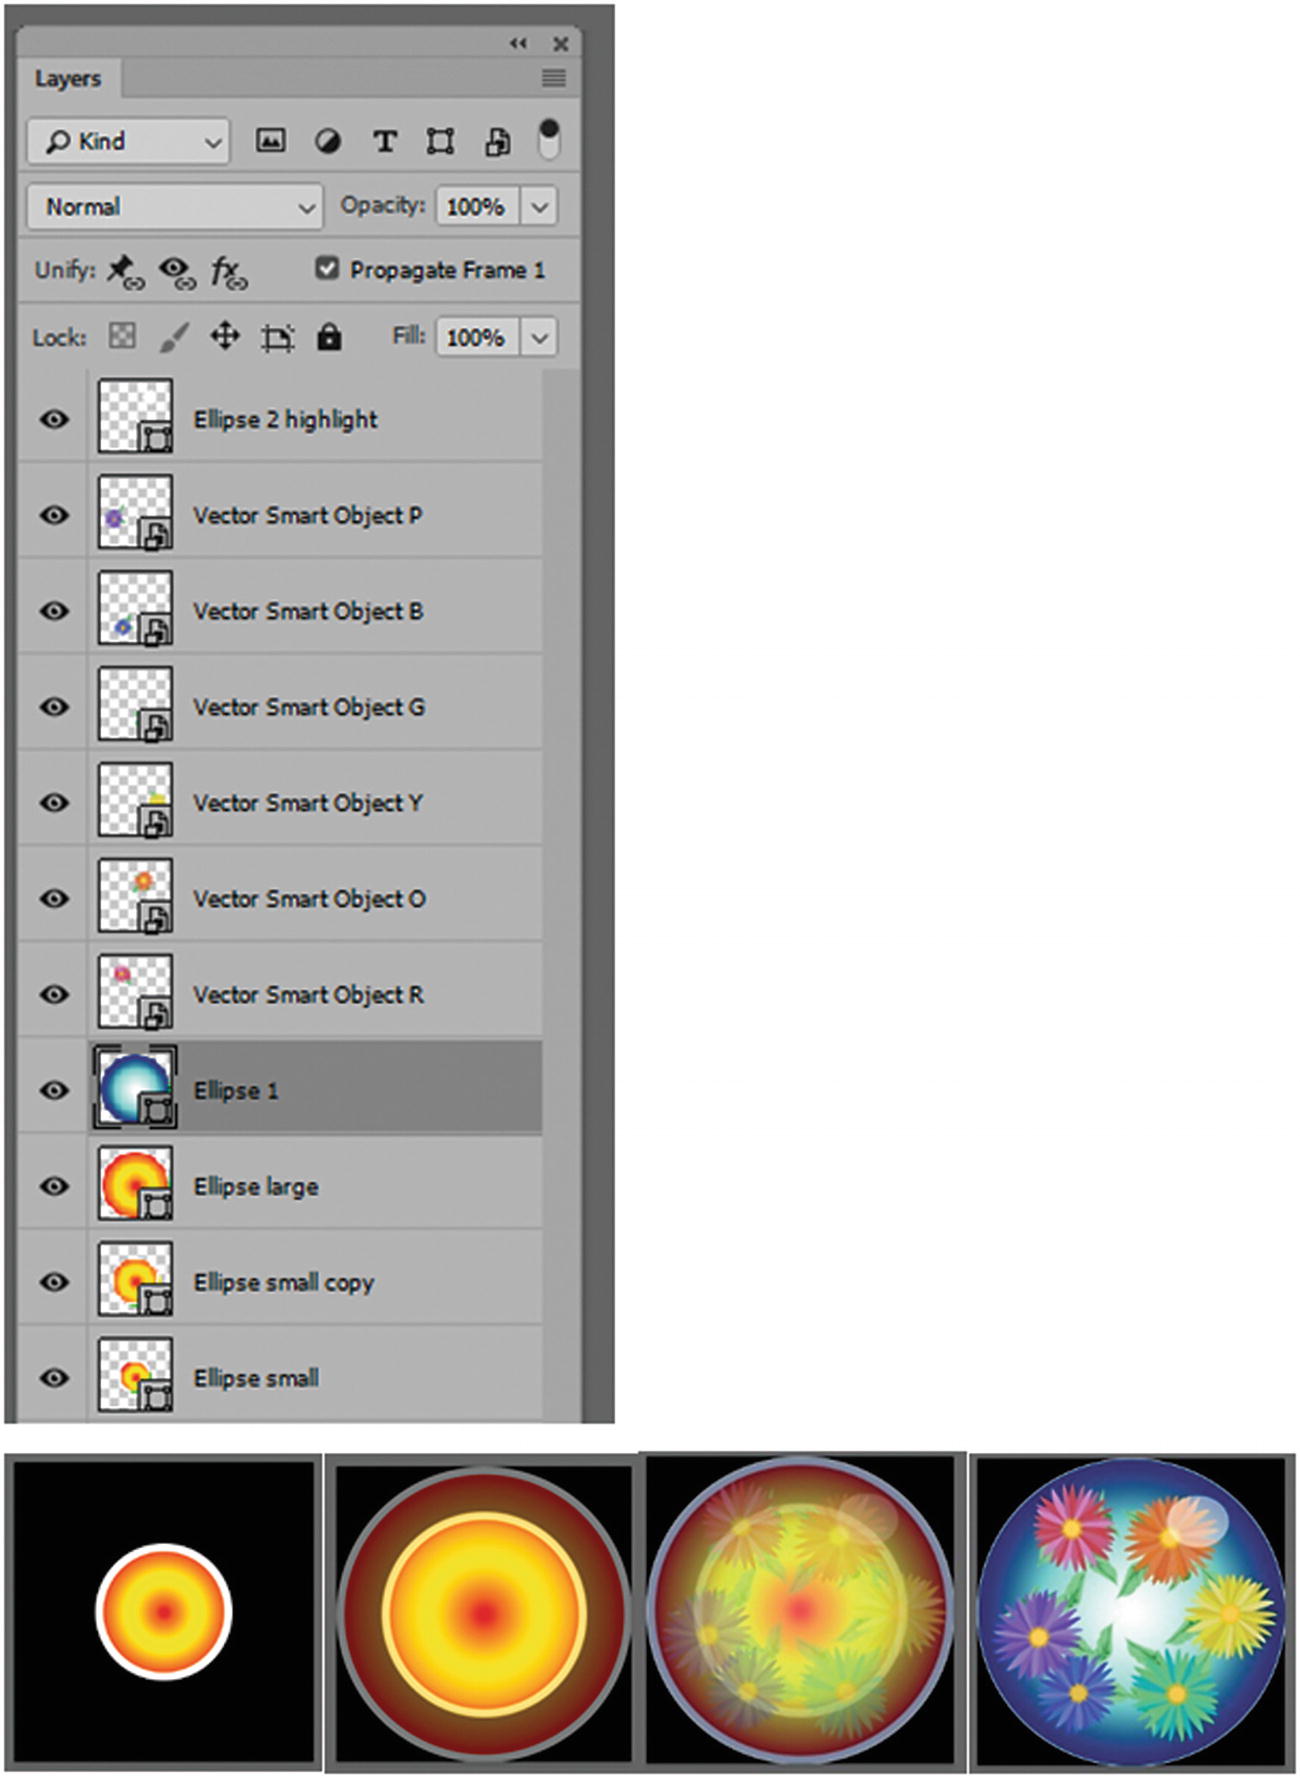
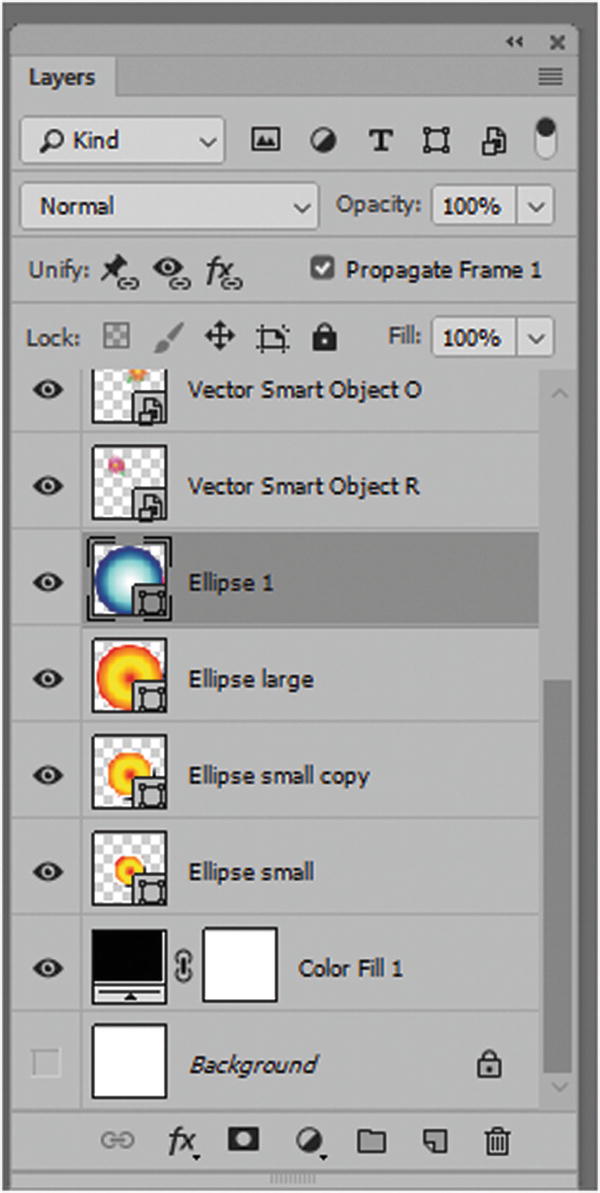
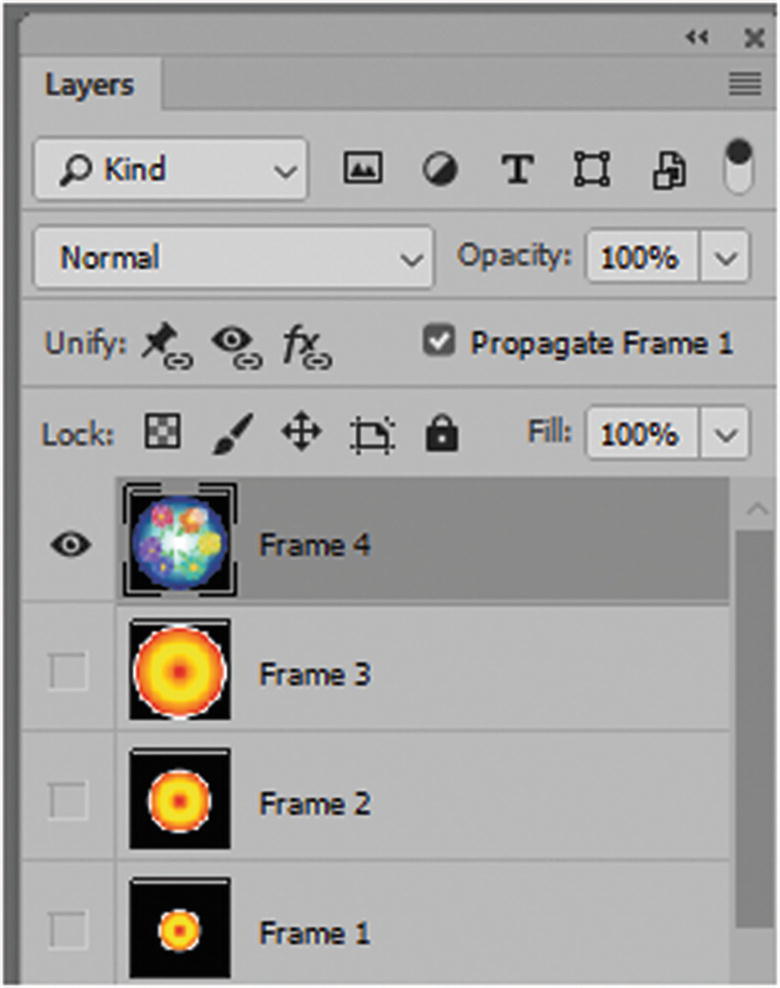
Layers in the Layers panel can be used to create a GIF animation that appears to transform in size, position, opacity, and color effects
You don’t have to go to animation school to become an animator in Photoshop CC. Creating a basic animation just requires a bit of drawing skill, imagination, and creativity. A GIF animation also can take up very little space or can be very subtle, such as appearing somewhere behind text in the background of a website. Let’s look at ways that you can accomplish a GIF animation.
GIF (animated) (.gif)
With your Layers panel and Photoshop tools, you may have designed backgrounds, part of a banner as an advertisement, or a procedural animation for a client’s website. Once you have the layers and parts of your design to your liking, you can add movement. At this point, you might wonder if you need to export the layers and create the animation in a program like Adobe Animate CC (formerly Flash). Not necessarily. If you are comfortable designing animations with Animate CC, do it that way. You will look at that option in Part 4; however, if you are new to Animate CC, you can create a very simple animation to suit your purposes without leaving Photoshop CC.
For now, let’s locate the Timeline panel in the main menu.
The Timeline Panel
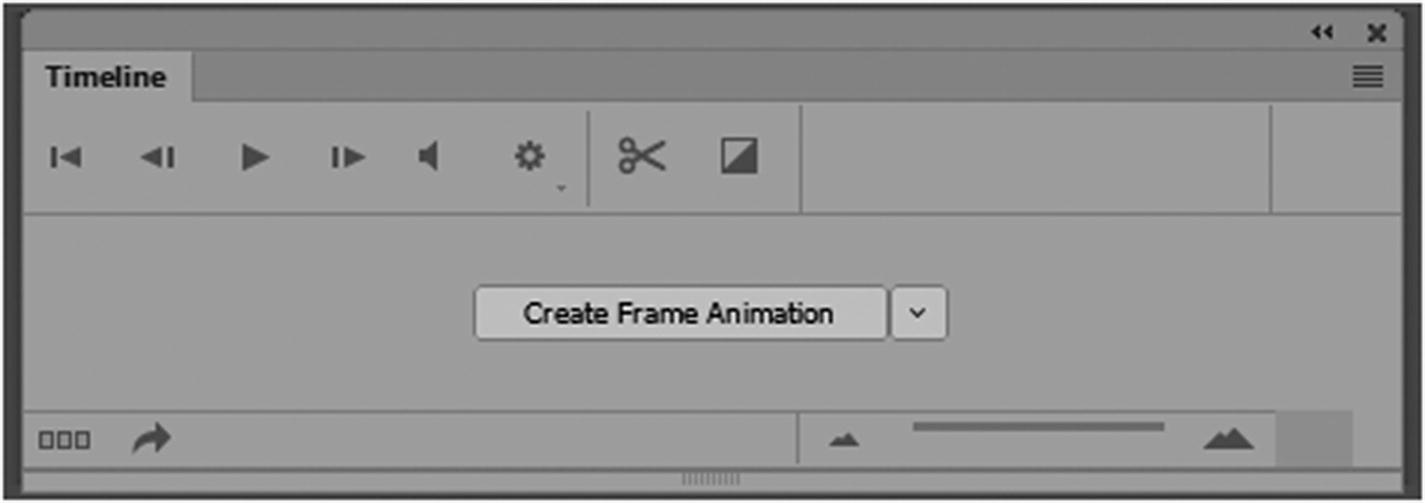
The Timeline panel in Create Frame animation mode before the setting has been clicked
If the Timeline panel appears at the bottom of the page, you can drag it out by its upper tab and place it somewhere else on the screen, so that it does not block your image.
Note
Until the Create Frame Animation button is clicked, both panels’ menu options appear for the video and frame; once the button is clicked, only those options for the frame or video are available.
Click the Create Frame Animation button to start your GIF animation.
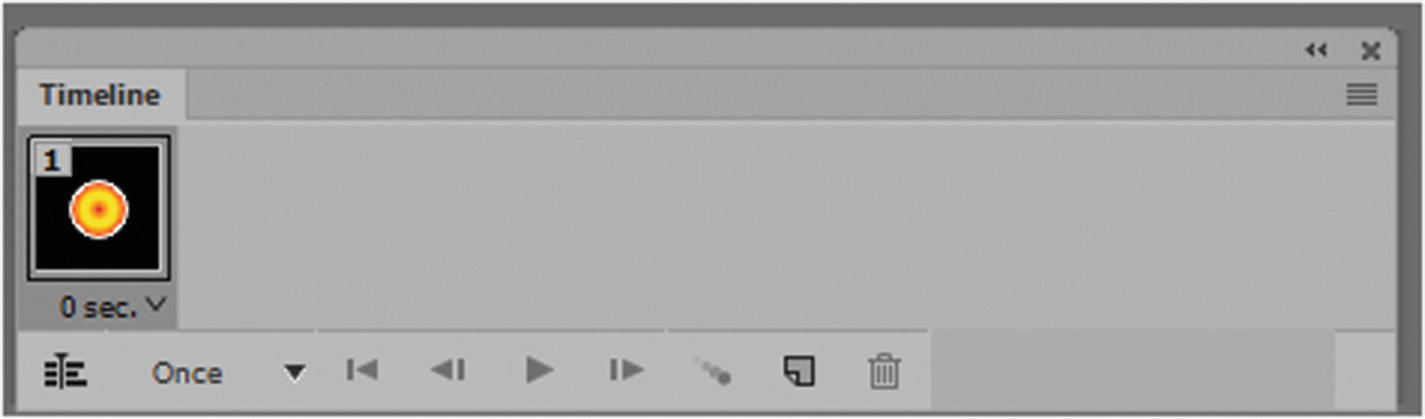
A preview of the first frame of the animation in the Timeline panel based on which layers are selected
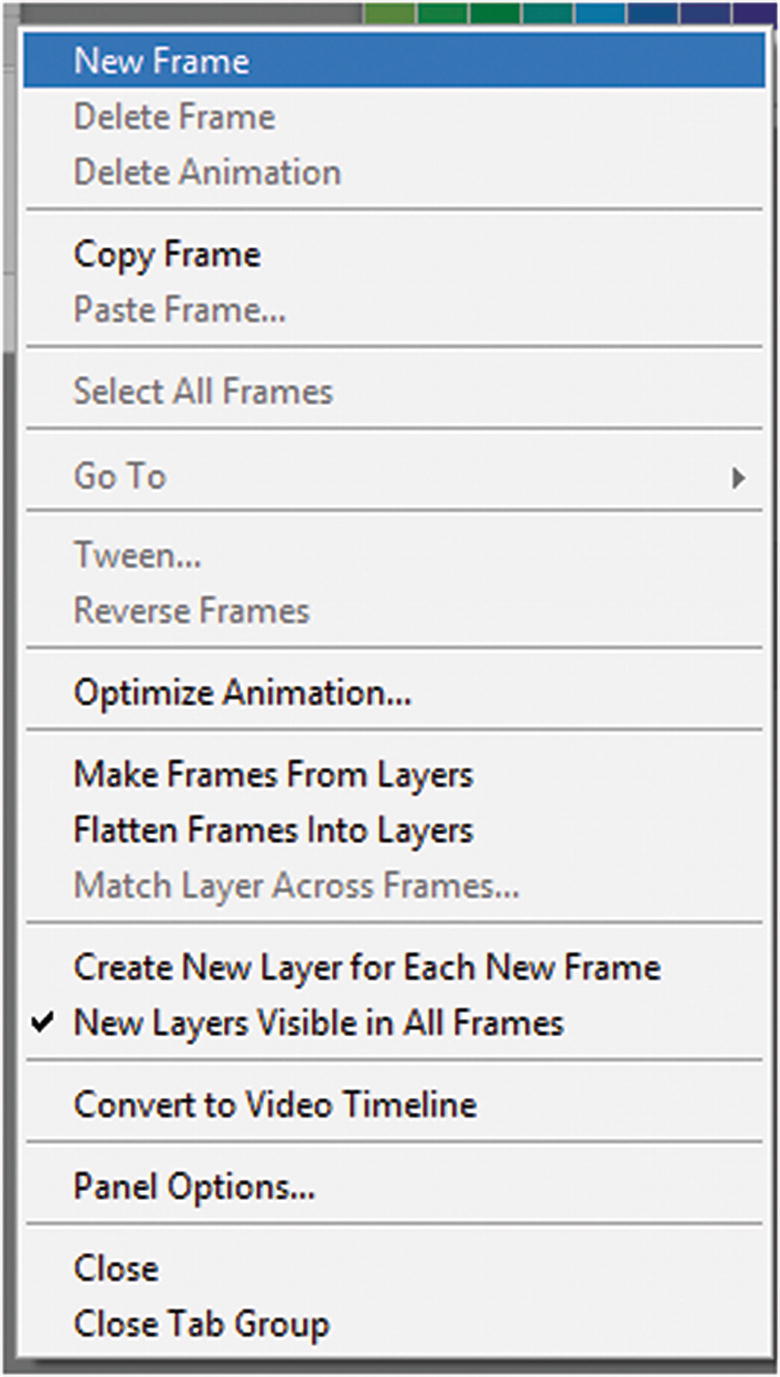
Menu options for the Frame Animation Timeline panel
Adding a Frame
Duplicate Selected Frames icon

When you add a new frame, it is a duplicate of the first frame
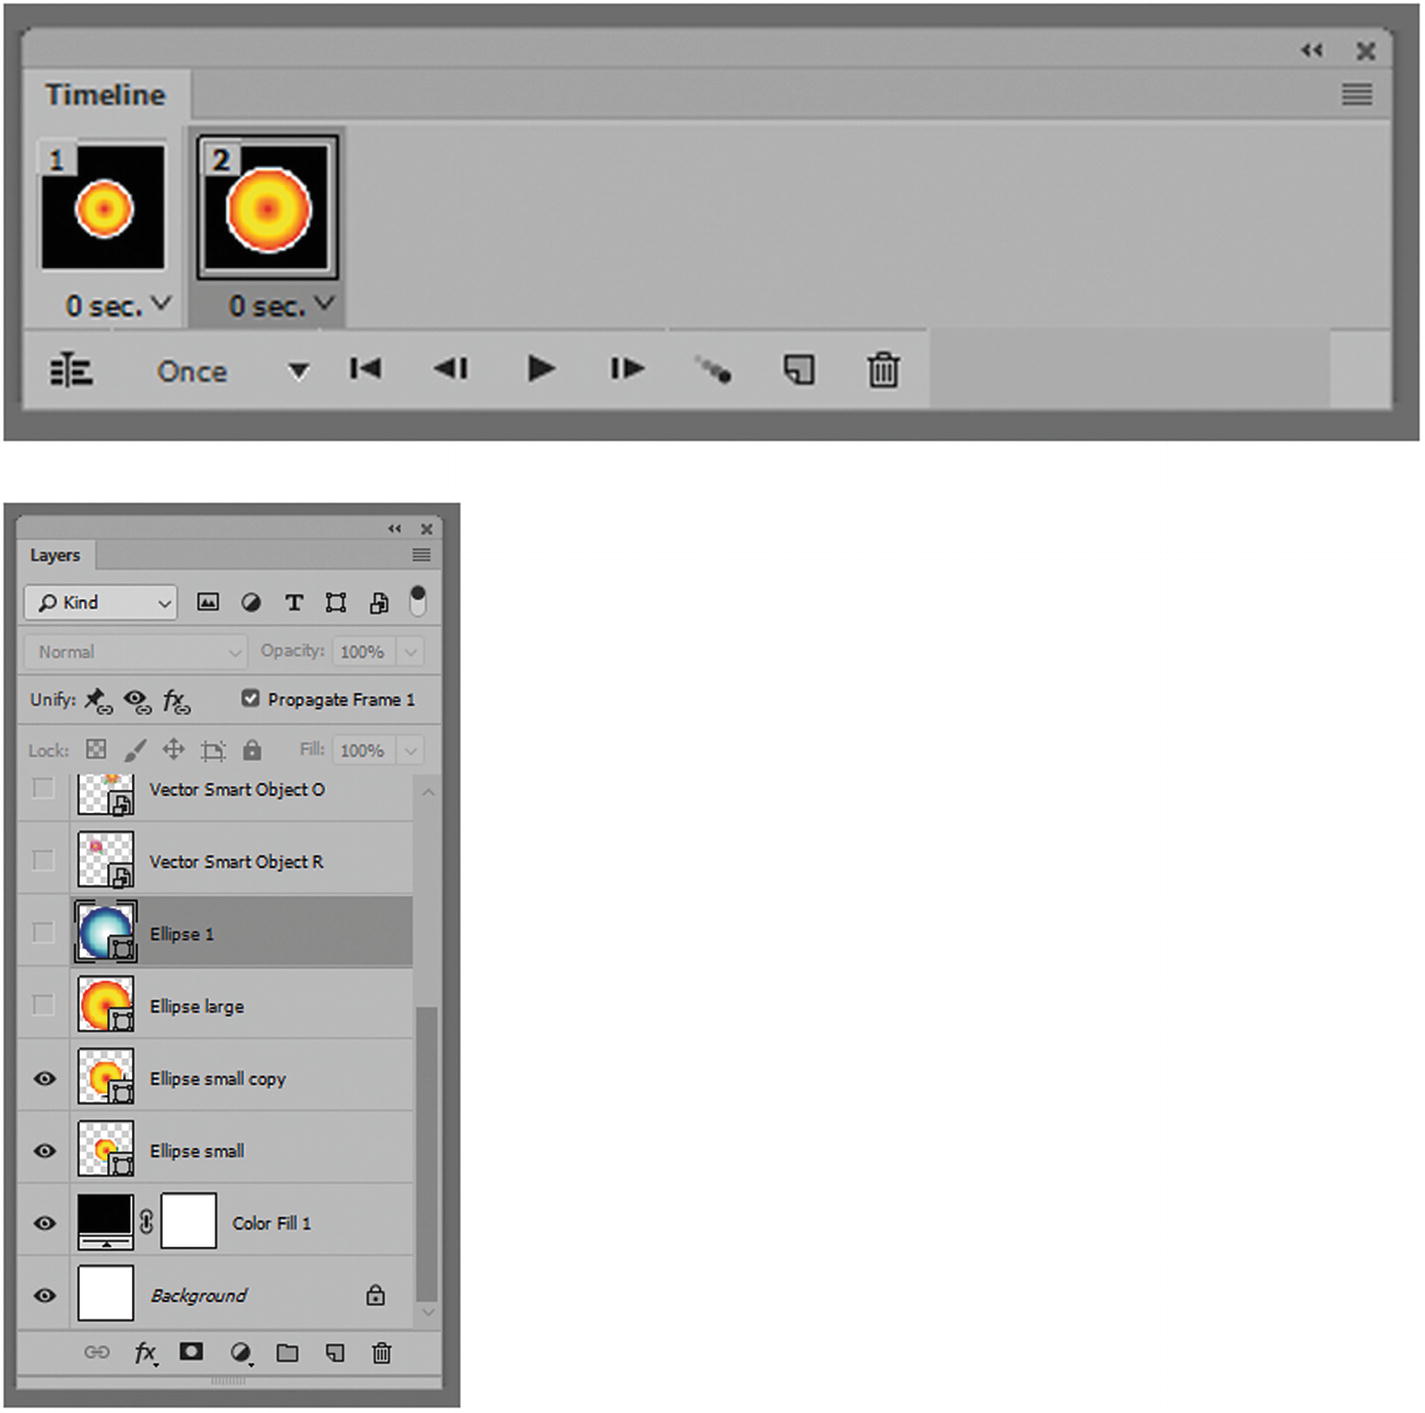
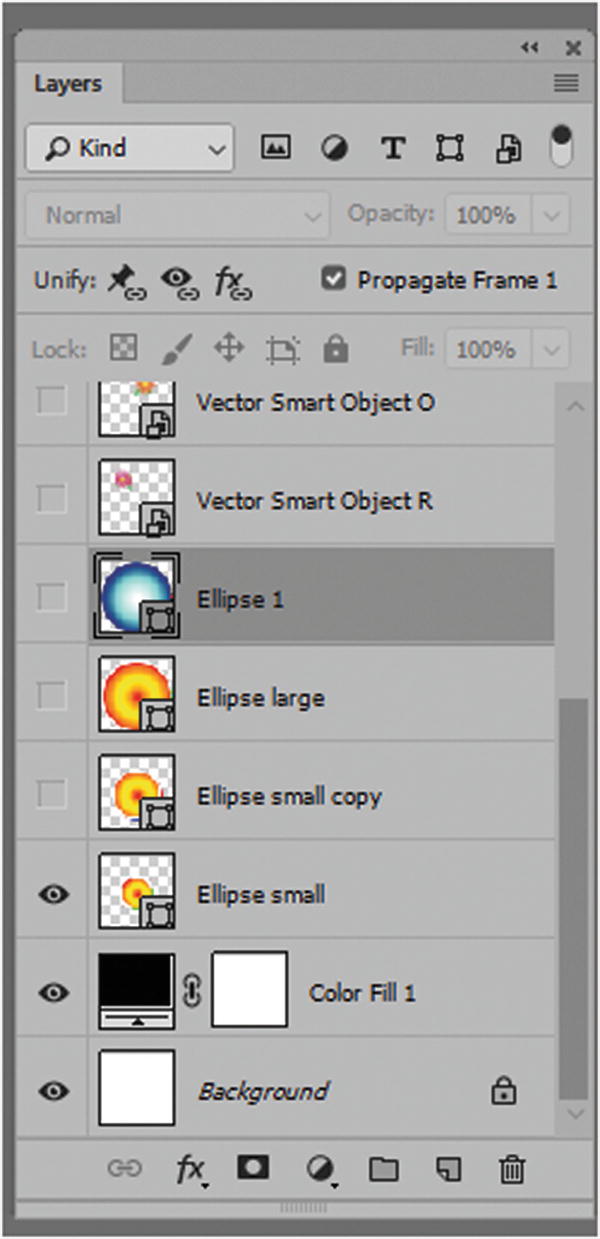
When a layer eye is turned on or off in the Layers panel, this alters the selected frame
Creating repeating frames in the Timeline panel
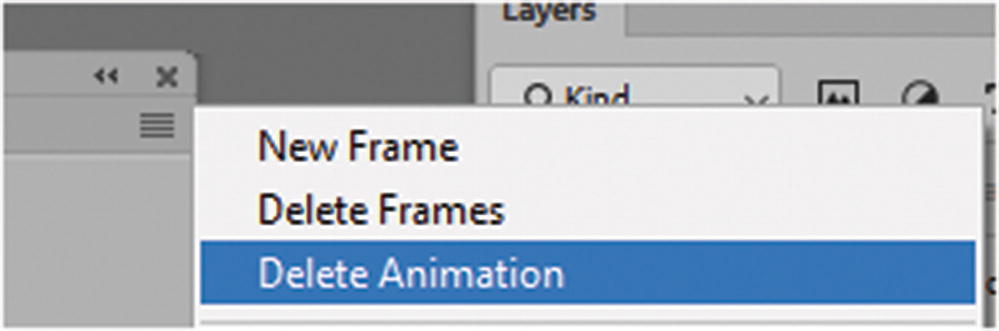
Choose Delete Animation if you want to set the animation back to the first frame
Adding, Altering, and Removing Frames
Assuming that you currently have only one frame in your animation, you now want to alter the second frame. Using the Layers panel, you can do one of several things.

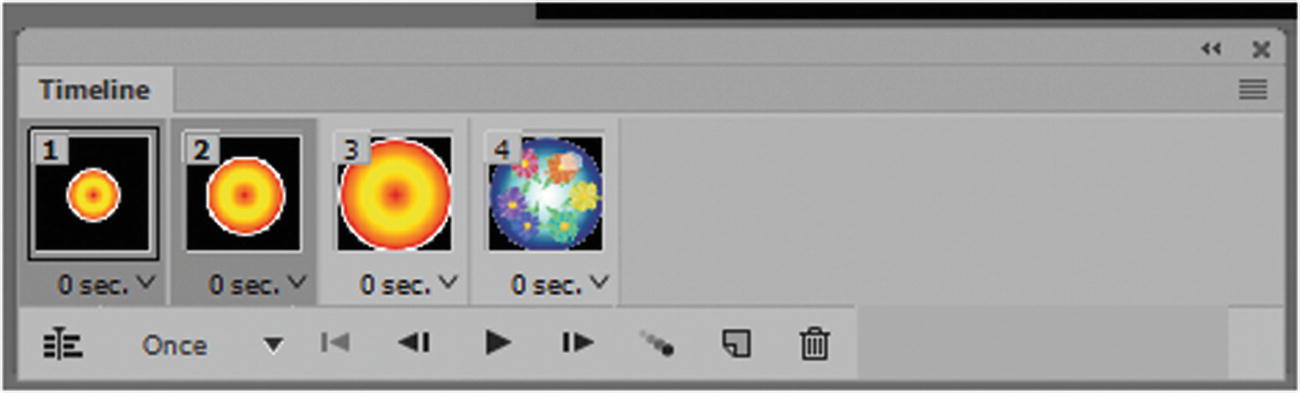
All layers are added as frames to the animation
This may not be what you want. You may need to delete a few frames or turn off a few layer eyes in each frame to get the desired result.
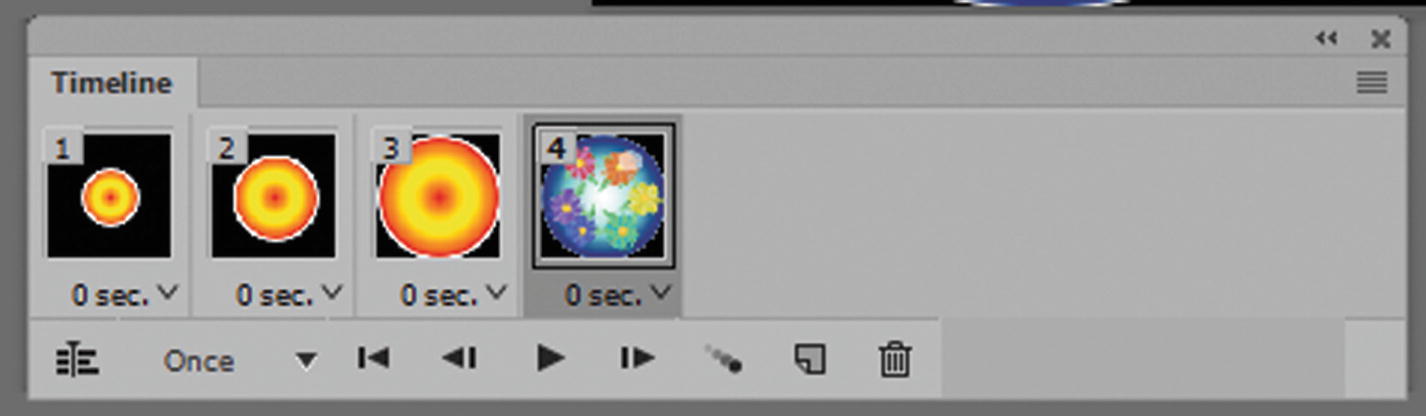
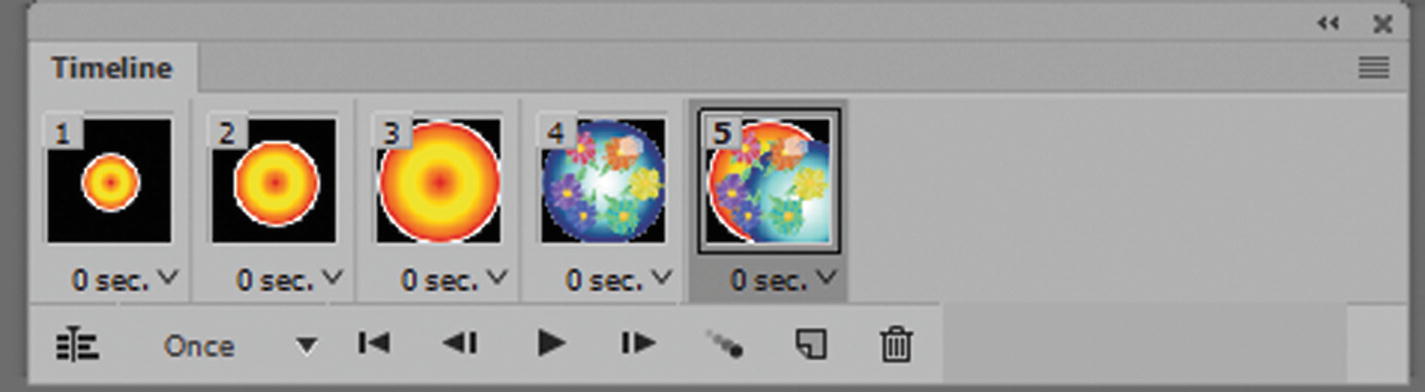
Notice how the layers and frames have been organized into a timeline animation with four frames
Note
If required for your animation, while on a Layer using the Move Tool found in tools panel, Nudge with your keyboard’s arrow keys or move the object around while the tool is selected on the Layer for a specific frame. This alters the position of a shape on a layer for that frame, but not for another frame in the sequence, as seen in Figure 6-12. Clicking back to a previous frame, the shape will be back in its original position on the layer.
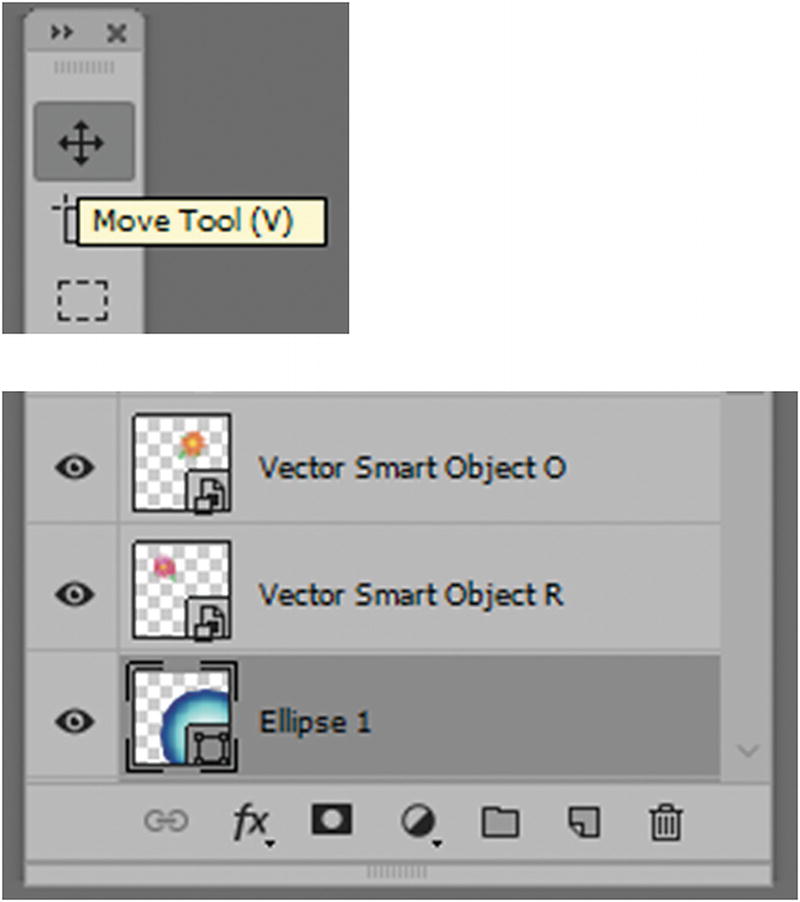
Objects on layers can be moved to a new position and not effect a previous frame
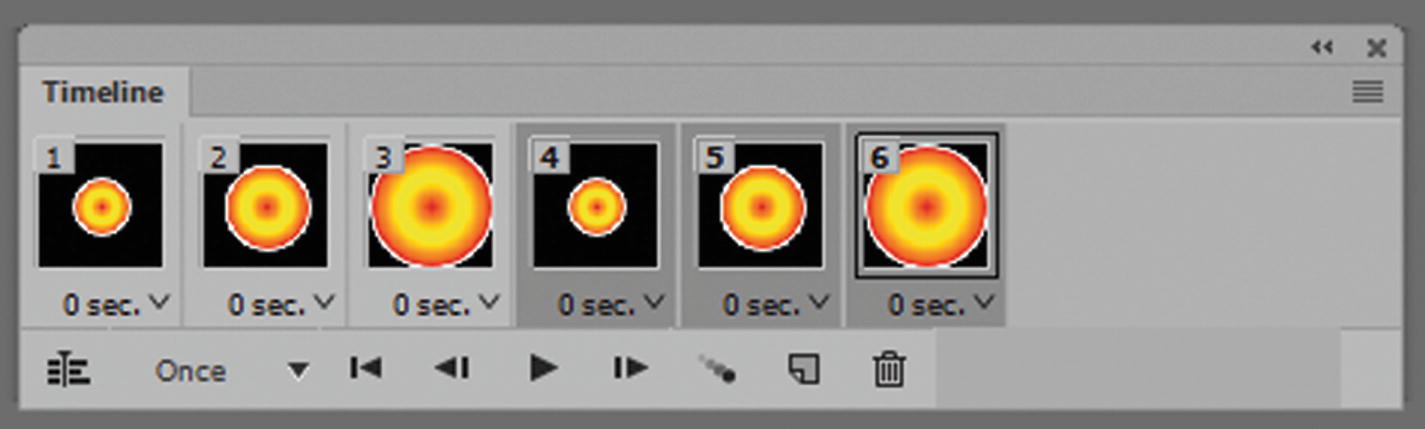
Notice that I added a fifth frame to show how the object moved on the layer. If I select frame 4, the object moves back to its original location on the layer. For now, I will remove frame 5 by clicking the Trash icon and returning it to the way it appeared in Figure 6-11.
Add Layer Style Effects and Turn Them On or Off in the Frame Sequence

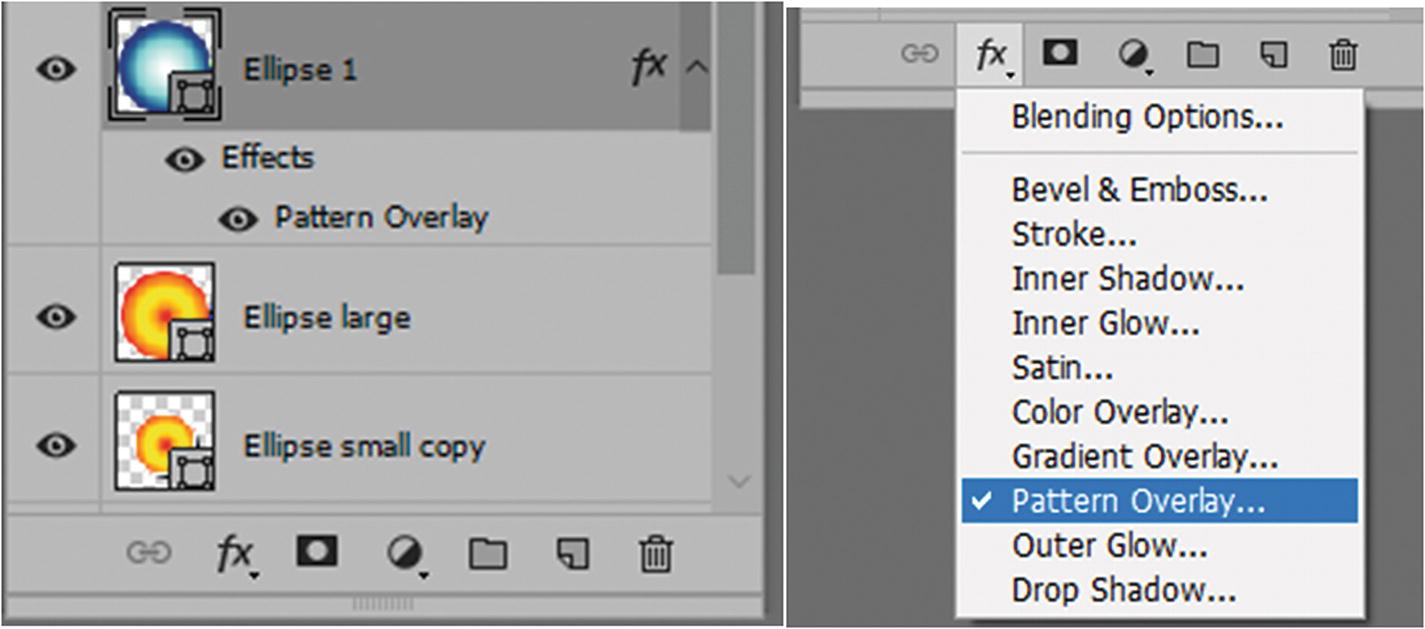
An effect or layer style like “Pattern Overlay” could be added to a layer in one frame, but not be present in a previous frame
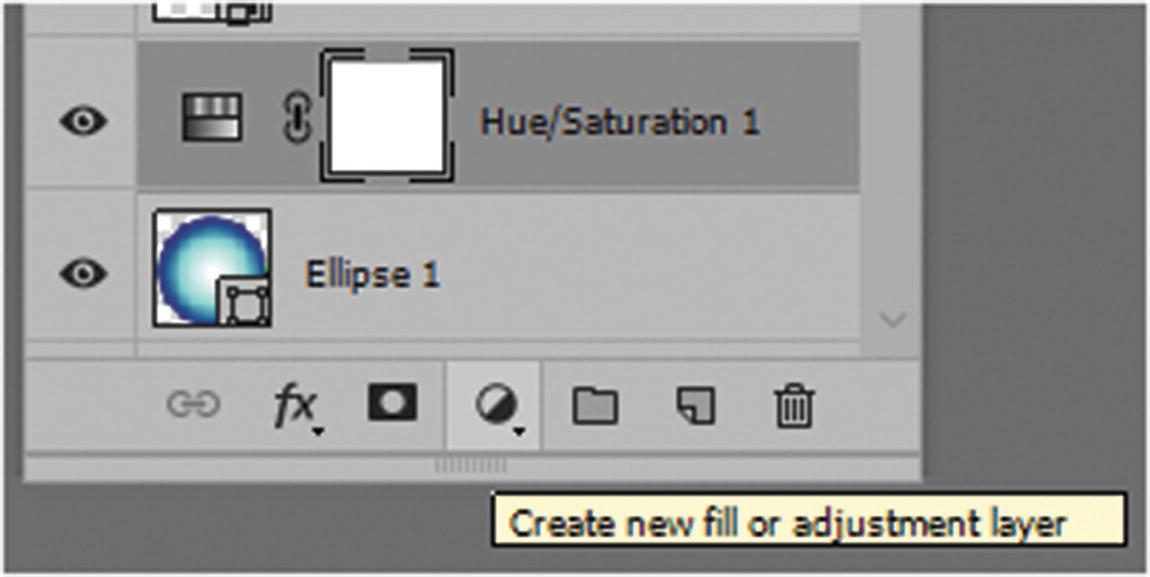
Add a layer fill or adjustment layer to alter color in a specific frame

The play and preview features of the animation in the Timeline panel
The arrows on the left move you back to the first frame or previous frame, and the arrow on the right moves to the next frame.
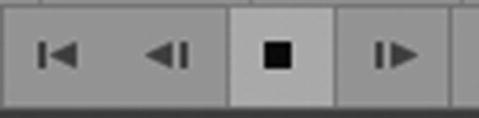
The play icon turns into a stop icon
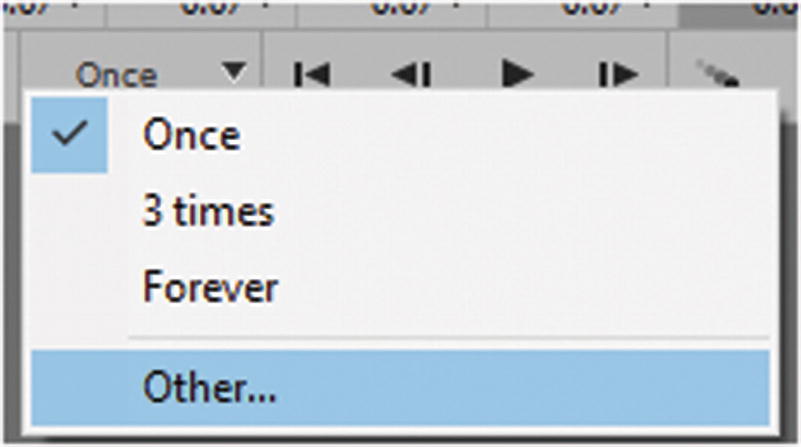
Choose how long you want the animation to play
Once: The default; the animation plays one time.
3 times: The animation plays three times.
Forever: The animation never stops.
Other: You can set the number of times that you want the animation to play, as seen in Figure 6-18.
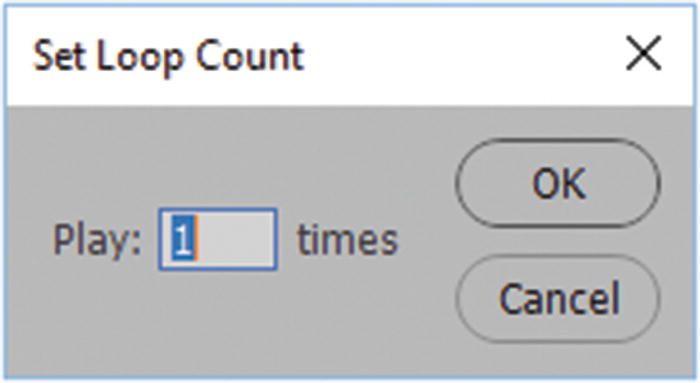
Choose the number of times you want the animation to play
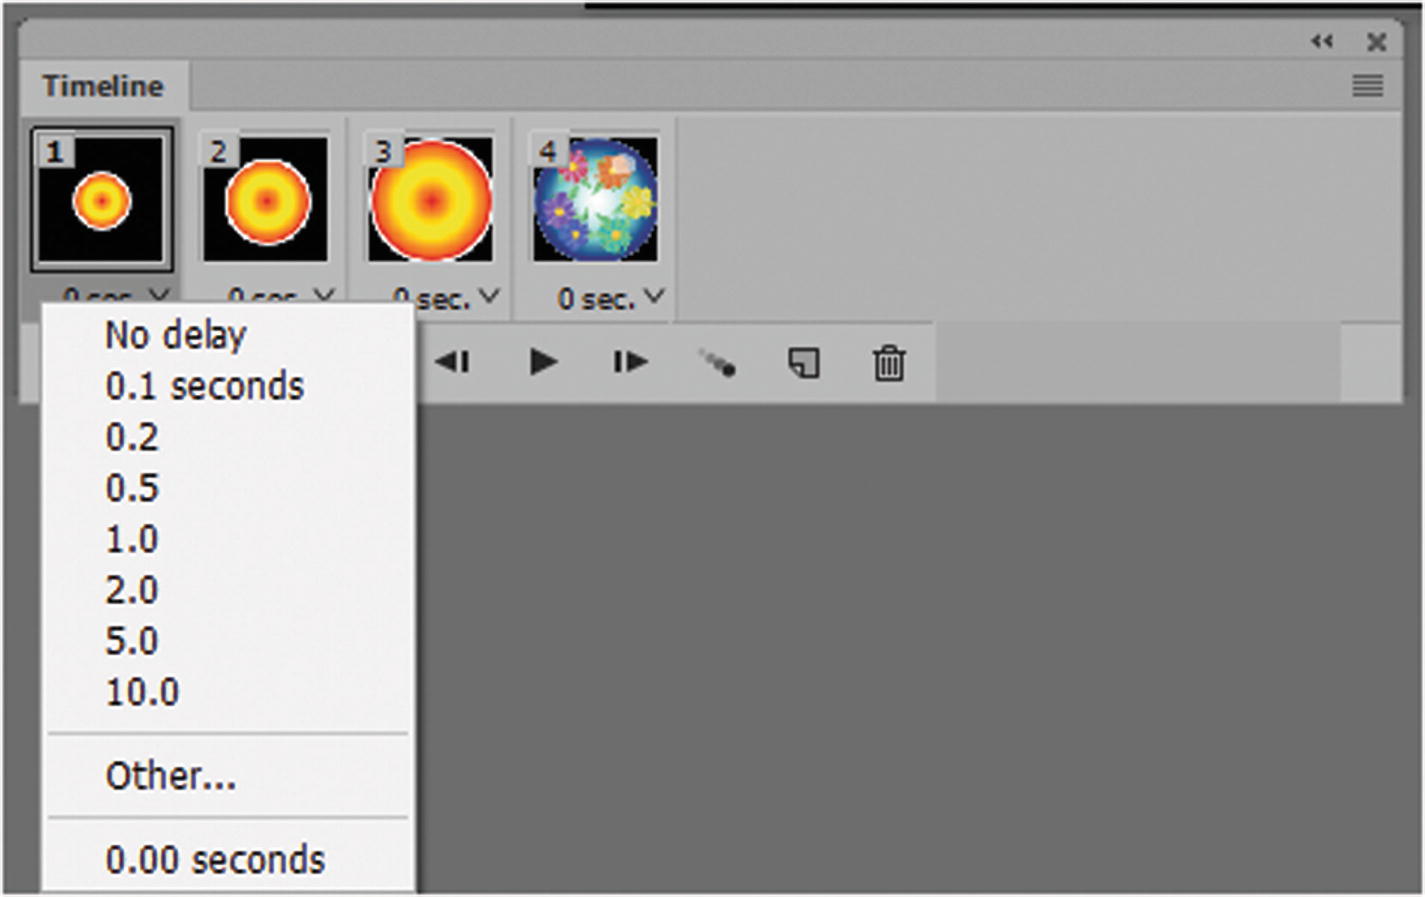
Set custom durations of time for each frame

Reverse the order of the frames
To undo this right away, choose Edit ➤ Undo Reverse Frames.
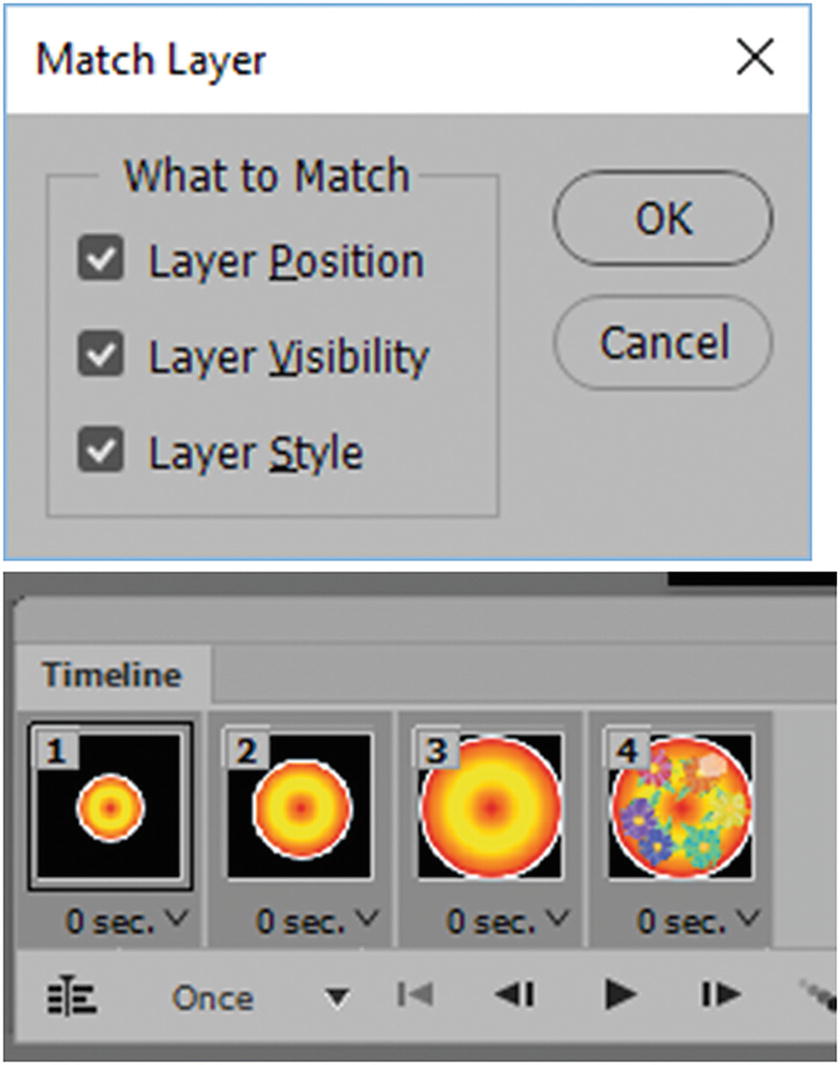
Match layers so they have similar effects
Note
If you want to convert any frames into actual layers, from the Timeline panel’s menu, choose Flatten Frames into Layers. This adds those frames to the Layers panel and is a quick way to keep a setting in an animation (see Figure 6-22).
Flattening frames into layers
Tweening Layers in the Timeline
Select the two layers that you want to create a transition tween
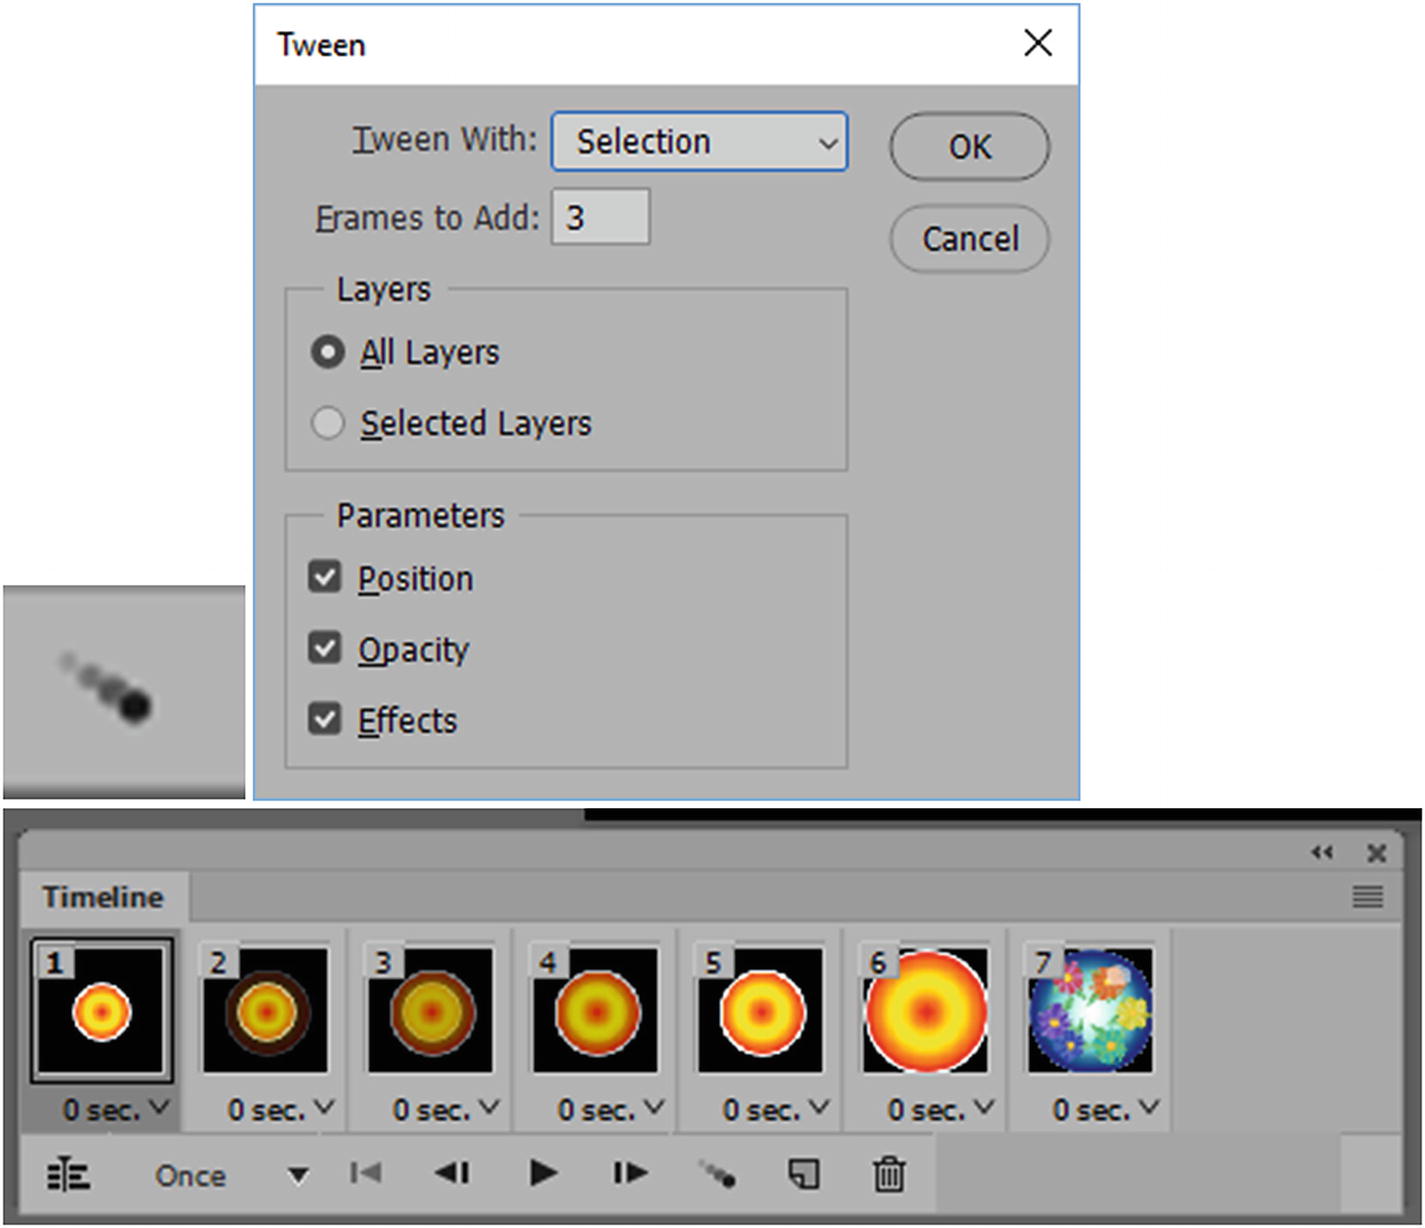
Select the two layers that you want to create a transition tween
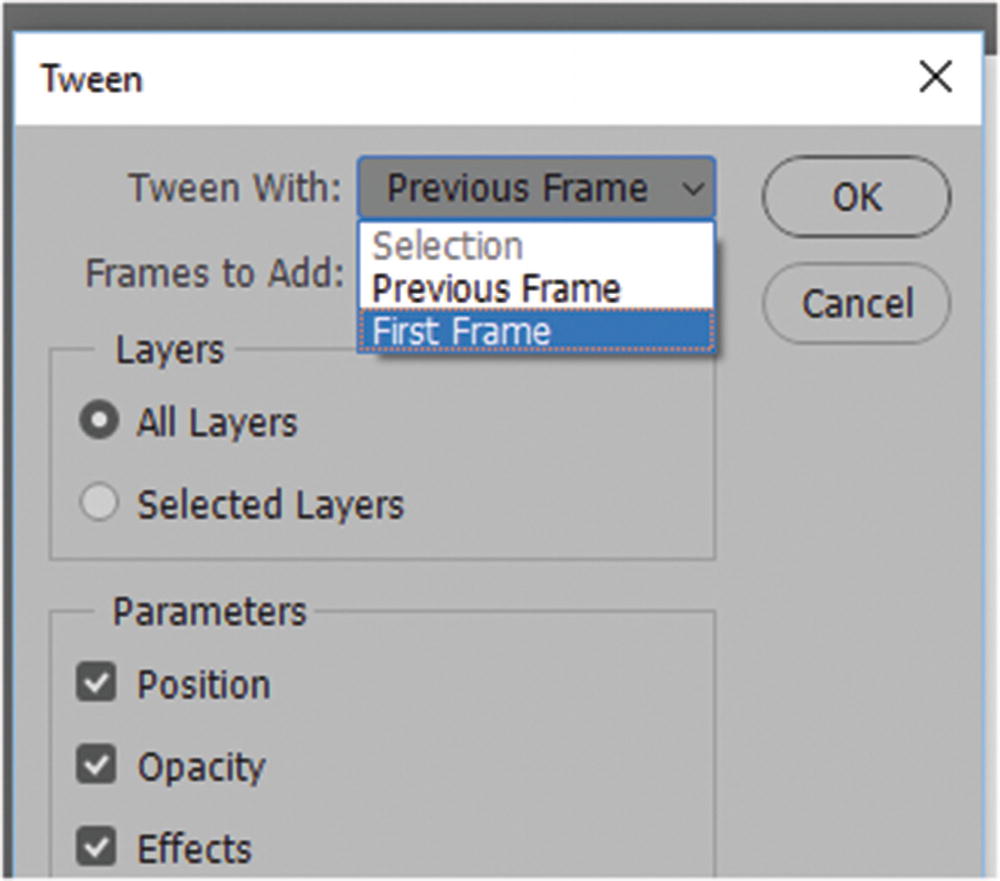
The first frame tweens with the last
For layers, you can choose the tween to happen on all layers or on selected layers.
If you have selected all the parameters, Photoshop will adjust for all of them or only the ones being used, and reflect the selected frames.

A GIF animation with several tween layers
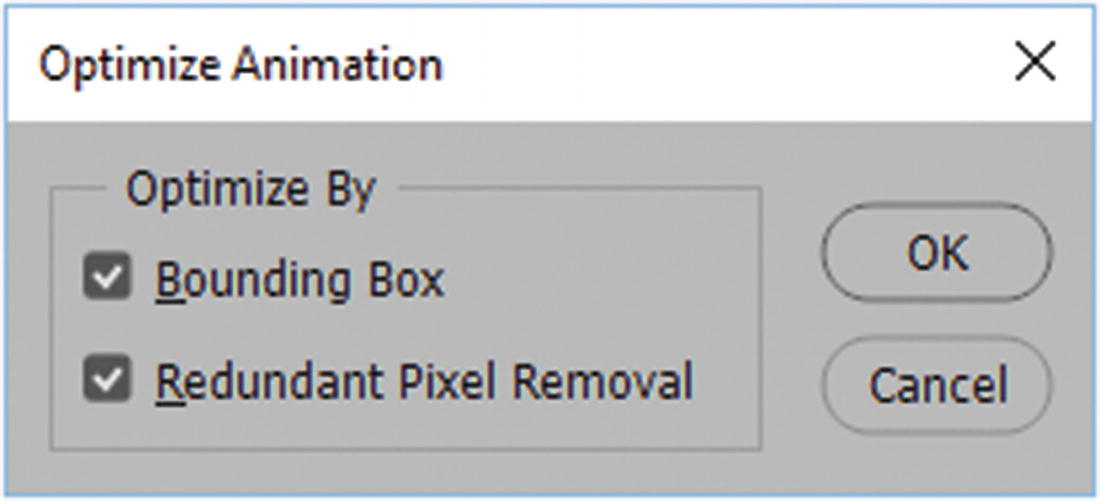
Optimize the animation by bounding box or by removing redundant pixels
Export Animated GIF
Now it’s time to export. Go to File ➤ Export ➤ Save for Web (Legacy).
You can now review and test the animation one more time before exporting it
At this point in the dialog box as you did earlier in Chapter 4 with your static GIF you can spend time adjusting the quality of the file.
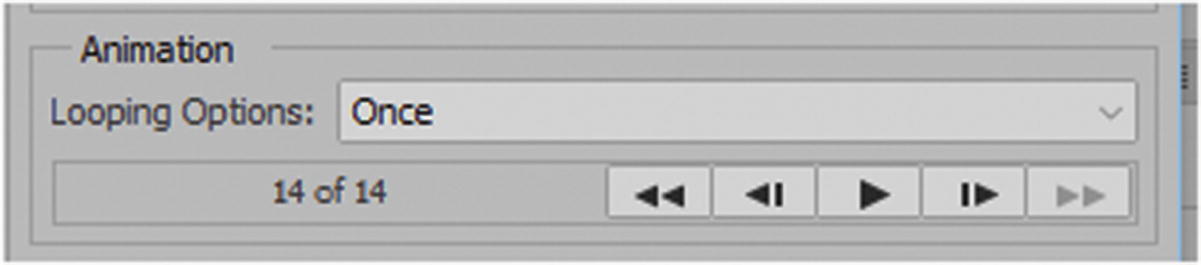
In the right column the bottom of the Animation area allows you to preview the animation and confirm the looping options. When done, click the Save button to save the GIF with the format of image only as you did in Chapter 4 with static GIFs with an image only format. When the file is saved it will be a single file containing the animation frames.
For an interesting tutorial on how to create a flowing water GIF animation, visit https://helpx.adobe.com/photoshop/how-to/make-animated-gif.html .
Note
A GIF animation does not contain audio. You need to create a video timeline if you want sound in your animation. You look at video with audio in the next chapter.
Summary
This chapter explored how to create a simple GIF animation that can be placed on a webpage. These types of animations can be used as background, behind text, or as part of the text, such as a bullet on a webpage. While there are a lot of creative things that you can do with GIF animations, they unfortunately don’t contain audio, and their quality is not always the best for photos. You will look at how to create a video with audio in the next chapter.