
In this chapter, you continue to explore some of the many ways to you to export your images for the web using Photoshop. You will look at some related action tools that can help speed up the export process should you have a lot of images that require similar formatting. Later in the chapter, you look at how to slice images and how to zoom in closer to images.
Note
This chapter does not have any actual projects; however, you can use the files in the Chapter 5 folder to practice opening and viewing for this lesson. They are at https://github.com/Apress/graphics-multimedia-web-adobe-creative-cloud .
Actions to Speed up the File Conversion Process
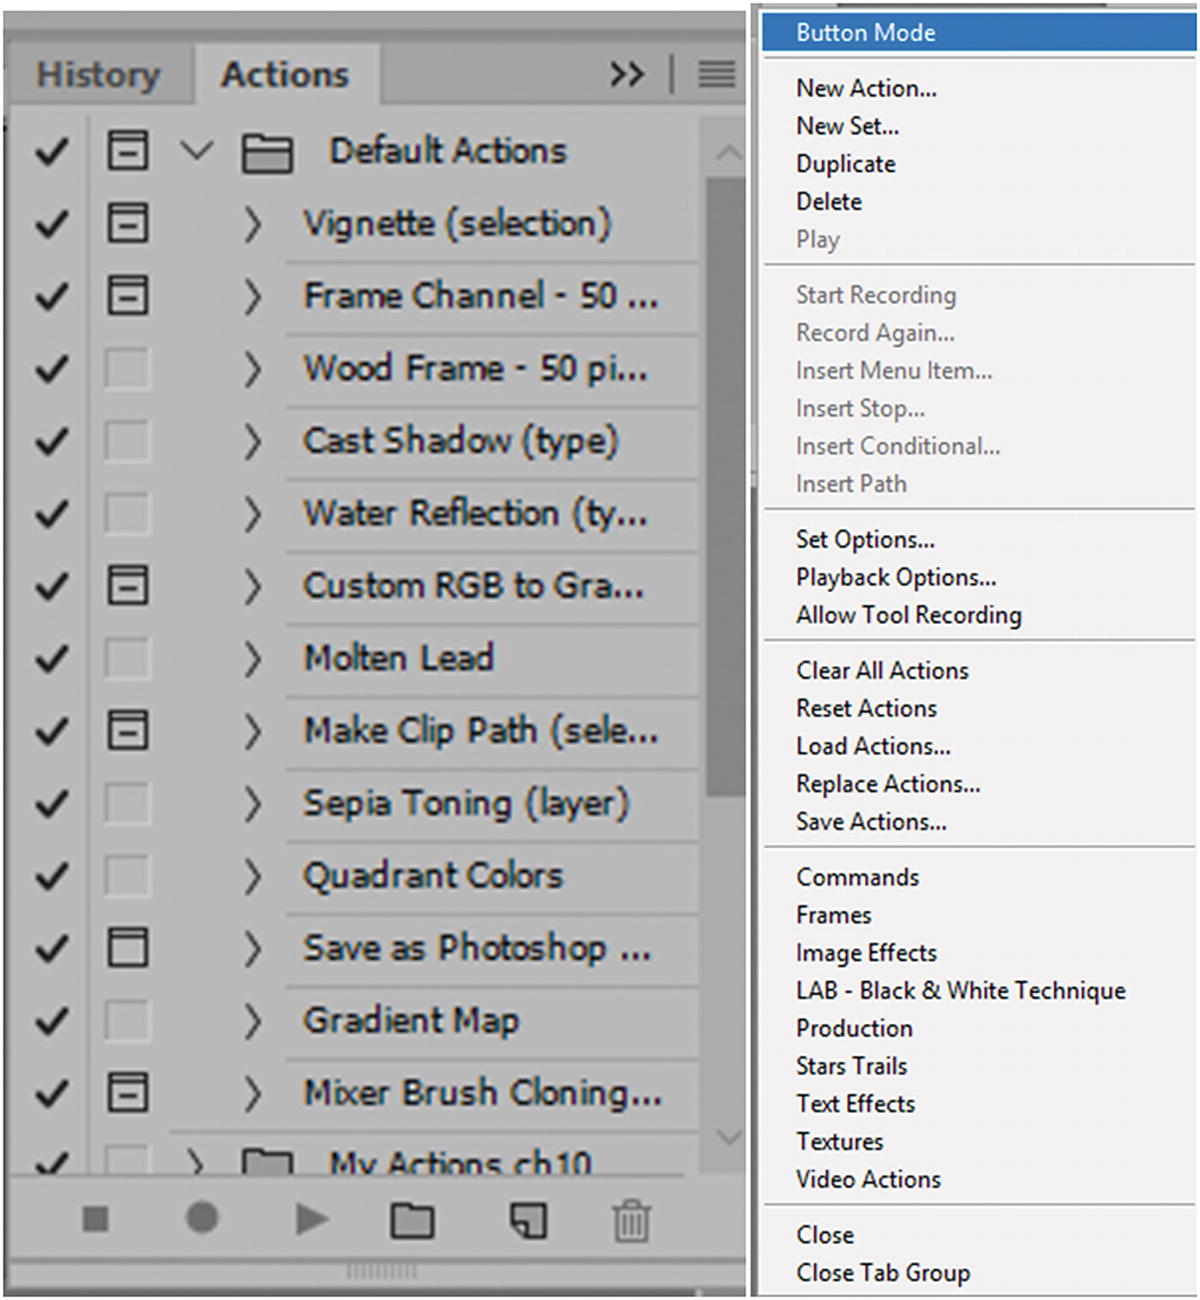
Speed up your export file conversion using the Actions panel
For example, let’s say you have several photos that you want to set to a specific file size and save them as JPEGs. I’ll explain the steps to go about doing this.
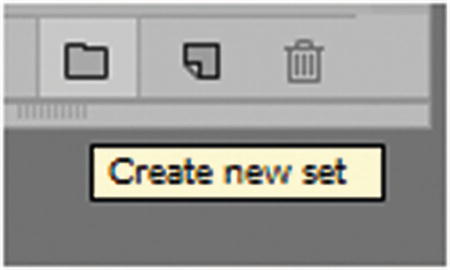
Create a new action set
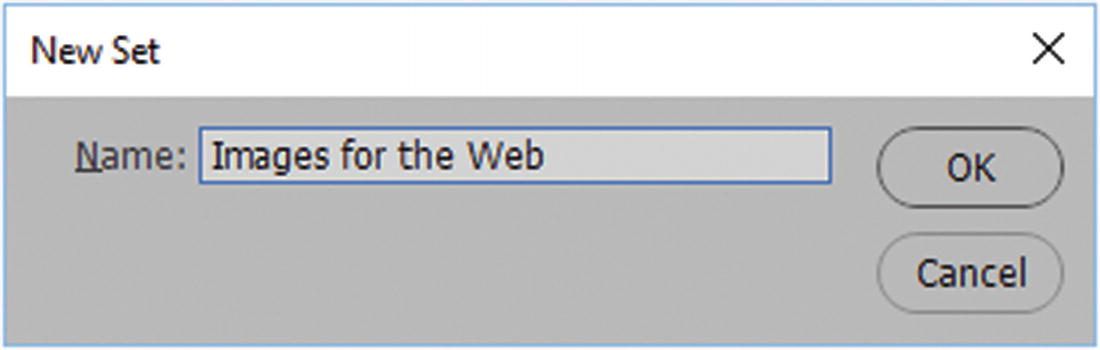
Give the new set a name
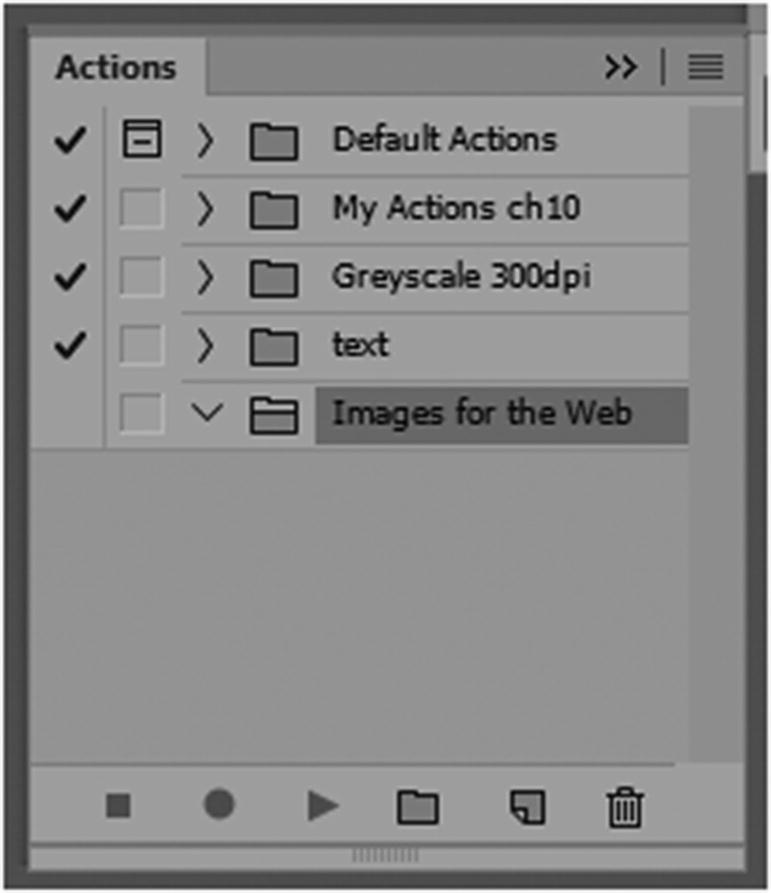
An empty actions set folder

Adding a new action
Alternatively, you can also move the action to another set, give it a key function, and give the action a color for better identification. For now, leave the settings as is and click the Record button.
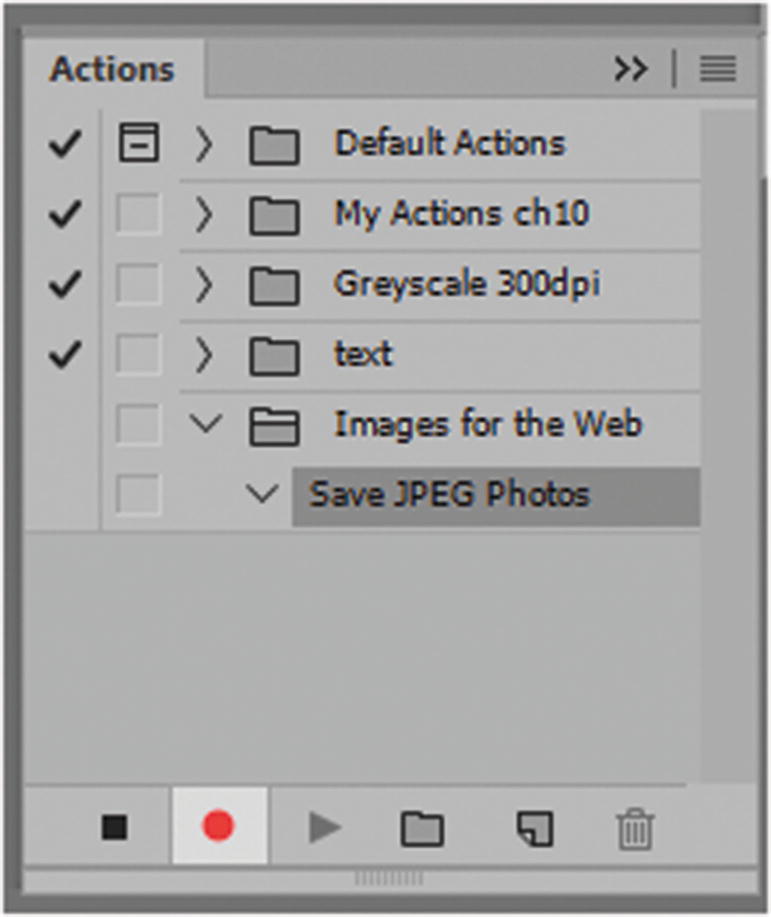
The red record circle in the actions panel is on
If at any time you wish to stop recording, click the square icon to the left. If you make a mistake in an action, you can now use the Trash icon to remove it. You can then resume by clicking the Record button and redoing the actions.
Afterward, to test an action, click the triangle (play) to the right of the Record button. Right now, nothing will happen until you add another action in Photoshop.
Go to File ➤ Open and locate a folder that contains the image or an image that you want to convert.
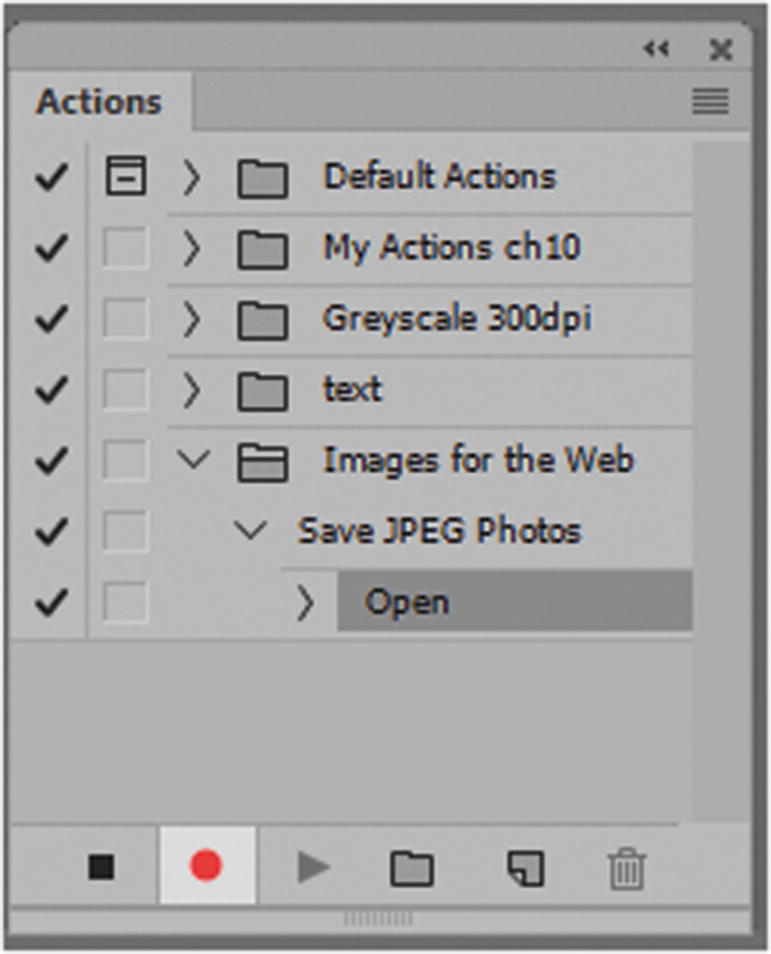
The red record circle in the actions panel is on and has recorded an action of opening a file
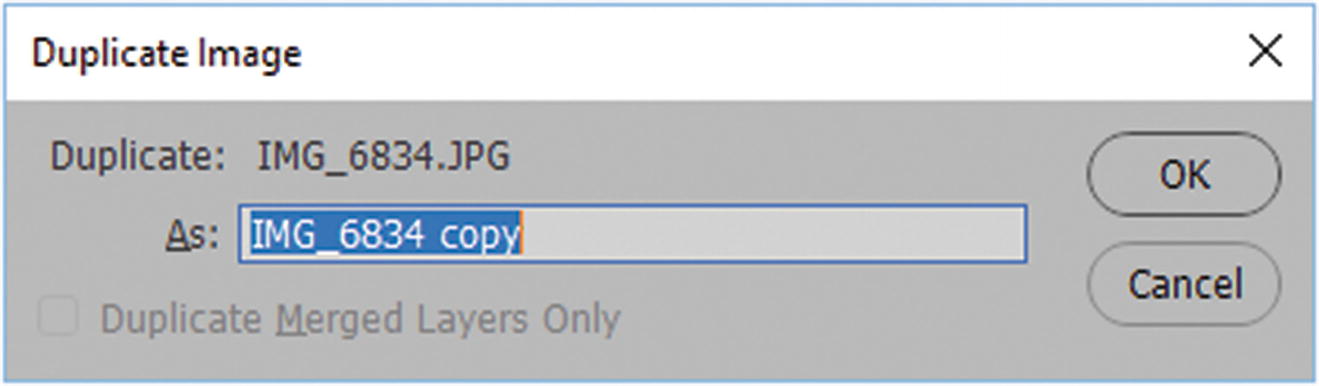
Duplicate the image
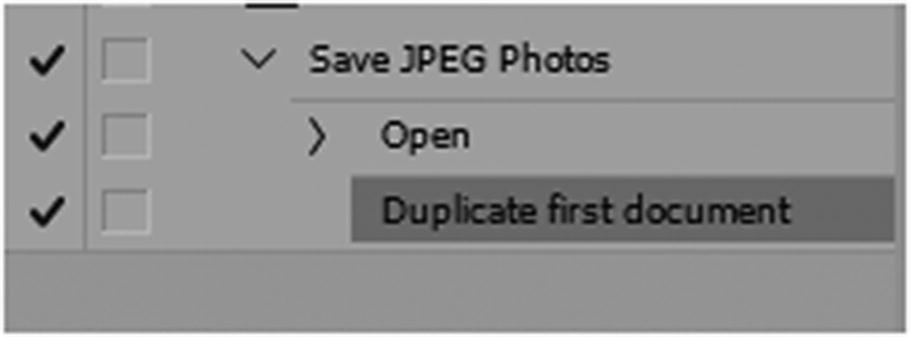
The action duplicating the image has been added
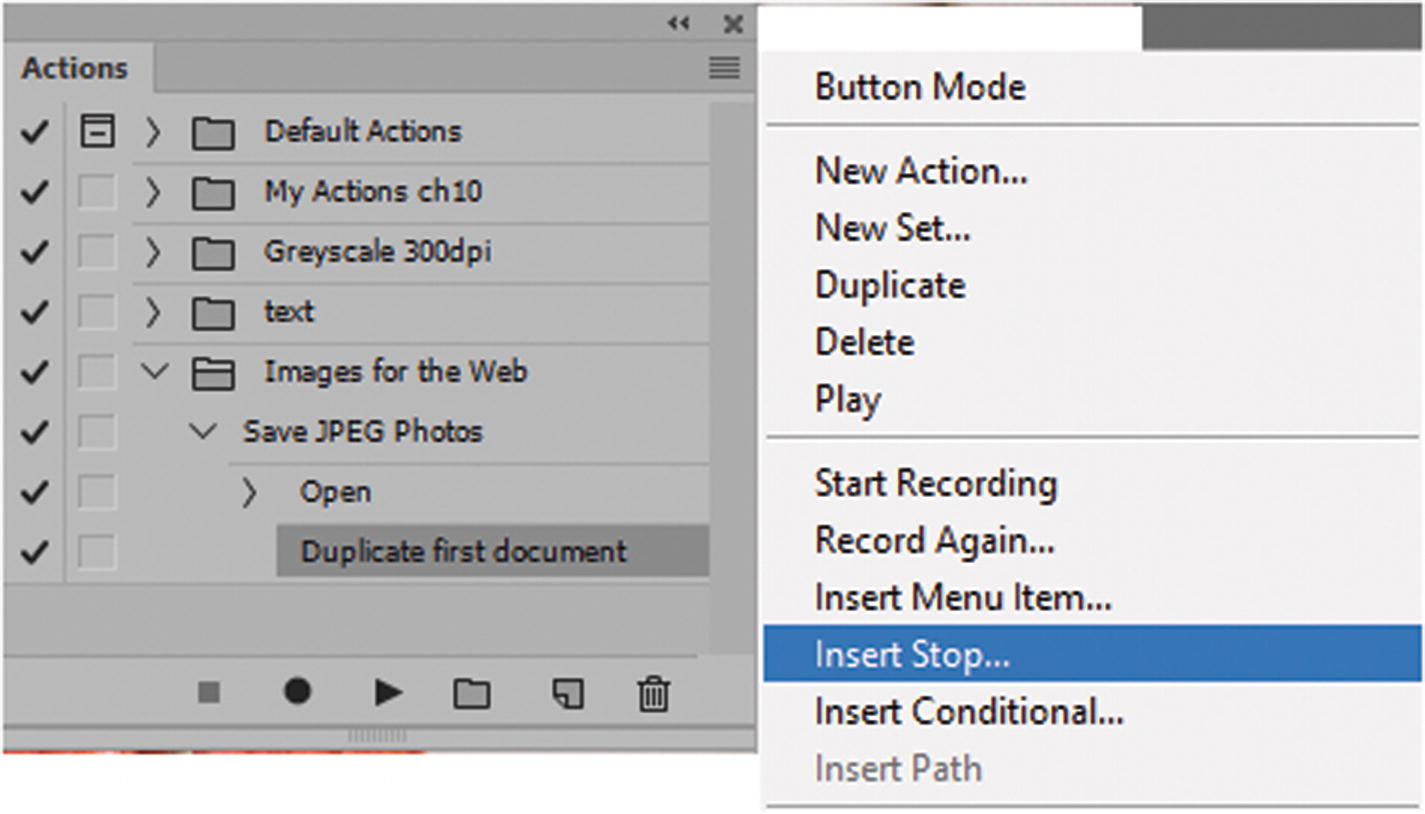
Insert a stop when you need to do some custom actions to your file
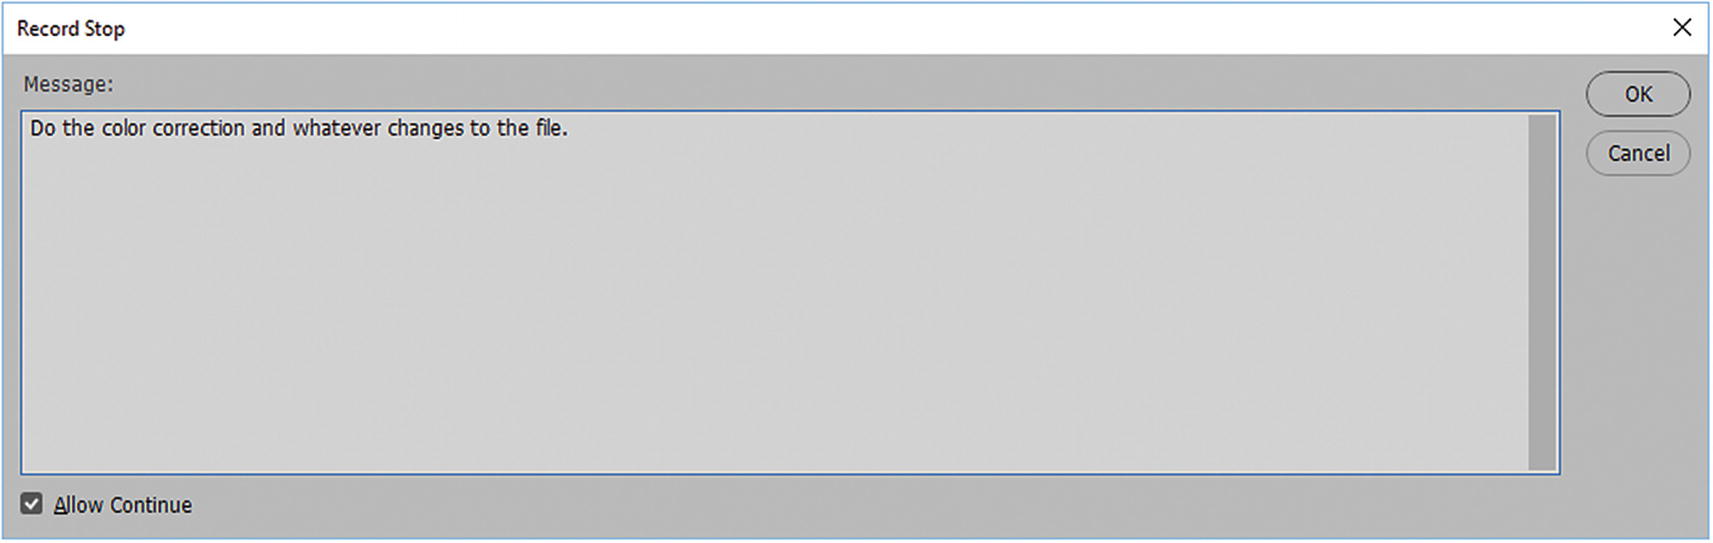
The message added to the stop as a reminder
Check Allow Continue at the bottom of the dialog box, and then click OK on the right.
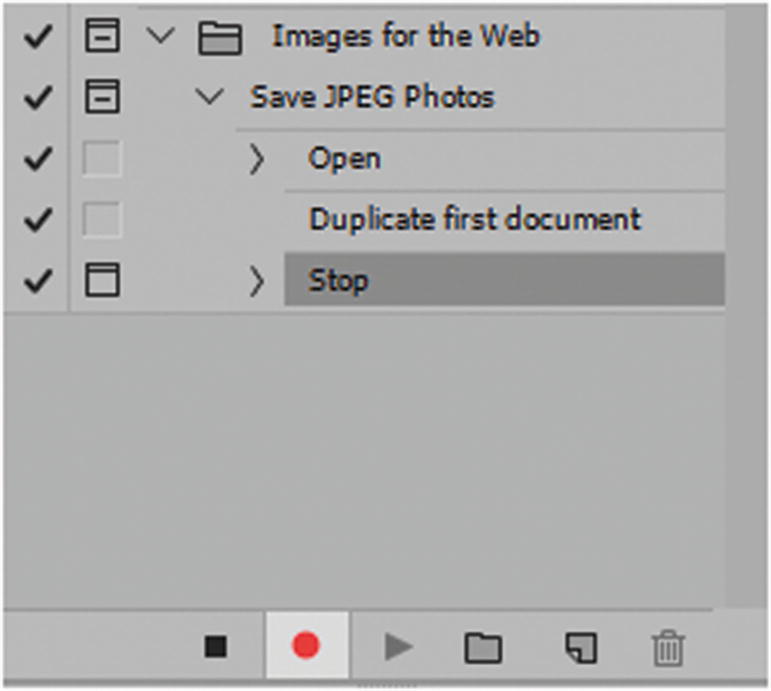
Continue recording
In the main menu, choose Image ➤ Image Size.
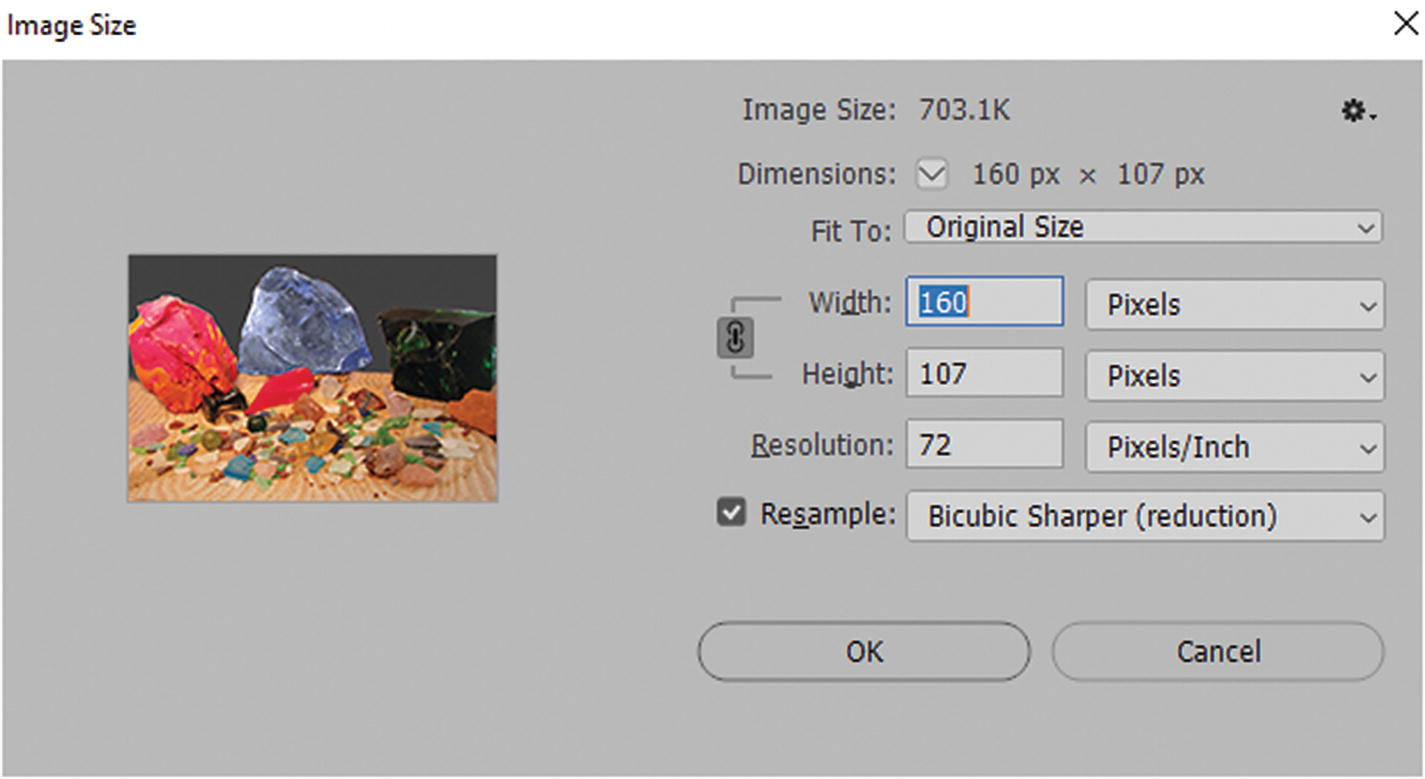
Set a specific image size for all images
Note
Your image may vary in size, depending upon your layout. You may also have to add actions, depending on how you set up your layers or blends.
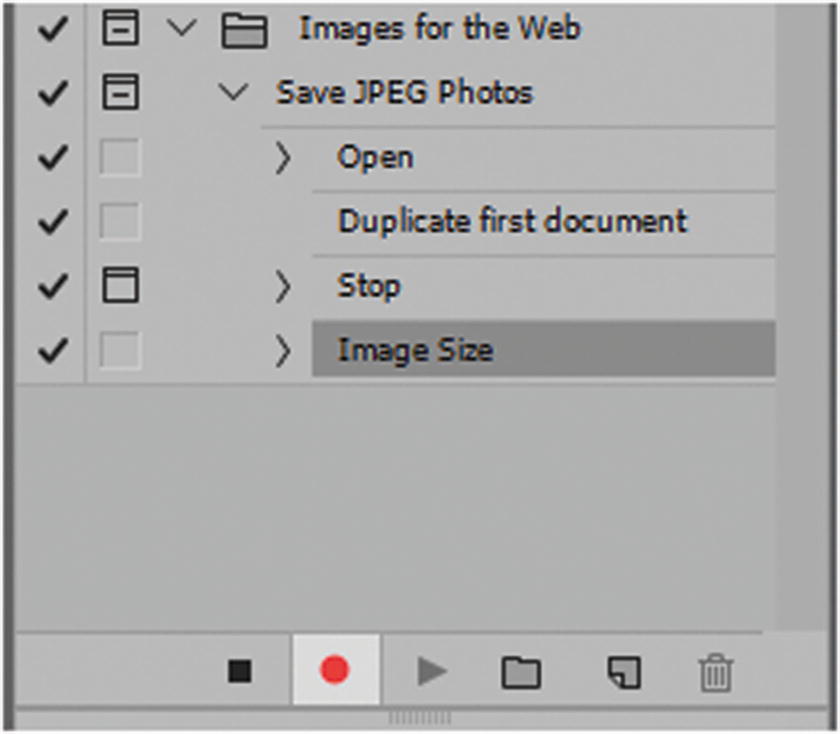
Add the image size setting while recording
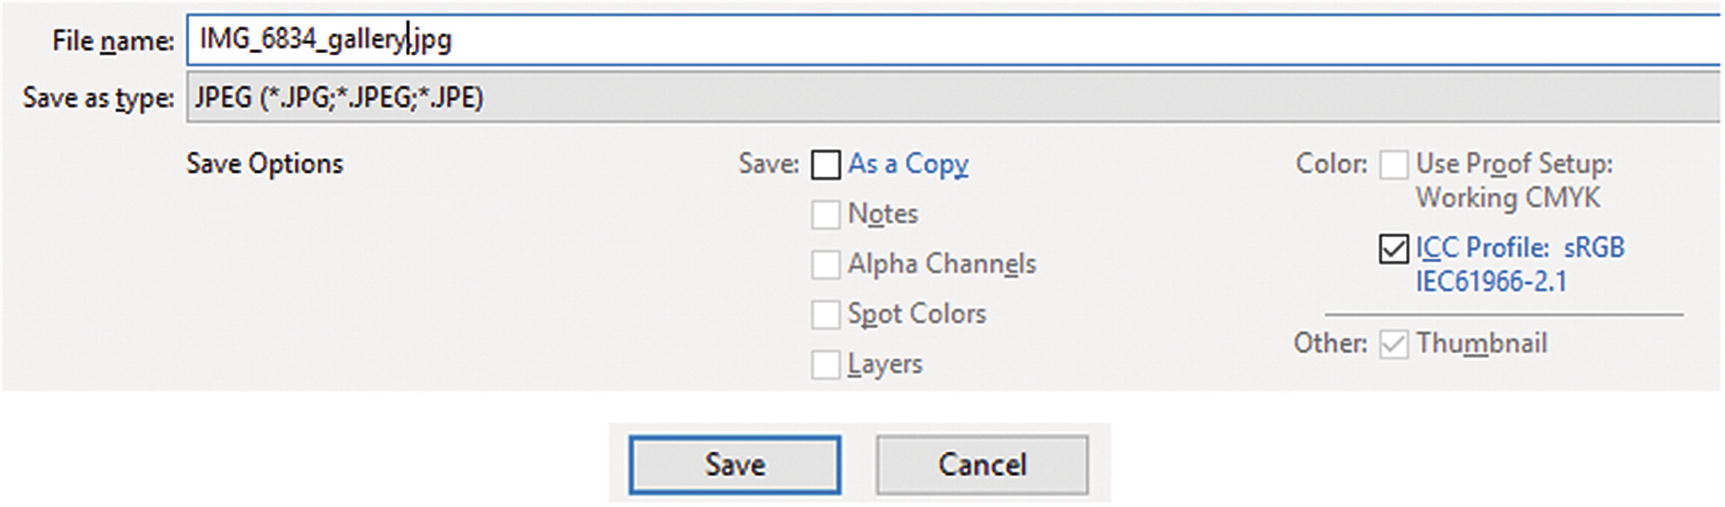
Save the file as a JPEG
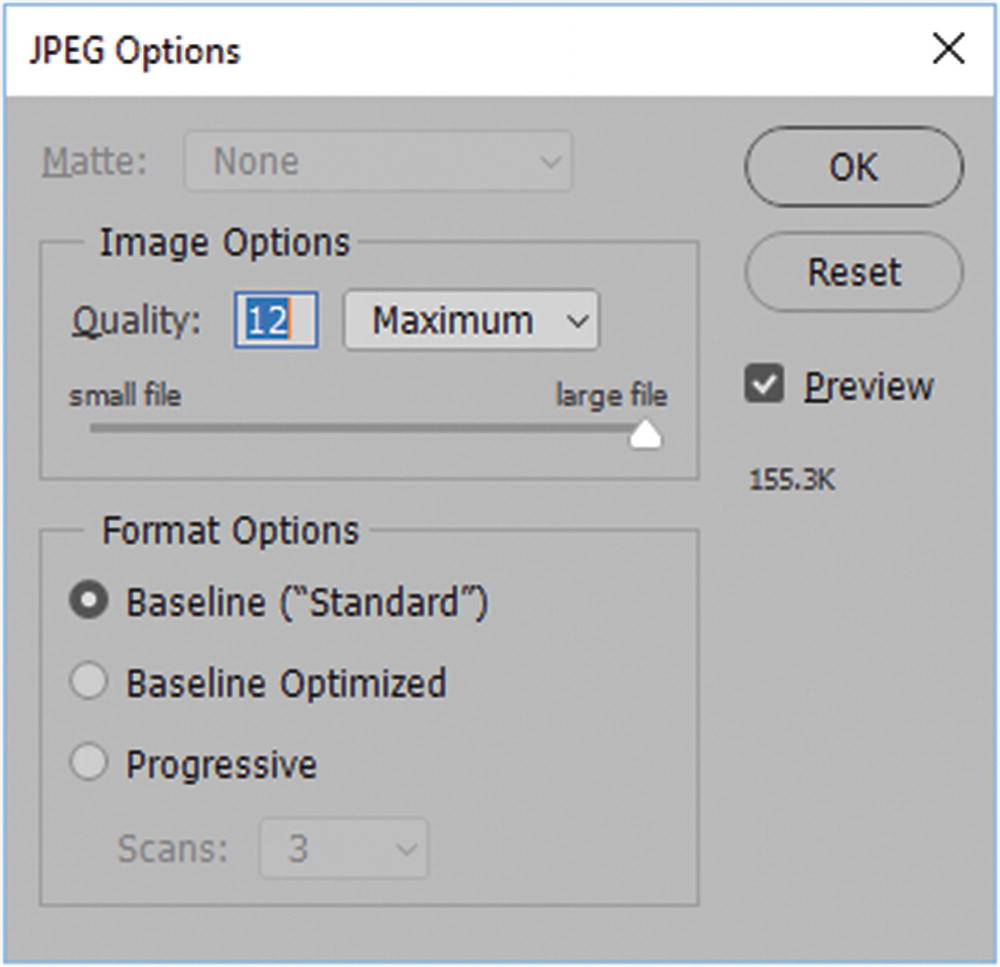
Set the JPEG option settings
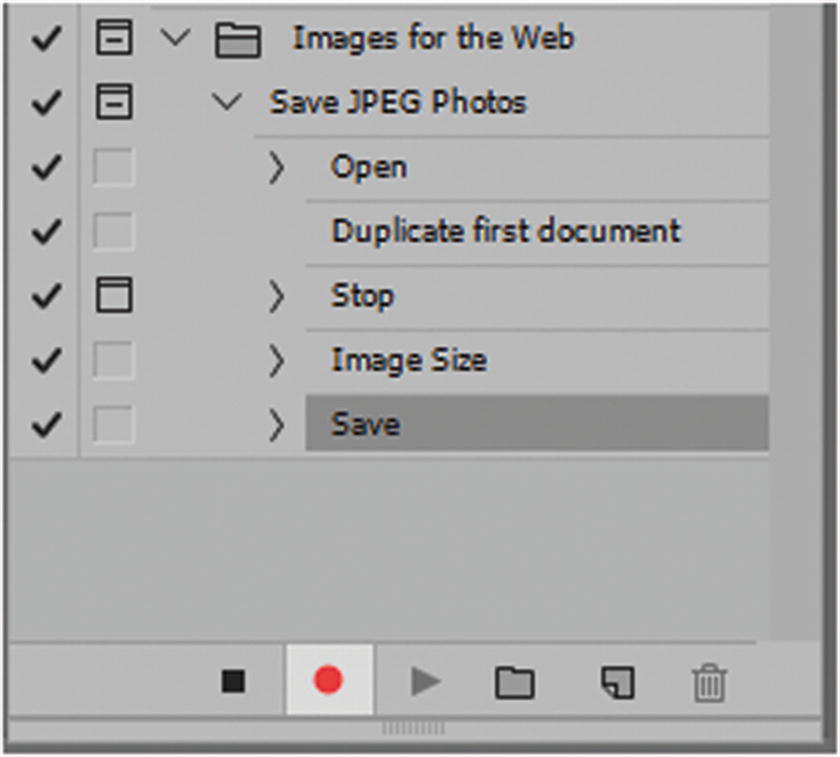
The Save action has been added to the Actions panel
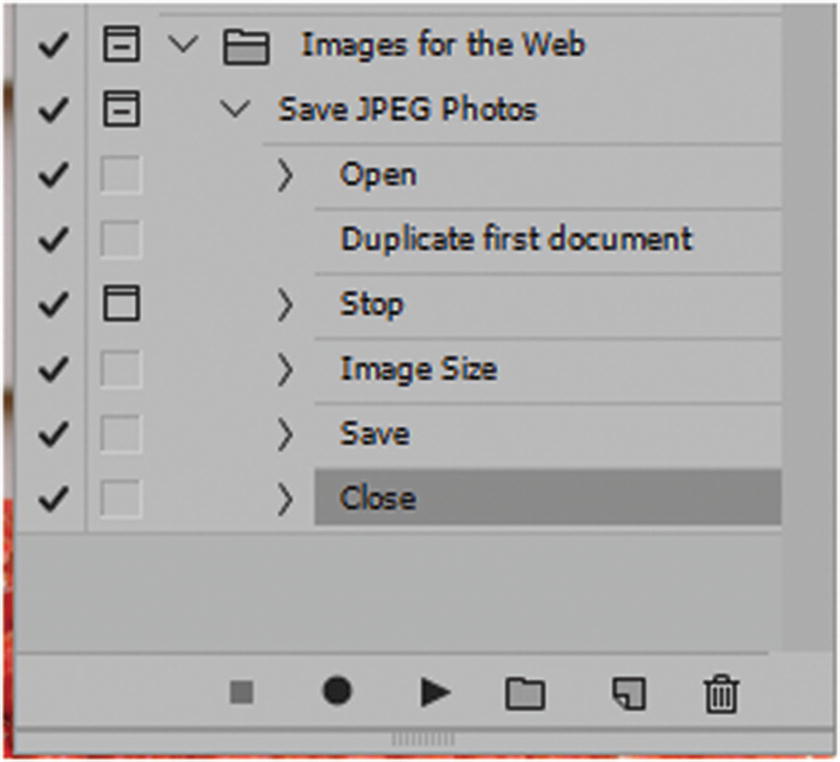
Add a file close action to close a saved file
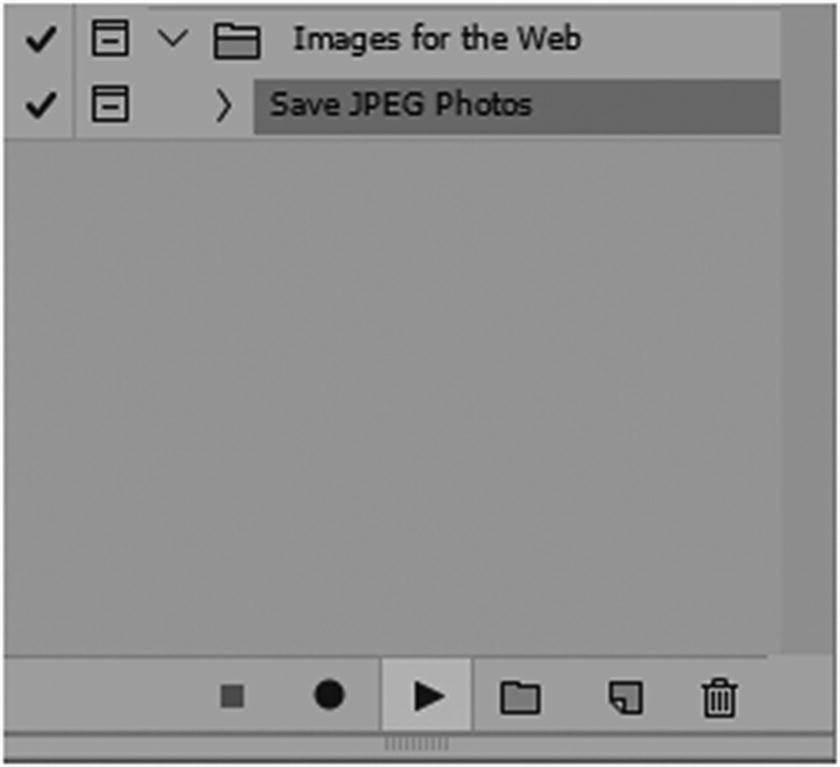
Play the action in the Actions panel to test it
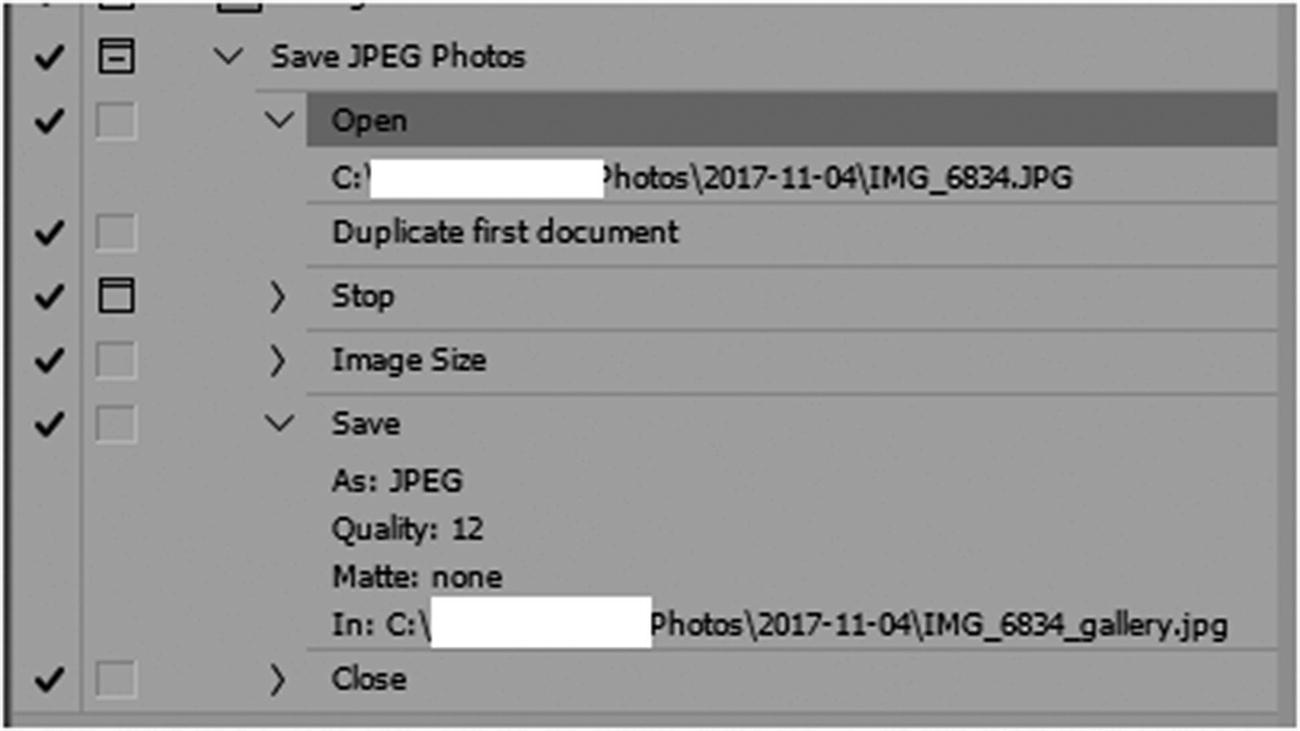
The same image is being picked; you must correct the action
You need to be able to open the folder so that you can pick a new image and save the new file with a new name.
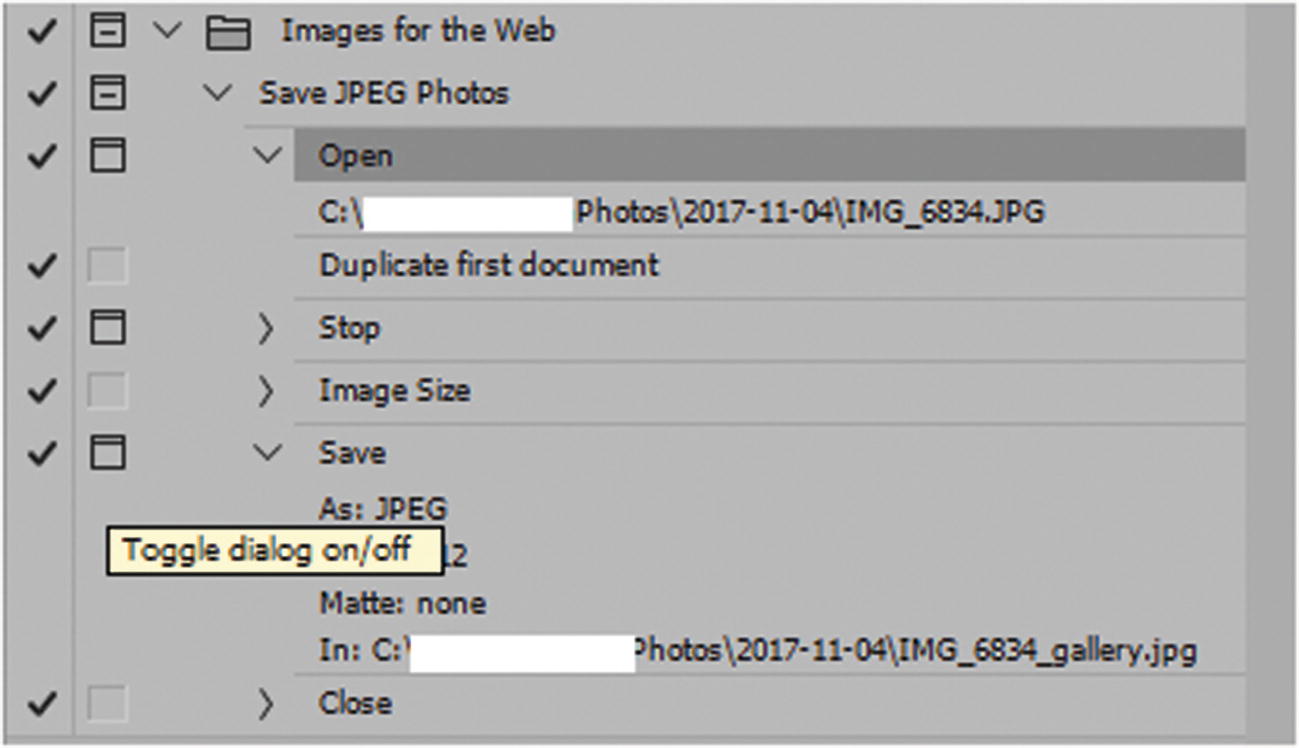
Make sure that the Open and Save dialog boxes open so that you can open, and then save the images with a new name
This makes the dialog box open before going to the next step.
You could also toggle on the Image Size dialog if you think there would be image size differences; however, do not this right now because it will only slow you down. Run the action with the Open and Save dialog boxes open so that you can make the selection of your images.

There are many options that you can choose from when creating actions, such as mode conversion or file type
The files can export in another setting by using one of the other export options that you looked at in Chapter 4.
Opening the file one at a time and saving change it to other file formats like GIF, PNG, PDF, or SVG by altering the action steps slightly and create another action for your set. You can then save that action within your set and use it for future projects.
Automate Batch Actions
While the above action steps are helpful and OK for a few images a day, what if you have over 20 images that need to be adjusted for a gallery, or even more for an e-commerce website?
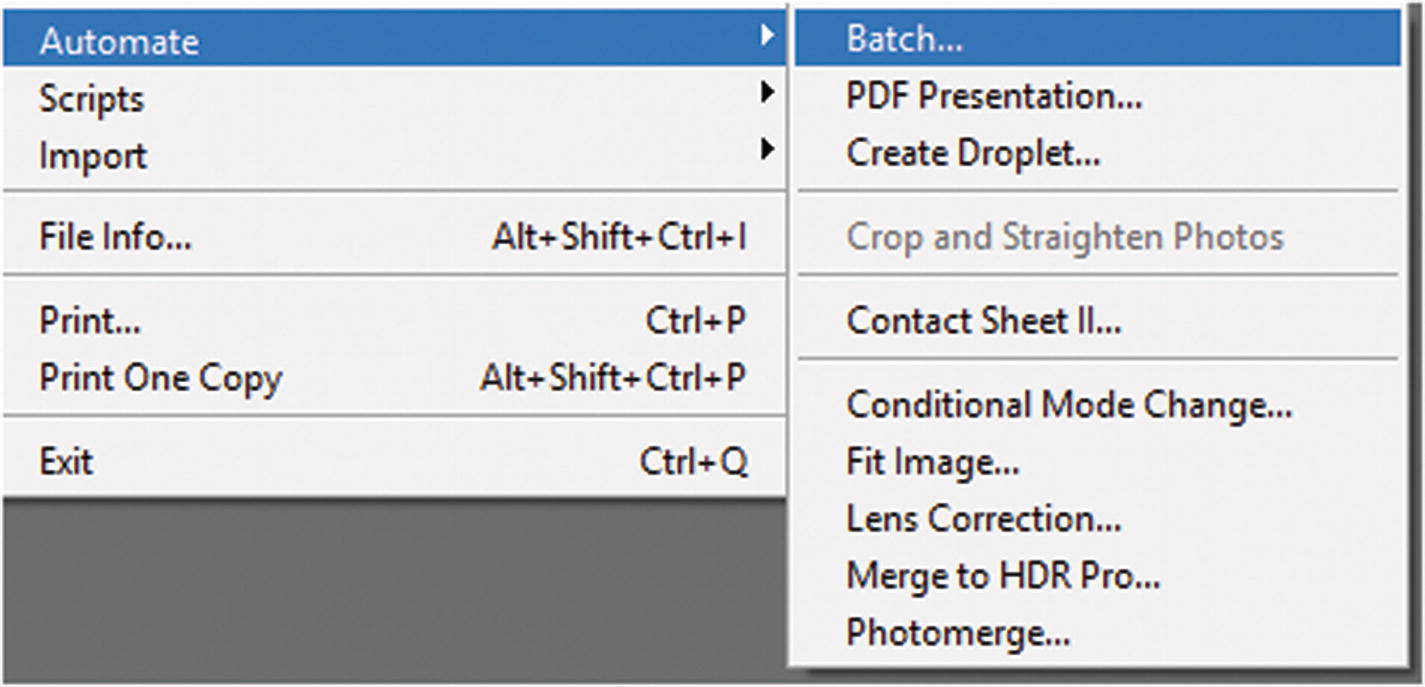
Automate contains two ways to speed up the image conversion process
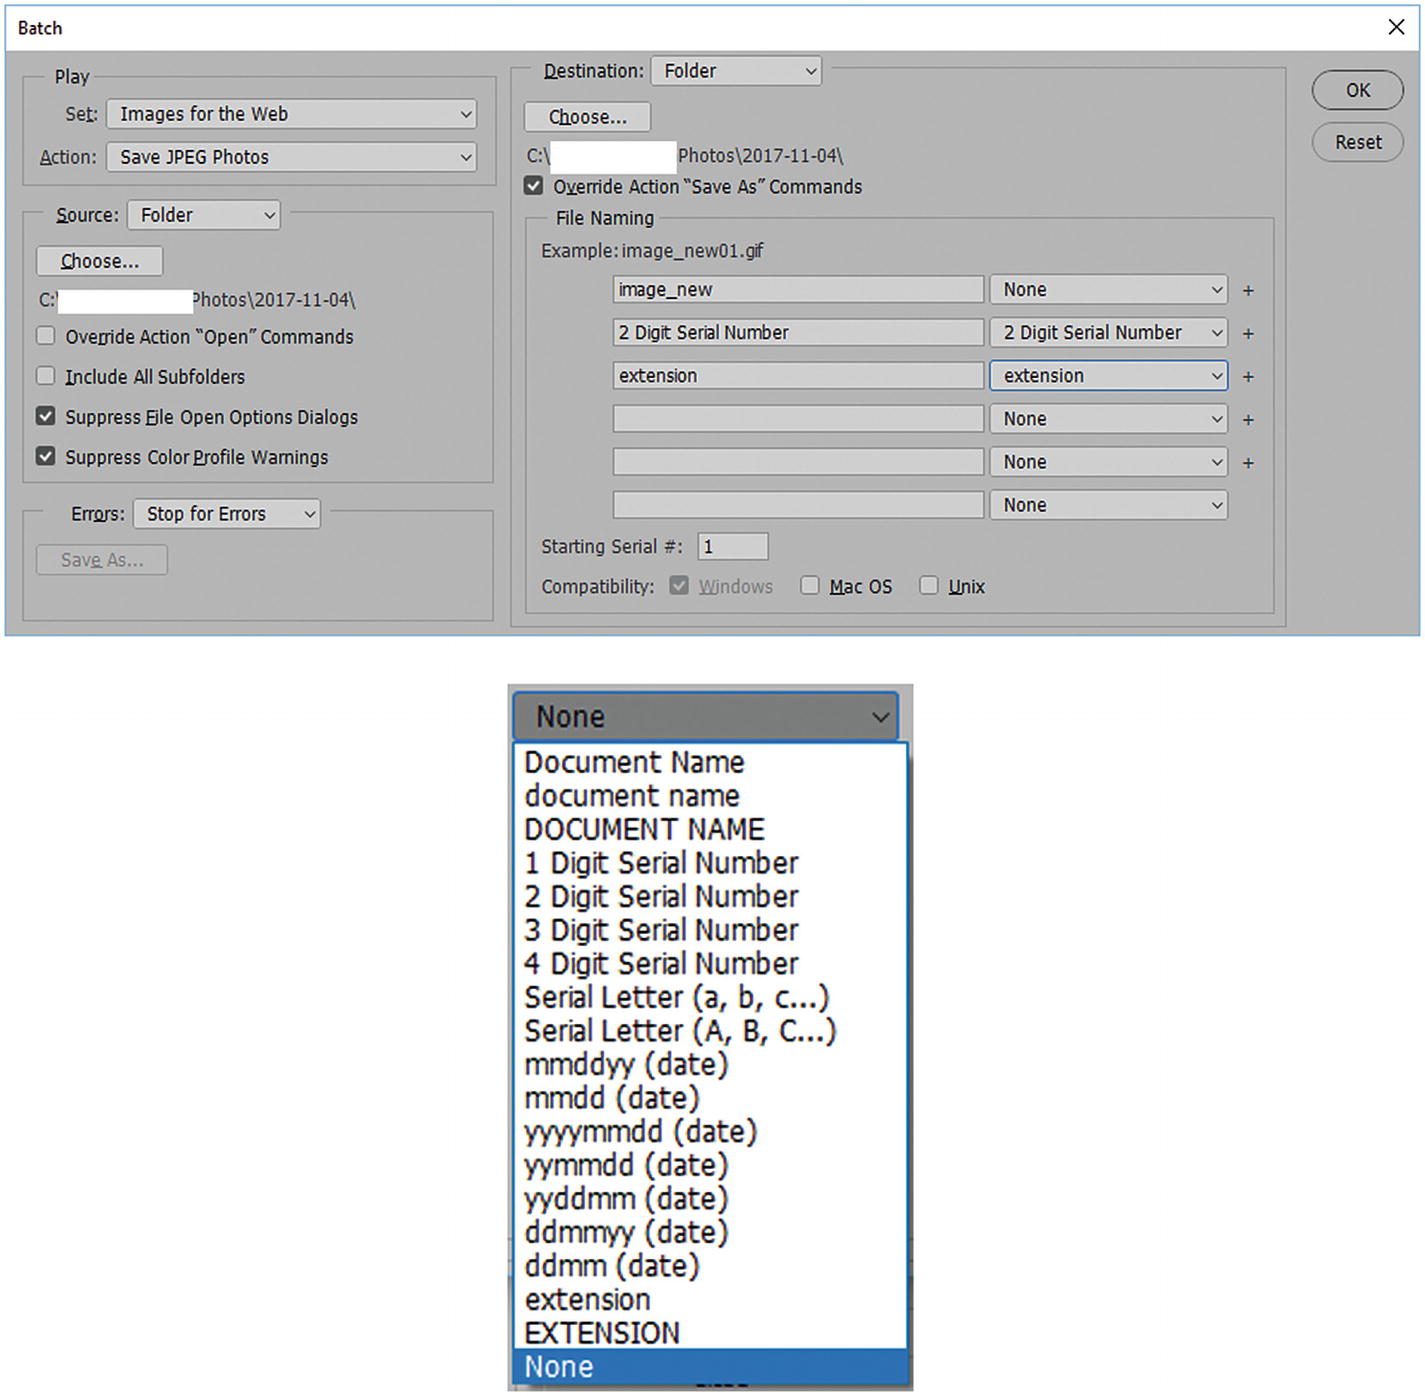
Use the Batch dialog box to speed up your actions
With a setting of None, you can set your own custom file names. If you use this setting, make sure to check Override Action “Save As” Commands. The example displays how the first one will appear.
If the batch runs into errors with the actions, it stops or logs the errors. You can also set the starting numbering sequence and choose a compatibility mode based on the computer that is being used.
When you click OK, the batch starts the actions and runs through the steps. Based on the actions you choose, the procedure will run faster or slower, but it is faster and more organized than having to open and duplicate each image one at a time. The new images will appear in the folder.
Automate Droplet Actions
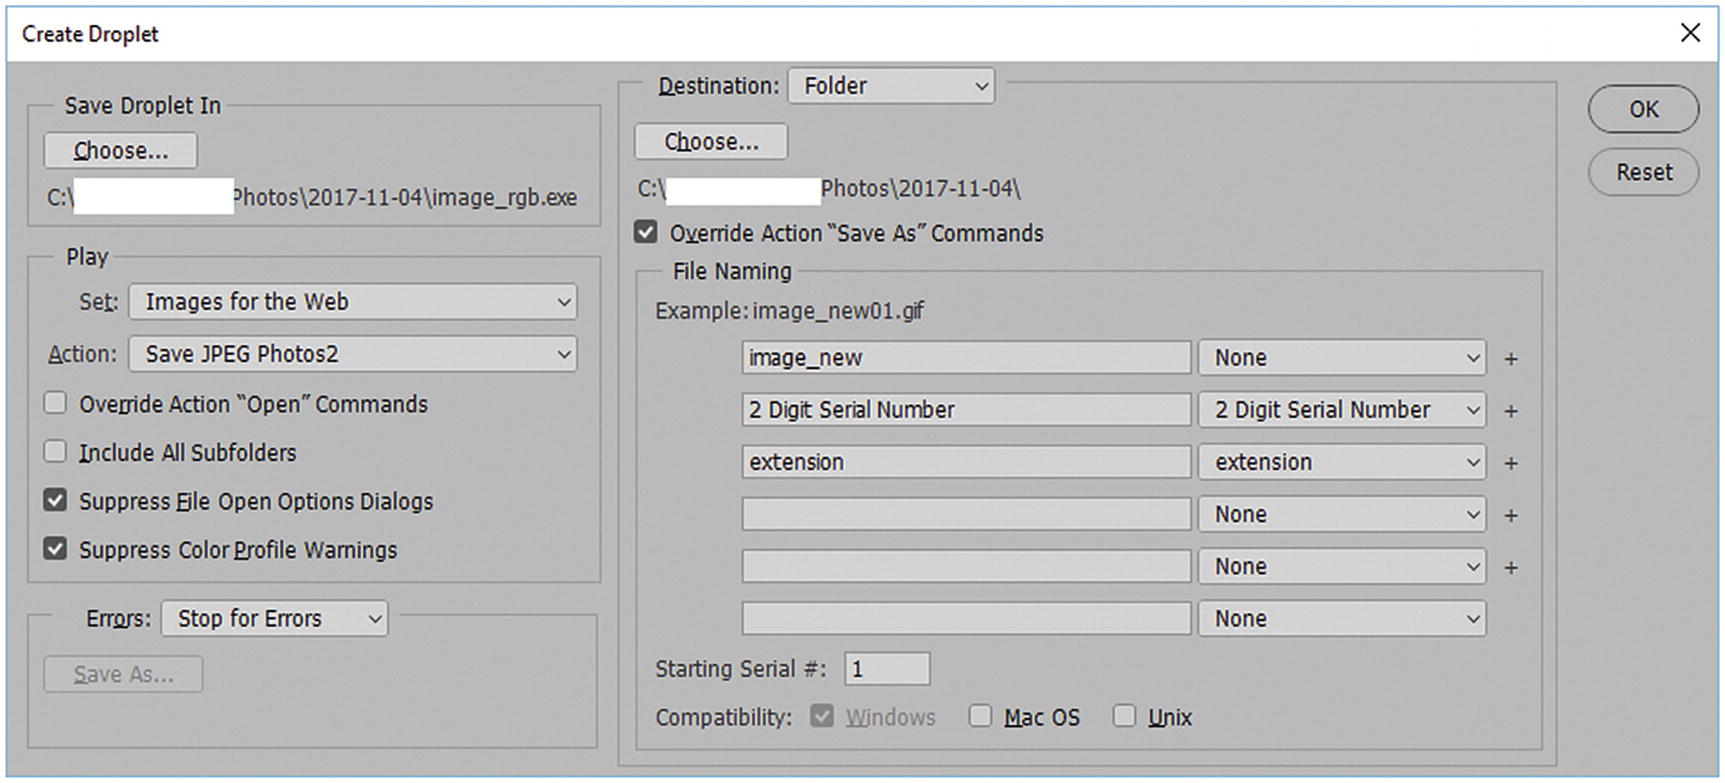
Use the Create Droplet dialog box to speed up your actions
The Droplet dialog box looks very similar to the Batch dialog box; the only difference is that rather the doing the collecting through Photoshop, you just drop the image onto the icon. This is great if you have a few last-minute images that you need to quickly format. The droplet appears as an external (.exe) file.
During set up, make sure to select Override Action “Save As” Commands.
Droplet icon
Drop an image file onto it and see what happens.
Note
With droplets, you may want to remove the Open setting because you are dropping one file at a time onto the icon. The Open option confuses the actions and slows down automation. Rather than delete it from the original action, Save For JPEG, in the panel, create a duplicate of the action and click the name to rename it Save For JPEG2. Then, select the Open action and click the Trash icon to remove it. Refer to Figure 5-27.
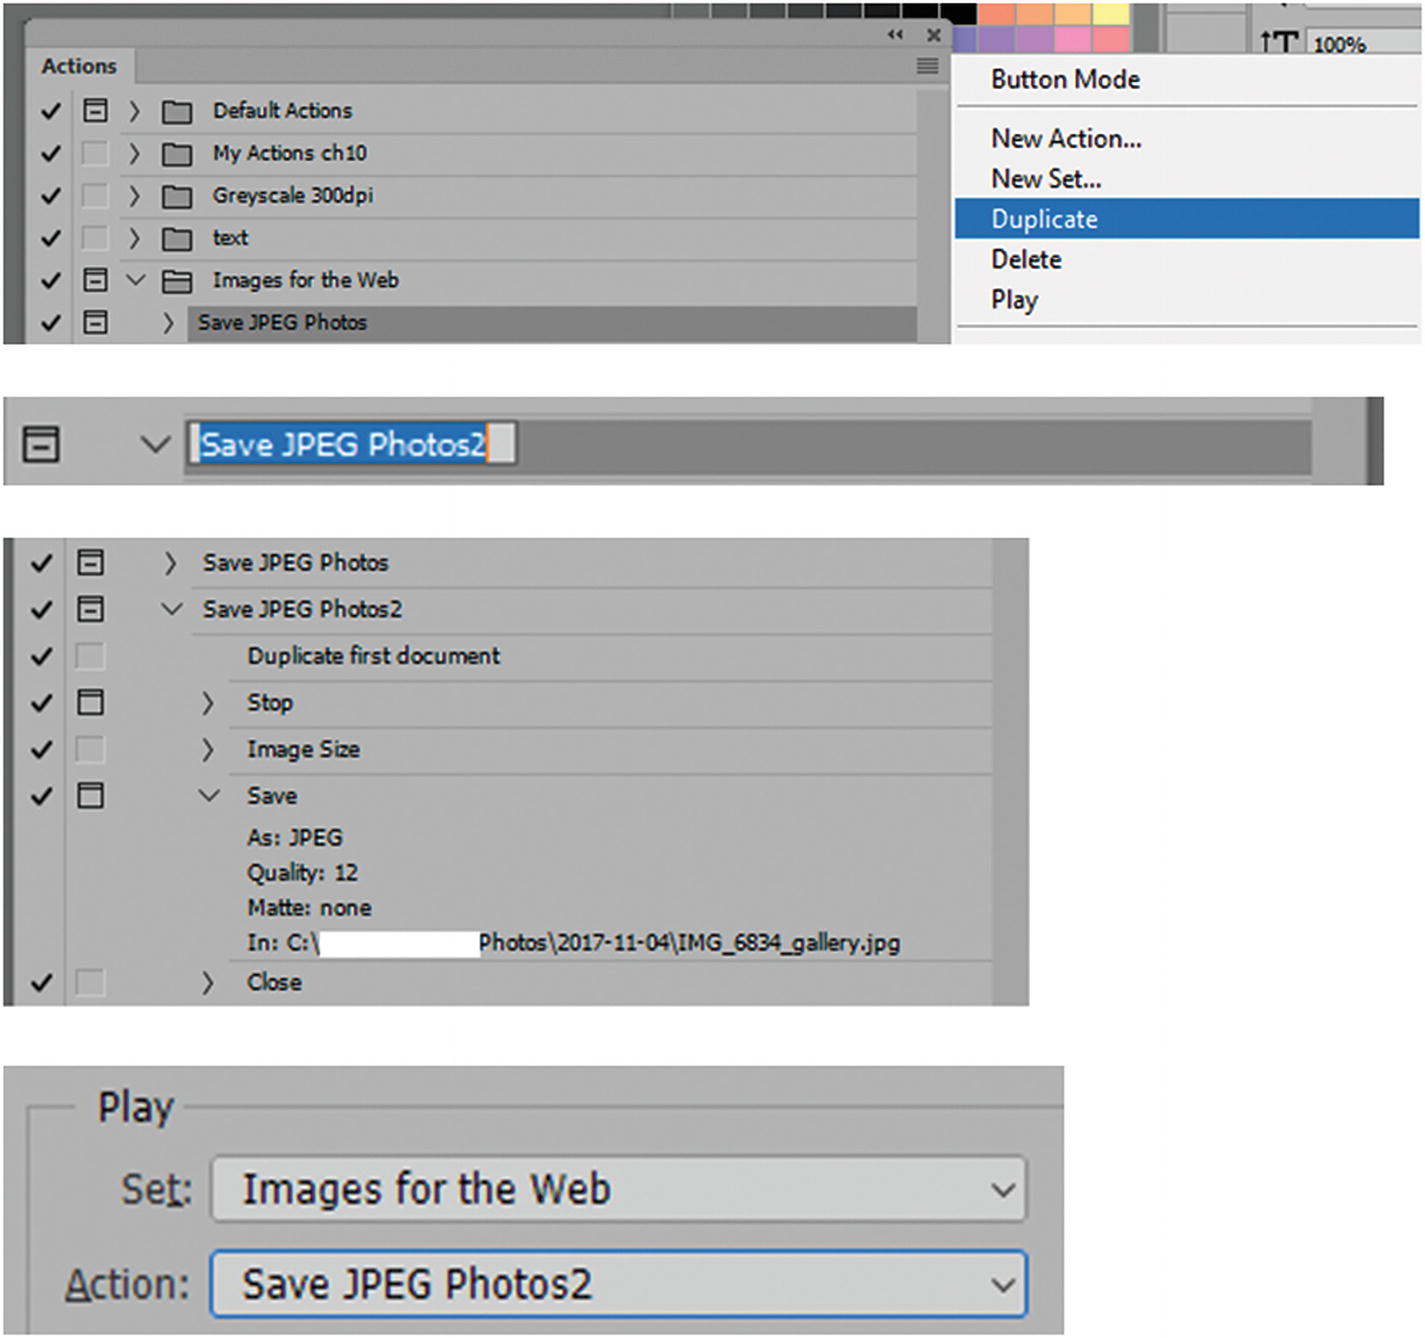
Creating an alteration to the actions for the Droplet
You can then resave the droplet with the new action and test.
Now the open action is removed and the only time the dialog box opens is when it is time to save.
Note
While this is not part of any project in the book, File ➤ Automate ➤ PDF Presentation allows you to save multiple graphics as an interactive or moving PDF slide presentation, like what can be created in Adobe InDesign or Adobe Acrobat. You can then view the file in Acrobat Reader as a PDF file.
As you can see, there are many ways to work with actions to speed up your creation of graphics for the web.
Slicing Tools
When you export files for the web, you might save many photos or graphics that will appear somewhere in an HTML file on a solid-colored or patterned background; however, there are times when you might want an image to appear in a background that repeats in more <div> tags or in a table. In the past, tables rather than <div> tags were the accepted way to build website.
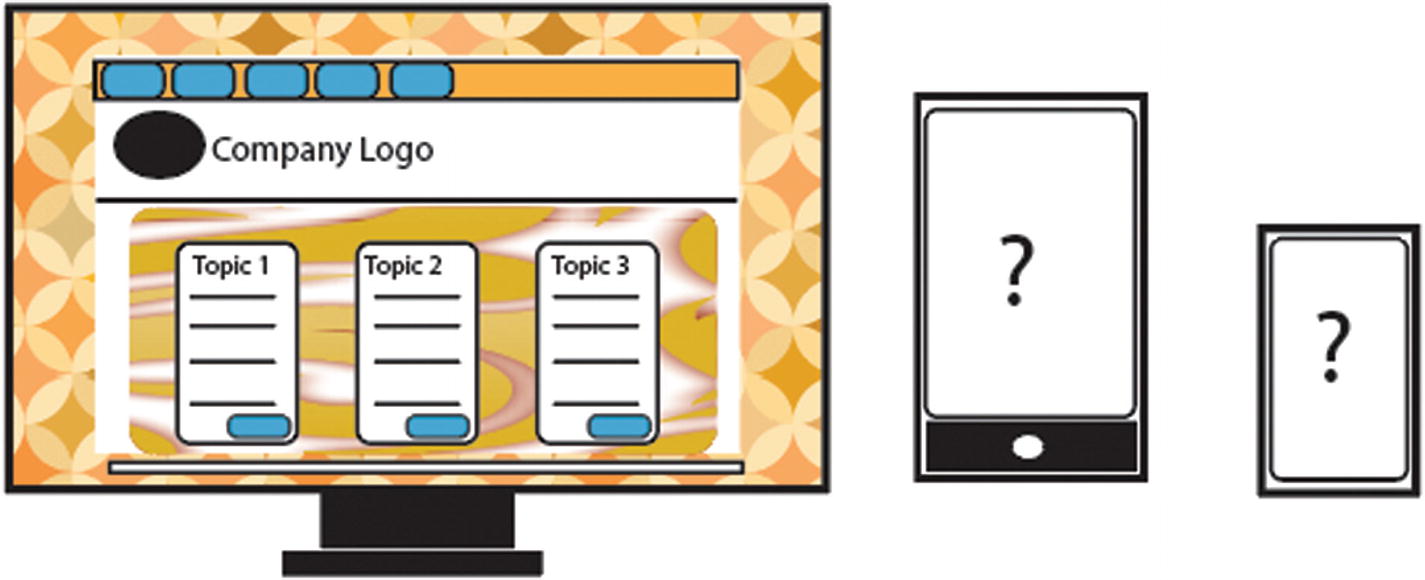
Slicing up a graphic-rich website for a desktop display may look great, but how will this layout display for a tablet or a smartphone in portrait view?
Unlike tables, you can float divs over other divs, so less slicing is required.
When you design a layout for more than one device, bear in mind that for tablets and smartphones, you may want to reduce the amount of graphics on your site for faster download. You’ll look at media queries in Part 6.
Use the Slice and Slice Select Tool
Let’s look at a slice layout I created in the Chapter 5 folder for a webpage on a desktop computer. Later, we will use a flexible layout that will not require slicing, but it will give you a rough idea of where slicing in today’s website layouts succeeds and fails, and what you can salvage from a Photoshop sliced layout and later use in Dreamweaver again.
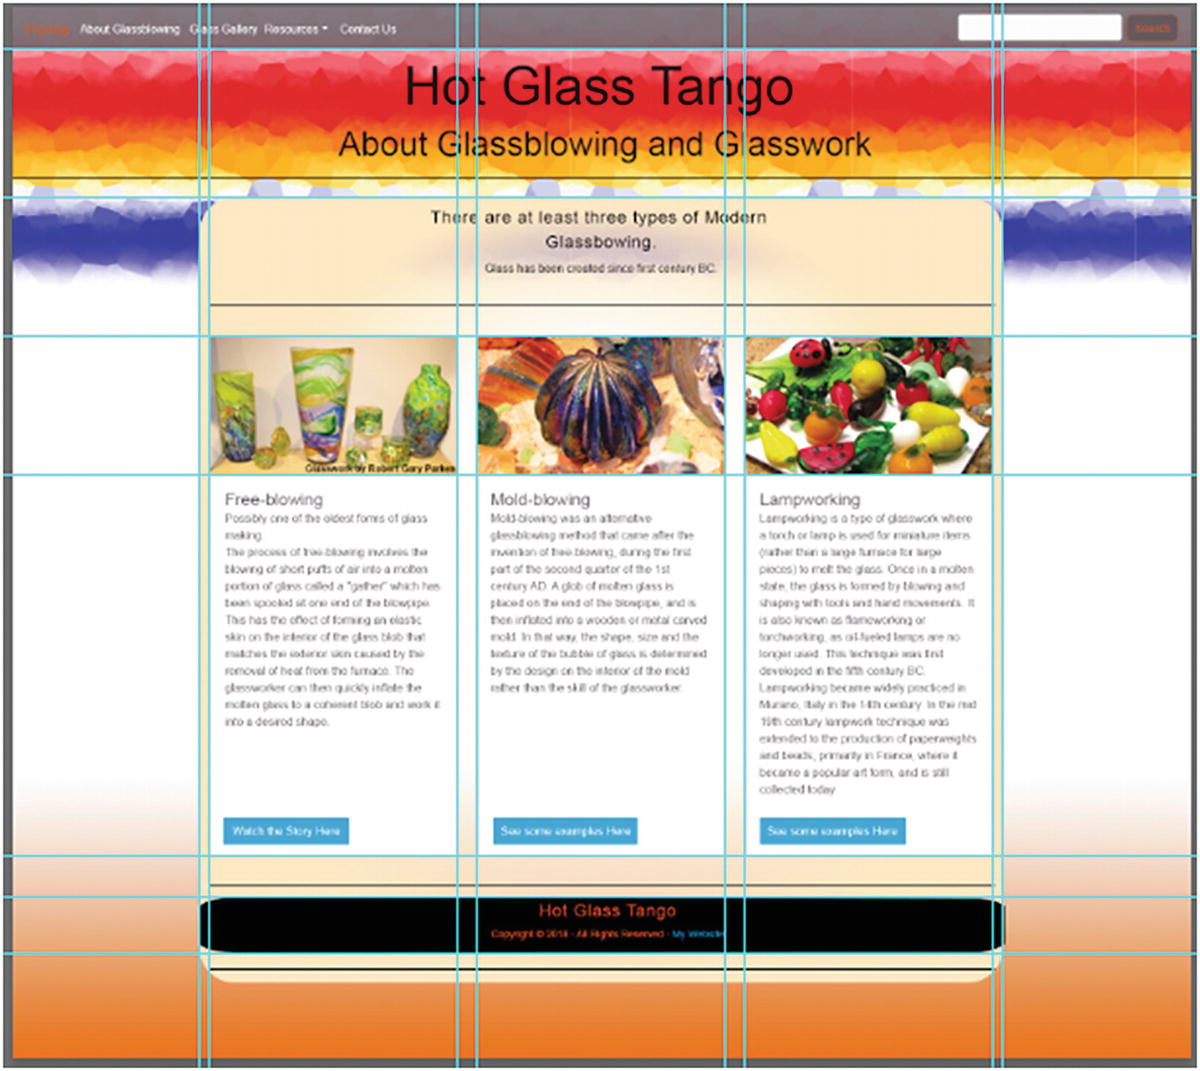
Arranging where to slice by creating guides first
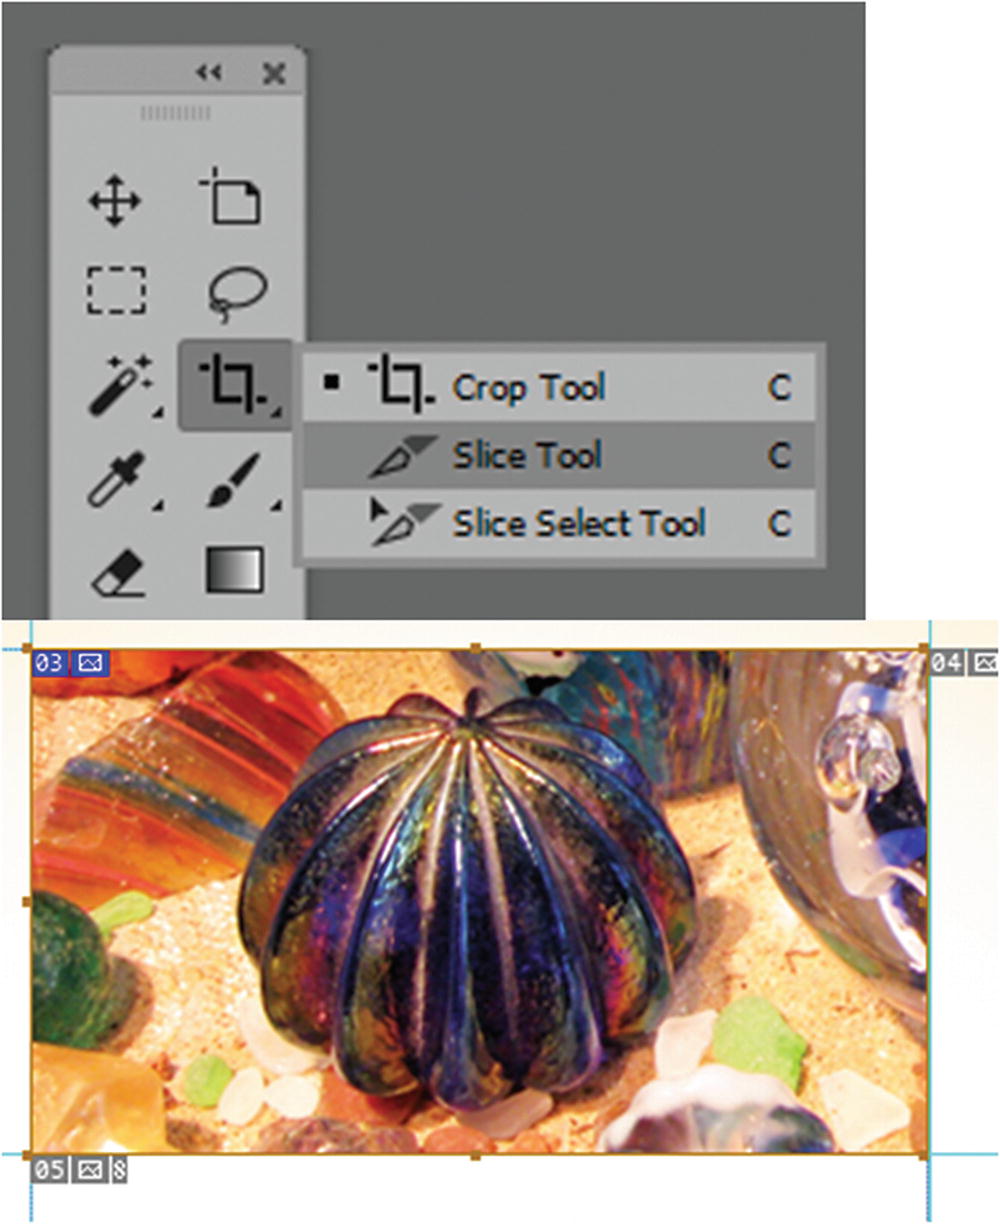
Creating a user slice (blue) using the Slice tool and auto slices (gray)
Depending on where you create a slice, more slices will be generated around it. The generated slices are known as auto slices , which appear in a gray color.
Slice lines: These define the boundary of the slice. Solid lines indicate that the slice is a user slice or layer-based slice; dotted lines indicate that the slice is an auto slice.
Slice colors: Differentiates user slices and layer-based slices from auto slices. By default, user slices and layer-based slices have blue symbols, and auto slices have gray symbols and often a link icon. The File ➤ Export ➤ Save For Web (Legacy) dialog box uses color adjustments to dim unselected slices. These adjustments to appearance are for display purposes only and do not affect the color of the final image. By default, the color adjustment for auto slices is twice the amount of that for user slices.
Slice numbers: Numbers are from left to right and top to bottom, beginning in the upper-left corner of the image. If you change the arrangement or number of slices, every slice number is updated to reflect the new order. Refer to Figure 5-31.
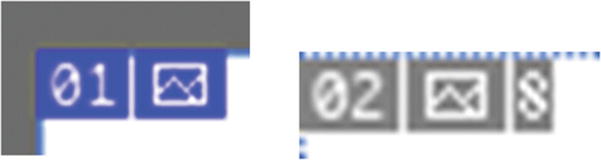
Close up of numbered user slice (blue) and auto slices (gray)
Note
For further alterations to slice color, go to Edit ➤ Preferences ➤ Guides Grids and Slices, where you can alter the line color and hide/show the slice number. Refer to Figure 5-32.
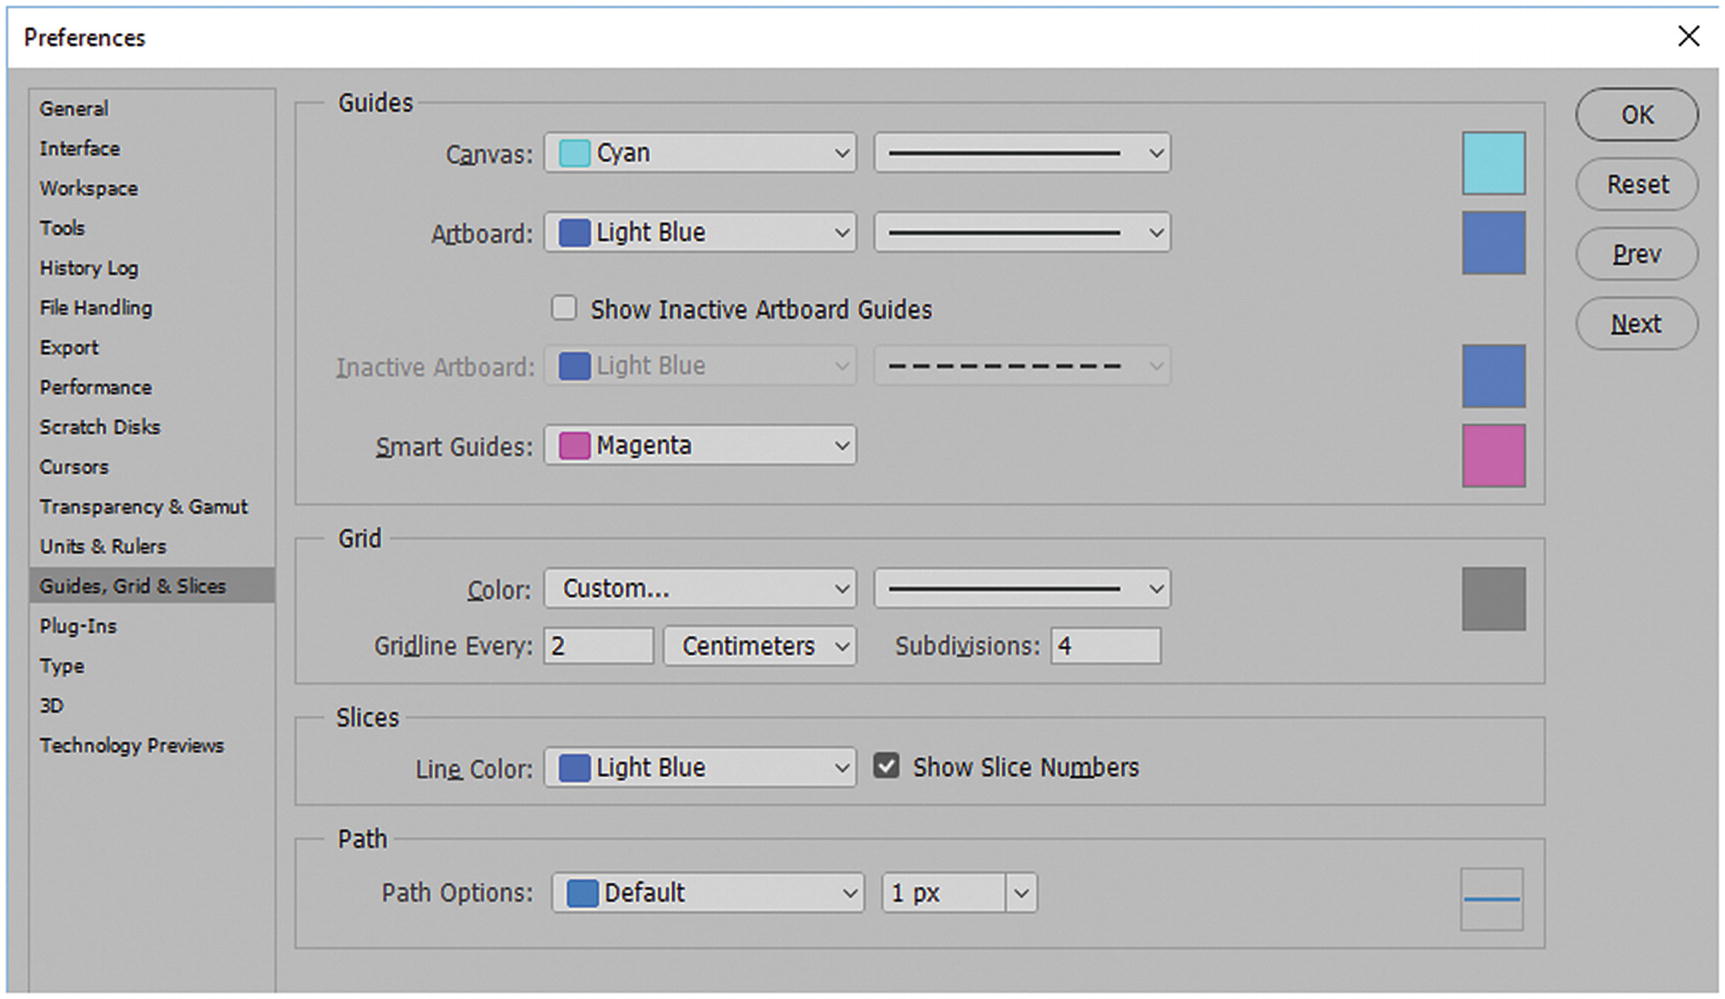
You can adjust your default color preference for your slices in the Preferences dialog box in the Guides, Grids & Slices tab
- Slice badges: The following badges, or icons, indicate certain slice types.
User or auto slice has image content. Refer to Figure 5-33.
User slice has no image content. You cannot add this badge to an auto slice. It first must be promoted to a user slice. Refer to Figure 5-34.
Slice is layer-based. Refer to Figure 5-35.

User or auto slice with image content

User or auto slice with no image content

Slice is layer-based
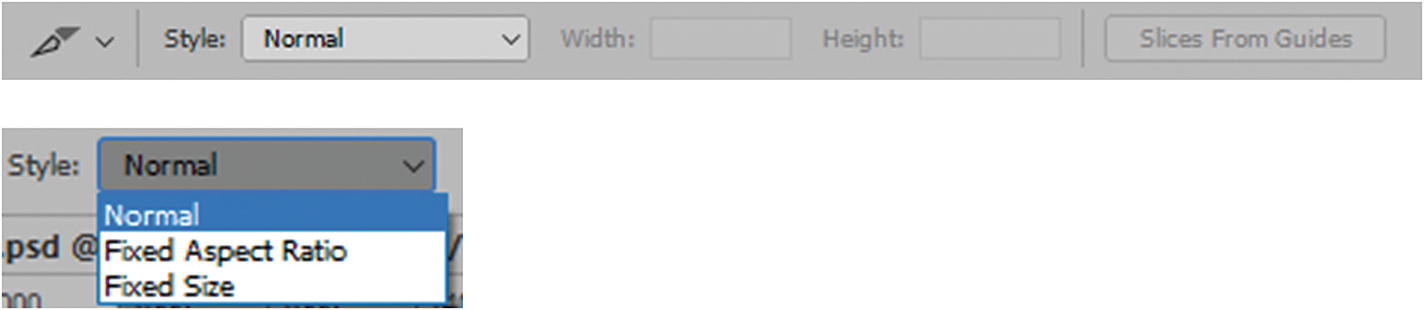
Further options are available for the Slice tool in the Options panel
Normal: Uses whatever slice proportions you drag out.
Fixed Aspect Ratio: Uses a height-to-width ratio. You can enter whole numbers or decimals for the aspect ratio. If you want your height to be twice as tall as the width, enter Width: 1 and Height: 2.
Fixed Size: Enter the slices height and width in whole number pixels.
With the Slice tool, you can alter the size as you Shift-drag (to keep square) or Alt/Option-drag to draw from the center.
Slices can be altered using the Slice Select tool (C) (see Figure 5-28). With this tool, slices can be moved, resized, or aligned with other slices.
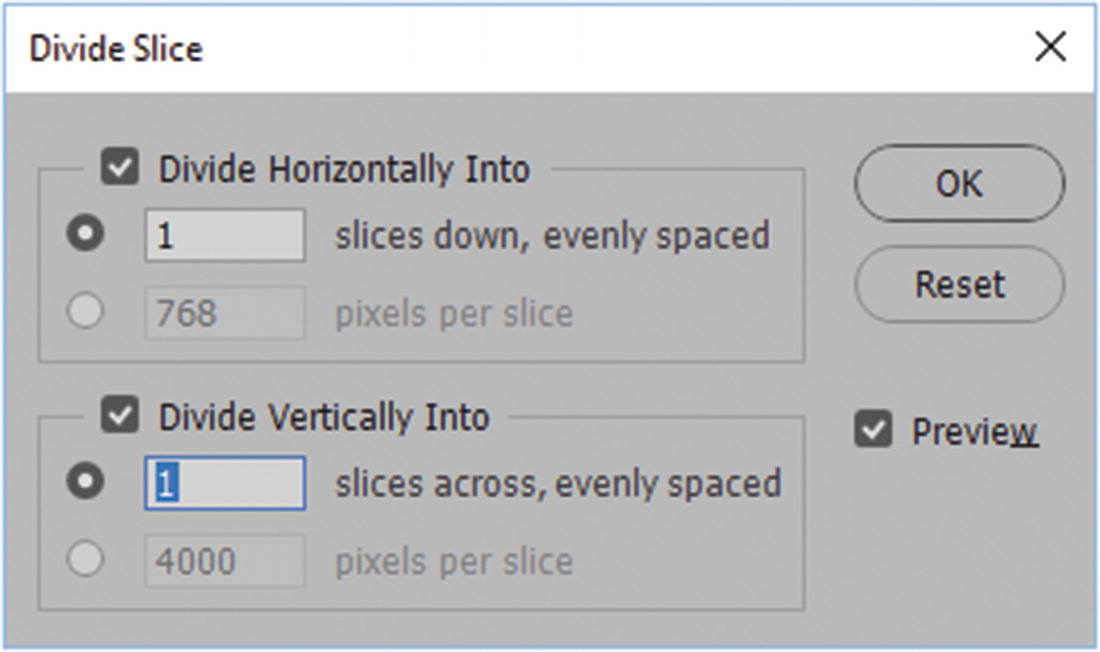
Dividing slices using the divide slice dialog box
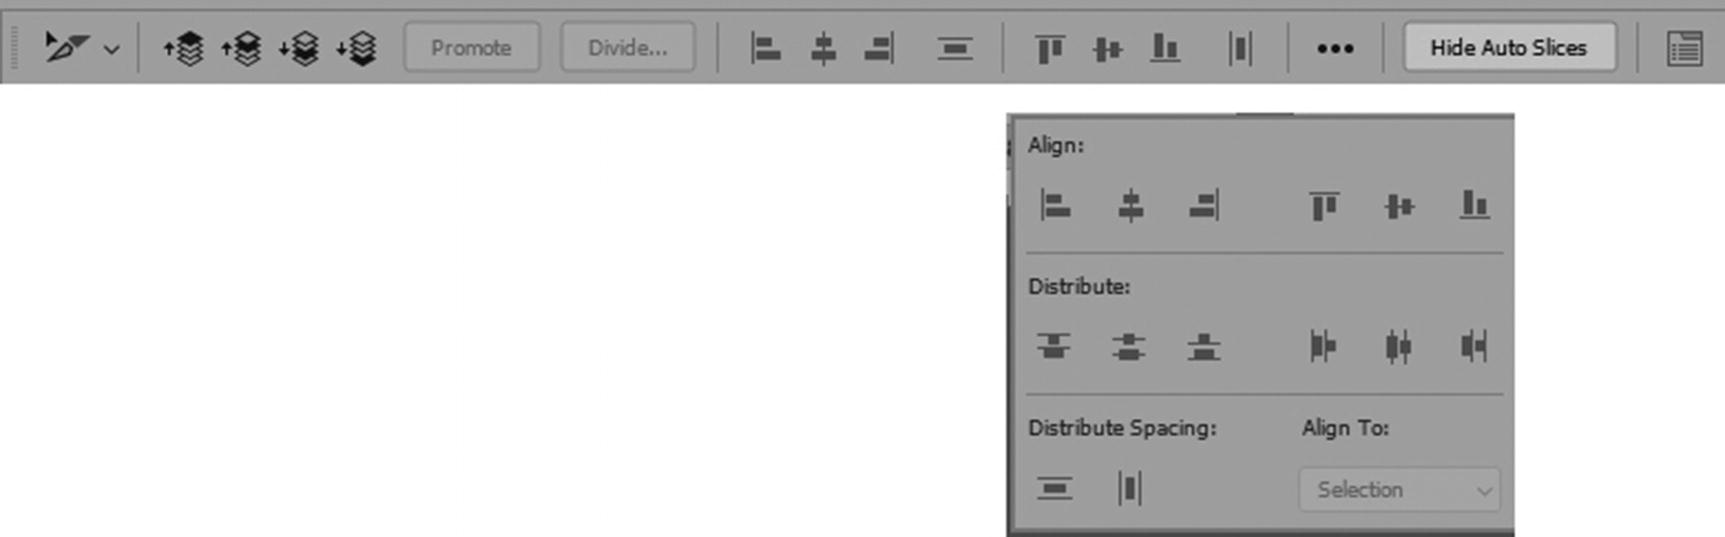
The Options panel for the Slice Select tool
When two or more cells are selected, you can use the alignment tools adjust the cells.
Align top edges
Align vertical centers
Align bottom edges
Align left edges
Align horizontal centers
Align right edges
Distribute top edges
Distribute vertical centers
Distribute bottom edges
Distribute left edges
Distribute horizontal centers
Distribute right edges
You can hide or show slices by clicking the Hide/Show Auto Slices toggle button, which makes auto slices easier to view.
Note
If you want to show or hide all slices while working, you can also choose View ➤ Show ➤ Slices.
Name: Rename the slice, as seen in Figure 5-39.
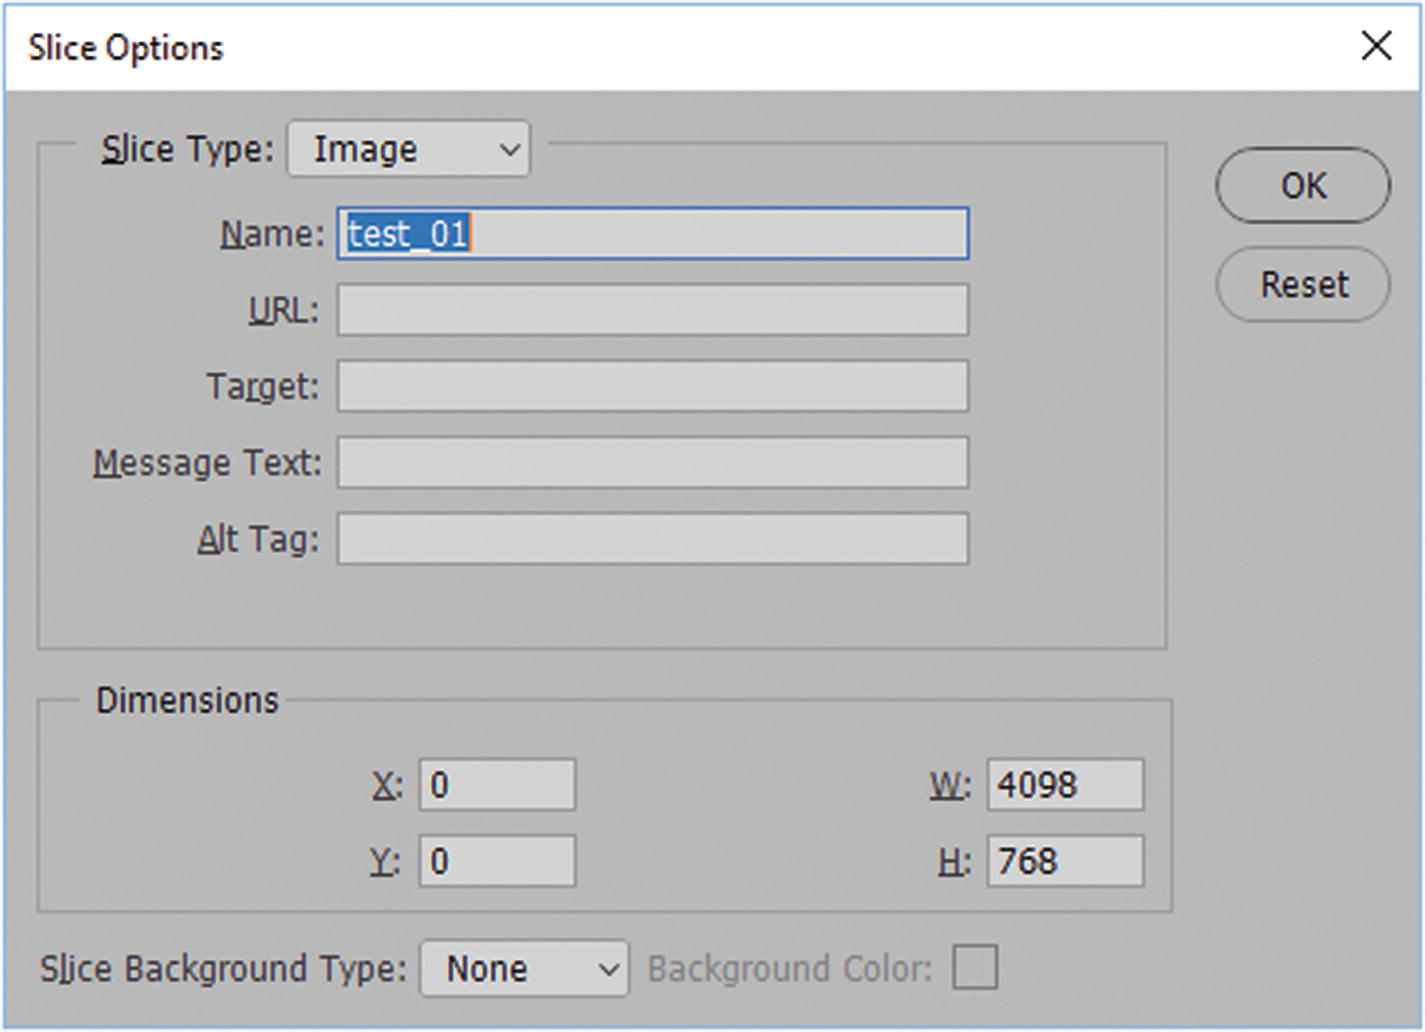
The Slice Options dialog box for the Slice Select tool
URL (website link): The entire area of the slice becomes a link.
- Target: This determines how the webpage opens in a browser; the following are your options.
_blank: Opens a linked file in a new window or tab and leaves the original webpage open.
_self: Opens the linked document in the same frame in which it was clicked (this is the default).
_parent: Displays the linked file in its own parent frameset. Do not use this option unless the file contains a frame. The link is considered a child, and it appears in the parent frame.
_top: Replaces the entire browser window with the linked file, removing all the current frames. The name must match a frame in the HTML file for this to work. When the link is clicked, the specified file appears in a new frame.
Message Text: Changes the default message in the text rather than showing the default URL link.
Alt tag: Refers to alternate text, and acts as a tool tip until the image downloads. Alt tags are important for people with visual impairment and require a screen reader as part of accessibility to the web; websites should be for everyone.
Note
You can edit this information for any slice, including auto slices (linked), before you export in the Save for Web (Legacy) dialog box (see Figure 5-40). This is done when you double-click a slice using the Slice Select tool. If you do not complete these settings in Photoshop, you can always adjust them later in Dreamweaver CC.
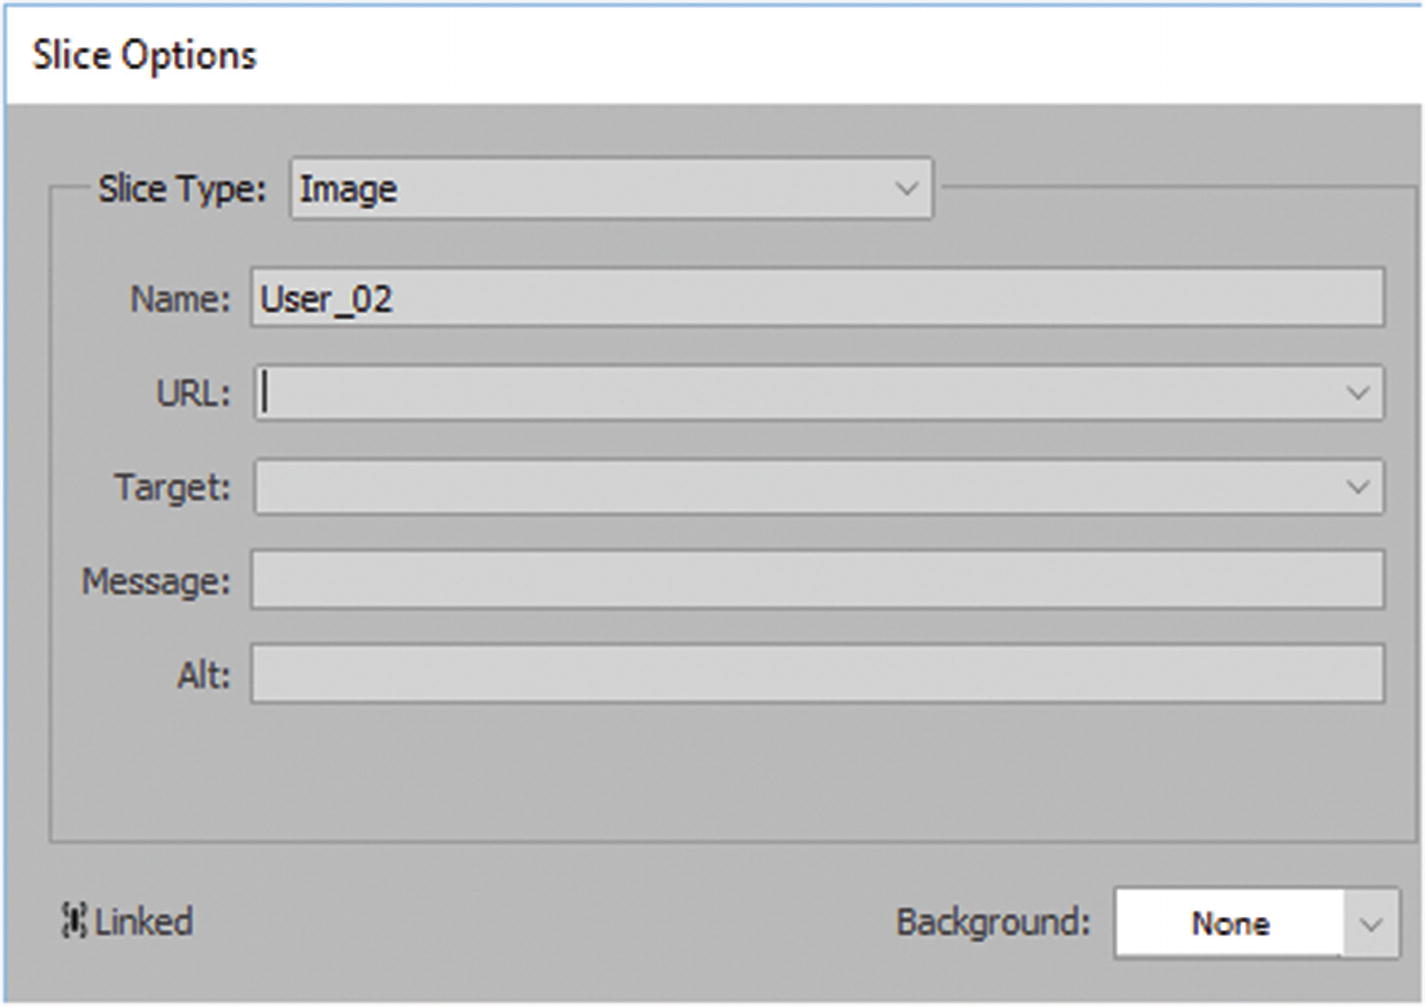
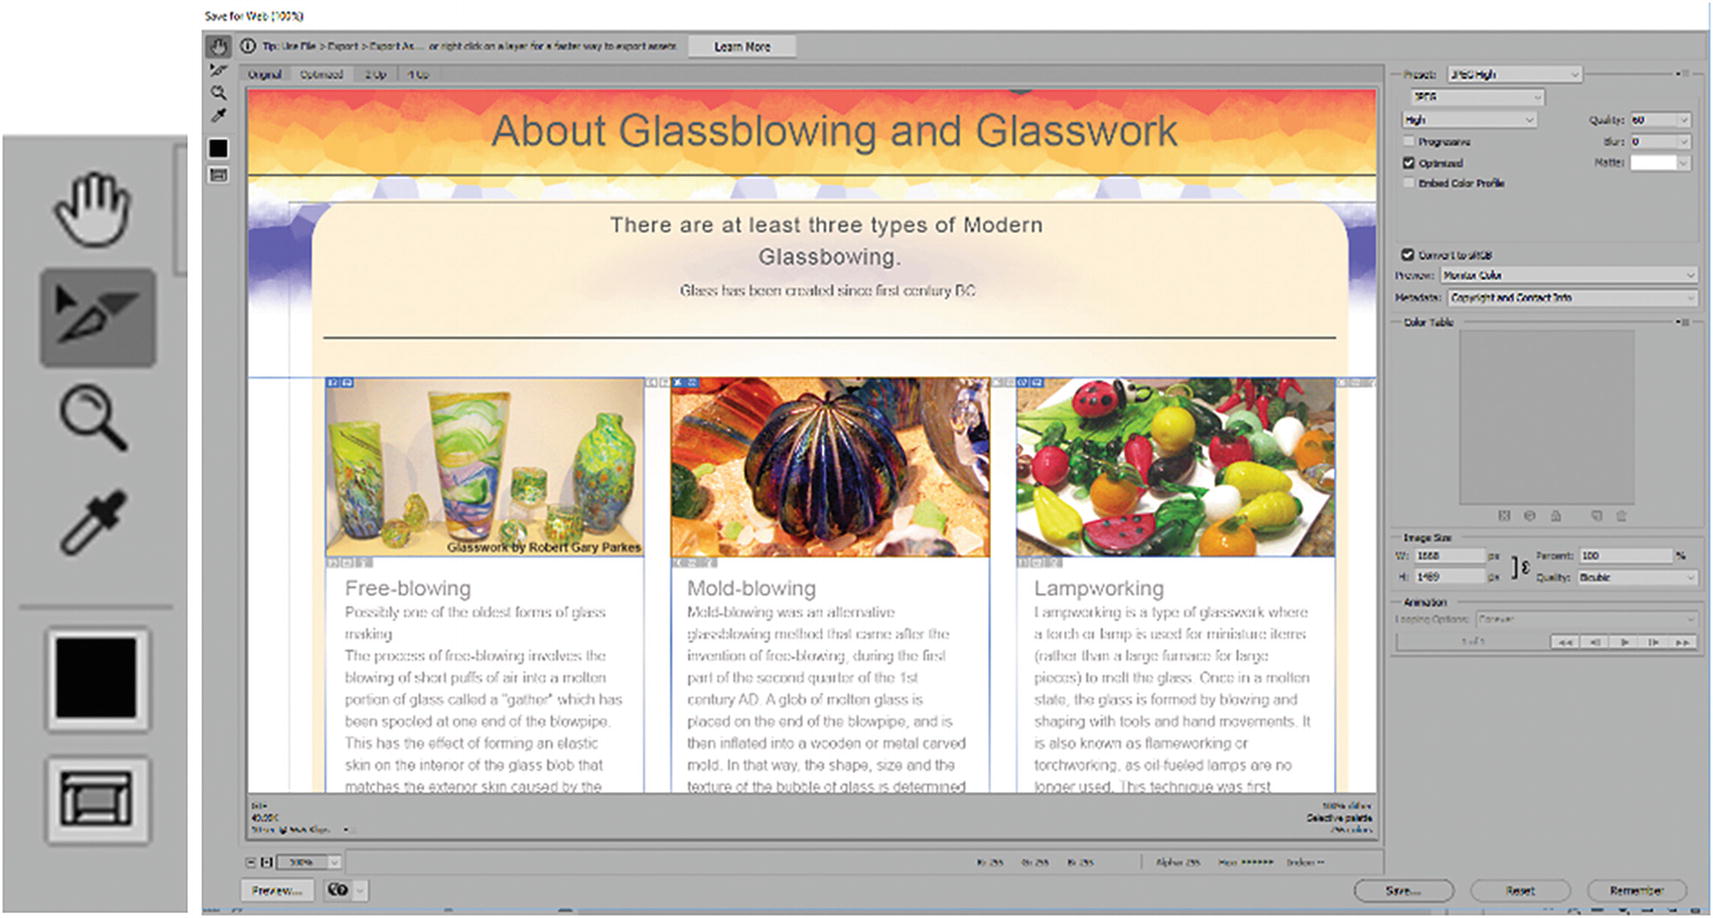
How slice options appears in the Save for Web legacy dialog box when an image slice is click on
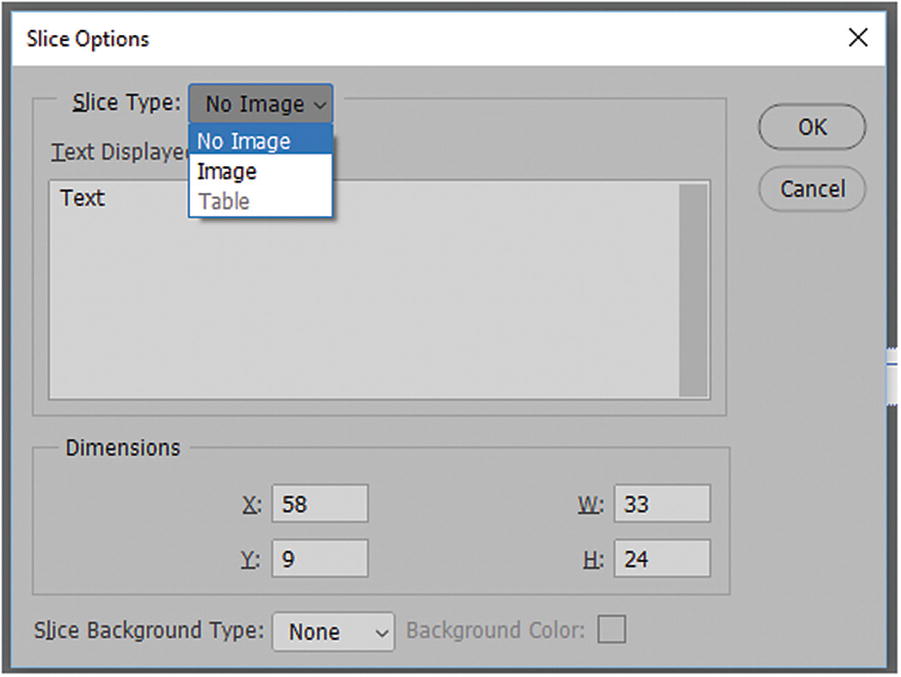

When you don’t want a slice to export, set it to No Image in your Slice Options dialog box. You can also add text. the upper screenshot shows working on the layer slice. The lower screenshot shows how the slice options appear in the Save for Web dialog box.
Note
The Slice Type: Table option is not accessible. This may be because Adobe is encouraging users to use CSS options with <div> tags rather than tables. Soon, I show you another way to adjust for CSS and avoid using tables during the final HTML output in the Save for Web (Legacy) dialog box.
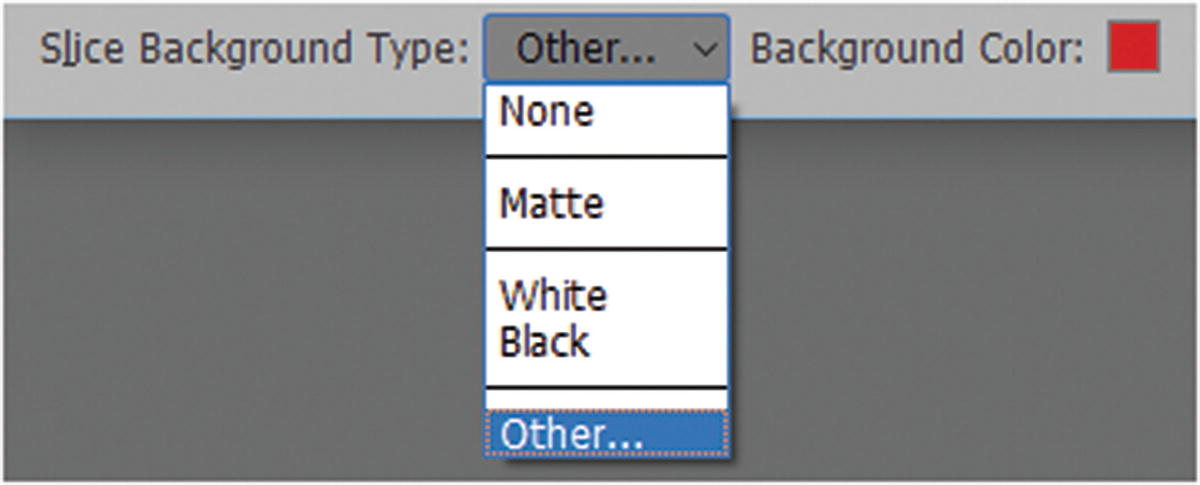
Alter the slice background type color in the slice options dialog box
Each time you draw a slice, it is numbered and auto slices around it renumber to match the flow. Sometimes subslices generate, which overlap. This can get confusing. If you don’t keep track, and the image requires many slices, you may need to clear the slices from the page and start over again. Select View ➤ Clear Slices and begin to slice again.

Slices from guides are a faster way to add slices to your file
When you create slices from guides, any existing slices are deleted, and the new ones replace them.
If you create additional slices, use View ➤ Snap To, which aligns a new slice to a guide or another slice in the image.
Layer-based Slices

Layer-based slices can be promoted to user-based slices
You can create a layer-based slice by selecting Layer ➤ New Layer-Based slice; just be aware that it may override other slices.
A layer-based slice is tied to the pixel content of the selected layer, so the only way to move, combine, divide, resize, and align it is to edit the layer or convert it to a user slice.
Likewise, all auto slices in an image are linked and share the same optimization settings. To create different optimization settings for an auto slice, you need to select it with the Slice Select tool and click Promote to make it a user slice.
Exporting Slices
Select user slices and alter the file format
The Slice Select tool allows you to choose how each slice is treated to get the optimum quality and lowest file size. Areas of solid colors might be the best set for GIF files, while areas that have a lot of color or photographs should be saved as JPEGs or PNGs. If you need to turn the slices turn off and on, you can click the Toggle Slices Visibility icon (Q) beneath the Eyedropper tool.
Slices from Tables to div Tags, Generating Cascading Style Sheets
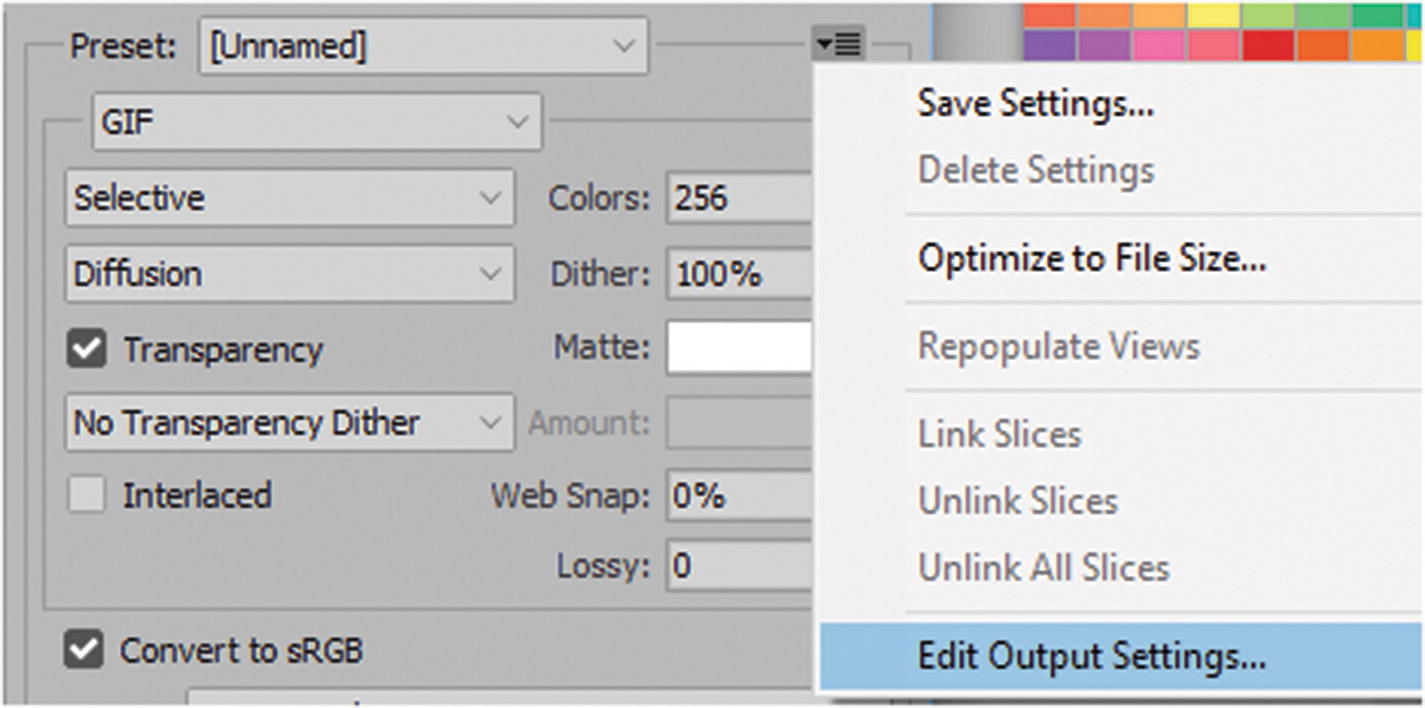
Edit the output settings of your HTML
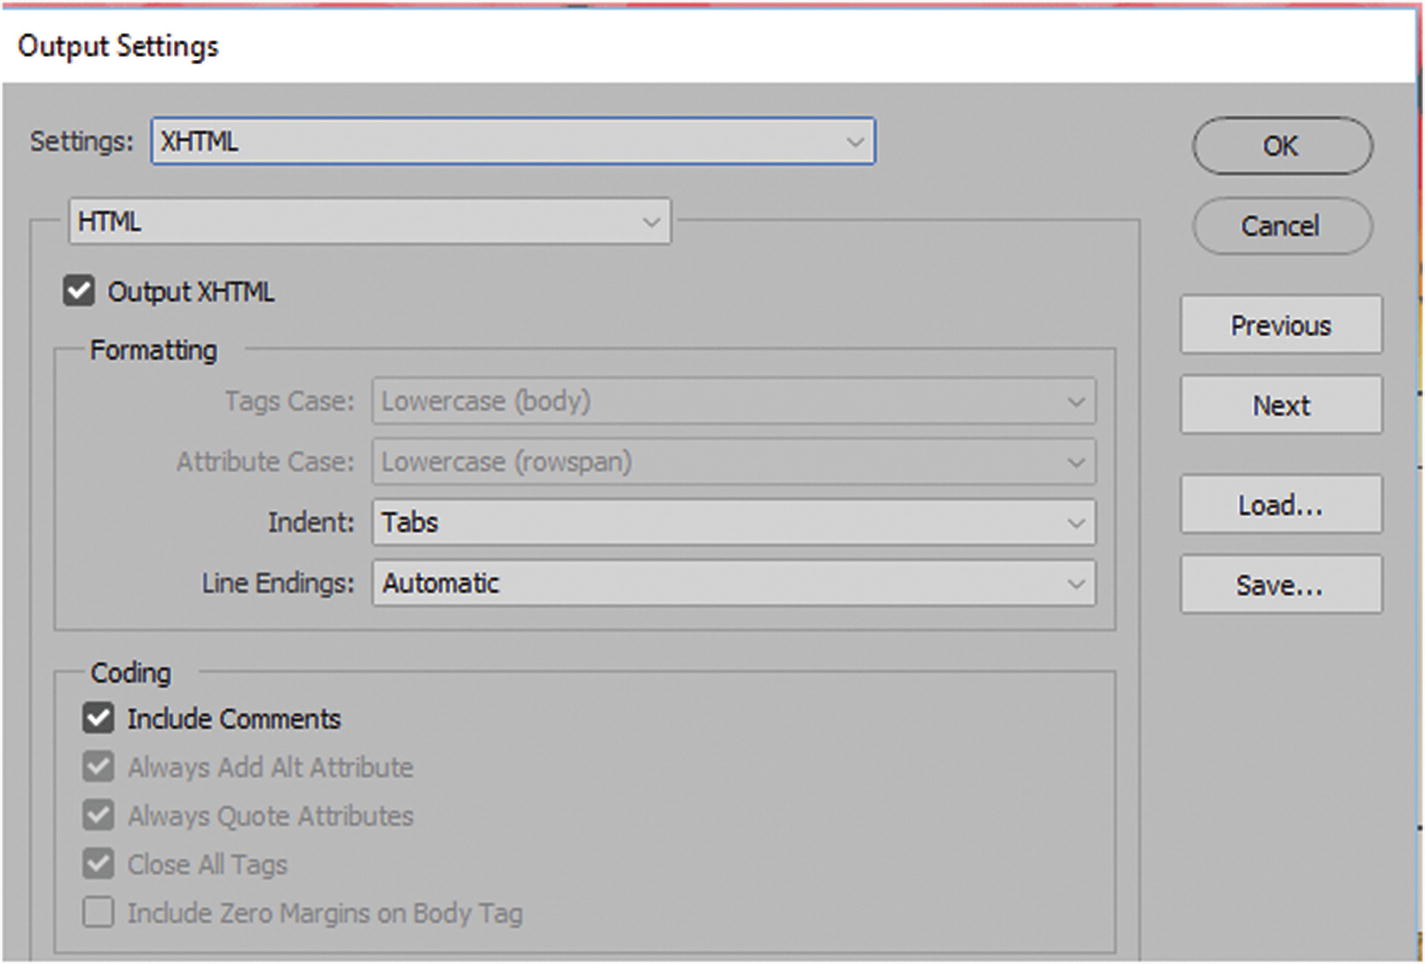
Edit your HTML output settings by choosing Output XHTML in the HTML Tab
Note
If you don’t check Output XHTML, when you bring the file into a program like Dreamweaver CC, you may receive a warning in line 1 of the document stating that the head has not been properly declared. Refer to Figure 5-48.

Avoid the doctype warning by checking Output XHTML
This time, there is no warning.
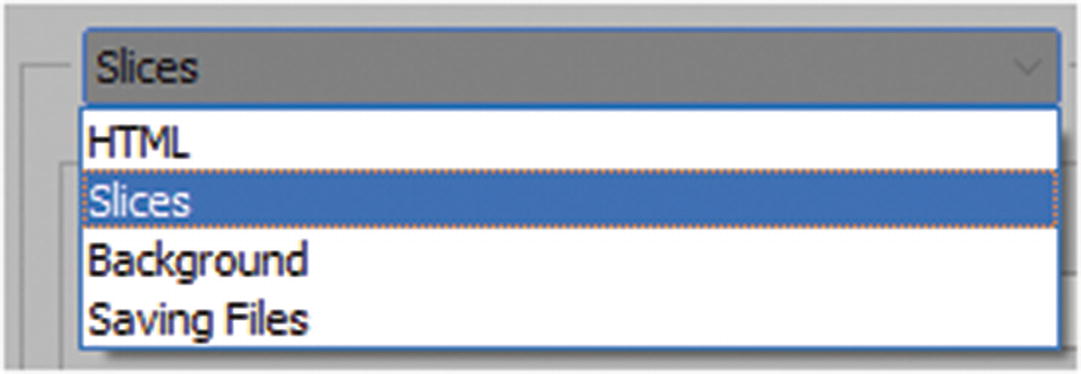
Choose Slices from the drop-down menu to adjust the next setting
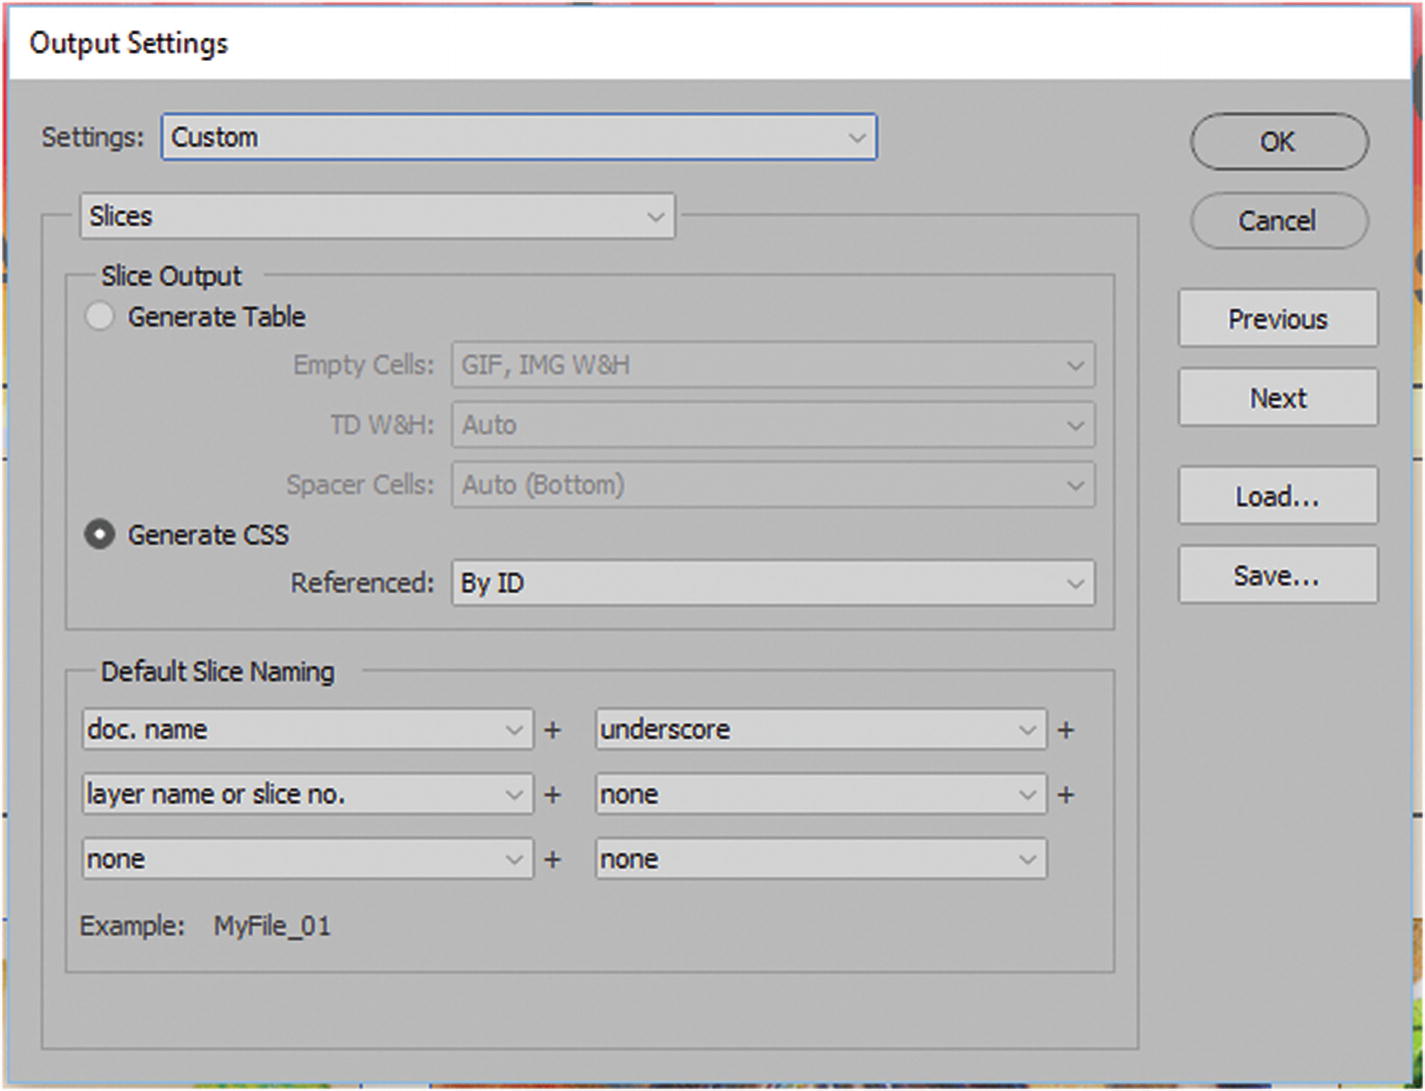
Choose that slices generate with CSS
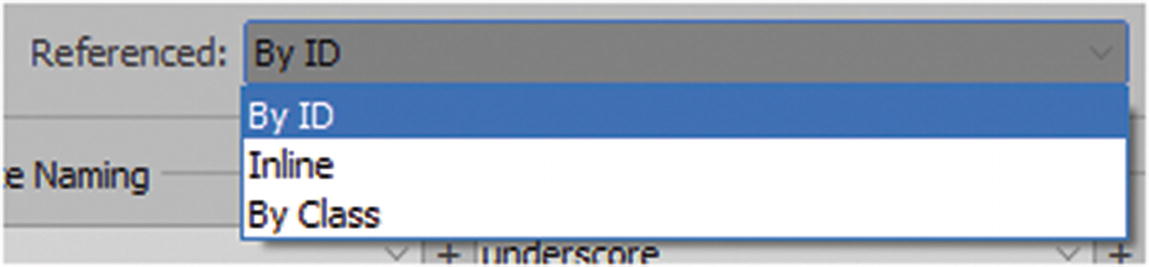
Choose a setting for your CSS
By ID: Generates an ID tag for each slice that is unique, but keeps the CSS separate in the head section.
Inline: Puts all the code directly into the body. I do not recommend this setting because it makes the code cluttered and difficult to alter if you must adjust later in Dreamweaver.
By Class: Generates a unique class for each slice, but only one main <div> tag. Like ID, this setting keeps the CSS separate in the head section. Personally, this appears to be the best setting because it keeps the code looking the cleanest, and it is easiest to edit.
Background: Refers to how the background is handled with an image or color.
Saving Files: Takes care of the filename and the file extension is saved.
Click OK to exit this dialog box.
Note
If you like these settings, you can save them as a preset so that they are available to you next time for another project.
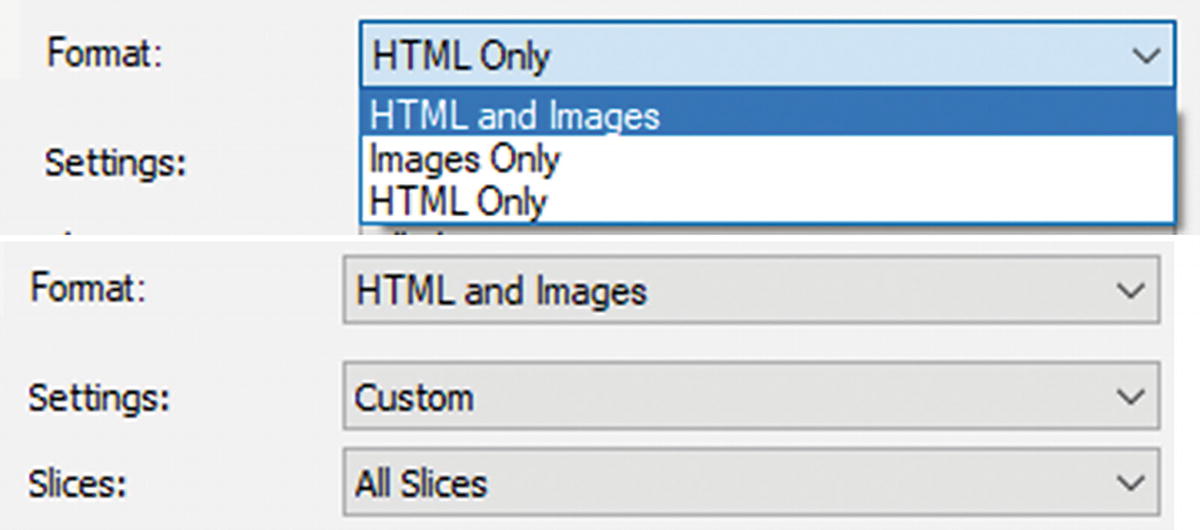
Choose HTML and Images when you save if you want to generate both at the same time
Note
Depending on the slice setup, the HTML file that was generated from your slices might appear as if you were creating rollover images or buttons. Also, the HTML coding that was generated for the slices was not a version of HTML5. If you were not planning to create rollovers, but only graphics for your div, I recommend using this XHTML file as a starting point and only copy the parts of the code that you need into your HTML5 file and external CSS file, which you create in Dreamweaver CC. In addition, you can re-create rollovers in Dreamweaver with or without slices, which you look at in Part 6 of the book.
Zoomify an Image
One other unique way you can work with images for a webpage is to select File ➤ Export ➤ Zoomify.
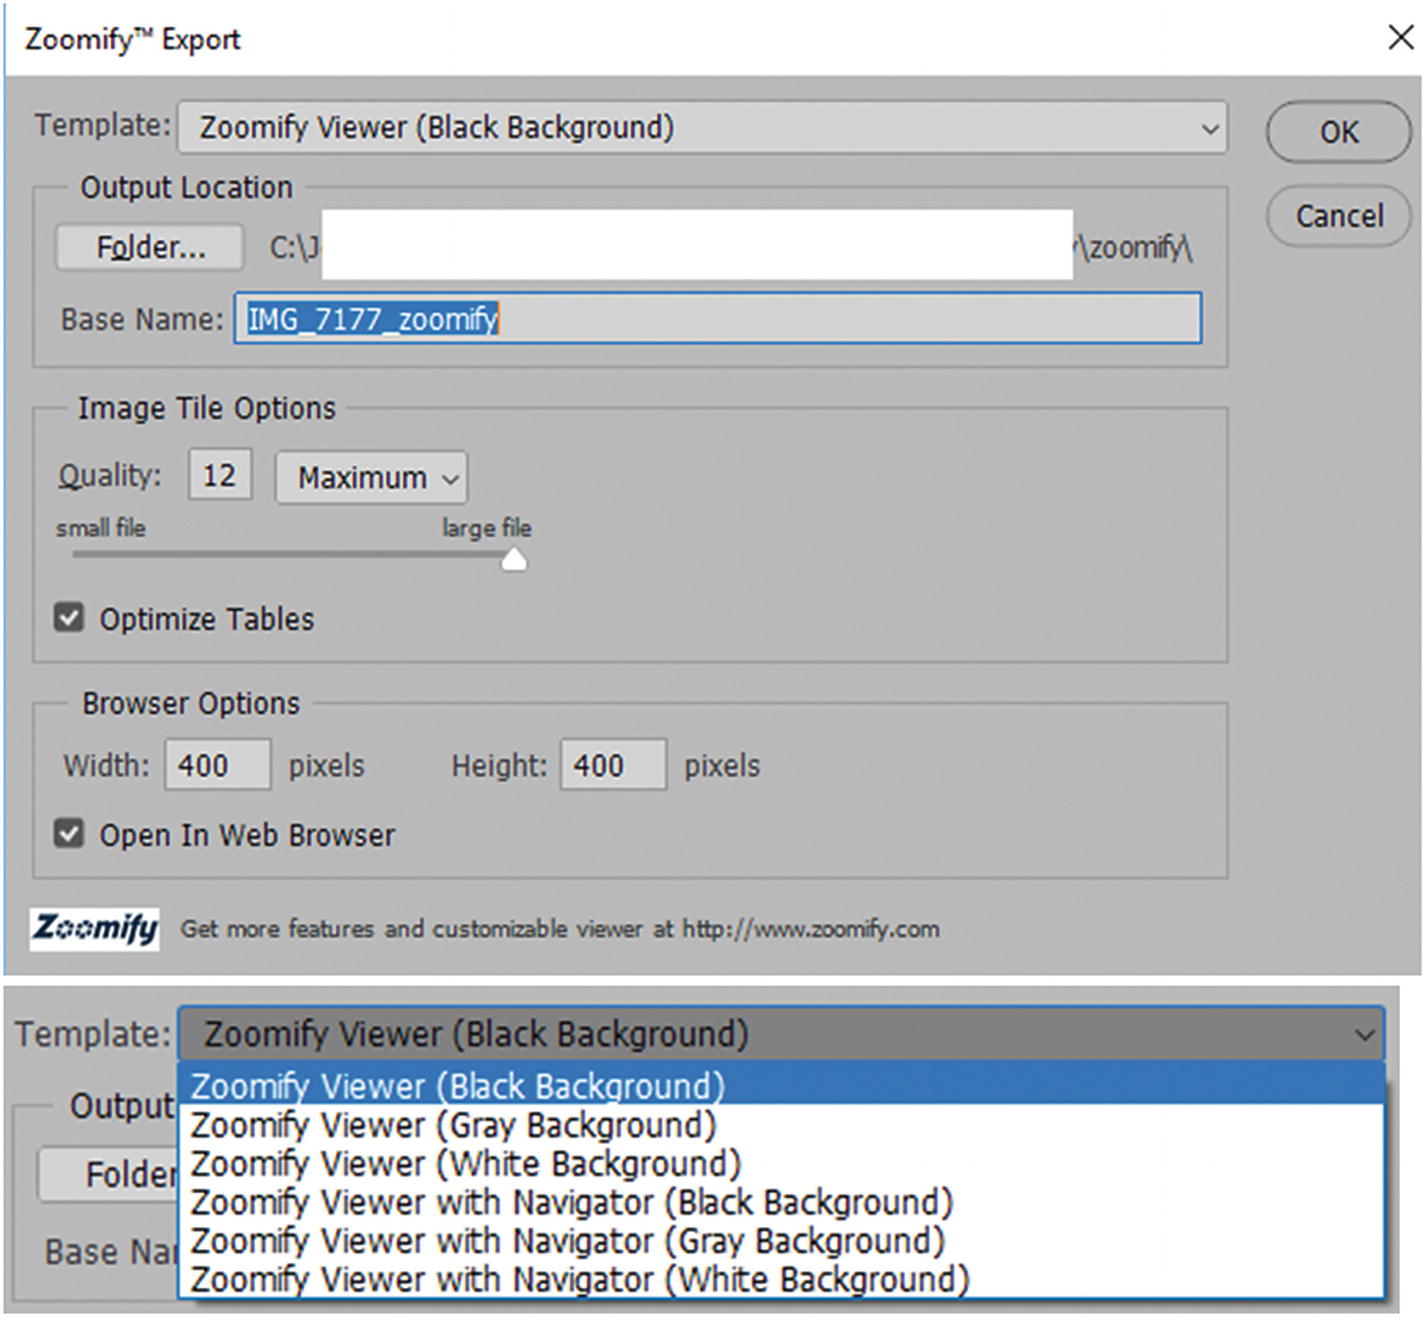
Options in the Zoomify dialog box
Zoomify appears to work with only JPEG images. You can choose from various base templates for the background. Once you have set the folder location, you can name the file, set the JPEG image quality, and set the browser width and height of the zoom area. When you click OK. Photoshop generates several files in a folder containing tiled images, an XML file, a JavaScript (.js) file, and an HTML page.
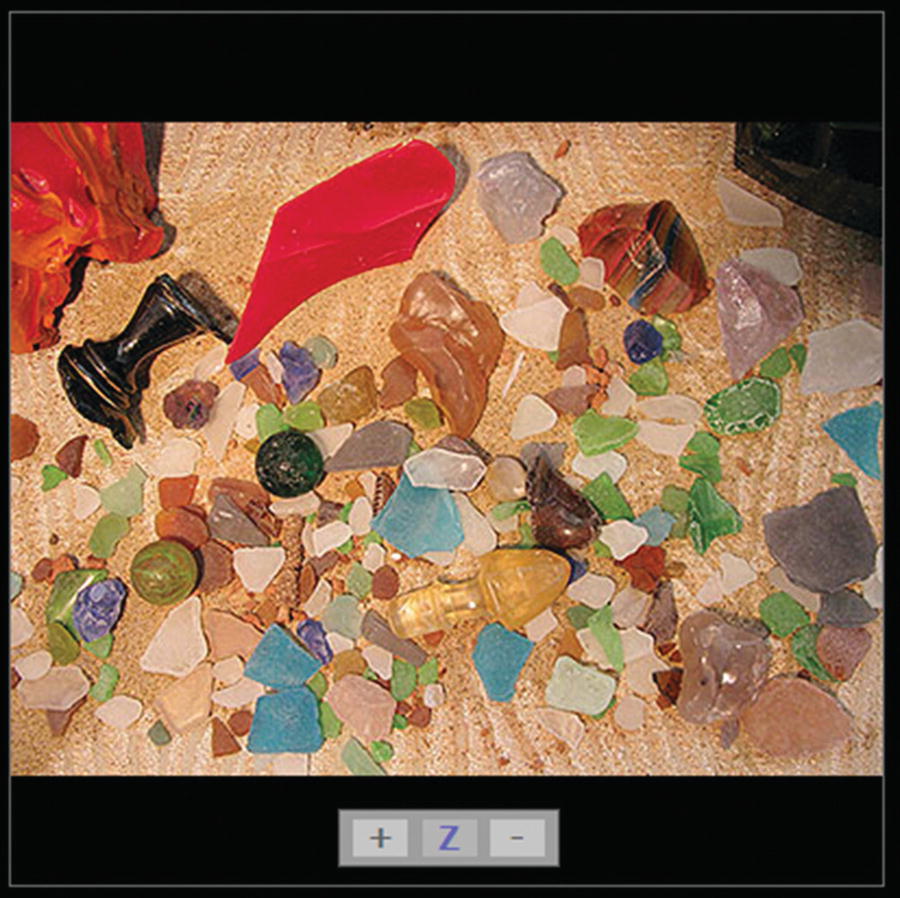
Zoom in and out of an image with Zoomify
Summary
This chapter covered a lot of ground as it relates to exporting images, including using automation, slicing, and single images that you can zoom in and out of. Depending on your workflow, you may prefer some options over the others; the choice is up to you. In the next chapter, you look at some of the tools for creating basic animations in Photoshop CC using the Timeline panel.