
In Part 2, you are going to start with a review of some Adobe Photoshop CC basics. Along the way, you are going to look at the variety of menu options within the program that you can use to export images and GIF animations, and render video for your website. In this chapter, you will set up your workspace.
Note
This chapter does not have any actual projects; however, you can use the files in the Chapter 2 folder to practice opening and viewing for this lesson. They are at https://github.com/Apress/graphics-multimedia-web-adobe-creative-cloud .
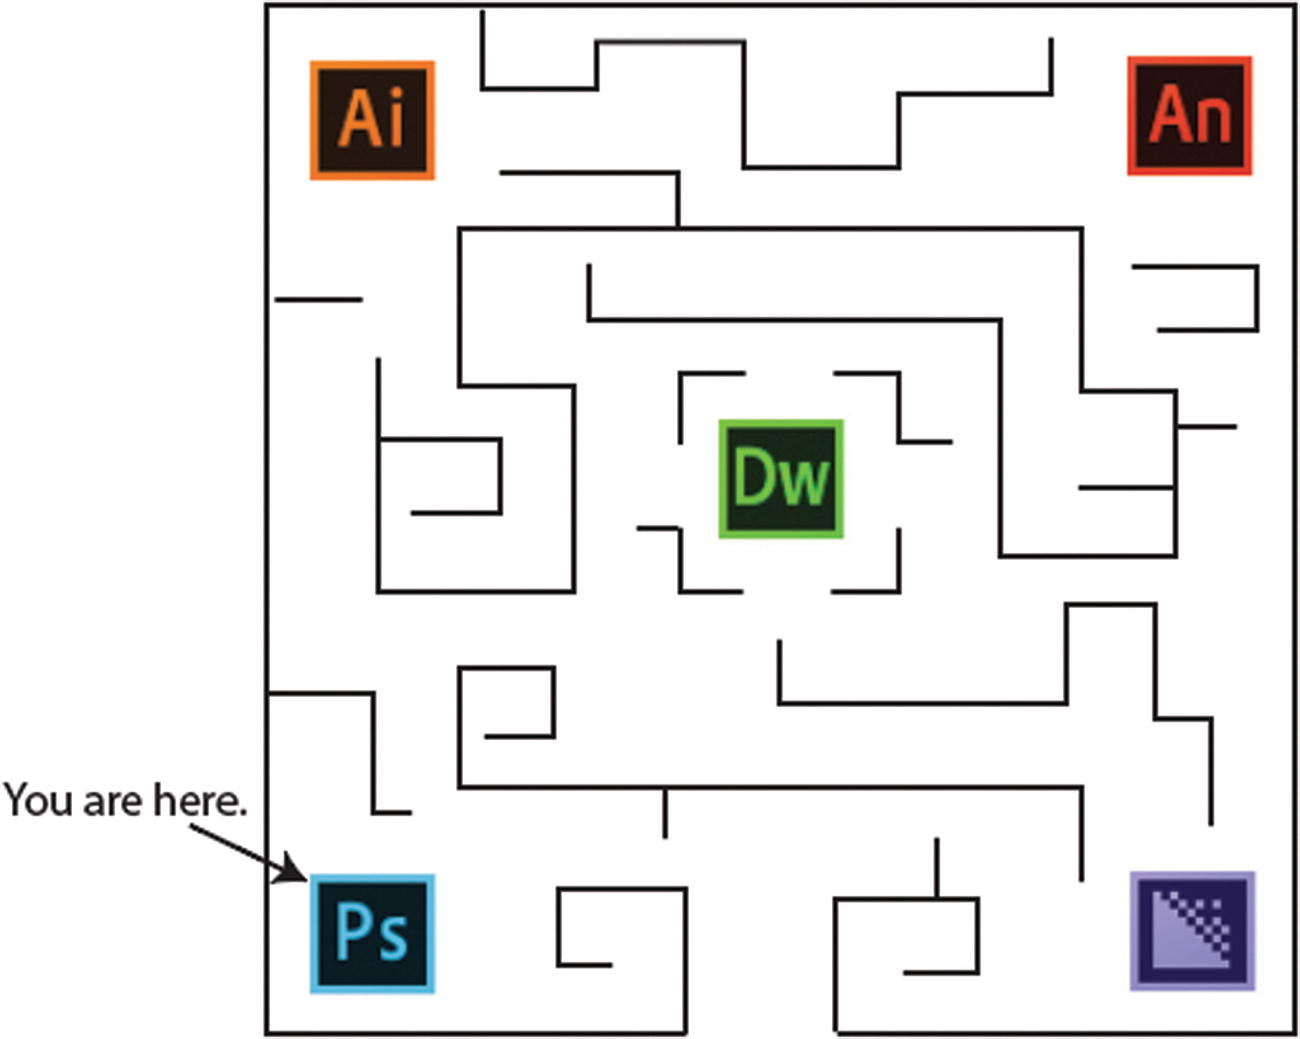
This is a representation of where you currently are in the software maze

The learn panel has easy step-by-step tutorials for the beginner Photoshop user
In this book, you will work with some graphics that are already created, and then save them to the web.
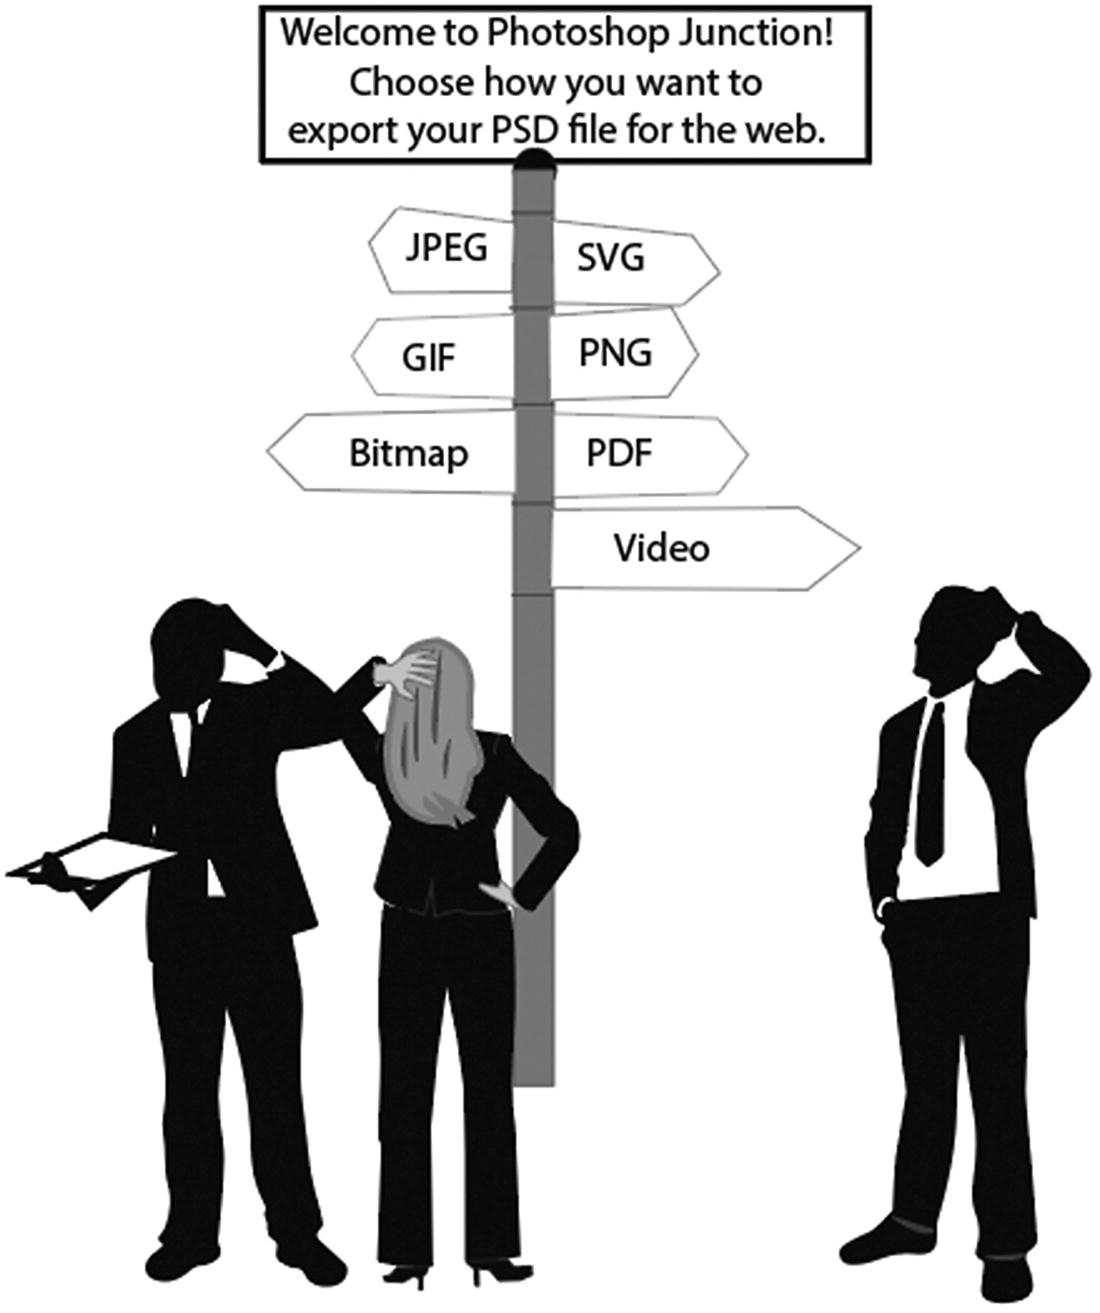
Here you see a junction or point of decision within Photoshop. What is the correct type of file format to use for a specific project?
Working with Your RAW and Layered Files
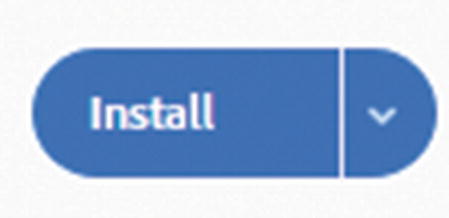
The Install button that is found beside the Creative Cloud software on the Creative Cloud console
Note
Before you install any Adobe program, make sure that your computer meets the system requirements; otherwise, the install may fail. For more information on Photoshop requirements check https://helpx.adobe.com/photoshop/system-requirements.html .

You can open Photoshop CC from the Creative Cloud application by clicking the Open button
Once Photoshop opens, set up your workspace so that yours is the same as mine.

Choose the Graphic and Web workspace from the Workspace drop-down menu
If you have already used the Graphic and Web workspace, you can choose Reset Graphic and Web from the menu to return the workspace to its default settings.
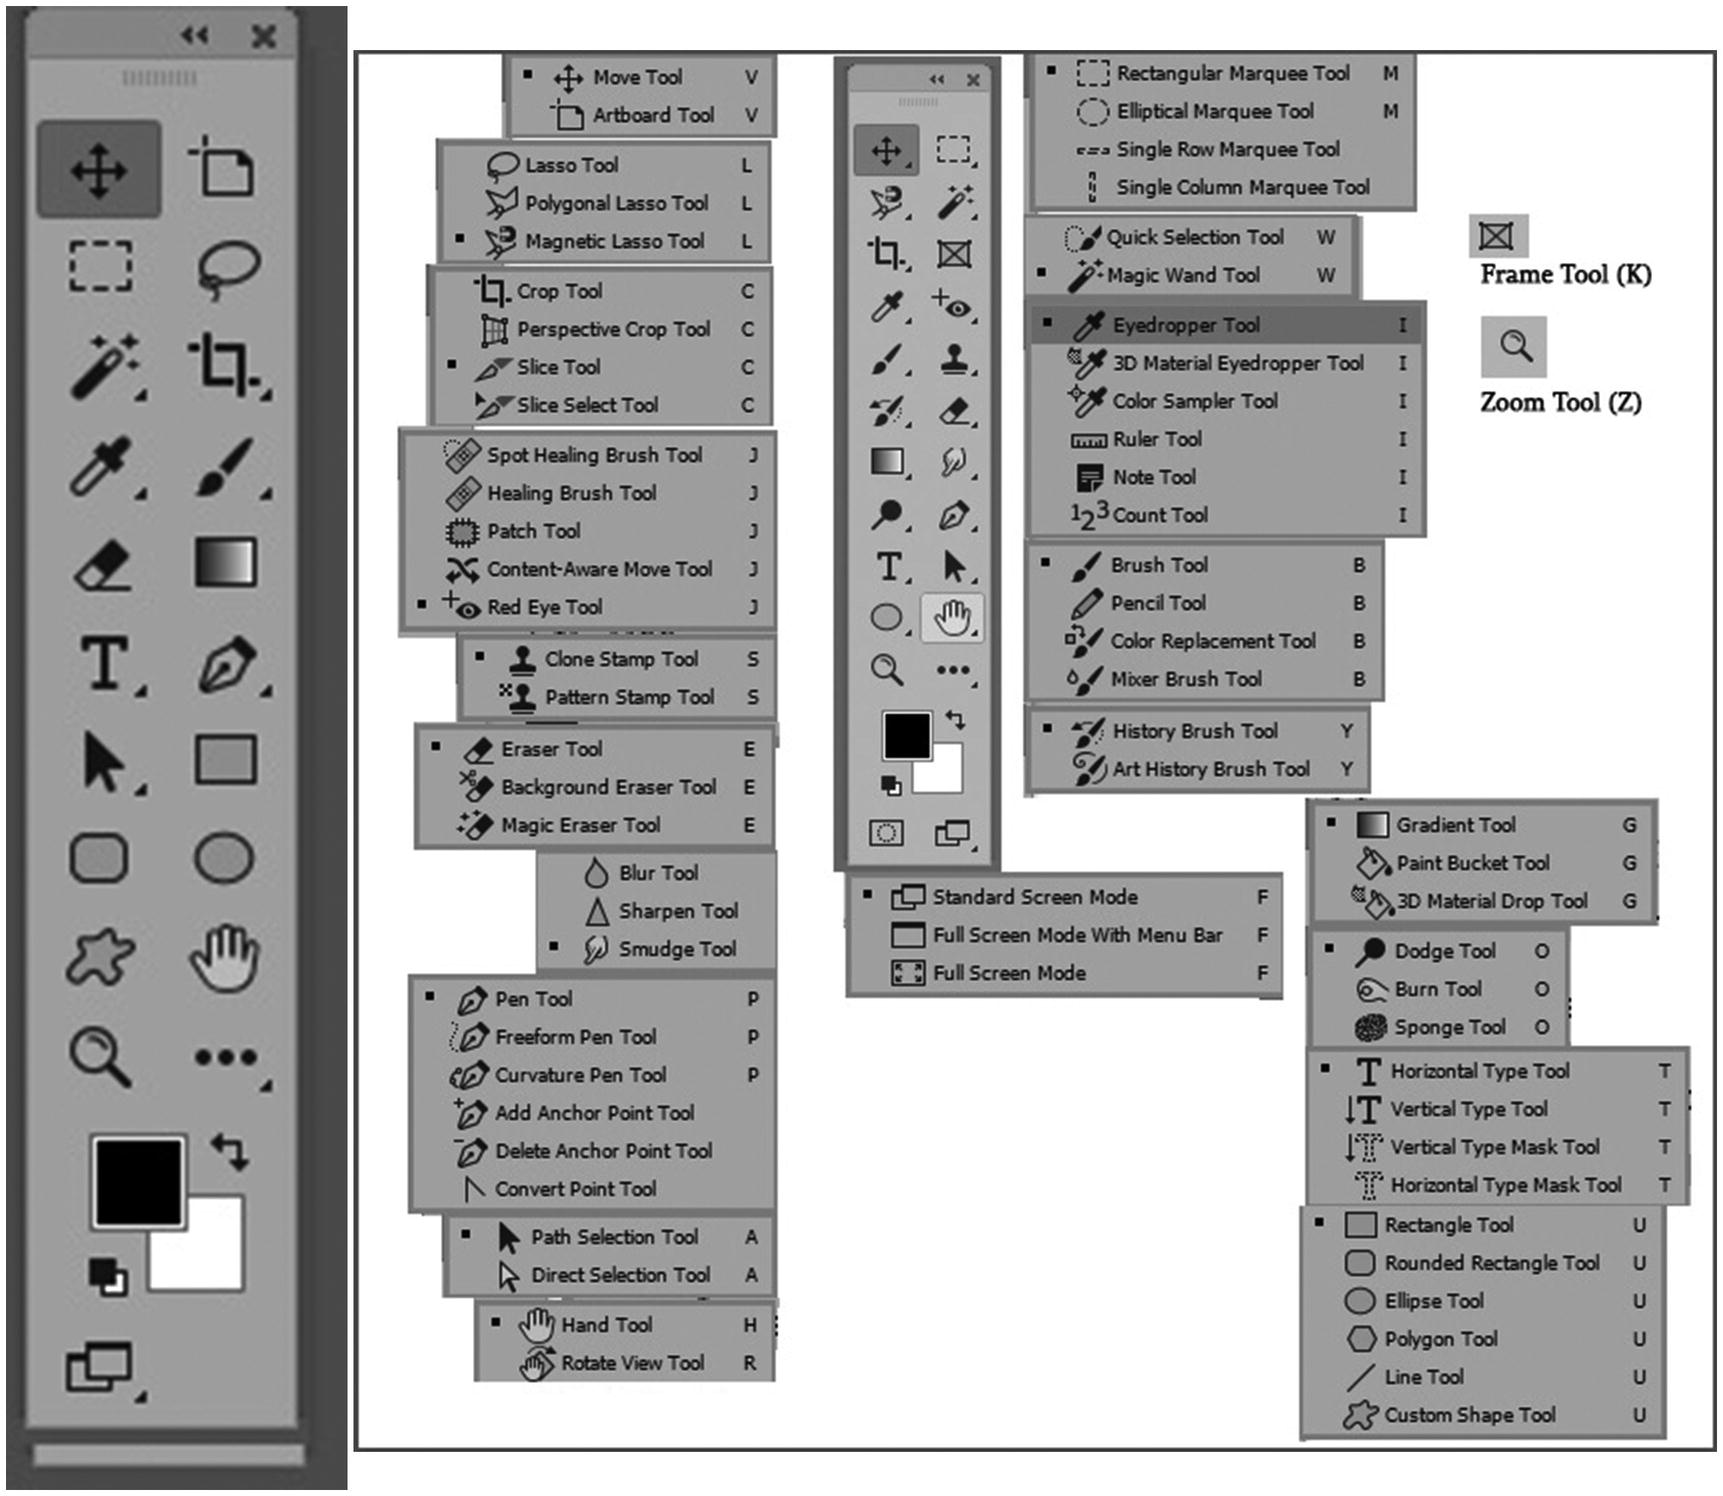
Comparison of the Tools panel in in the Graphic and Web workspace vs. the Essentials workspace, which has more tool options available.
Note
If you notice that your toolbar does not have all the tools you require, you can click the Edit Toolbar icon. This will allow you to add more or all tools back onto the tool panel, as seen in Figure 2-8 and Figure 2-9.
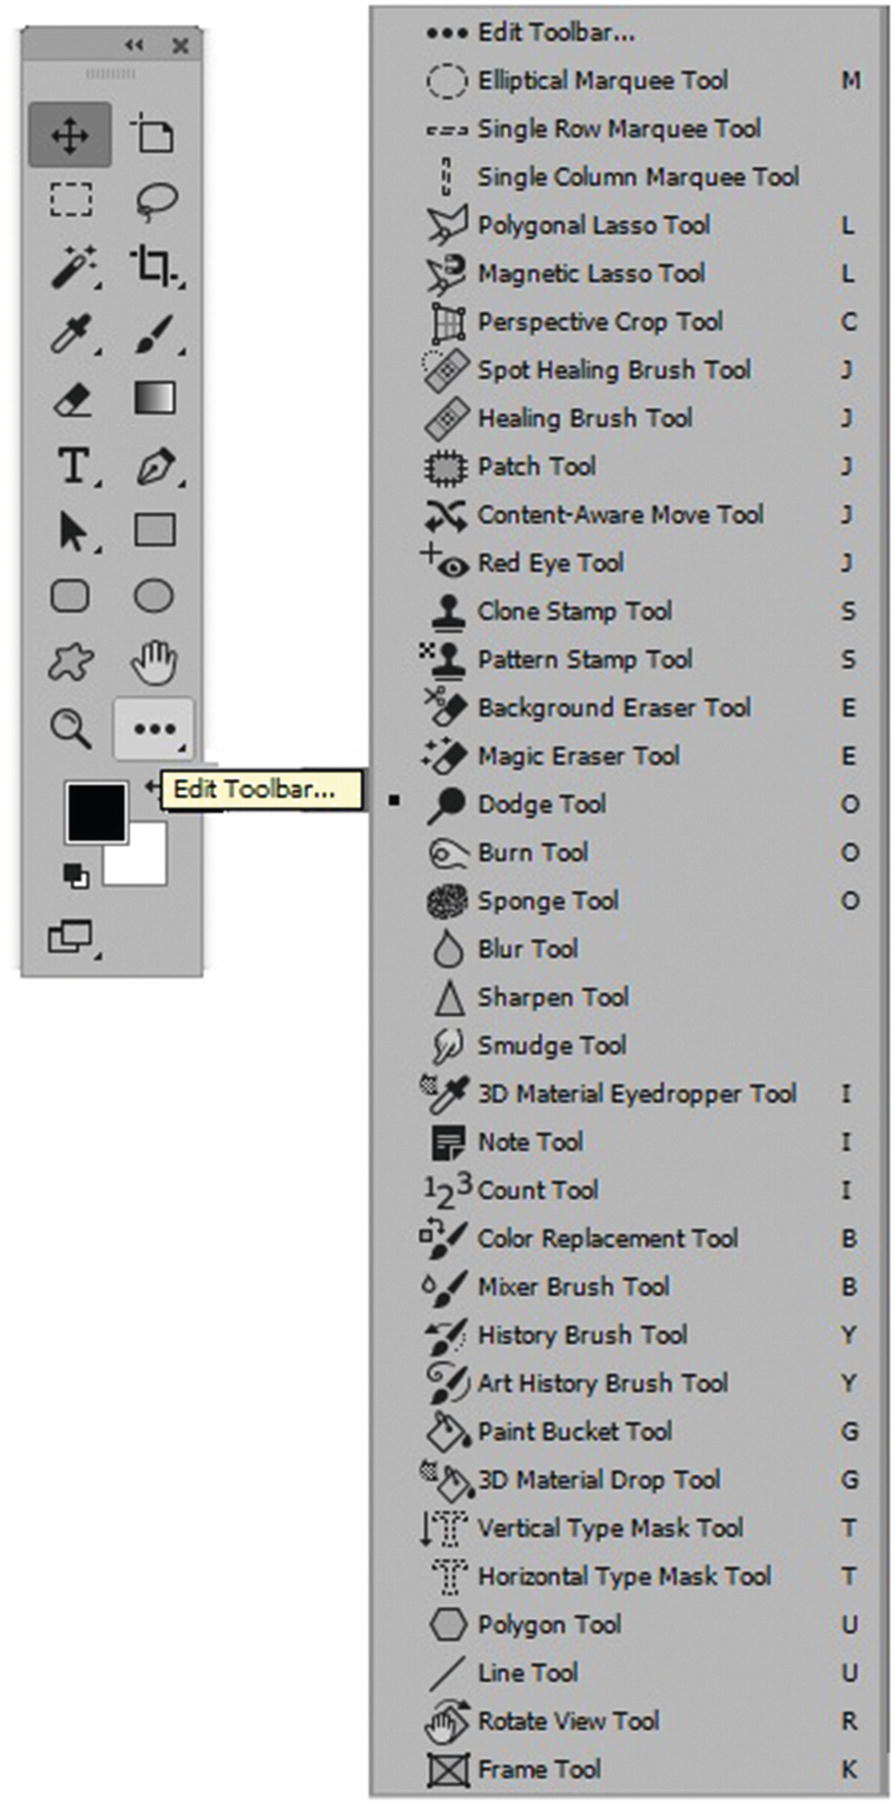
By clicking the Edit Toolbar icon, you can add tools to customize your tool selection
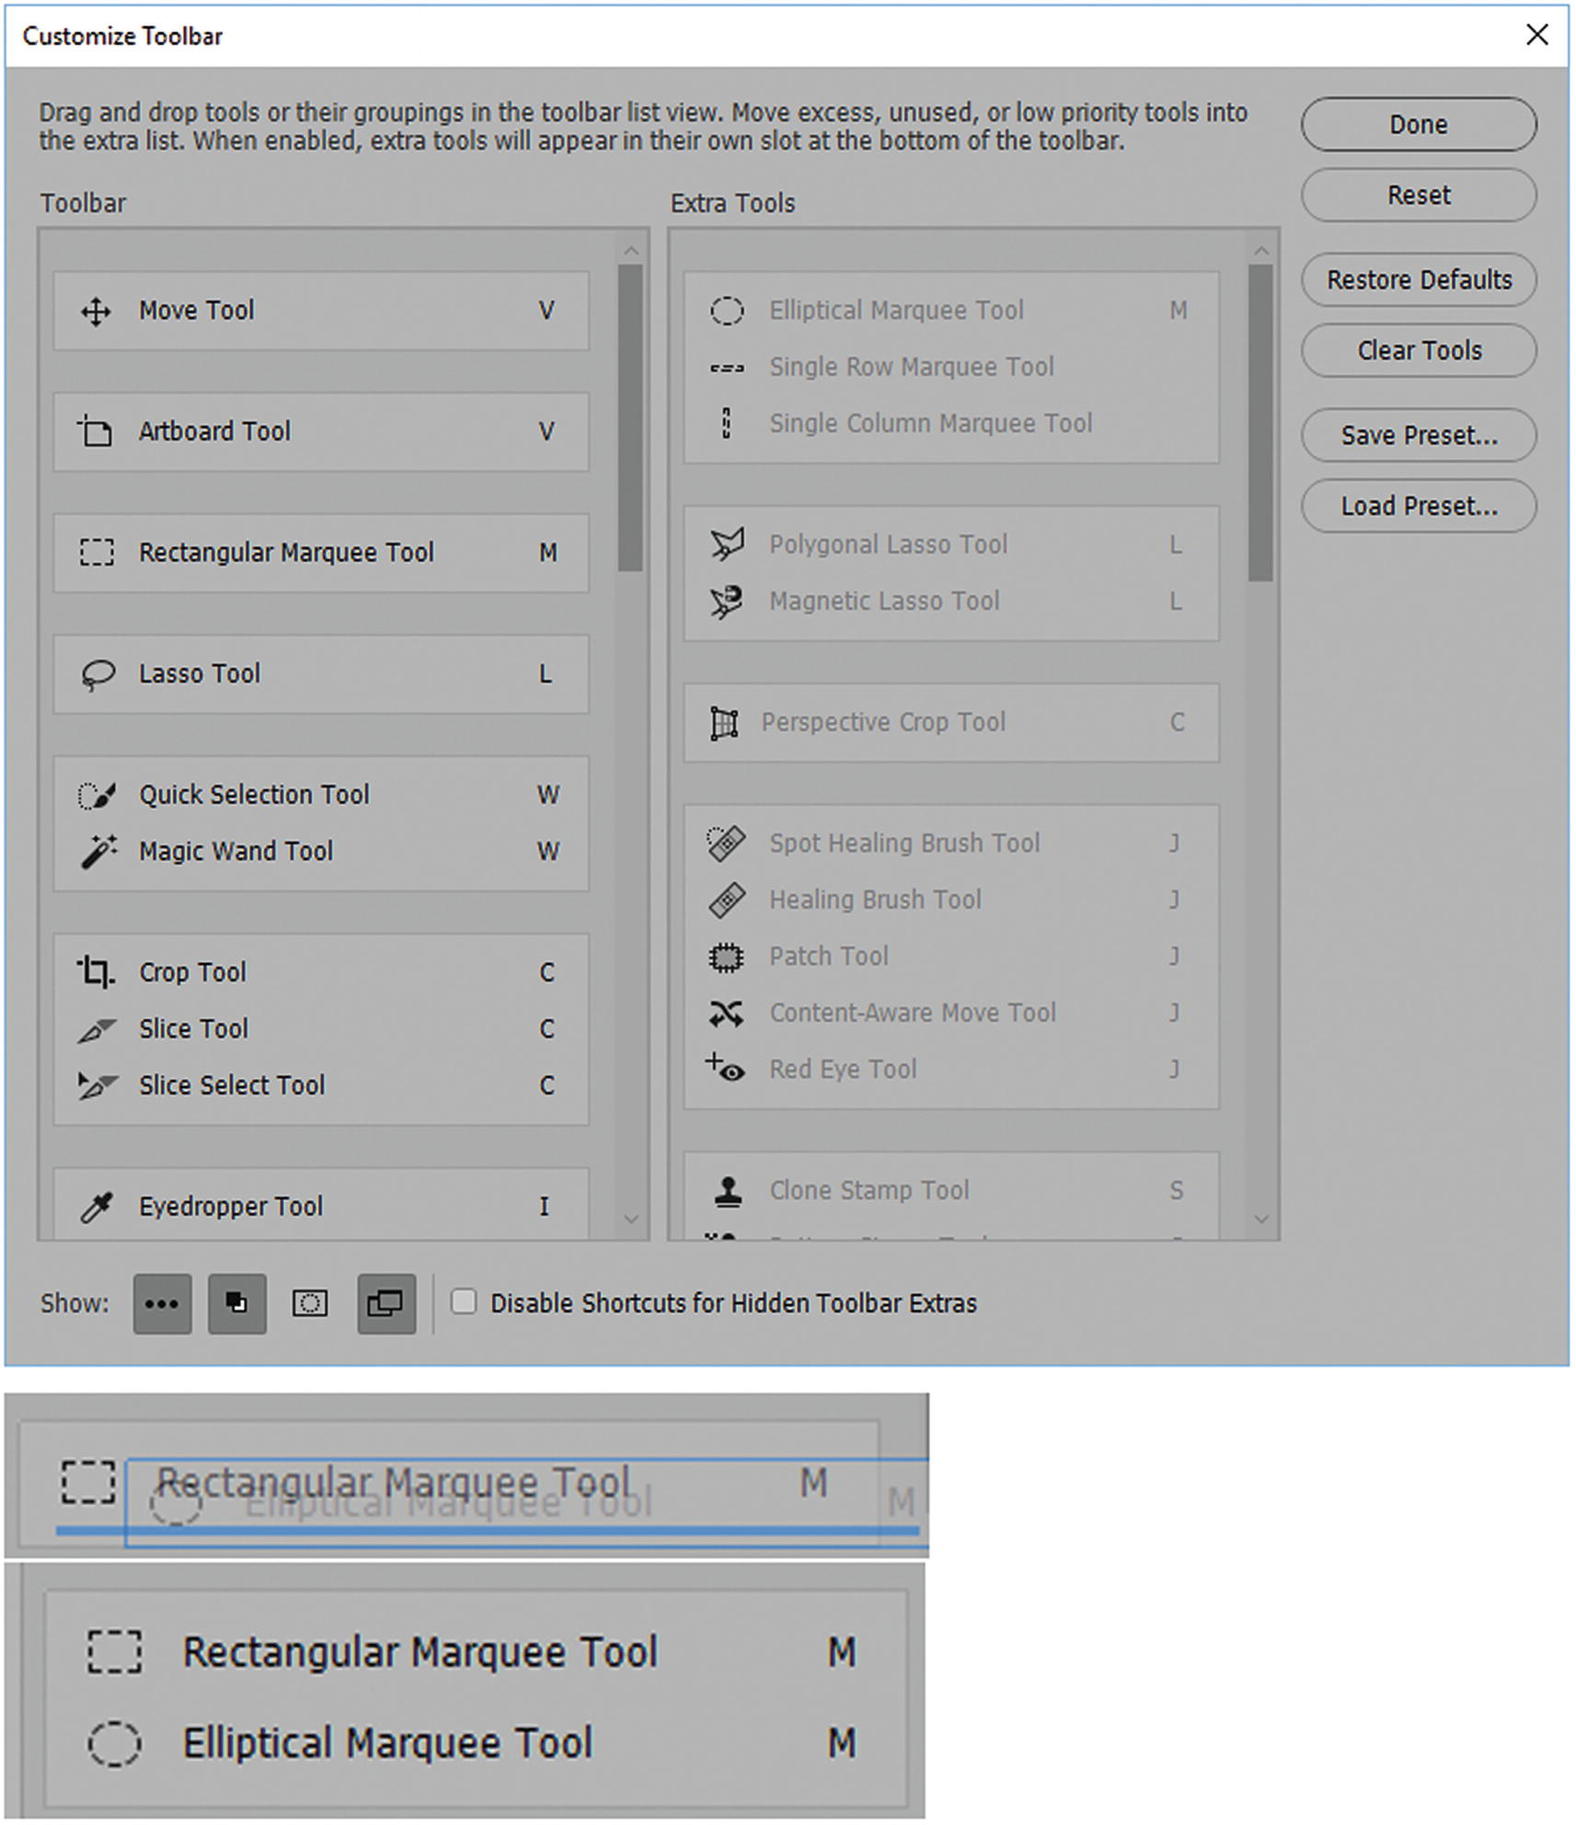
The Customize Toolbar dialog box allows you to add or remove tools from your tools panel and preview it at the same time
You can also remove tools by dragging them back to the Extra Tools side. Or you can choose restore defaults to add all tools, or clear tools to remove all tools. Likewise, you can load presets that others created or save your own presets. When you have added the tools you require, click Done, or Cancel to exit without making any changes.
The Graphics and Web workspace layout
If you prefer another workspace for your web design, you can always choose a different one or create your own custom workspace (New Workspace) as seen in Figure 2-6.
Creating a New File
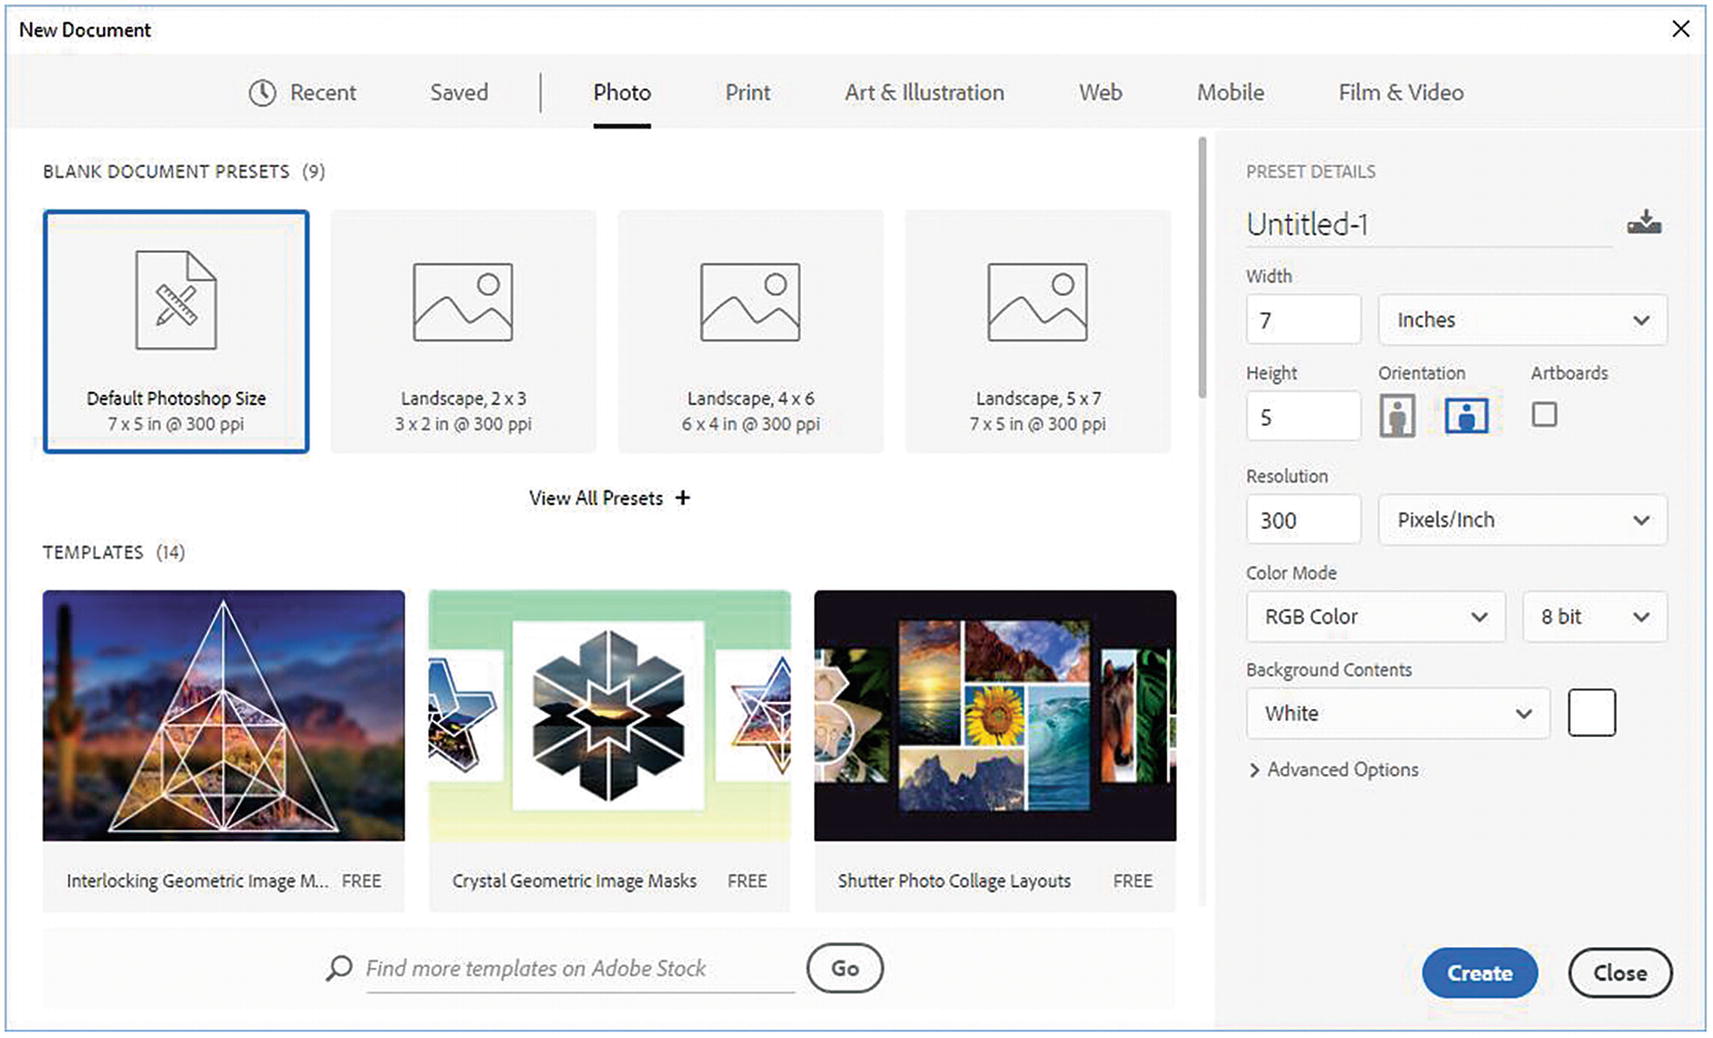
The New Document dialog box with the Photo tab options selected
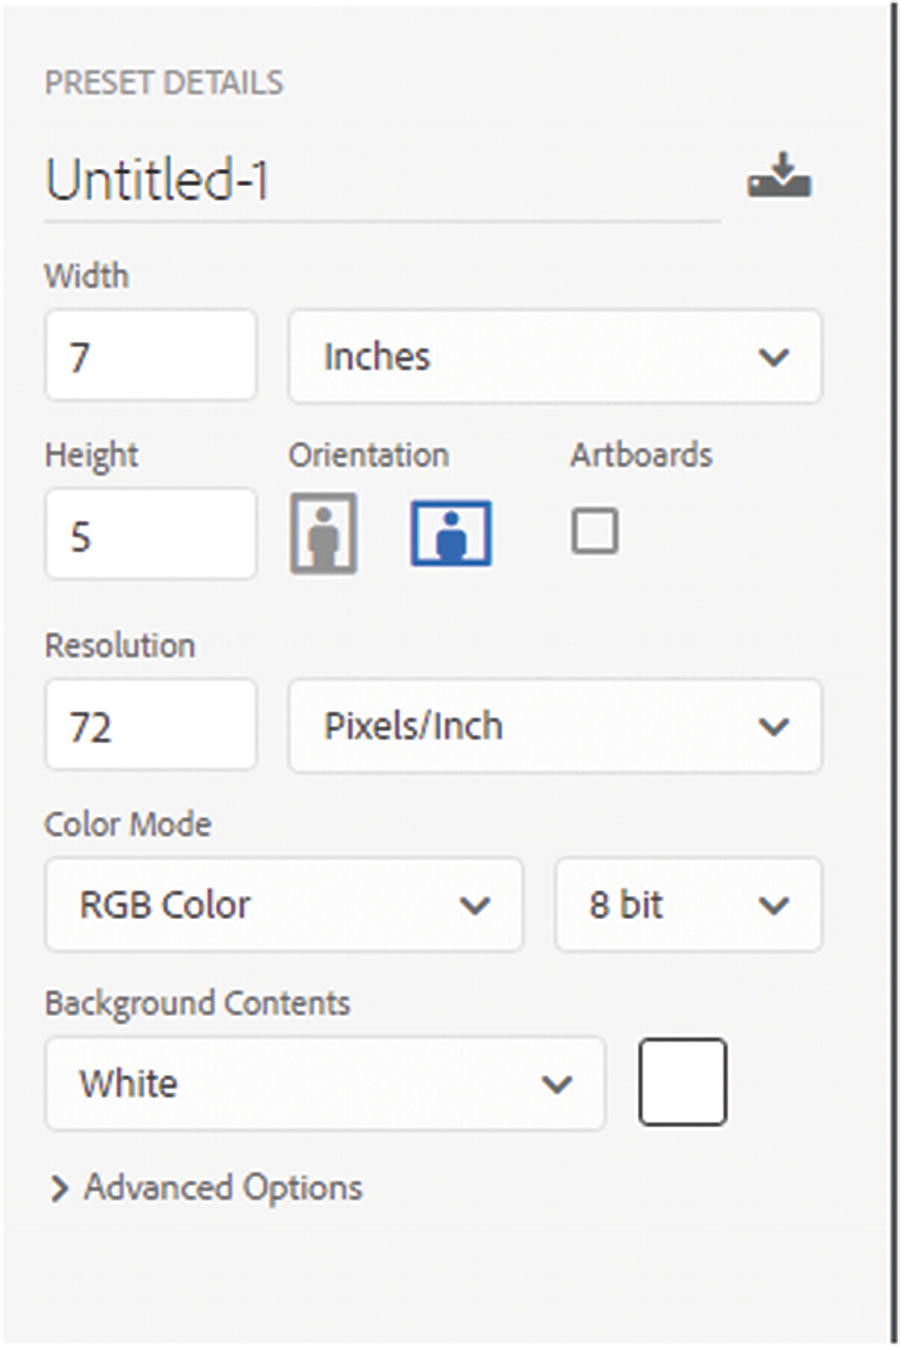
The New Document dialog box preset details with the color mode set to RGB 8-bit color
Note
If you are not sure of the exact dimensions the images that you are planning to create for the web, you can always keep your file at 300 pixels/inch so that your original graphic has the highest resolution. You can always scale down to a low-res copy later when you export your image. It is more difficult to scale a file back up to high-res due to loss of image quality. However, if you know the exact size, set the resolution to 72 pixels/inch, which is generally the accepted resolution for most images on the web.

Click the Create button so that Photoshop can create your new file with your preferred settings. The Close button will close the dialog box and no new file will open.
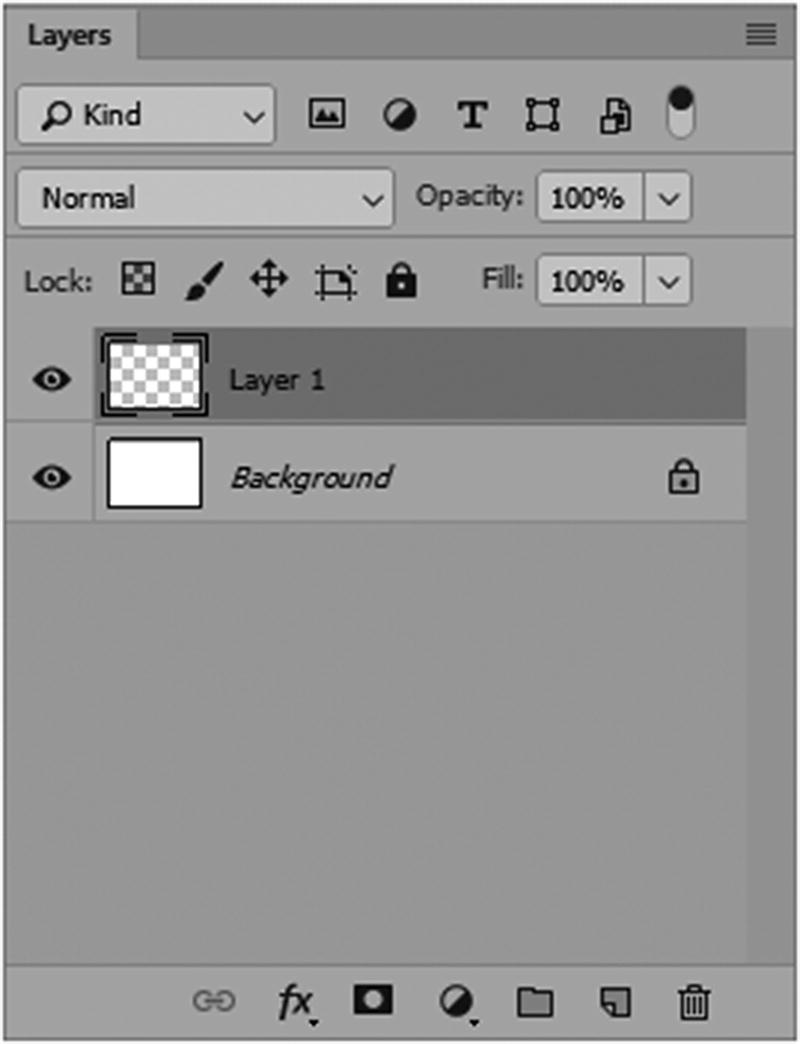
A background default layer and now a new layer has been added to the newly created Photoshop file by clicking the New Layer icon on the bottom right near the Trash icon
Bitmap (.bmp): This file is often created when you scan a file with your office scanner. It is common in Windows-compatible computers. While it can be used on the web, the file size is often quite large, so it’s better to save a copy in a file format suited for the web.
TIFF (.tif,.tiff): Often, graphic artists will save a final single layered piece of artwork as a TIFF file. These files are considered images that do not lose quality (lossless) as copies are saved from them. They retain their original size; no compression of data occurs.
Photoshop PSD (.psd, .pdd, .pstd): While creating your graphics, you may save your files with multiple layers. Photoshop PSD files allow you to retain these layers, effects, and masks. After you save and close the file, you can always come back another day and continue to edit it until you are ready to export a flattened copy to the web.
Large document format (.psb): Sometimes the file size of a layered file can become very large such as over 2GB. Layered files over this size are often saved as a .psb known as a Photoshop Big to preserve the file quality.
Camera RAW or digital negative (.dng): A camera raw image file is in a camera-specific proprietary format that is essentially a “digital negative,” with no filtering, white balance adjustments, or other in-camera processing. You need the Camera Raw program plugin to install with Photoshop CC to view these files. Refer to Figure 2-15.

This is how the Camera Raw CC program should appear in your Creative Cloud console so that you know it is operating correctly
JPEG files from a camera (.jpg, .jpeg, .jpe): Some cameras only create JPEGs. Since it comes directly from the camera, it is the original and has not lost quality yet. If it is altered or subsequent JPEG images are saved from it, they will be of lower quality.
While these are all good file formats for your original files (except for the bitmap and JPEG files), you cannot display the other formats in most browsers.
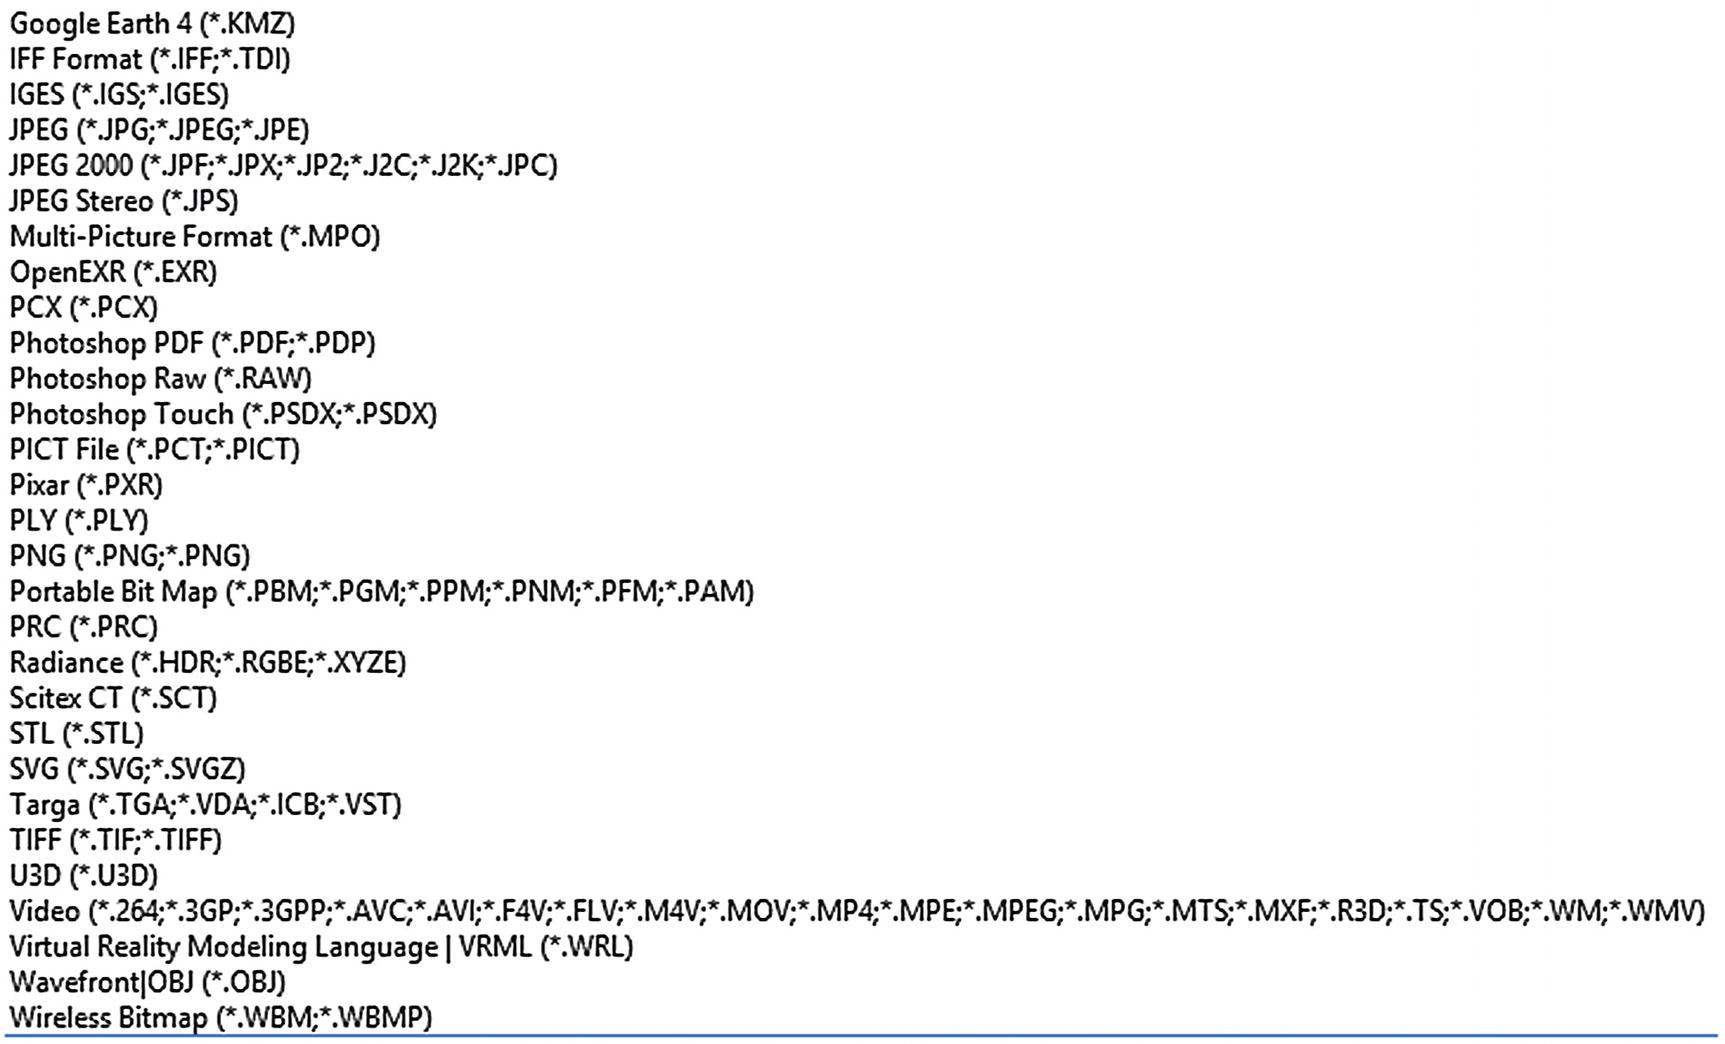
File format options found when choosing File ➤ Open
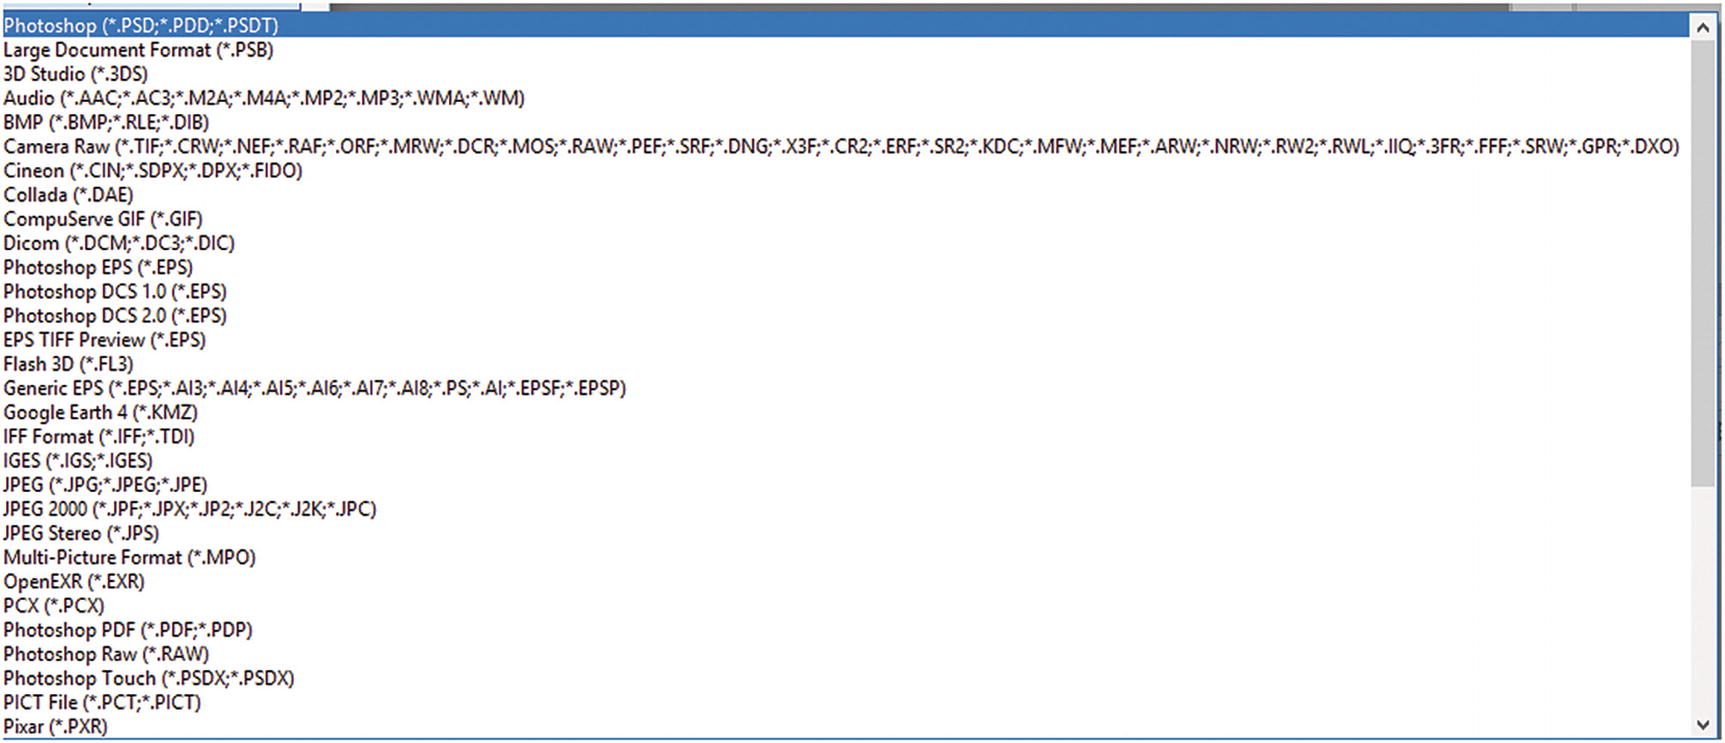
File format options found when choosing File ➤ Open As
For more information on other formats, visit https://helpx.adobe.com/photoshop/using/file-formats.html .
Image Files from Other Adobe Programs
Your image files might originally come from Adobe programs like Illustrator CC (.ai and .eps files), Lightroom CC (Camera Raw), Dimension CC to create 3D shapes (.png or .psd), Fuse CC to create 3D characters as (.obj and .png) files, and Adobe Acrobat PDFs. All of these files can be opened and saved as pixeled raster images within Photoshop.
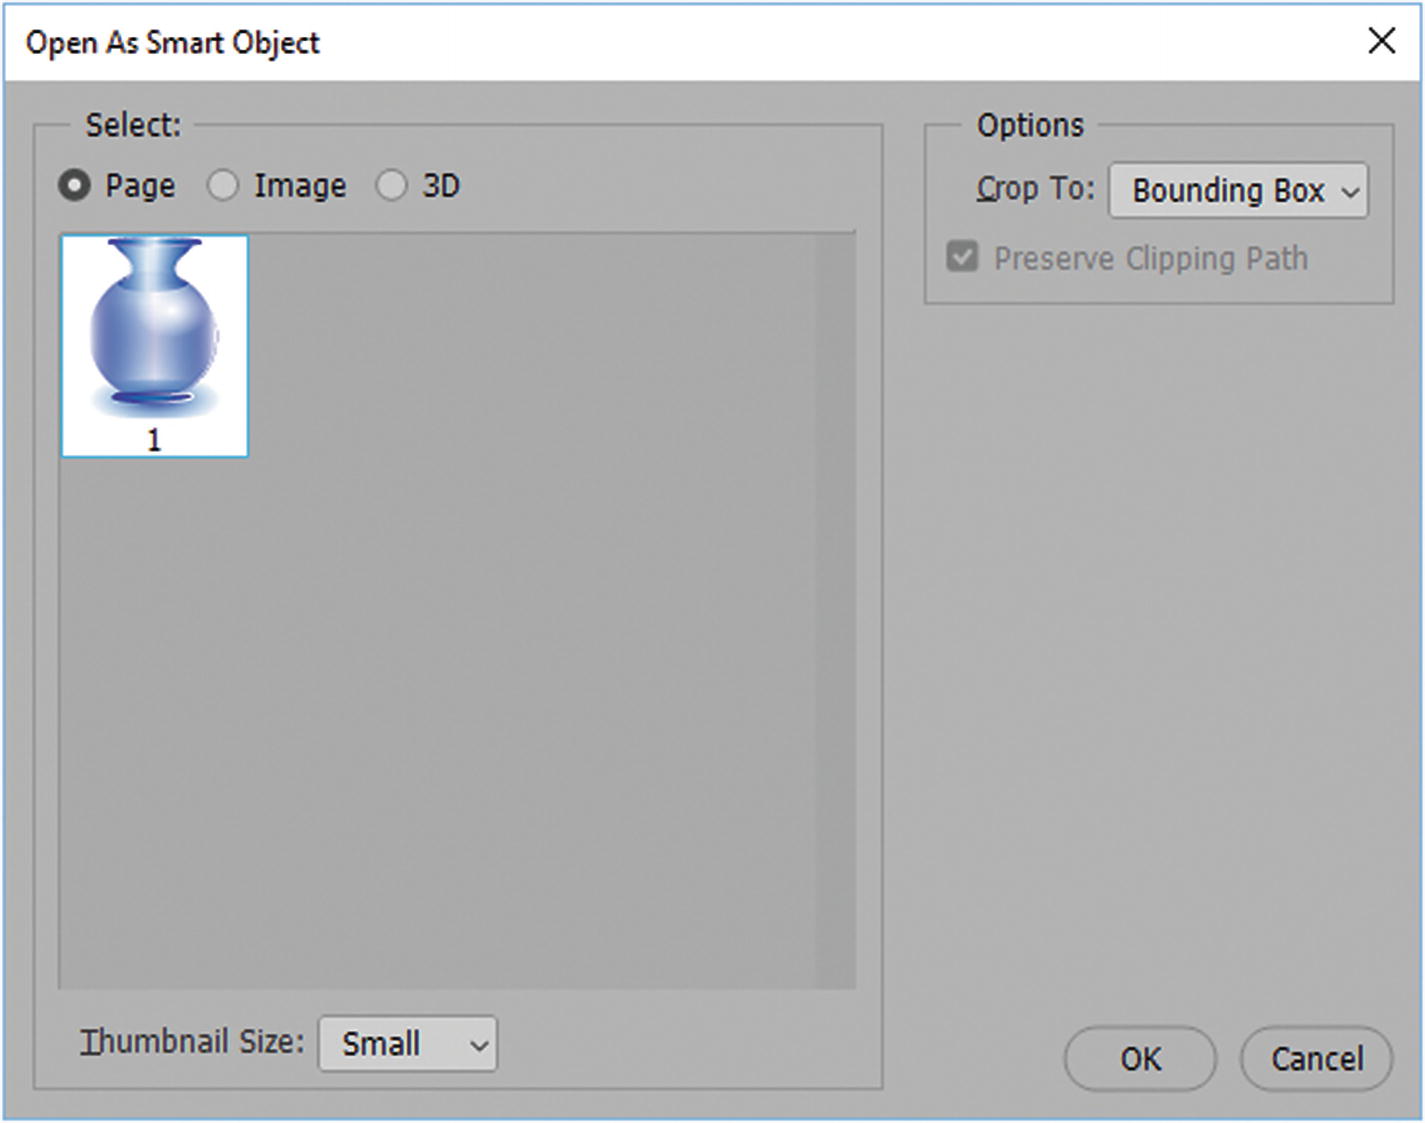
File formatting options found when choosing File ➤ Open As Smart Object
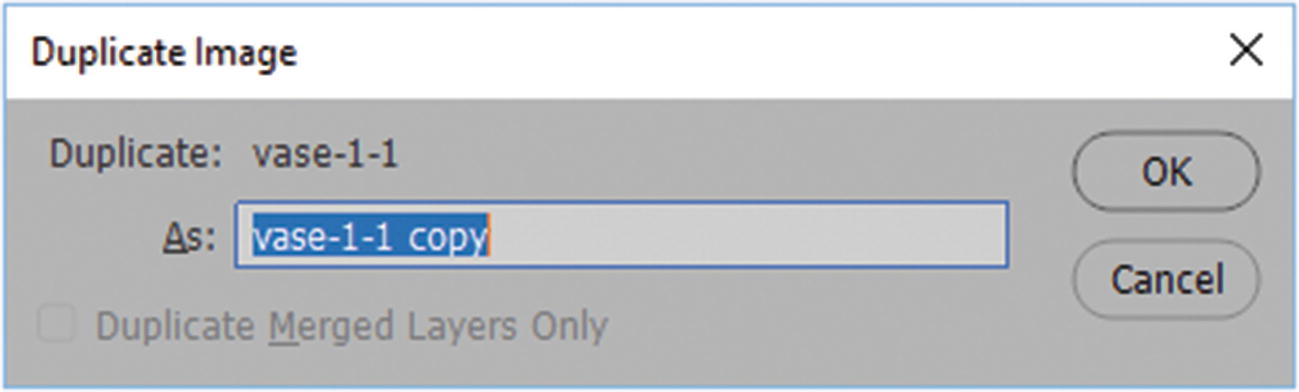
Create a duplicate copy of the Smart Object from the Illustrator file
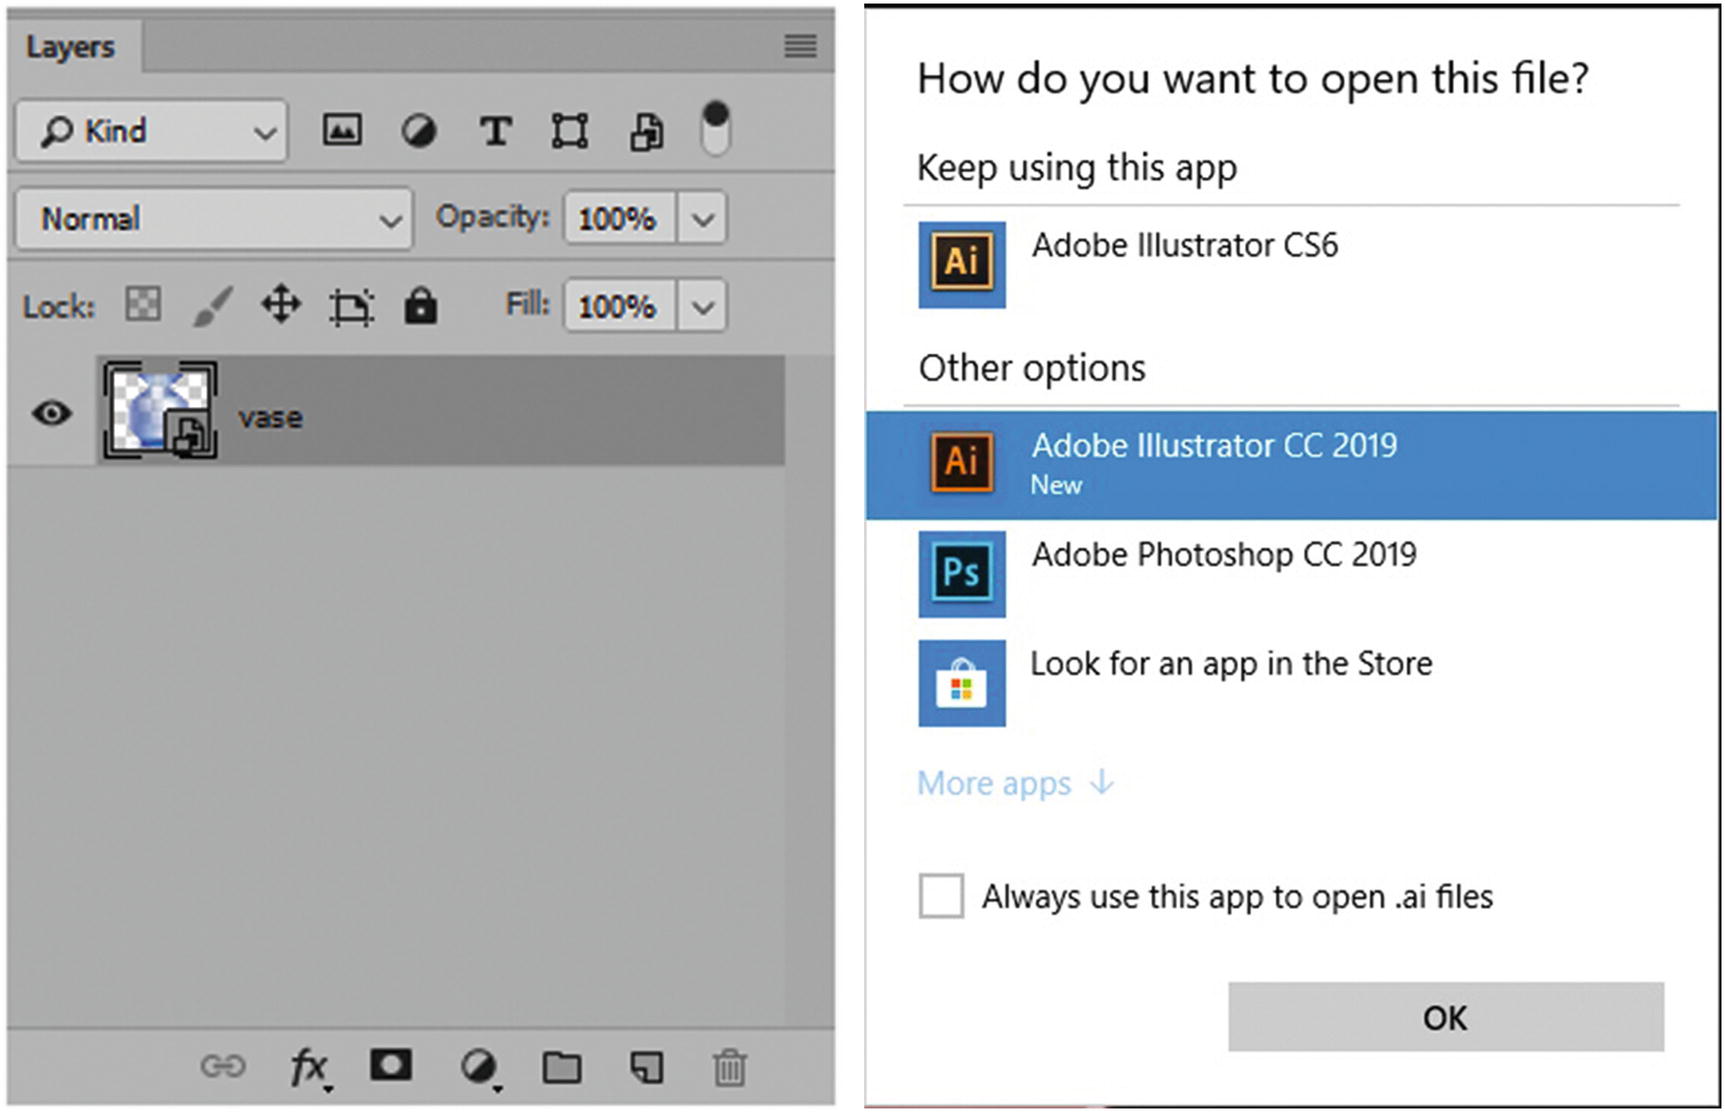
The Smart Object is displayed in the Layers panel. If you by mistake, double-clicking the Illustrator layer may give the following warning
Then save the new file as a PSD, or select the smart object layer and then drag it into your new file. Be careful not to edit the original smart object by double-clicking on the layer, which will open the smart object layer in a new window or in the Illustrator CC. Refer to Figure 2-20.
If you get a warning message from Illustrator CC, just click Cancel to prevent the file from opening, and return to Photoshop CC.
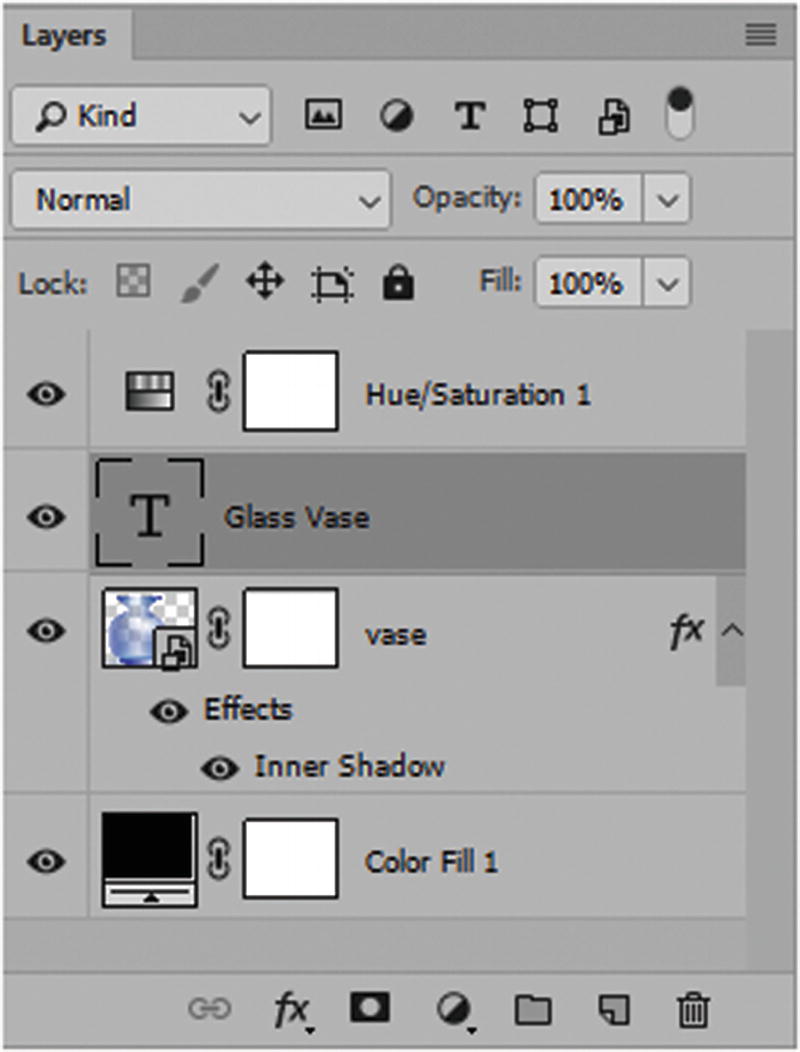
The smart object layer is displayed in the Layers panel with additional masks, outward effects, and layers applied
When you are done, you can save any open file by selecting File ➤ Save, and then File ➤ Exit exit to Photoshop CC or keep Photoshop open for the next chapter.
Summary
In this chapter, you looked at how to set up a workspace in Photoshop. You also looked at some of the different image file formats that you can open within the Photoshop program. You can either create your own files with Photoshop or work with images that come from another source, such as another Adobe program like Illustrator, or from a camera, scanner, or another client. In the next chapter, we explore the correct color choices for your web design projects.