
In this chapter, you look at how to convert your video’s audio to a sound file (.mp3 and .wav) for your website. You also look at the other web format (.ogg), as well as how to convert a specific audio file (.3ga) that is not accepted in Media Encoder.
Note
This chapter does not have any actual projects; however, you can use the files in the Chapter 27 folder to practice opening and viewing for this lesson. They are at https://github.com/Apress/graphics-multimedia-web-adobe-creative-cloud .
Convert Audio to (Export Settings)
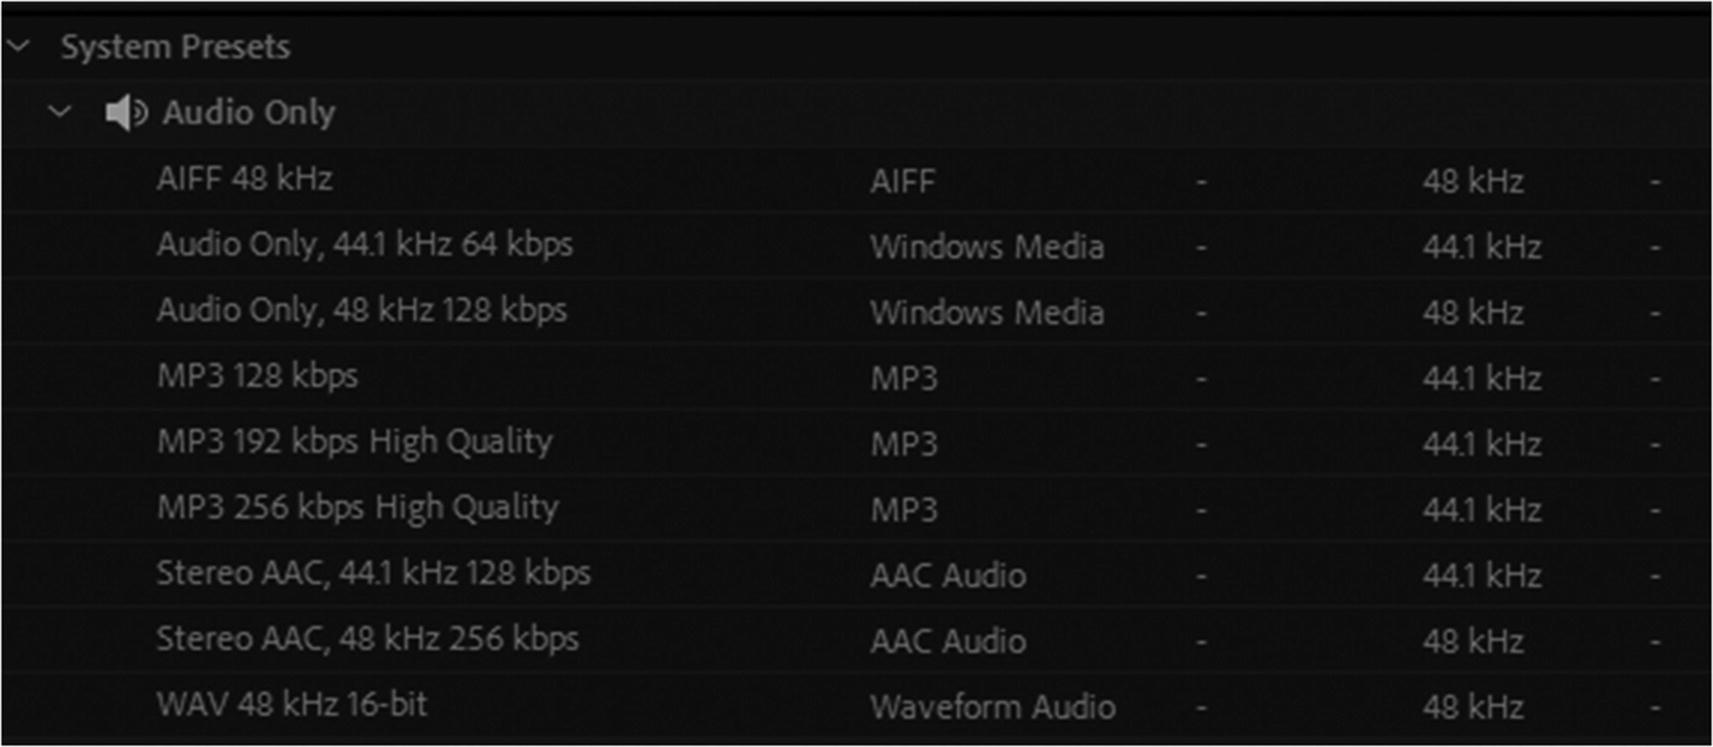
Audio Only drop-down tab in the Preset panel
MP3
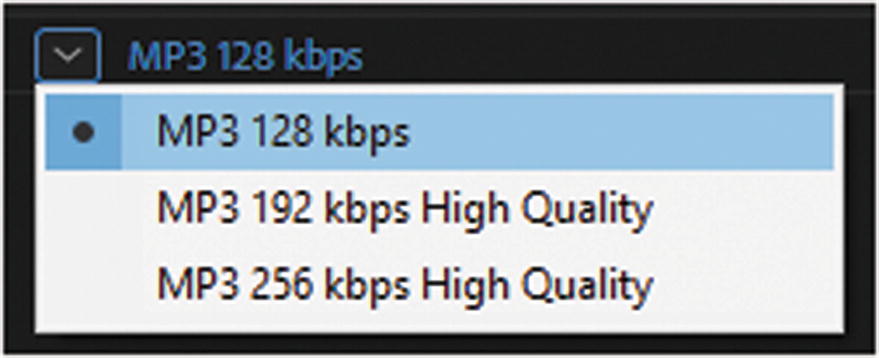
Preset options for MP3 in the Queue panel
Export Settings Dialog Box

Only Export Audio can be accessed in the Export setting dialog box
Preview Settings
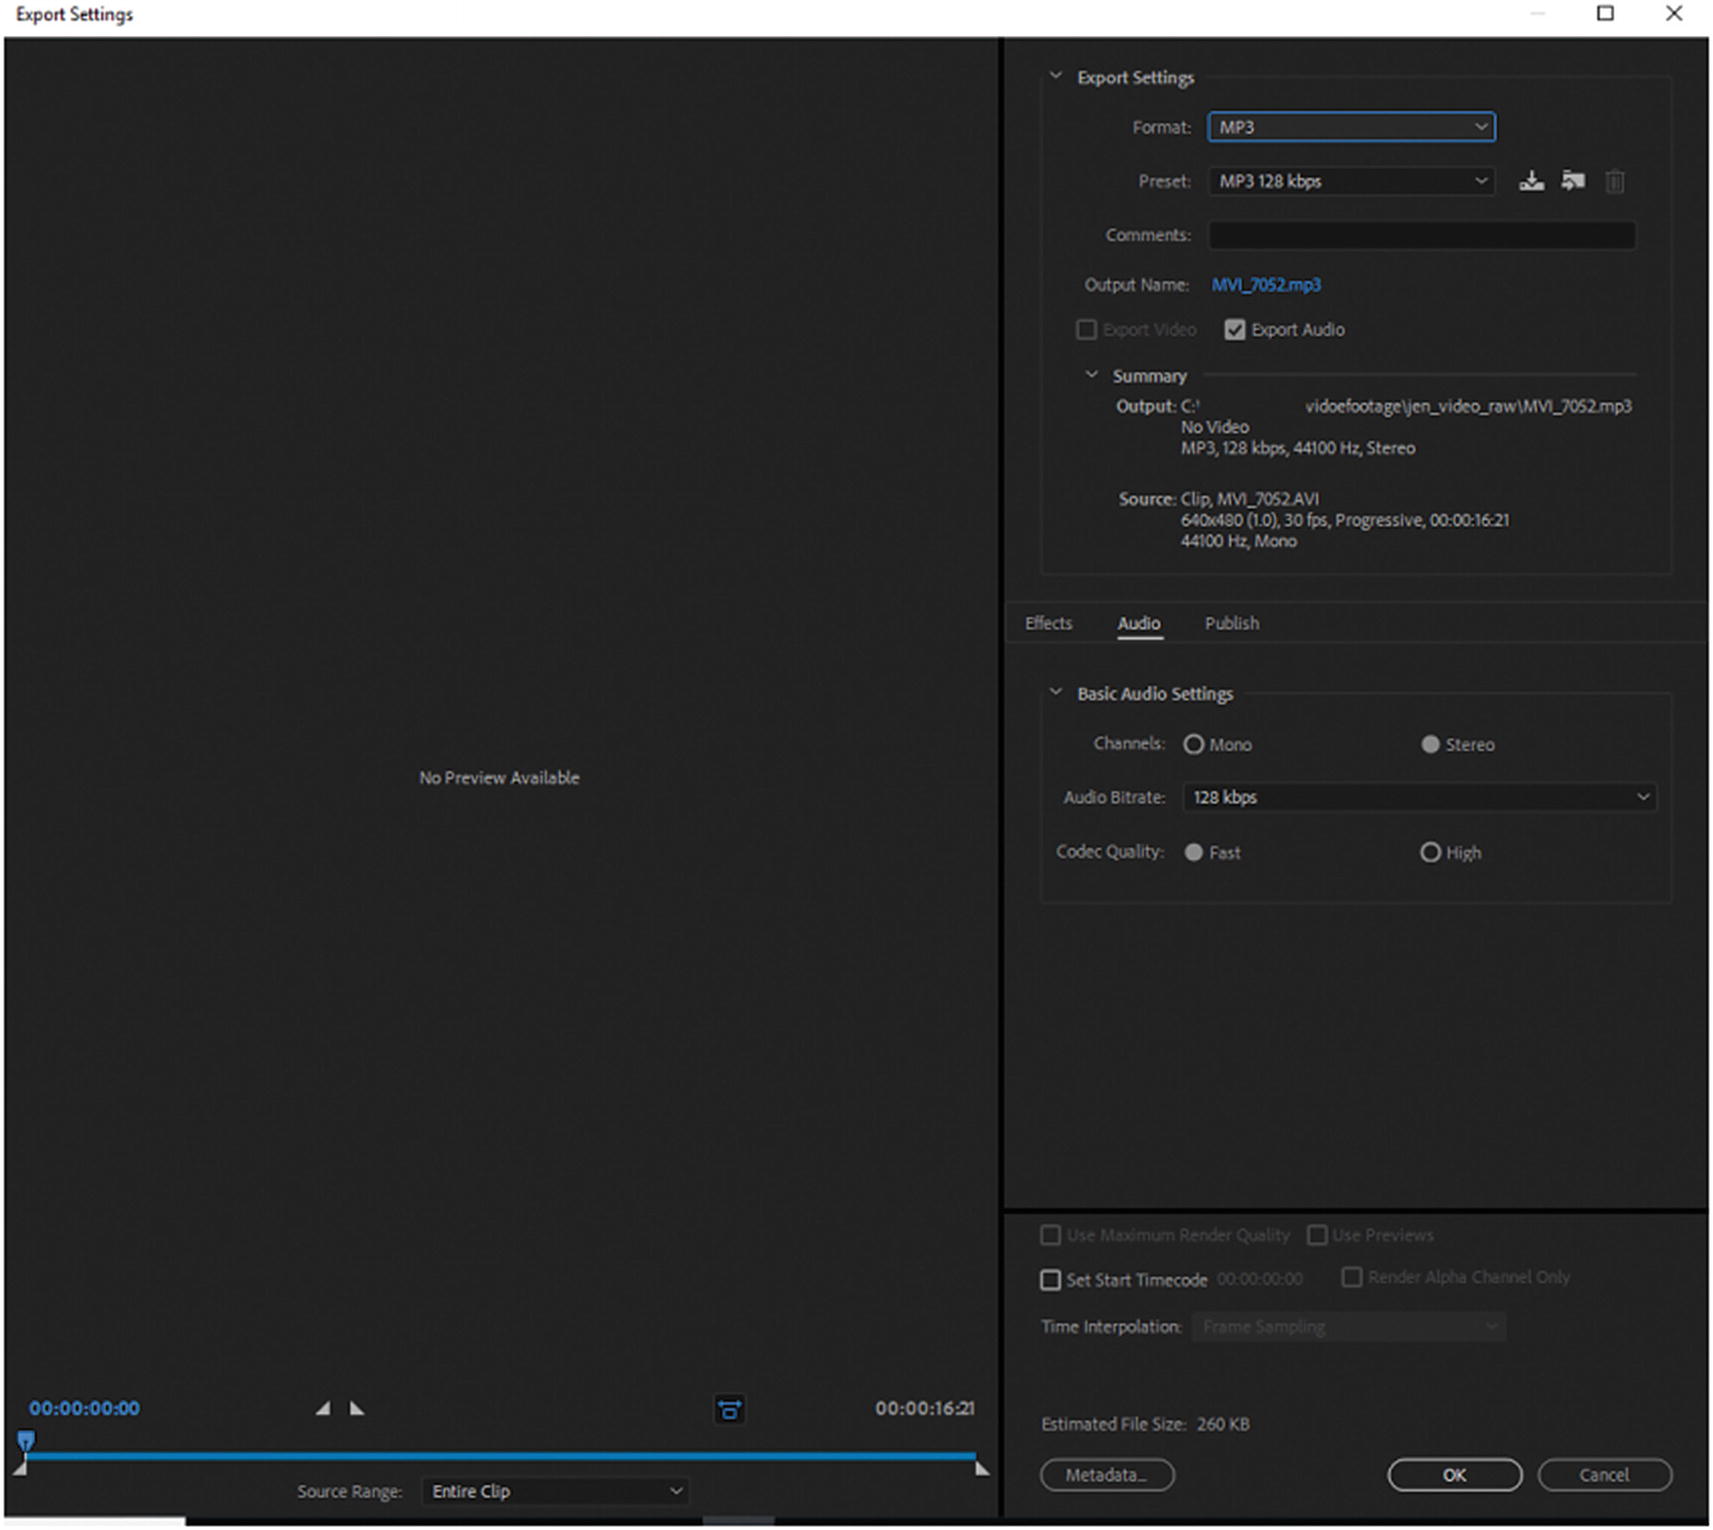
No video preview is available for audio only files

Audio preview of the entire clip in Export settings. Drag the triangles inward if you want to clip the audio.
Likewise, in Photoshop, you can trim your audio further, as seen in Chapters 7 and 9.
Export and Summary Settings
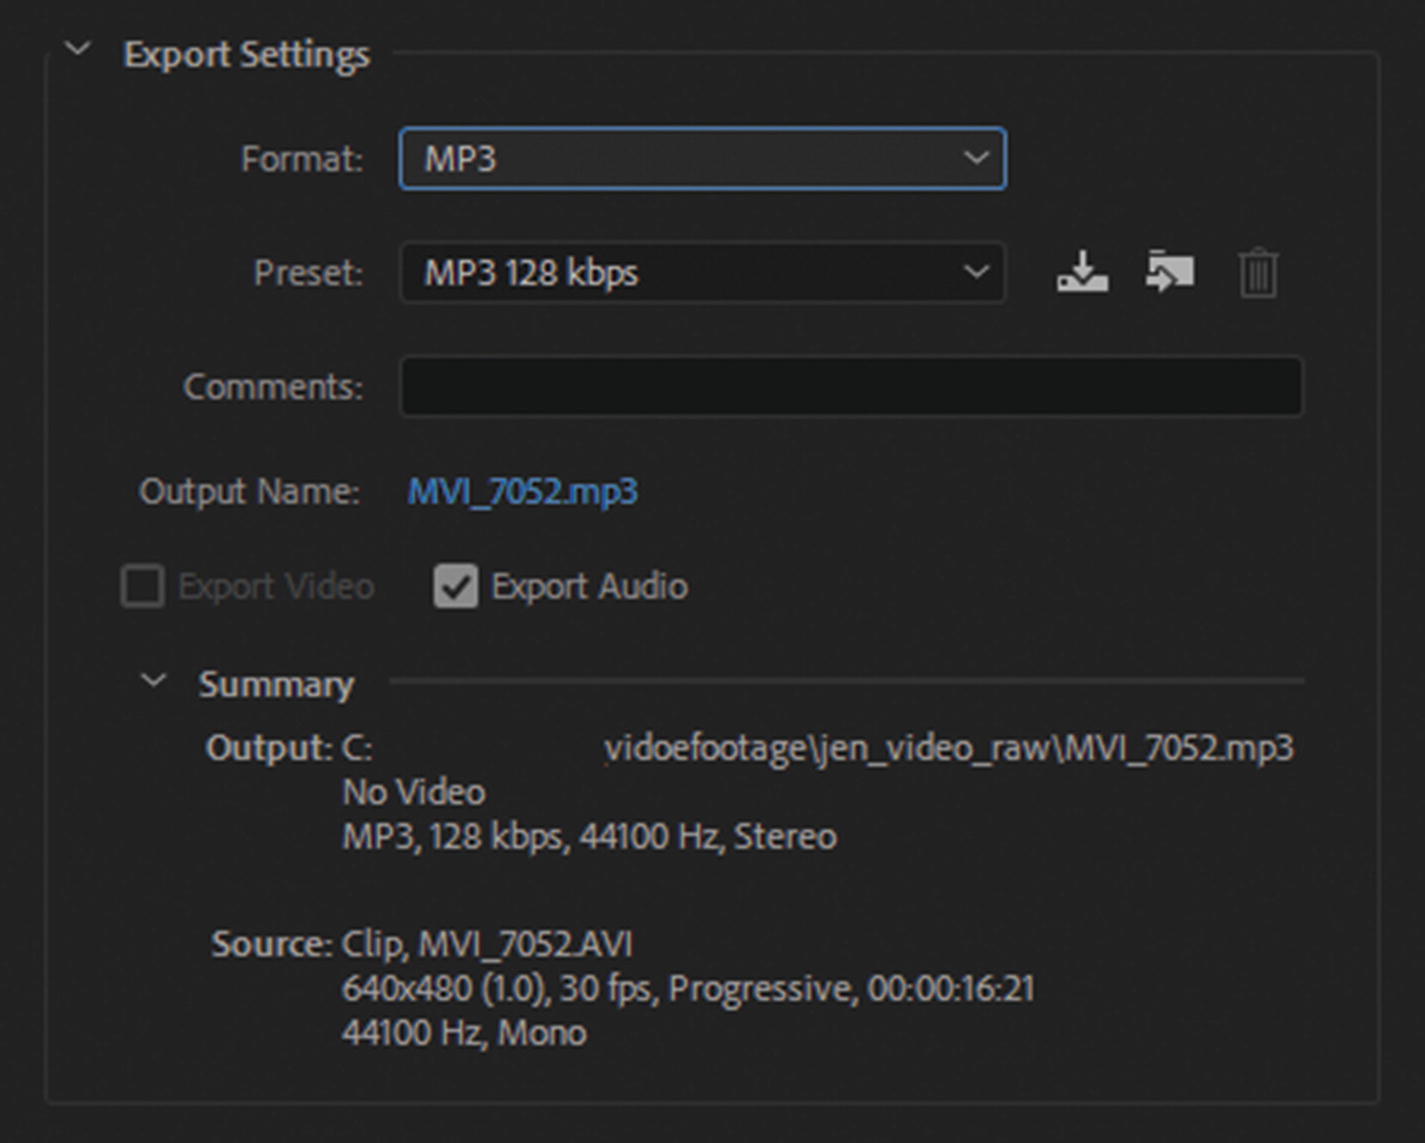
Export and Summary settings in the Export settings dialog box
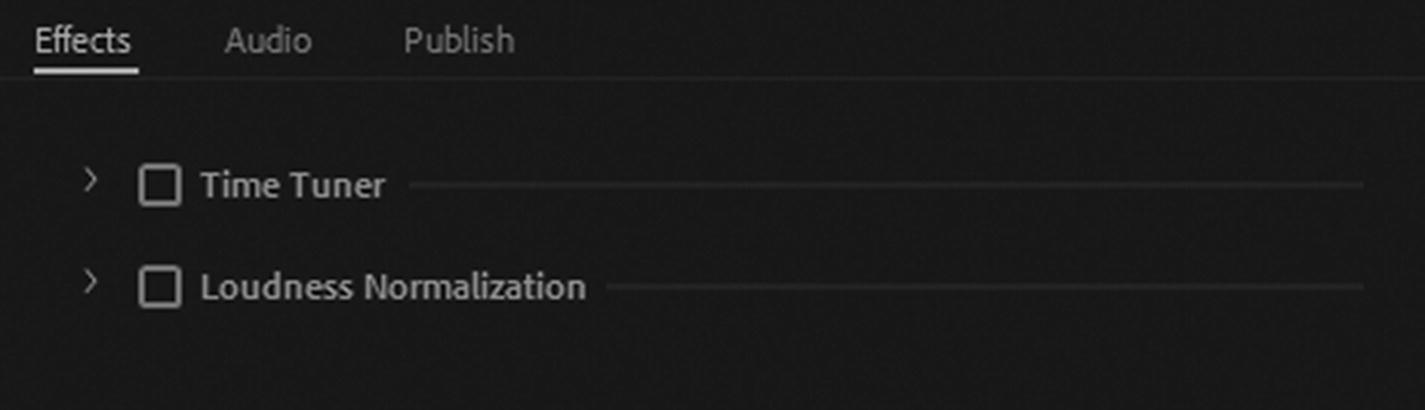
Effects tab in the Export settings dialog box
Effects Tab
The Effects tab allows you to control two areas: Time Tuner and Loudness Normalization.
These can only be adjusted when their check boxes are enabled; by default, they are unchecked.
Time Tuner
As with MP4, the Time Tuner feature sets the current and target duration, and shows the duration change as a percentage. (See Chapter 26 for more information).
Skip slates refers to a series of still images with a combined duration longer than 10 seconds. Checking this should prevent the time tuner from being applied to them; however, if there are no images visible in an audio clip, it may have no effect.
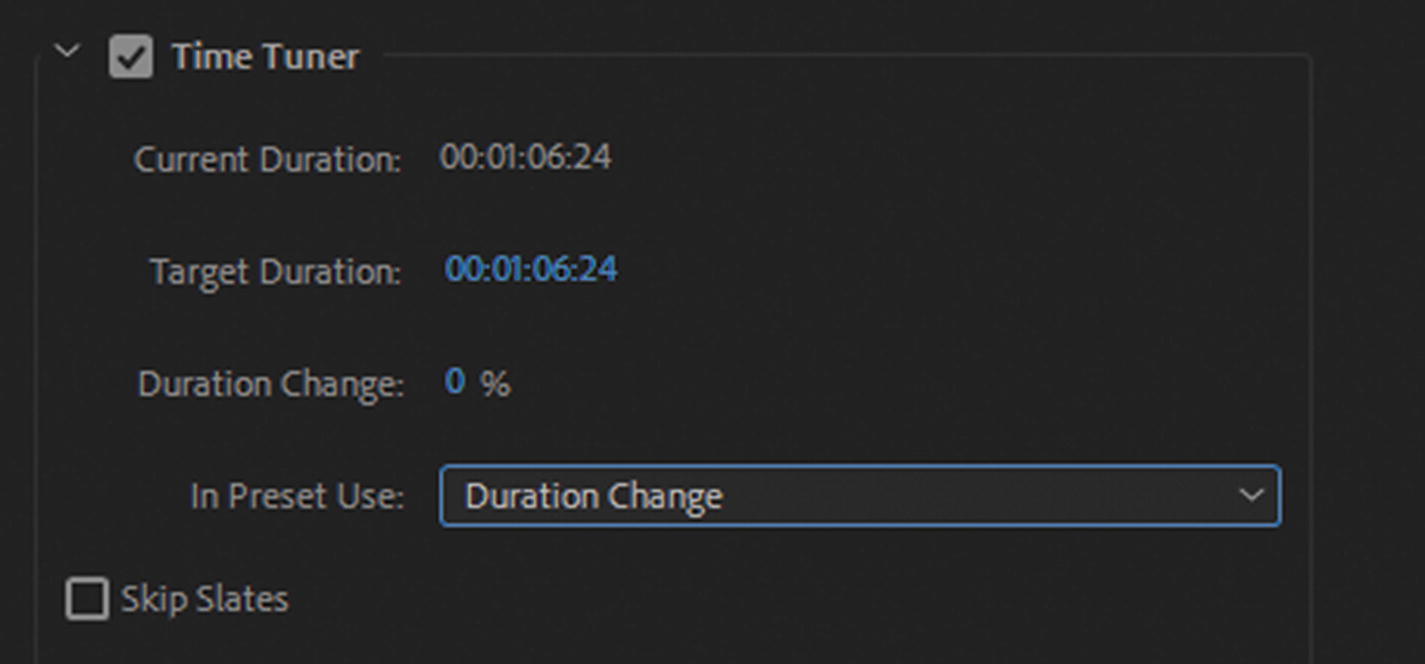
Effects tab in the Time Tuner settings
Loudness Normalization
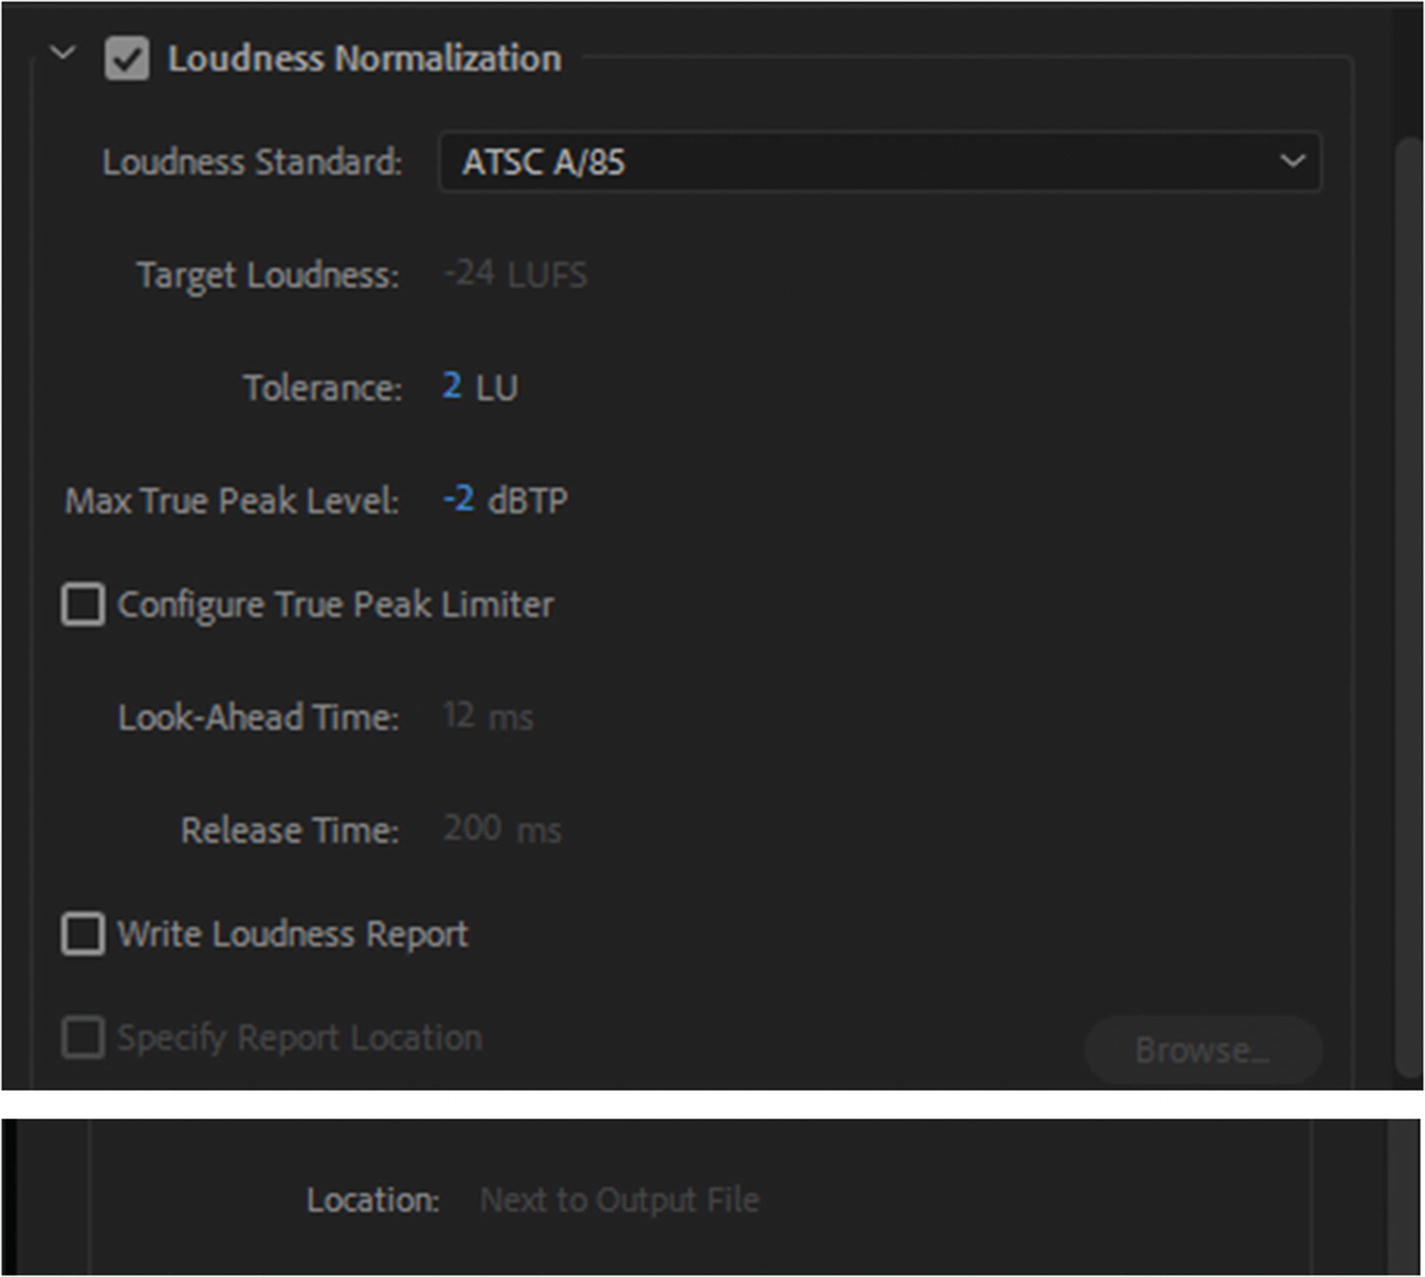
Effects tab in the Loudness Normalization settings
Audio Tab
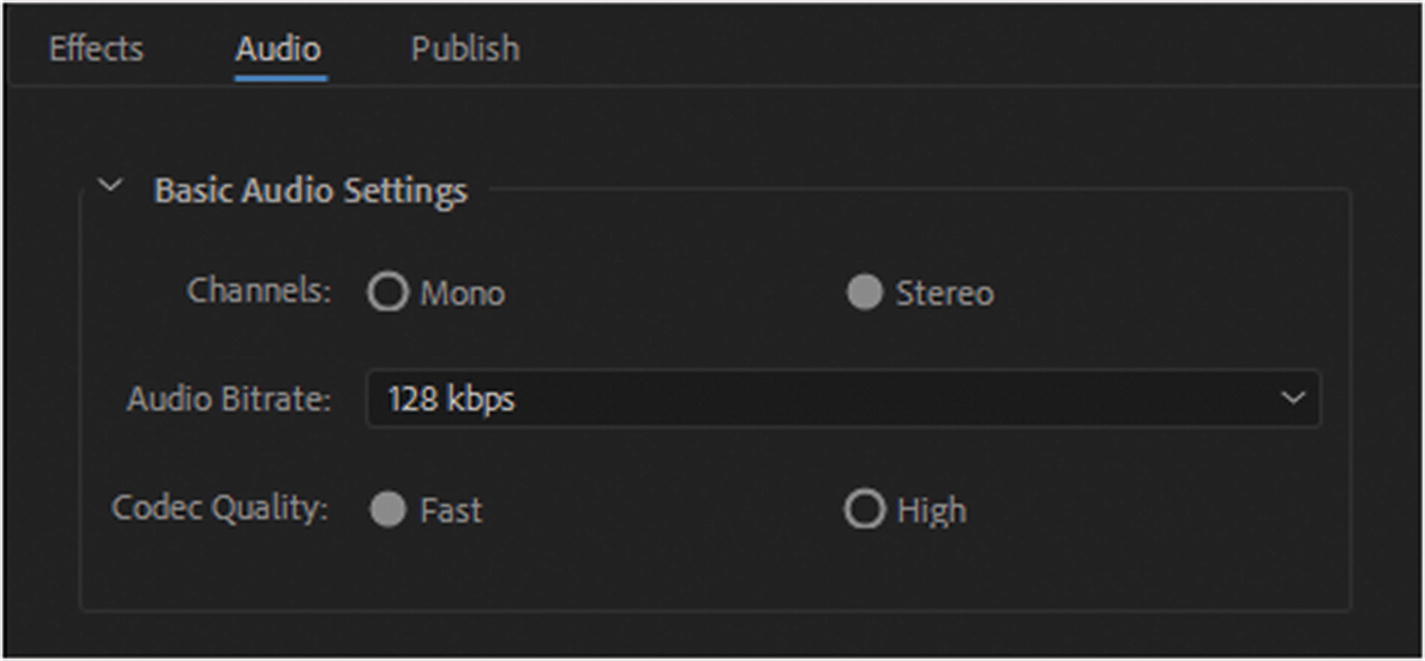
Audio tab in the Basic Audio Settings
Publish Tab
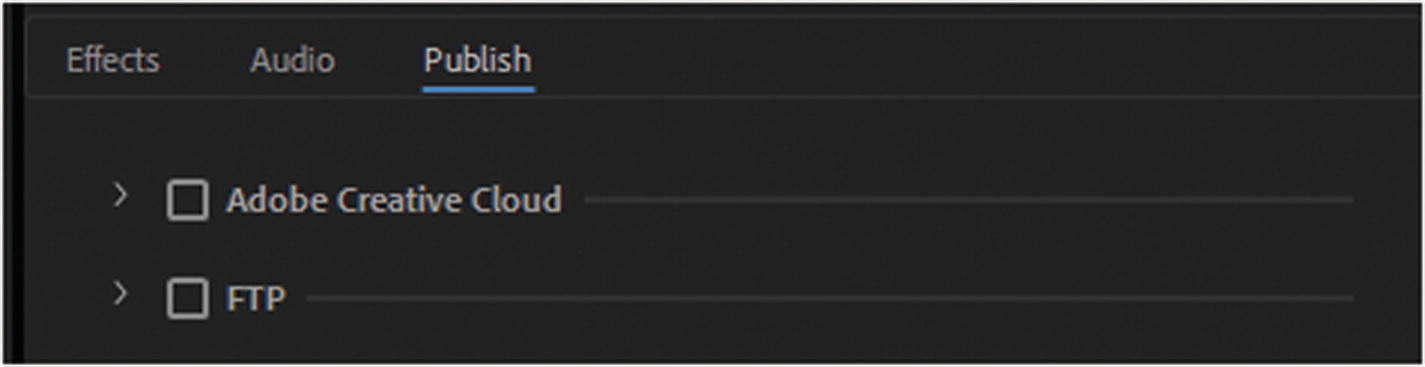
Publish tab in Adobe Creative Cloud and FTP settings
You cannot publish directly to other social media sites, such as Facebook, Twitter, or YouTube. Refer to Figure 27-11. This is likely because these social media sites are more video driven. If you’re planning an audio file with no action, a better option to use in these platforms would be is to create a video file in Photoshop or Premiere Pro and add a single image to the background while the music plays, and then use Media Encoder to export the file as an MP4.
You can see more tips on this tab in Chapter 26.
Time Code Settings
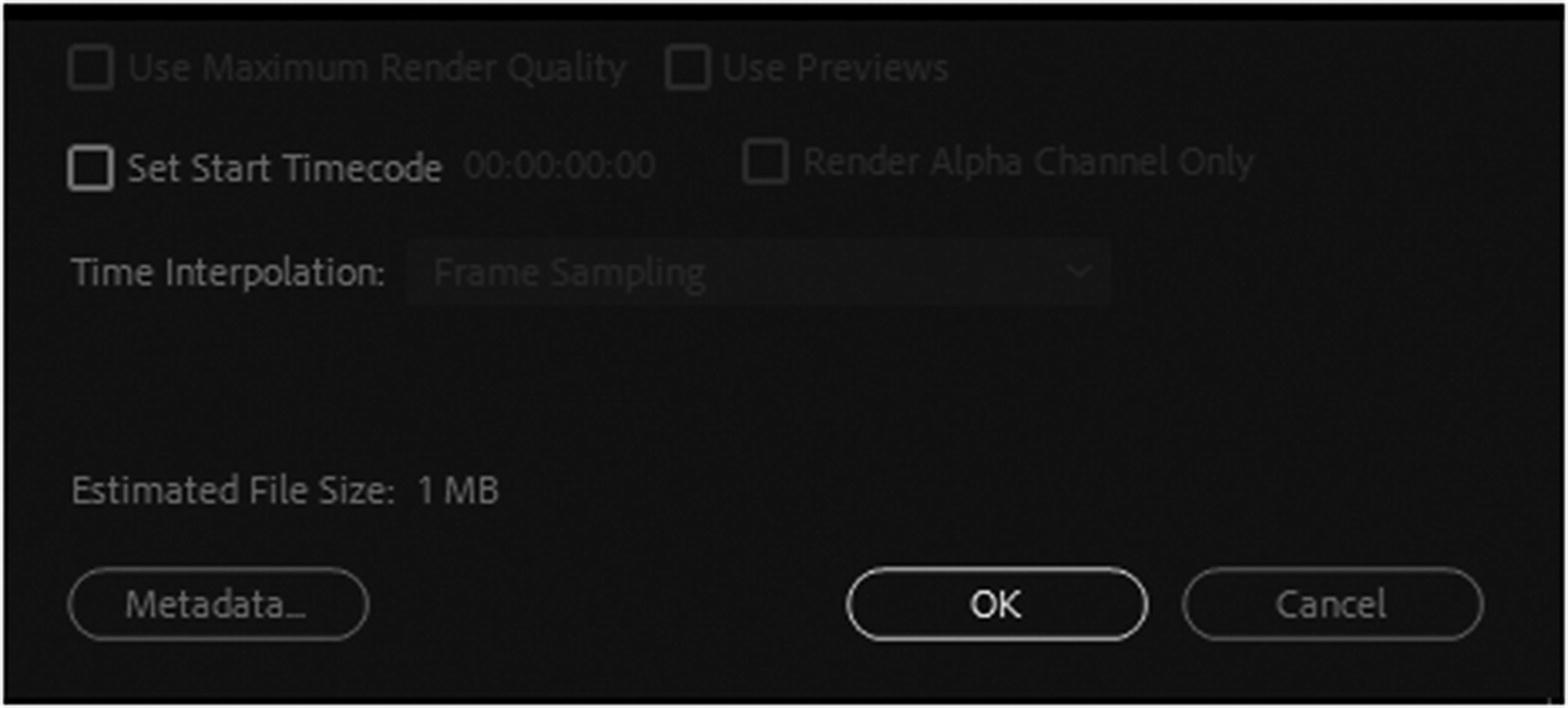
Time code settings in the Export setting dialog box
When done, click OK to exit the setting, or cancel if you don’t want to apply changes to your MP3 output file.
Waveform Audio (.wav)

Format Preset settings in the Queue panel
Note
Only export audio is available in the Export setting dialog box because you are only dealing with sound as in Figure 27-14.
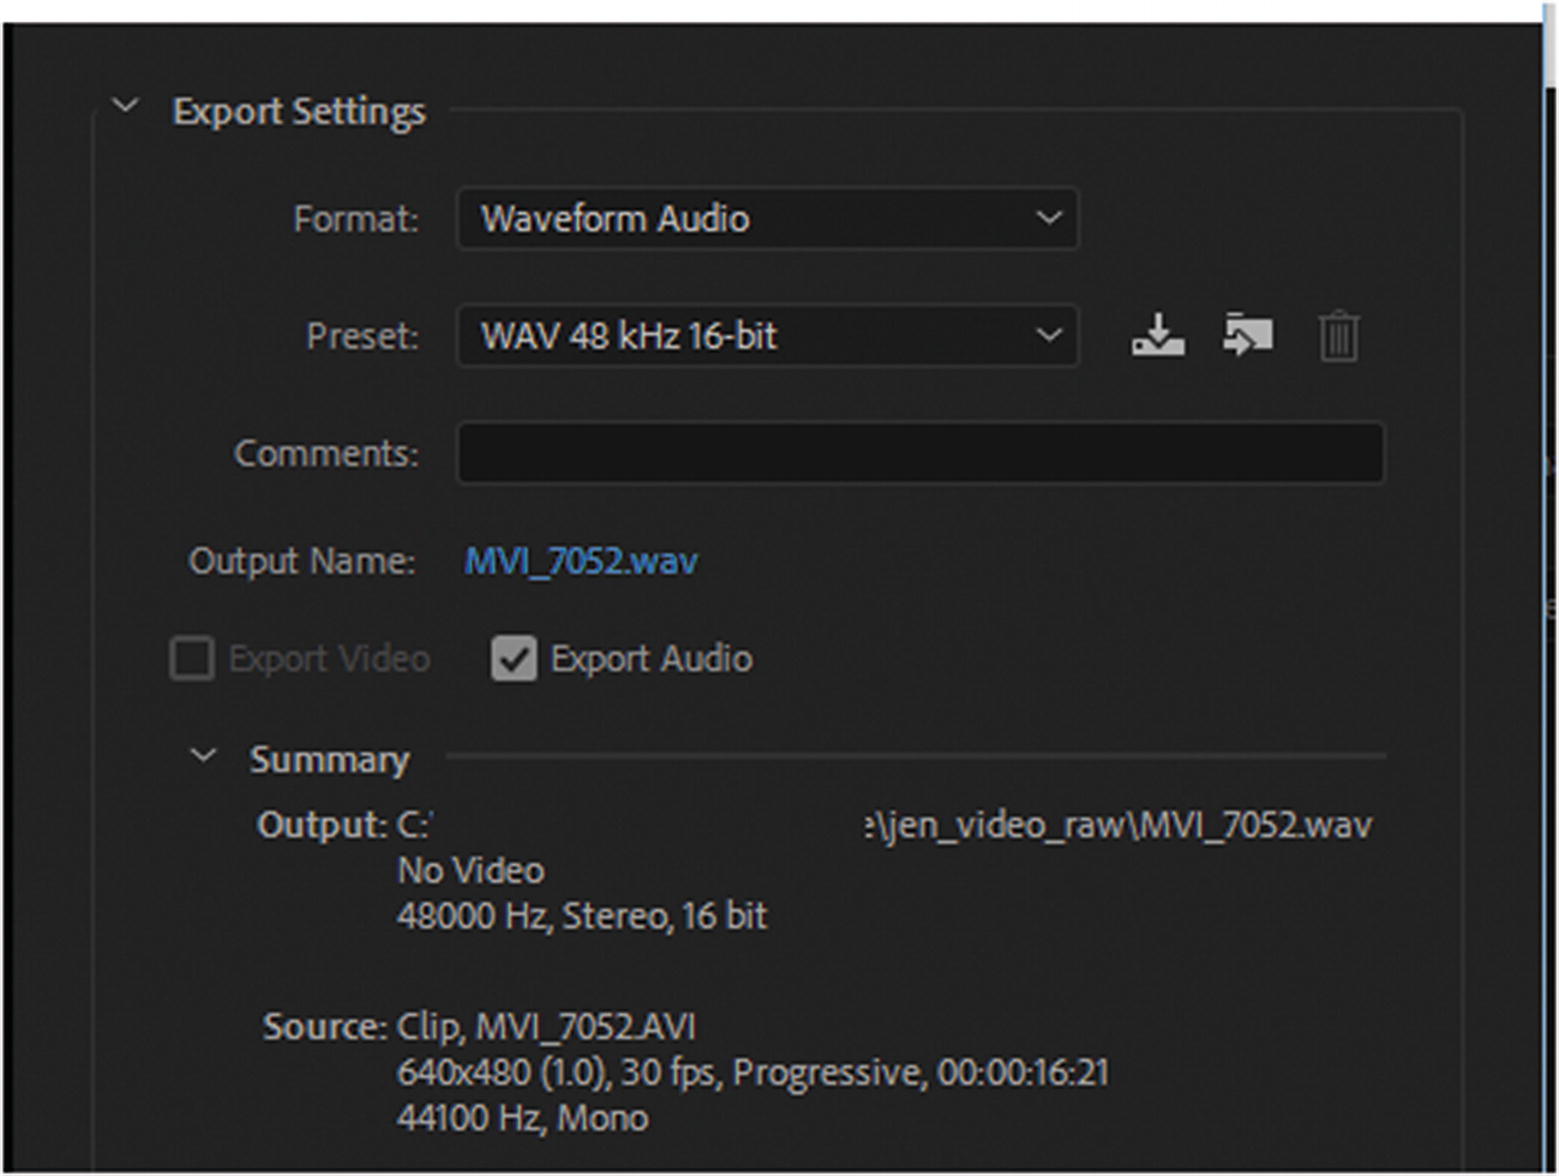
Export Settings dialog box for WAV format
Export and Summary Settings
As you can see, like MP3, the WAV Export Settings and Summary Settings are basically the same; only the Preset setting is different. Refer to Figure 27-14.
Effects Tab
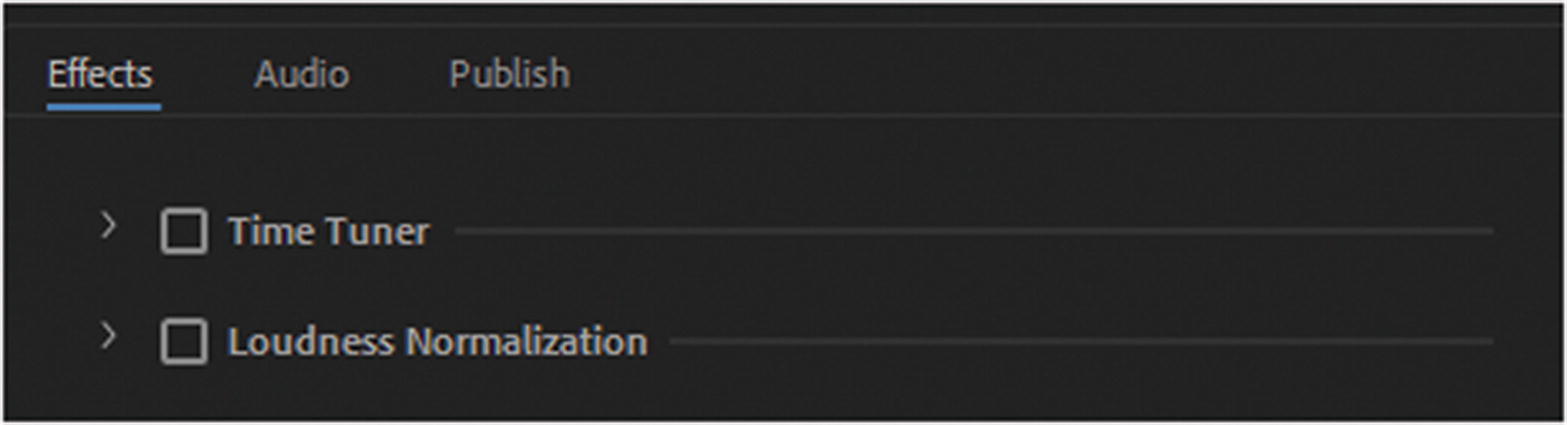
Export settings Effects tab
Audio Tab
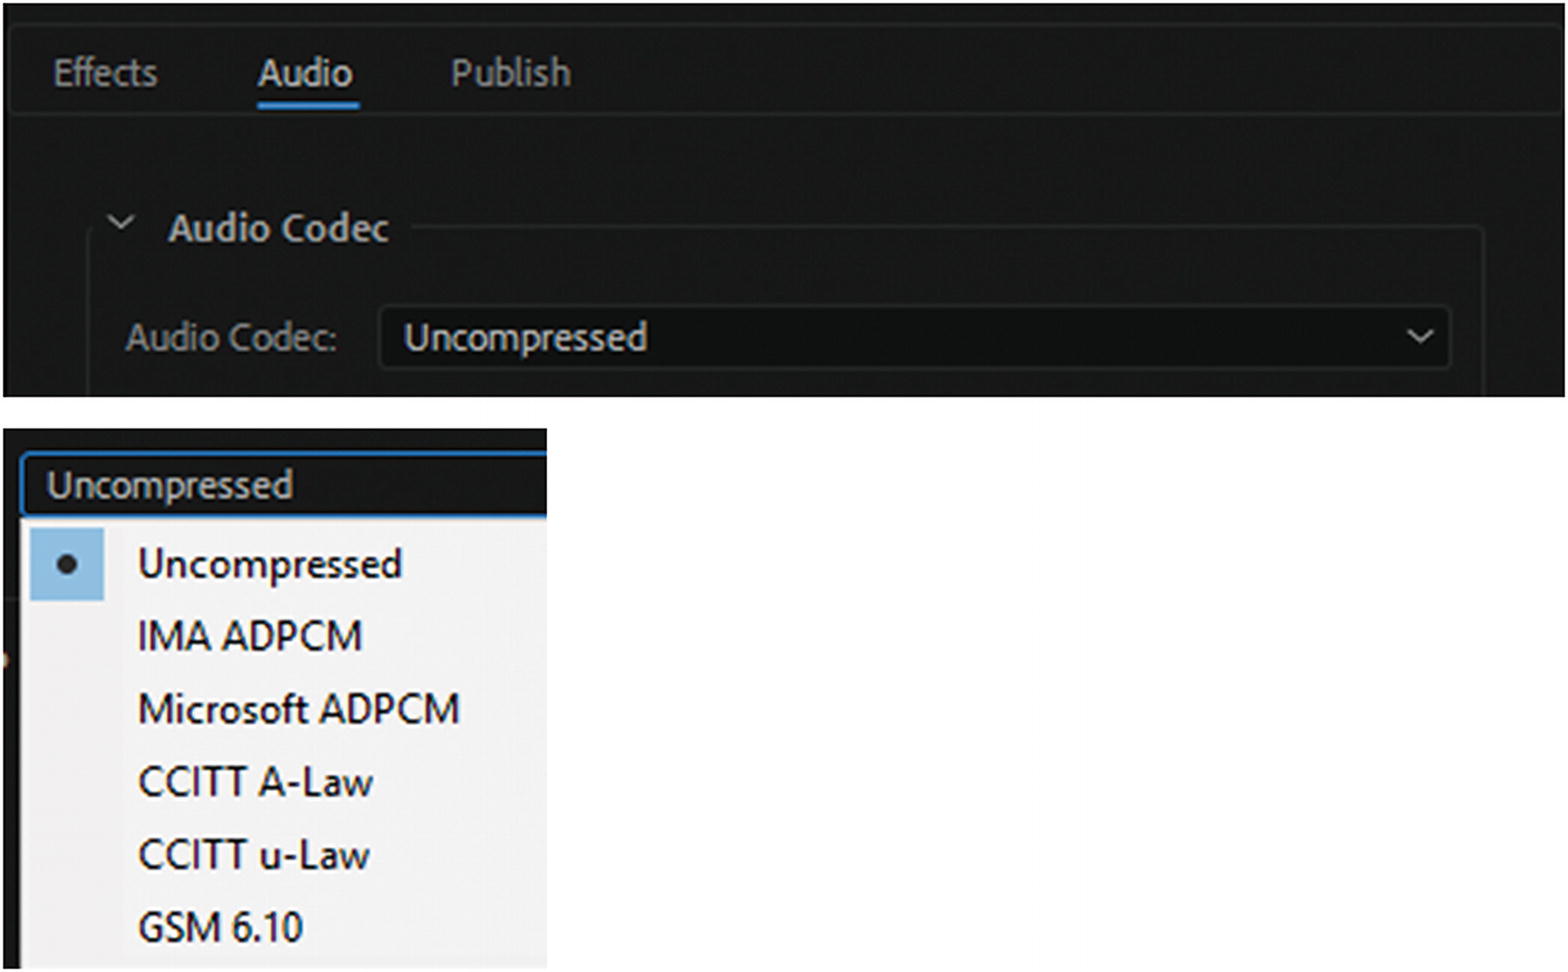
Audio tab Audio Codec setting
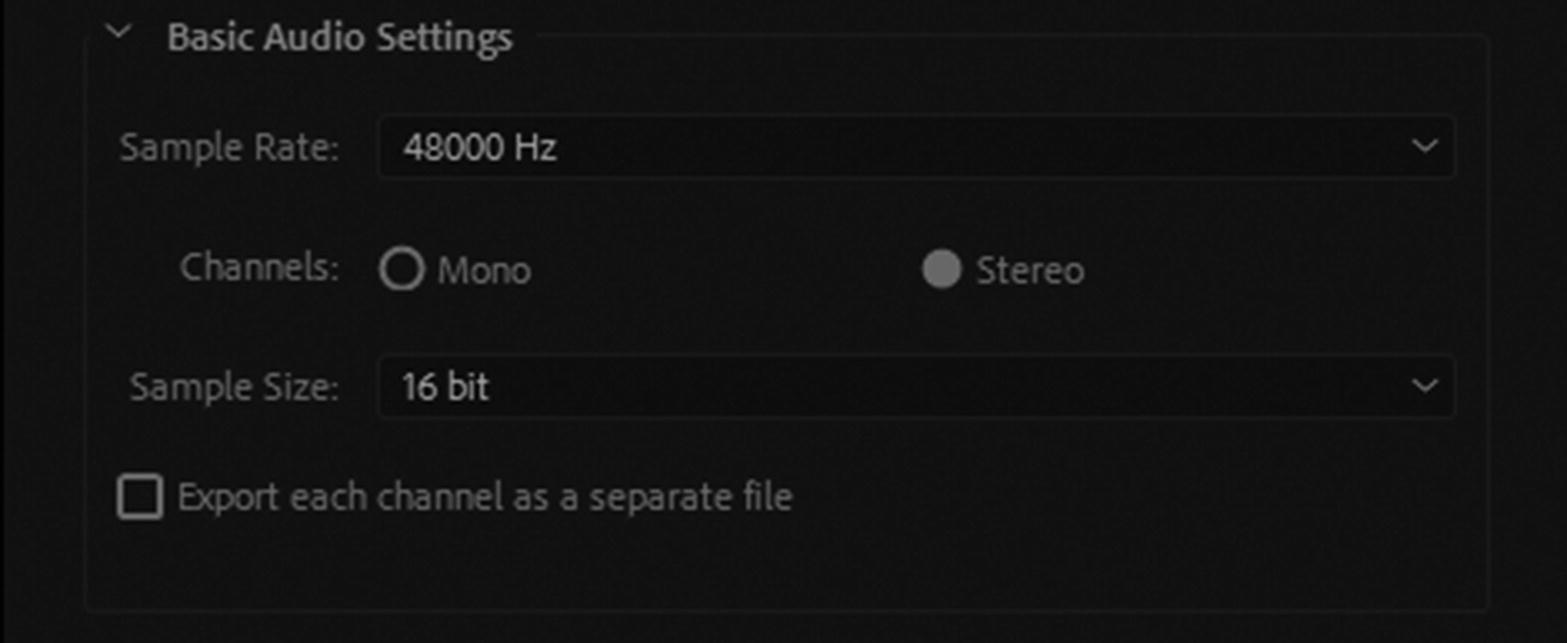
Audio tab for Basic Audio Settings
In addition, you can export each channel as a separate file.
Publish Tab

Publish tab for Adobe Creative Cloud and FTP
However, for your work in this book, you want to leave the audio files you export either in the .mp3 or .wav format without any images.
Time Code Settings

Time Code settings in the Export Setting dialog box
When done, you can click OK to confirm the settings, or cancel if you don’t want to apply changes and return to the Queue panel.
Theora Ogg (.ogg)
Theora Ogg is the third audio format used for the web. To convert a video to this format, I recommend using the third-party programs that Adobe recommends on its forums, or Miro Video Converter. Since WAV and MP3 are heard on most browsers, these may be the only file formats that you need for your audio. However, if you are worried about browser compatibility, Ogg is an important backup source file, as you will see in Part 6.
For information on other professional audio editing programs, refer to Adobe Audition CC and the Ogg export area at https://helpx.adobe.com/audition/using/saving-exporting-files1.html .
Working with Audio Files That Are Audio 3GA
While working on this chapter, I decided that I wanted to record some audio for the projects with my voice to give a dialog of what is going on in the Hot Glass Tango video. After writing a short script, I decided to use my smartphone to record the audio, and then I emailed the audio to myself so that I could convert the formats to MP3 or WAV in Media Encoder. However, at this point, I ran into a bit of a roadblock.
The file format for these audio files was 3GA, and Adobe Media Encoder and Photoshop do not allow you to import this format. I could not even play the audio in my computer’s media player. So, knowing I was on a deadline and I needed the audio, I decided what to do.
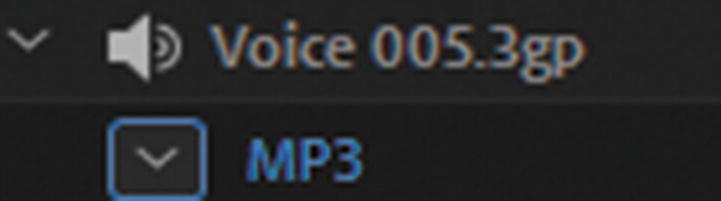
You can import a 3GP file into the Queue panel and convert it to another audio format
Summary
In this chapter, you looked how to work with video files like AVI and MOV, and extract audio from the files. You then reviewed various export settings for each audio format: MP3 and WAV. You then looked at options on how to create an Ogg audio file. Finally, you discovered a way to convert an audio file that was not accepted by Media Encoder into a format that it recognized for import.
In the next chapter, you look at how to extract images in a sequence from Media Encoder.