
In this chapter, you look at the color options available in Animate CC, and the tools and panels to assist you when working with color.
Note
This chapter does not have any actual projects; however, you can use the files in the Chapter 18 folder to practice opening and viewing for this lesson. They are at https://github.com/Apress/graphics-multimedia-web-adobe-creative-cloud .
In Photoshop CC and Illustrator CC, you have a variety of color modes, including CMYK, RGB, and Grayscale. Because Animate animations are specifically for the web, the only color mode that is available is RGB. CMYK is for print, and its color gamut or range is slightly different from what you see on your screen in RGB. While Animate CC can convert CMYK images to RGB during the import of files to the Library panel, for a more accurate conversion, it is better to have your files already in the RGB mode when they are created in Illustrator and Photoshop.
In Adobe programs, you can edit the color in your graphics by using the settings discussed in Chapter 3 and Chapter 11. Once in RGB mode, your color range will look similar across the devices in which you plan to view the animation.
Adding Color to the Stage
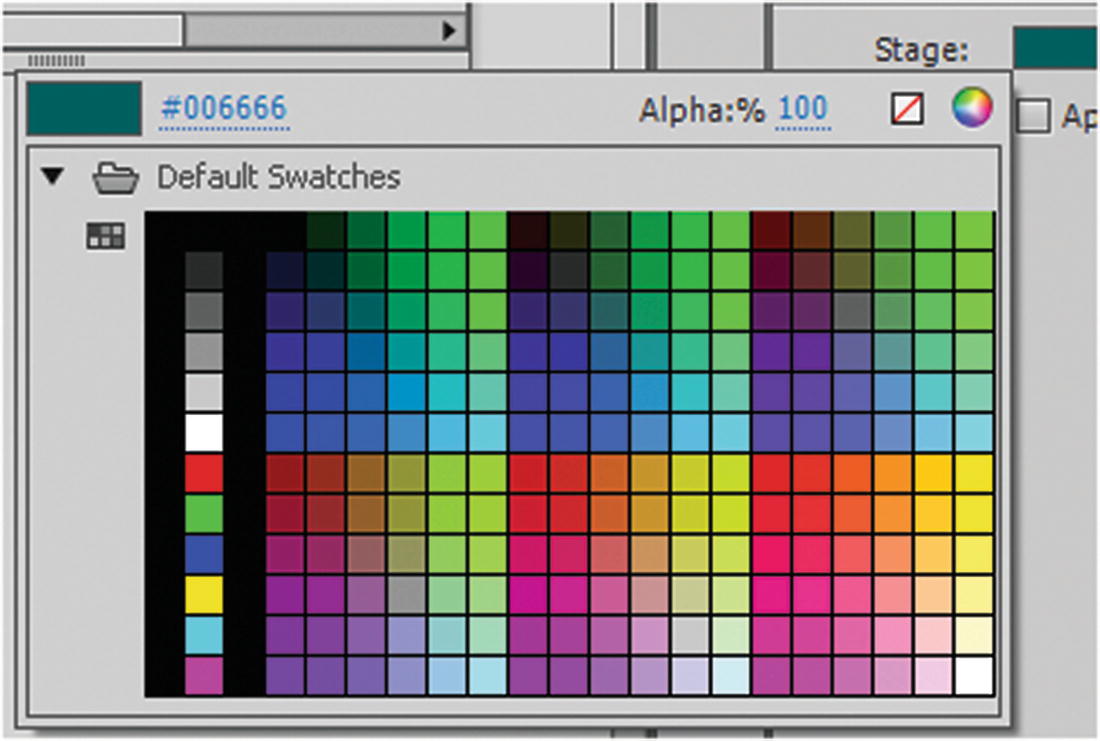
Choose a color for the stage using the Properties panel
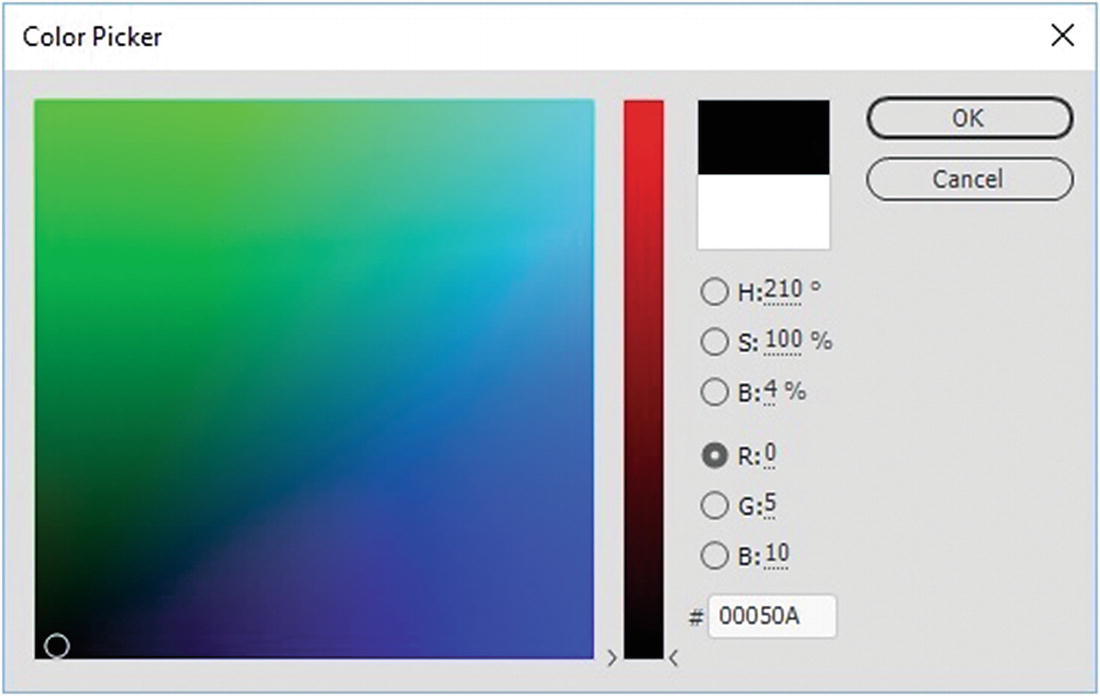
The Color Picker dialog box
The Color Picker dialog box should be familiar to you by now because you saw it in Photoshop and Illustrator. Note that in Animate, however, it offers fewer options, but you can still view color by HSB, RGB, and web hexadecimal color. After choosing a color, click OK. This will be the new color for the stage.
The Tools Panel Stroke and Fill
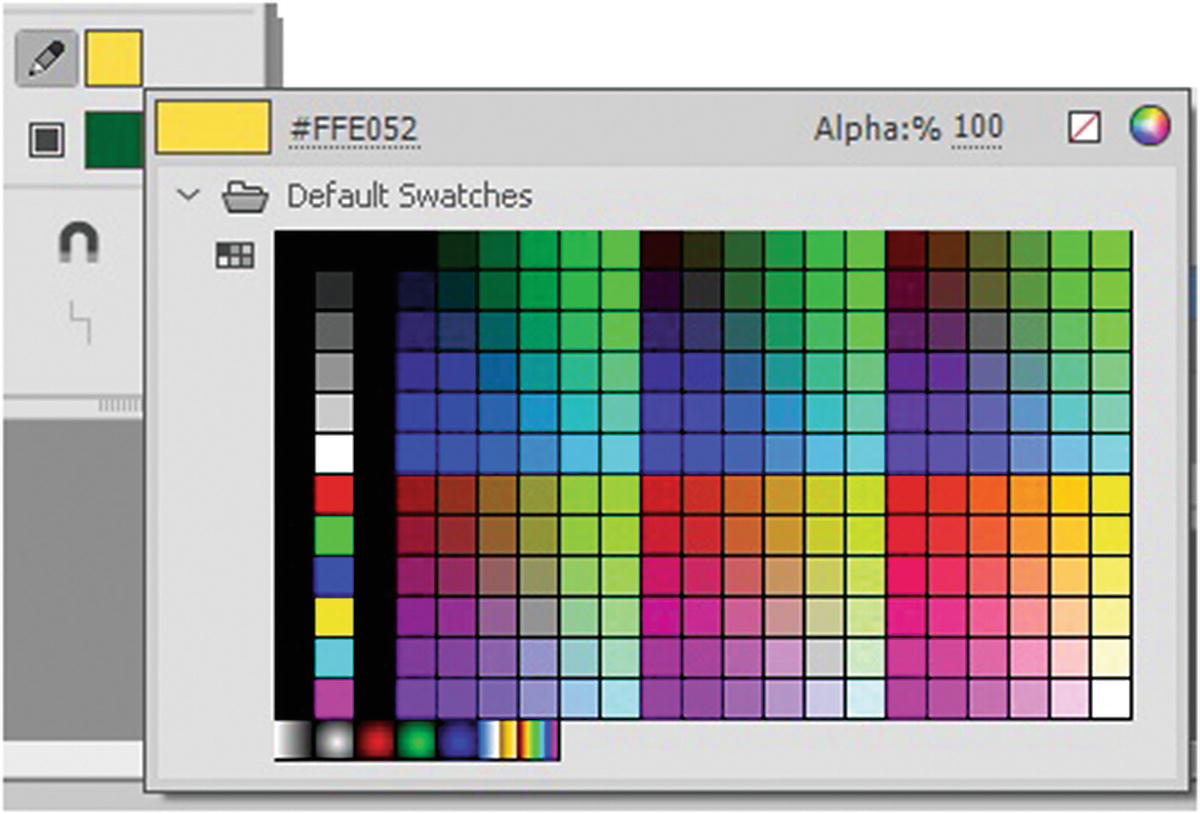
Stroke (pencil icon) and Fill (square icon) color options can be changed and set to web-safe colors
In this area, you have access to alpha (transparency), no fill, the color picker, and gradients and any imported bitmap patterned image that you want to use as a fill or stroke.
Note
The Paint Bucket tool (K) allows you to add a fill color to a shape. The Ink Bottle tool (S) in the Tools panel allows you to add a stroke to a shape. Refer to Figure 18-4.
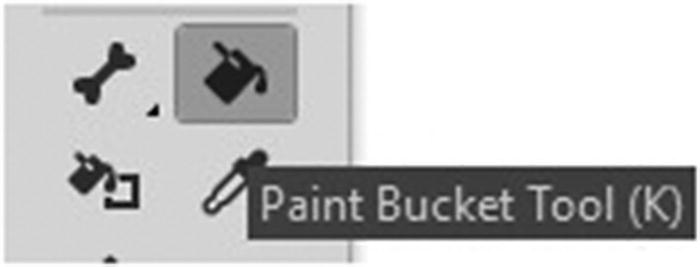
The Paint Bucket tool (upper right) and the Ink Bottle tool (lower left) can add or alter the color of a shape’s fill or stroke
Properties Panel
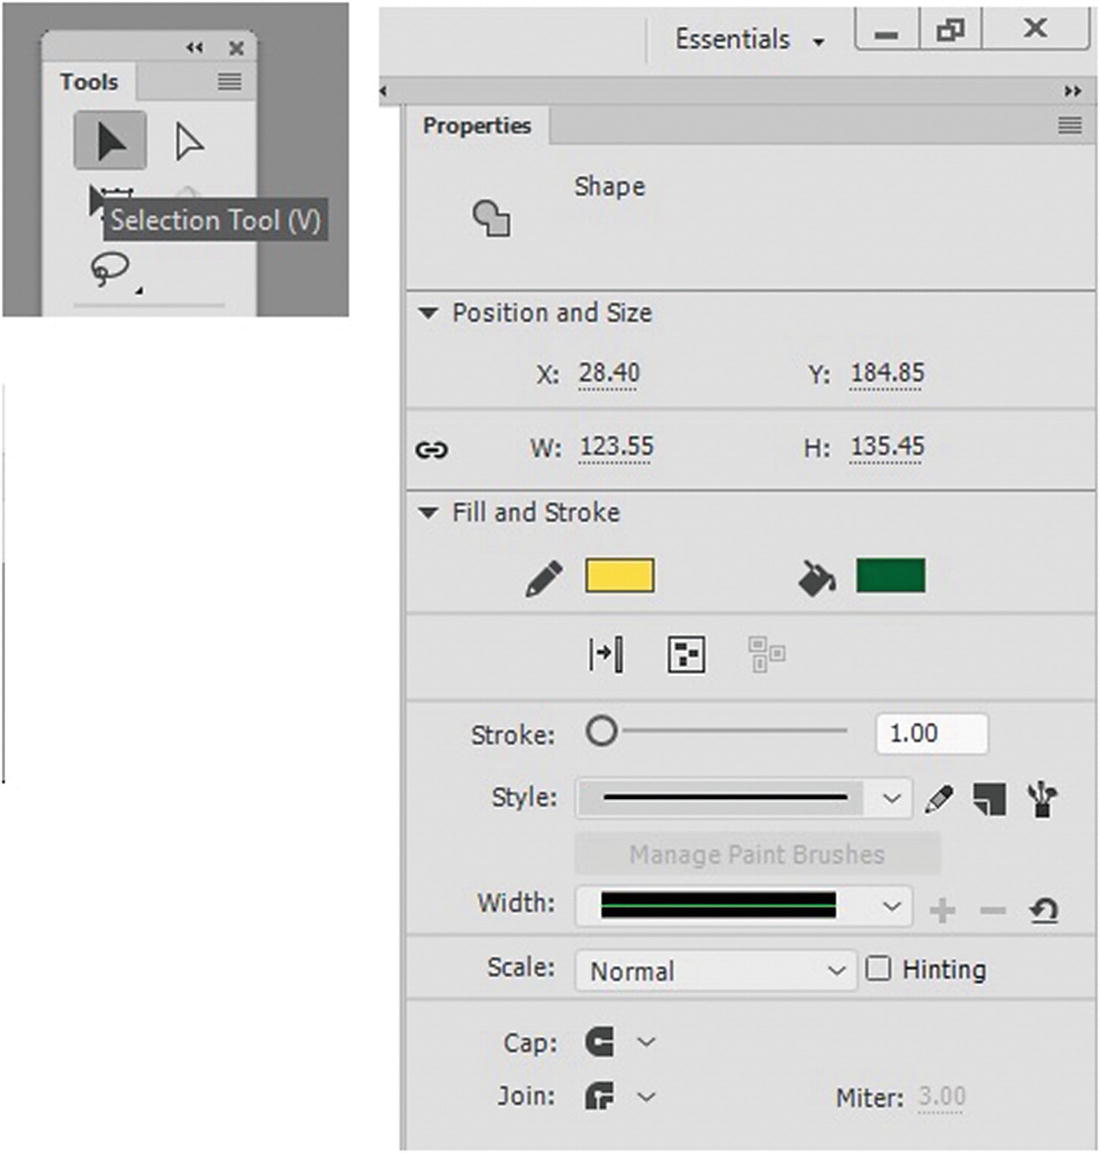
Fill and stroke options in the Properties panel for a shape when selected with one of the selection tools in the tools panel
Here you can also adjust the width and style of the stroke and alter the cap and join of a shape. You look at shapes and their properties in more detail throughout Part 4. For now, you will focus on color.
Animate has two other panels for working with color. Open the canvas_color.fla file.
Color Panel
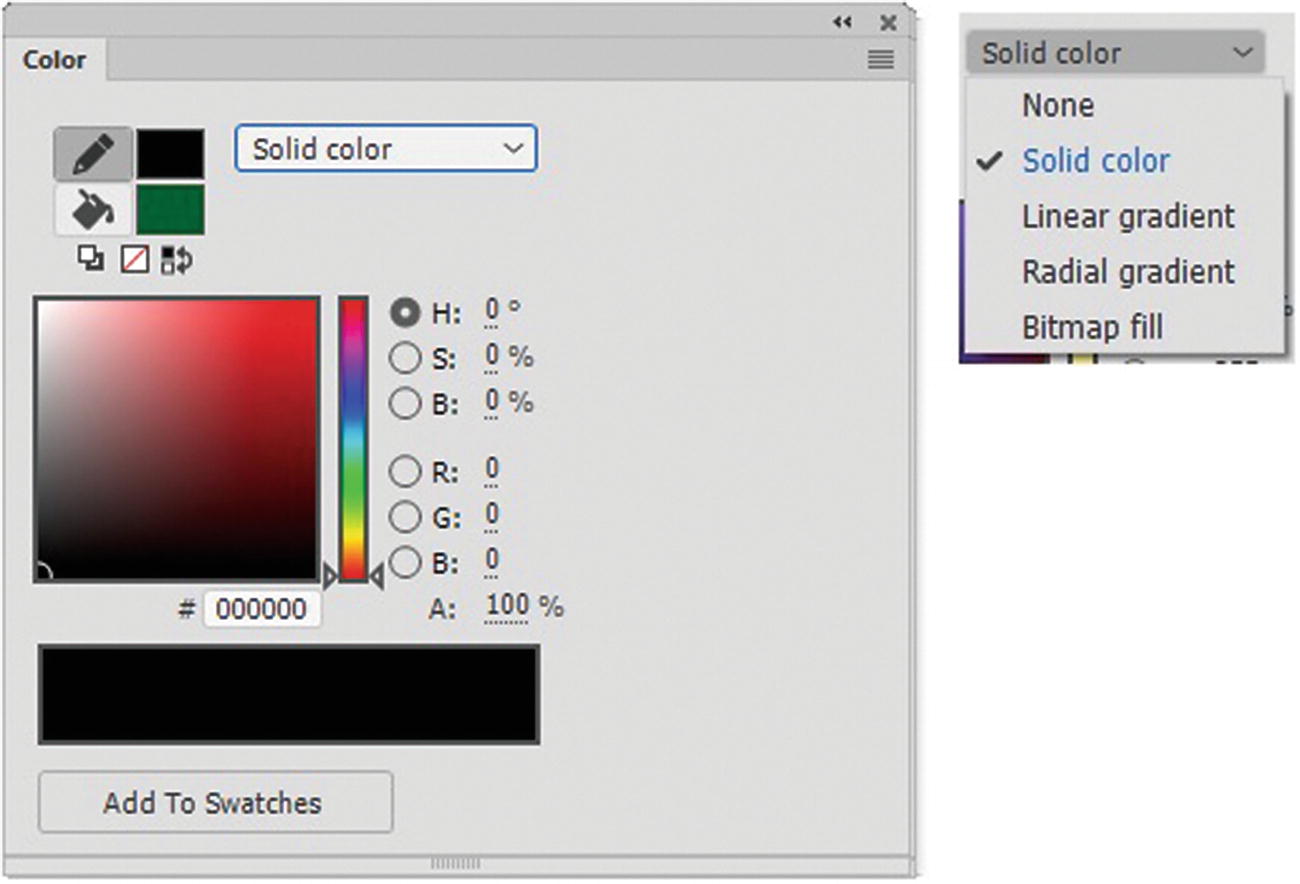
All types of color settings are in the Color panel

Reverse the stroke and fill colors of a shape
Gradient Fills
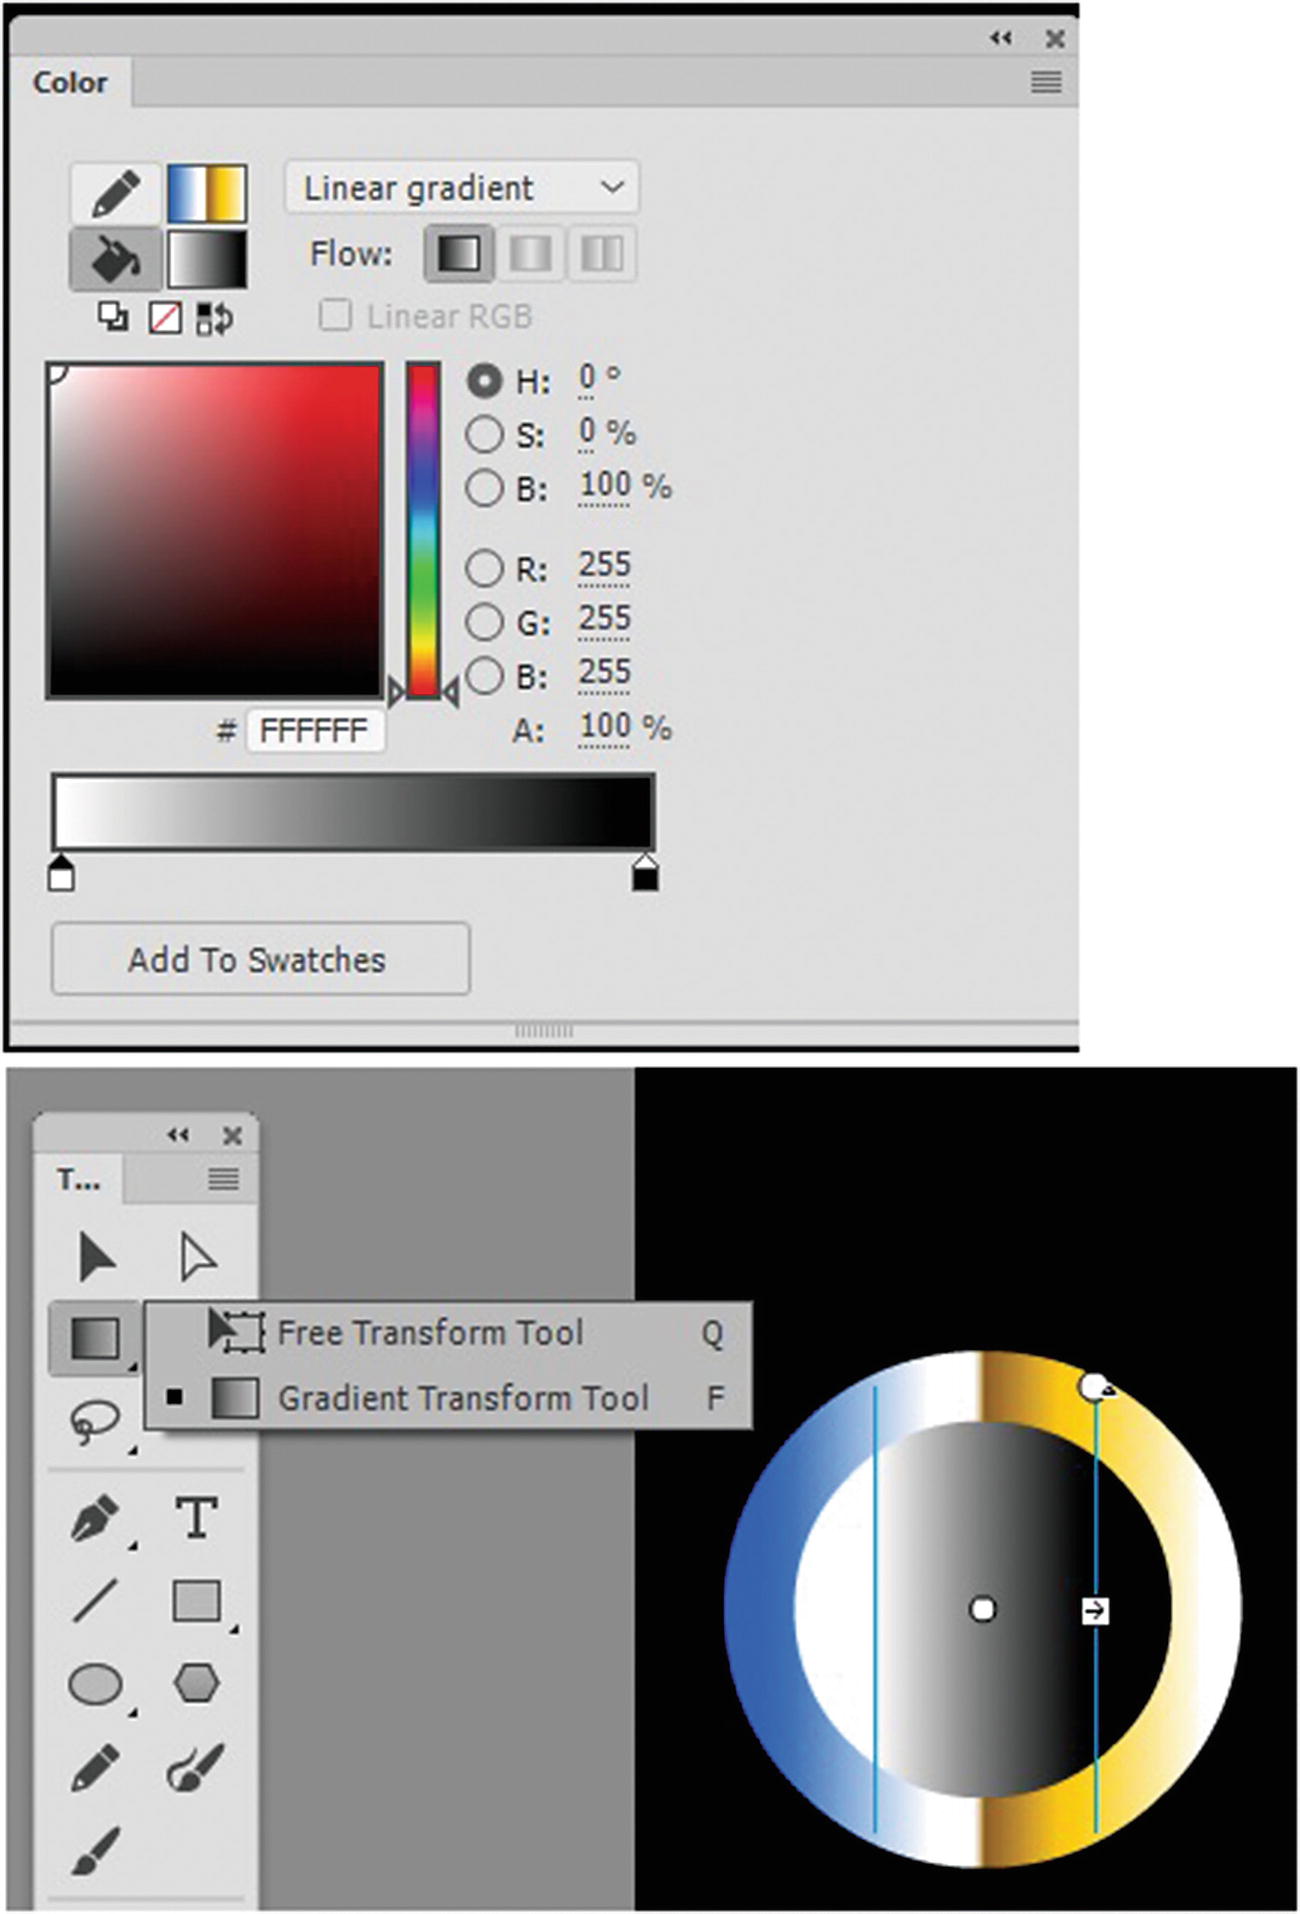
Alter the gradient further with the Color panel and Free Transform tool
Linear gradients produce a blend of colors that move on a linear path. Radial gradients are a blend of colors moving outward from the center point of a shape in a circular path.
Note
You must work in an ActionScript3.0 FLA file to have access to certain gradient options, like reflect color, repeat color, and linear RGB, which creates an SVG-compliant gradient. With HTML5 Canvas, you can reflect or repeat a gradient, but you have to do that by hand—adding, adjusting, or dragging away color stops in the gradient area. Refer to Figure 18-9.

Alter the gradient further by adding more color stops
You can also set the alpha transparency for each stop when you select it, and then change the (A:) setting of the color stop.
Bitmap Fills
A bitmap fill is a bitmap file used as a patterned background that tiles or repeats. A bitmap file opens the Import to Library dialog box and allows you to use such file formats as PSD, JPEG, GIF, PNG, bitmap, and DIB (device-independent bitmap).
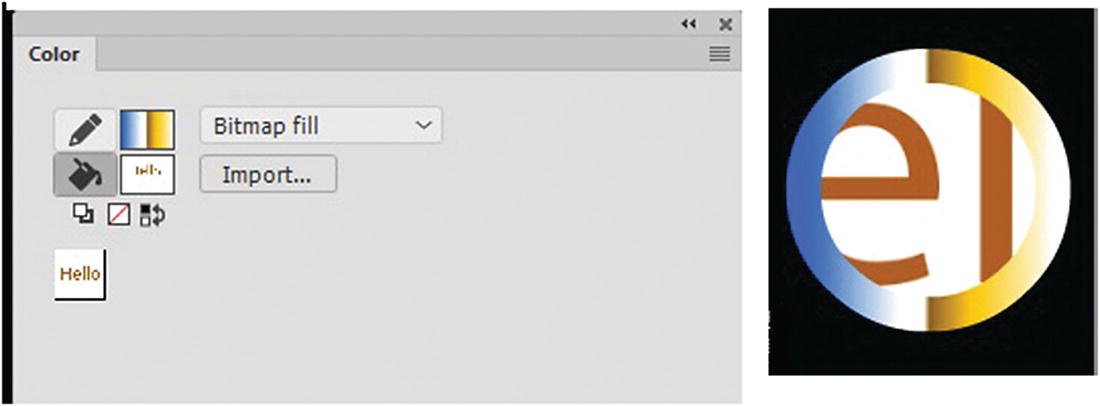
A bitmap fill is added to the fill of the shape
If you want to add any new swatches (solid color or gradient) to the Swatches panel, from the Color panel, click the Add to Swatches button, as seen in Figure 18-8.
Note
You only see the bitmap fill with the other swatches when you directly access it from the Fill or Stroke tools while in the Colors panel; if you go directly to the Swatch panel, it is not available to apply. Also, if your shape lacks a fill or stroke, first apply a solid color using either the Paint Bucket tool or the Ink Bottle tool, and then use the Color panel to apply the bitmap fill.
Swatches Panel
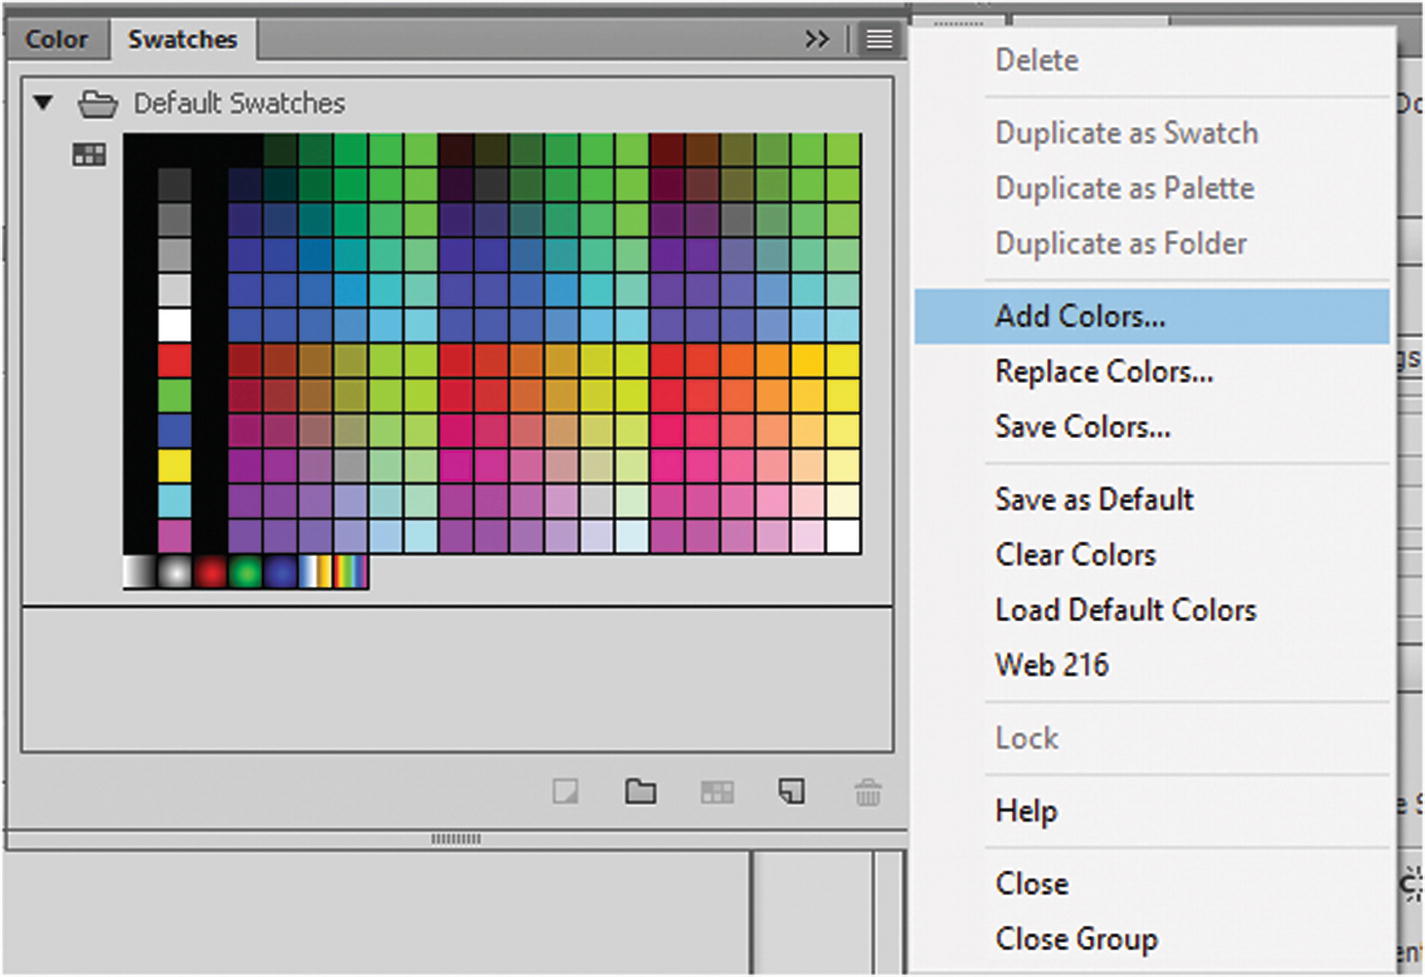
The Swatches panel allows you to add or remove swatches from the current project
You can acquire colors from an Animate color set (.clr), a color table (.act), or even a GIF file (.gif).
You cannot set the alpha transparency for a swatch to do that; use the Color panel when applying an alpha setting to a shape.
Info Panel

You can find the RGB settings for a fill or stroke using the Info panel and the Eyedropper tool
Summary
In this chapter, you looked at the color options in Animate CC, as well as tools and panels for working with solid colors, gradients and bitmap fills. In the next chapter, you discover how to import artwork from Adobe programs, such as Photoshop and Illustrator, into the Animate canvas.