
This chapter focuses on a few of the lesser-known panels and menu features that you can use as part of building image files for your multimedia website or web design workflow.
Note
This chapter does not have any actual projects; however, you can use the files in the Chapter 8 folder to practice opening and viewing for this lesson. They are at https://github.com/Apress/graphics-multimedia-web-adobe-creative-cloud .
Libraries CC
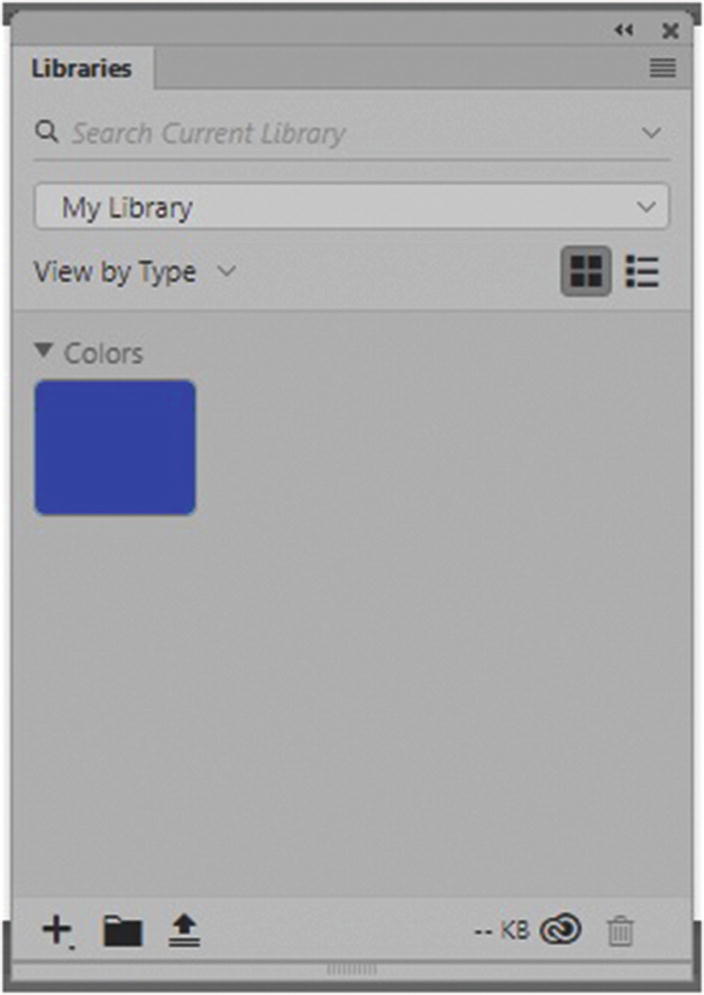
Use the Libraries panel to move color and images to the Libraries panel in another Adobe program
Extraction of Code from Layers

Extract CSS or SVG information from your layers
You can then open a text-editing program like Notepad++, paste the information into it, and examine the contents before copying the data that you need into a CSS file in Dreamweaver CC.
There is another option. When you save the file as a PSD, you can use Dreamweaver CC’s Extract panel and the Creative Cloud to get important data out of the file to work with Dreamweaver.
Web Fonts and SVG Fonts
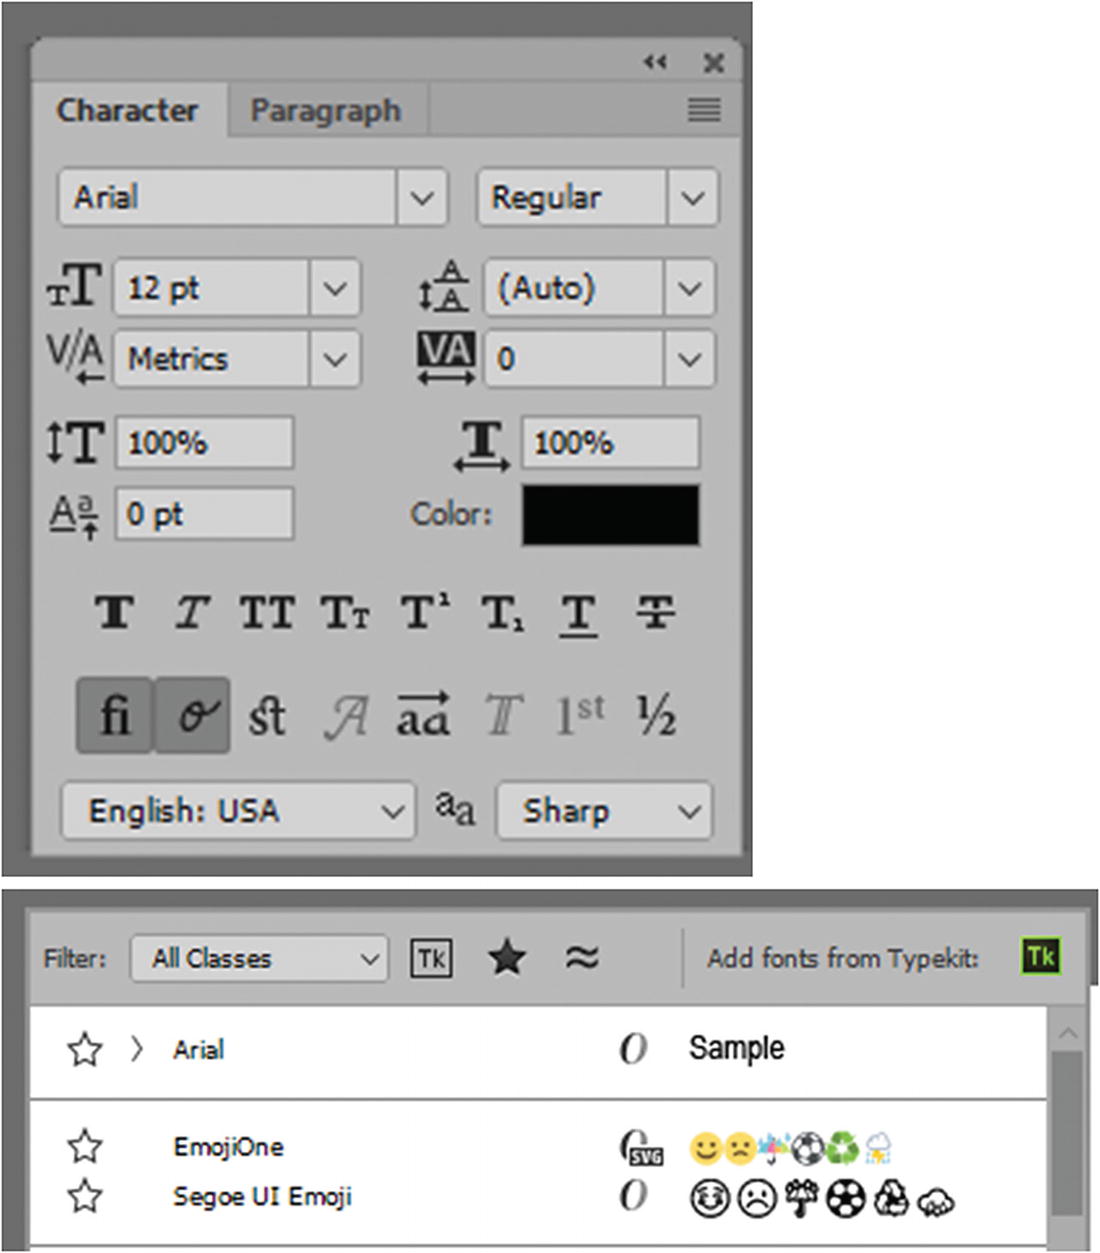
Access Adobe Fonts or Typekit via the Character panel or Control panel when the Type tool is selected
You can use colorful SVG fonts, like EmojiOne, from the Options panel.
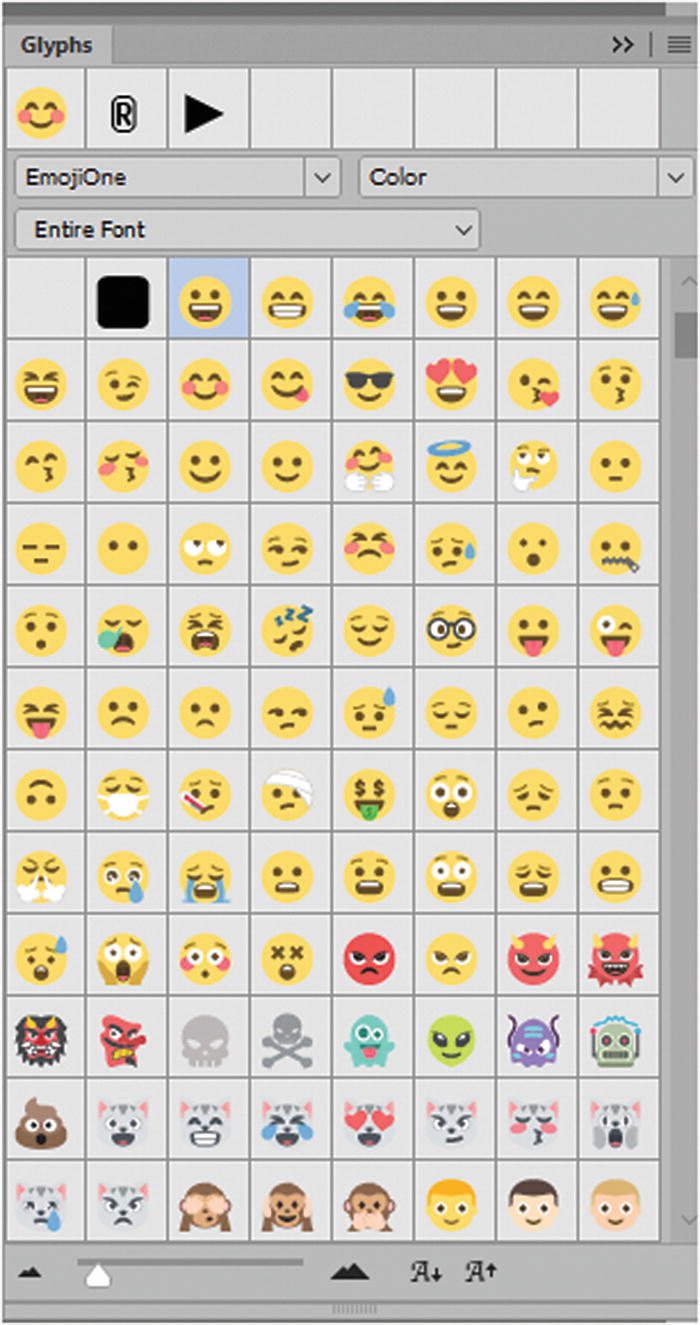
SVG fonts
It’s like having free clip art! For more information , visit https://helpx.adobe.com/photoshop/using/svg-fonts.html and https://helpx.adobe.com/typekit/using/ot-svg-color-fonts.html .
Filter for Repeating Backgrounds
Create a repeating background with shapes
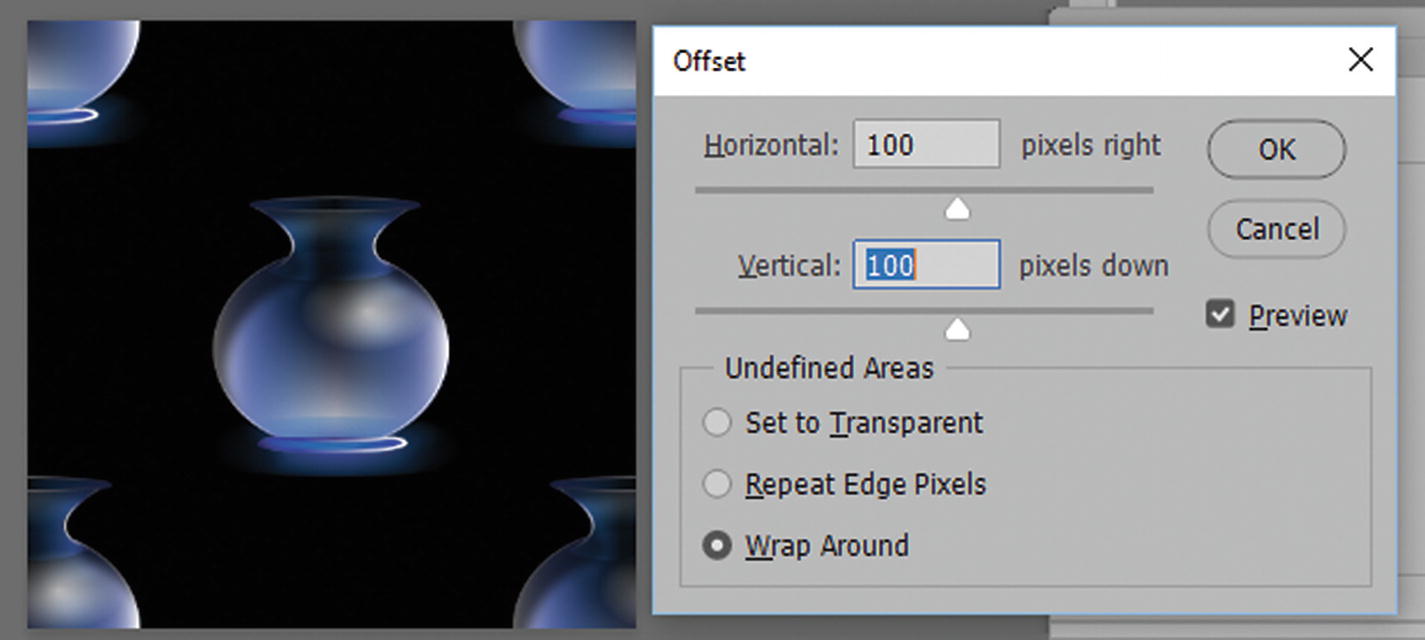
Alter using the Offset filter
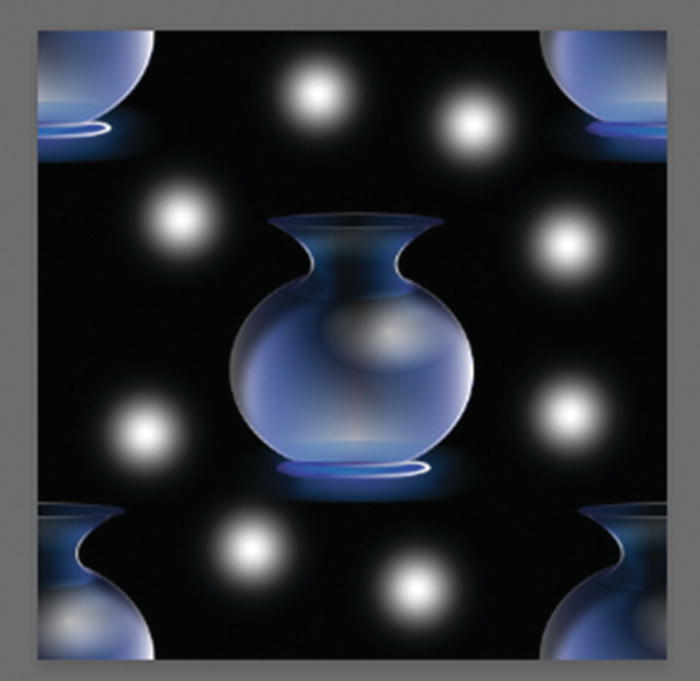
The final pattern
You can use this with CSS in Dreamweaver to create a repeating background for webpages.
New to Photoshop CC 2018 Paint Symmetry

The Tools panel brush and eraser tools
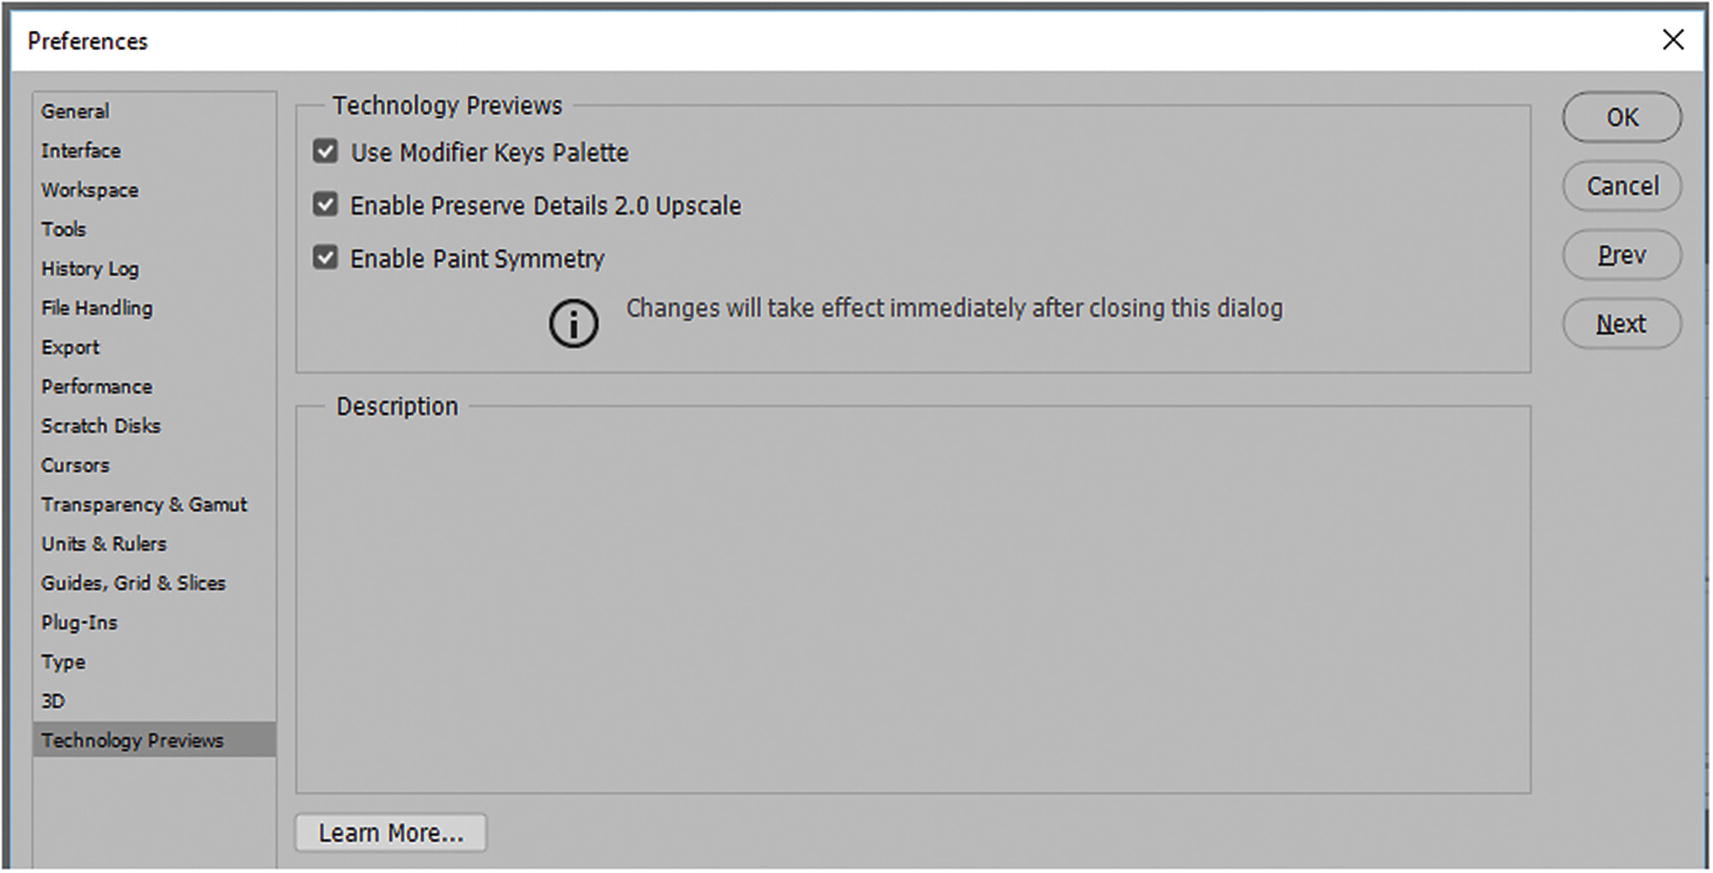
Enable Paint Symmetry option in Preferences
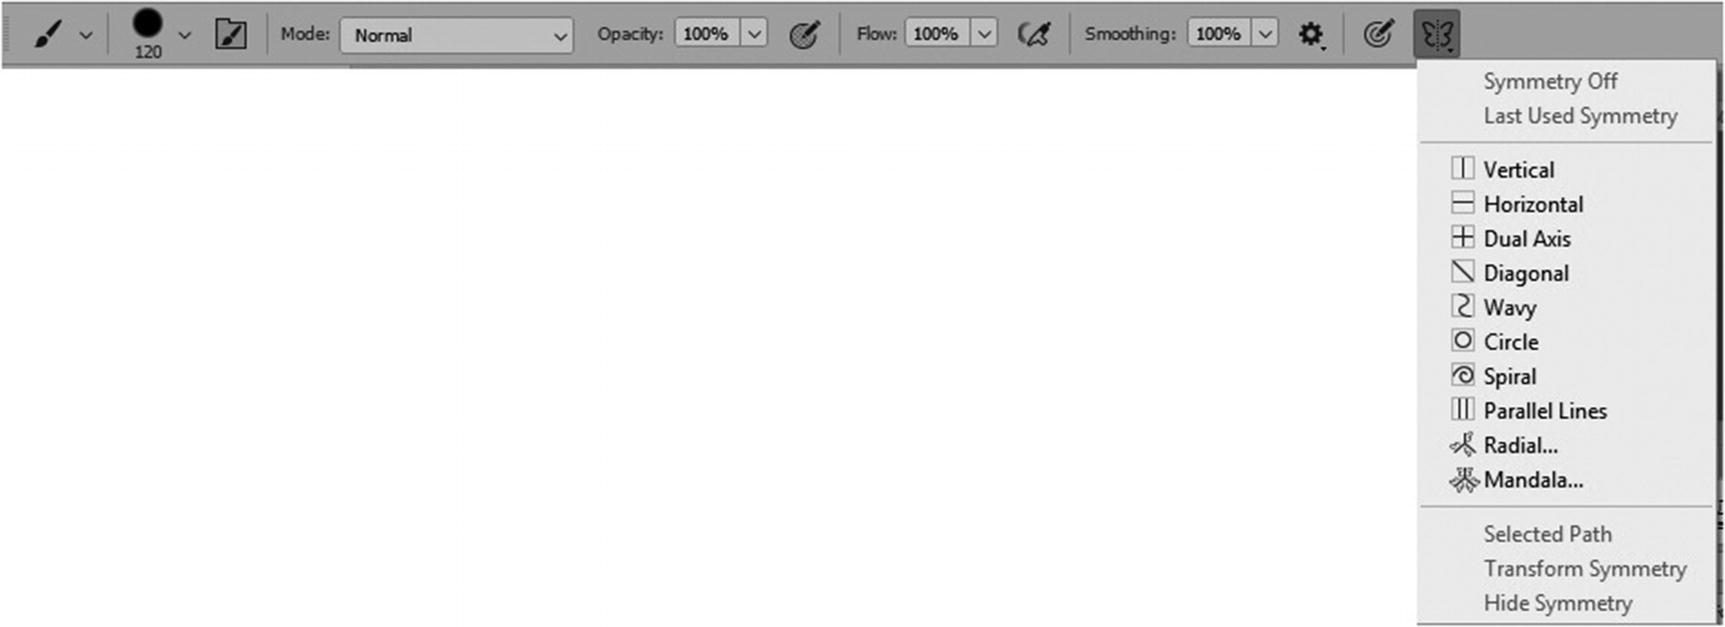
Paint Symmetry tool options allow you to reflect pattern
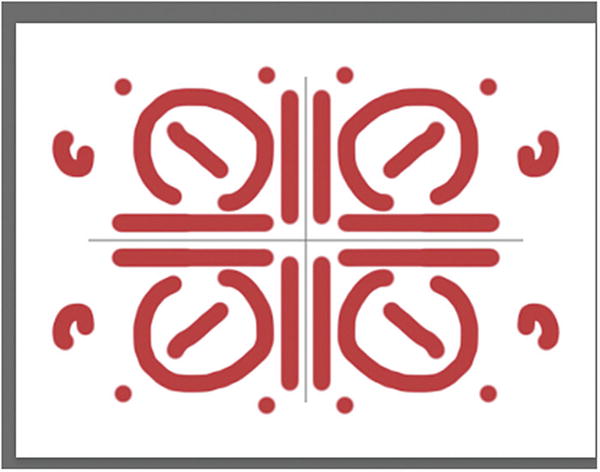
A pattern created with the Paint Symmetry New Dual Axis option
Just make sure to turn off the Symmetry option while you are doing your regular painting.
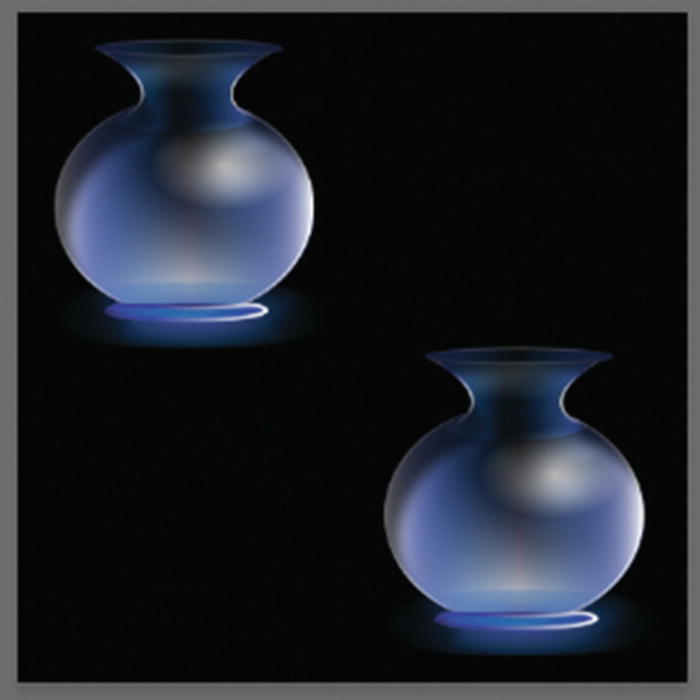
Web Styles
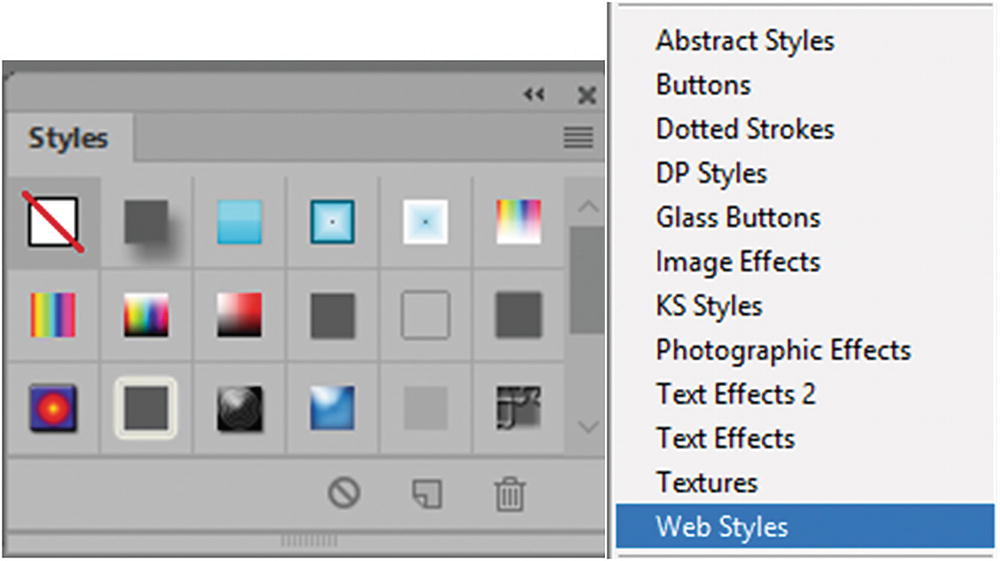
Web Styles you can add to your buttons
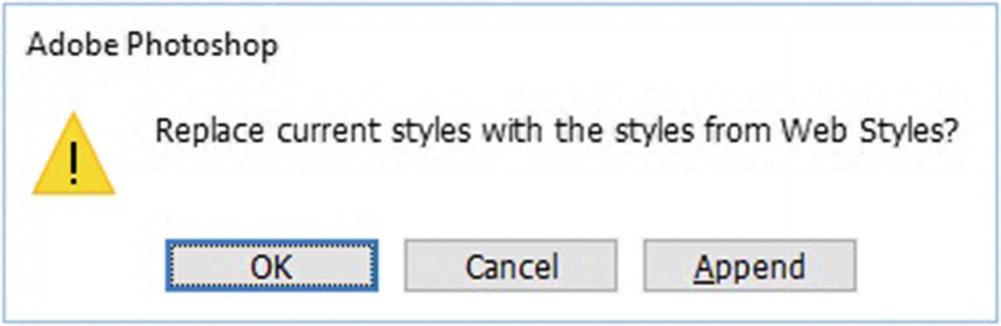
Append or replace current styles

Applying a style to a shape to create a glass-like button graphic
Note
As with the Swatches panel, you can reset the Styles panel; but any unsaved custom styles will be lost if not saved.
Color Blindness Proofs
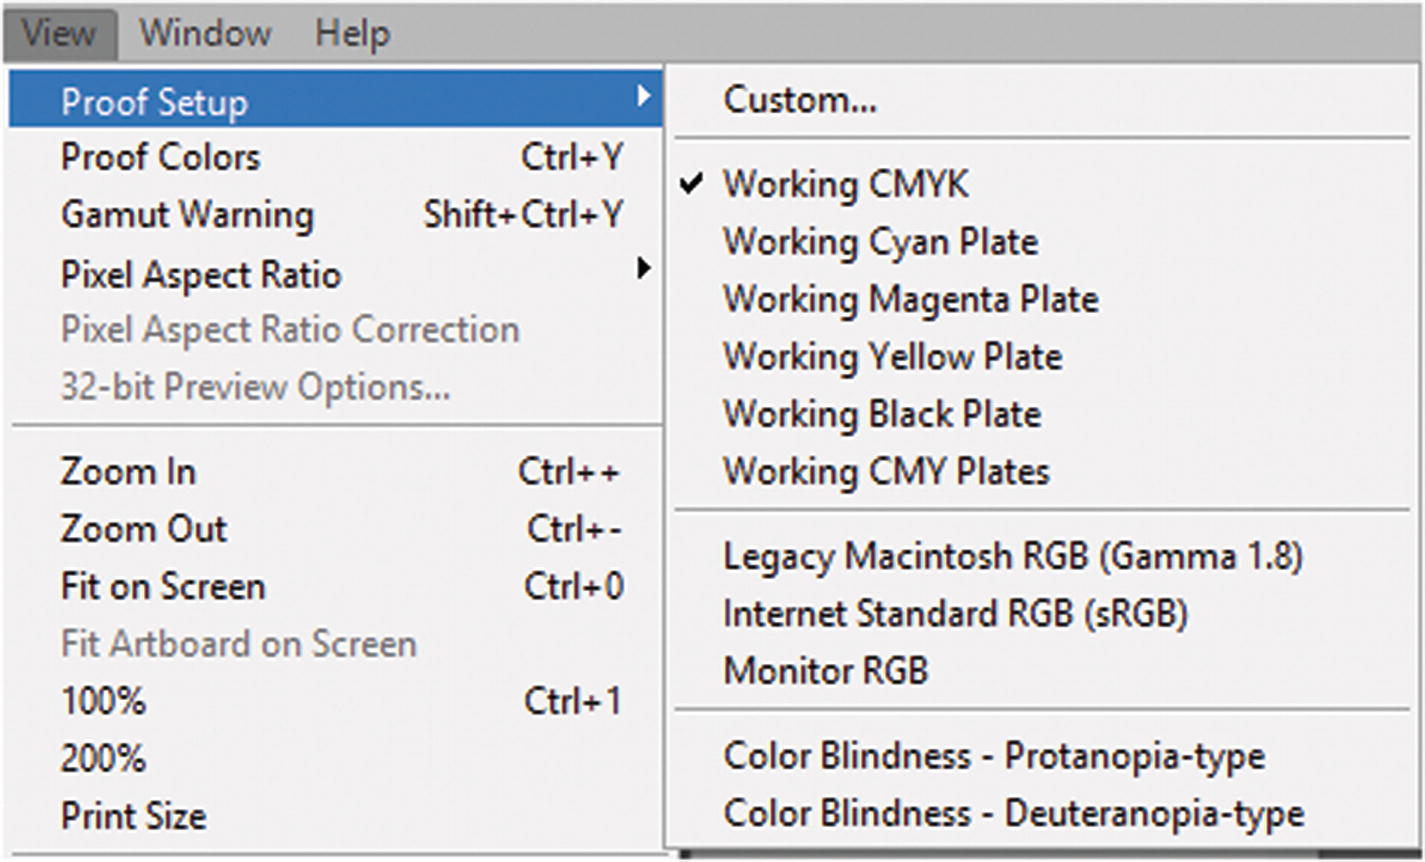
Color Blindness Proofs settings
To return to normal settlings, choose View ➤ Proof Colors.
Note
Tritanopia (blue loss) and monochromacy (all color loss) are not very common, so there isn’t a proof for those types of color blindness. However, you could use a curves adjustment layer (see Figure 8-16) to alter the amount of blue in the blue channel, or use the black and white adjustment layer for grayscale (see Figure 8-17).
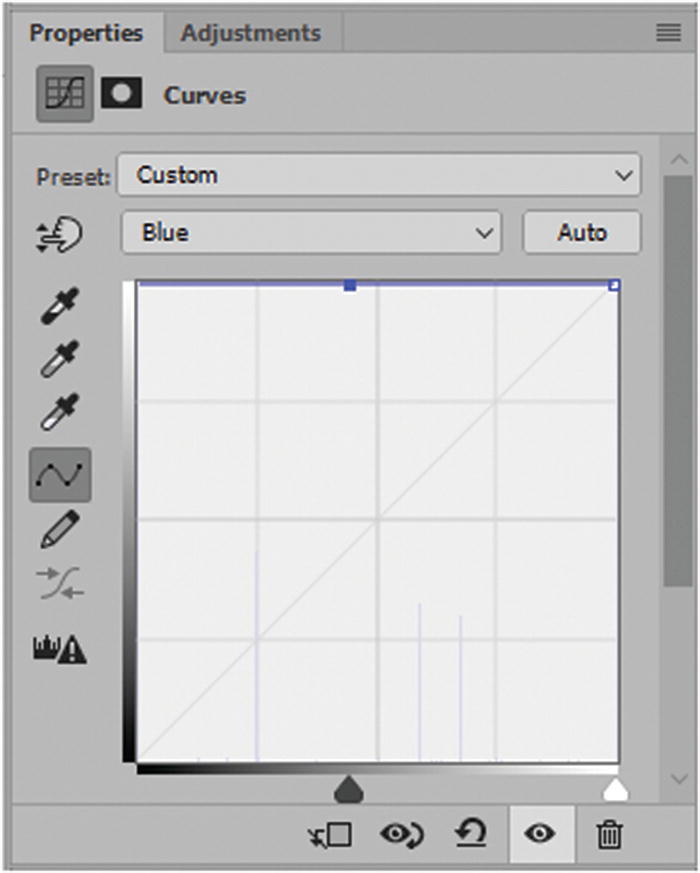
Use the curve properties to remove blue from an image to see how things might look for a person with tritanopia
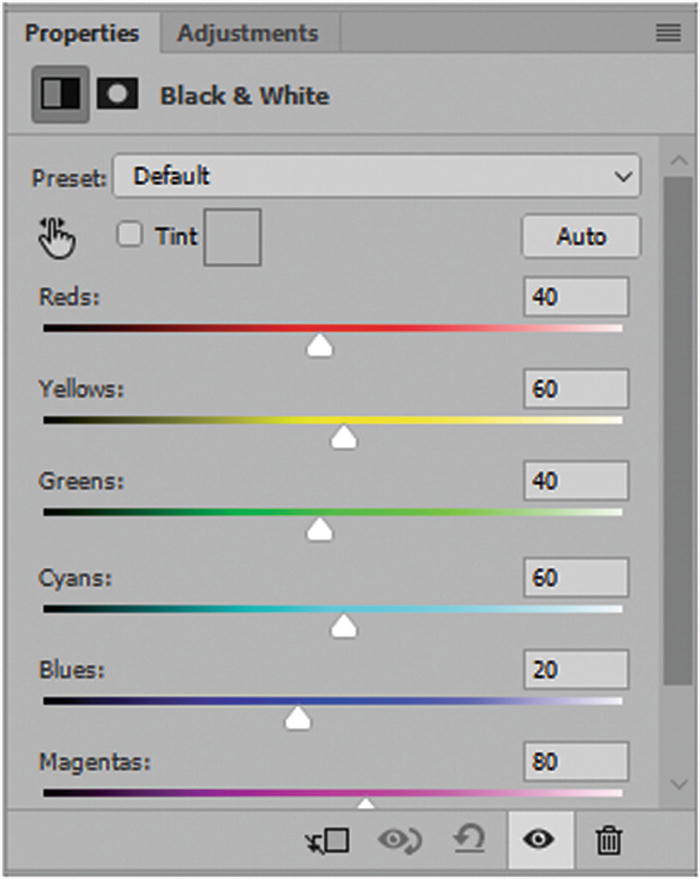
Use Black & White properties to remove all color from an image to see how this might look for a person with monochromacy
While you can’t compensate for all color issues on your website, if you want to reach a wide audience, it’s important to see how people with color blindness view your website in areas where color is a part of searching, choosing information (e.g., clothing), or doing an important task (e.g., filling out a form).
To learn more about color blindness, visit https://en.wikipedia.org/wiki/Color_blindness .
Summary
This chapter explored some tools that you might not have been aware of, which you can use to build your website. In the next chapter, you work on a few images and video files that will be part of the final project in the Dreamweaver multimedia website.