
In this chapter, you look at how to extract image sequences from your video file (.avi or .mov) for your projects in the bitmap, JPEG, PNG, and GIF (static and animated) formats.
Note
This chapter does not have any actual projects; however, you can use the files in the Chapter 28 folder to practice opening and viewing for this lesson. They are at https://github.com/Apress/graphics-multimedia-web-adobe-creative-cloud .
Convert to Other Web Formats (Image Sequence)
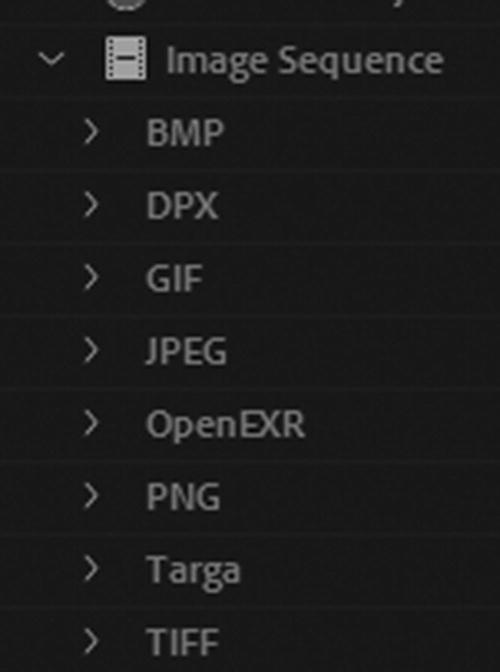
Image sequence choices in the Preset Browser panel

Use your Export Settings dialog box preview area to narrow down the images that you want from a video
The files are numbered, starting with 0; for example, file0.bmp, file1.bmp, and so on. Also, an XMP file that contains a log of the converted files is created.
Note
Although Media Encoder cannot export certain file format settings, such as PDFs, it can open Illustrator EPS and AI files. Likewise, if your client gives you any older FLV files that were created in an older Adobe Flash program these can be opened and converted to an MP4 (H.264) video format or an image sequence.
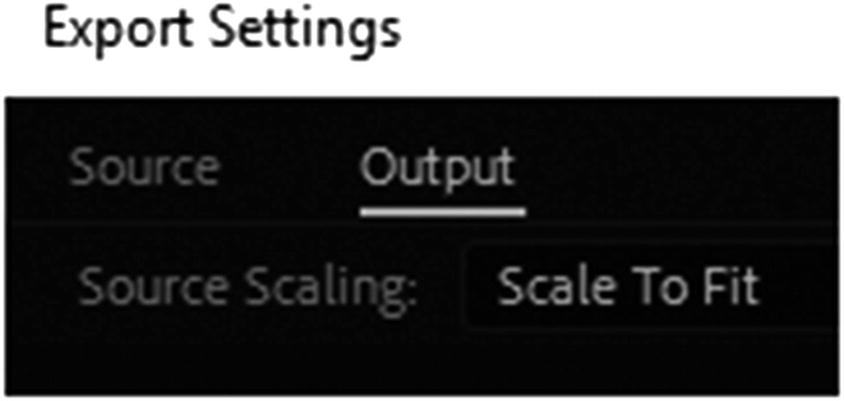
Export Settings dialog crop images within a video sequence
Bitmap Sequence Export settings
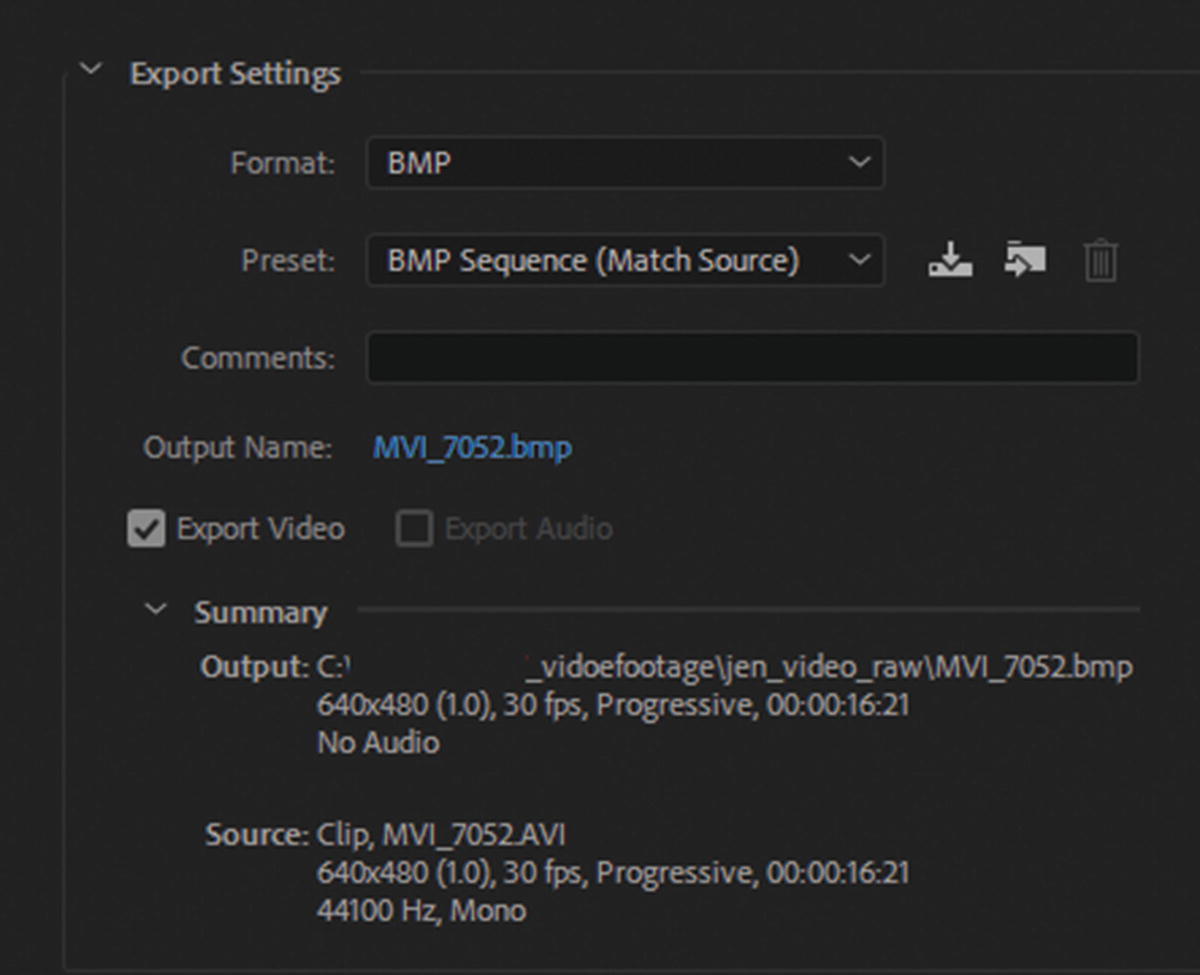
Export and Summary settings for a BMP Sequence
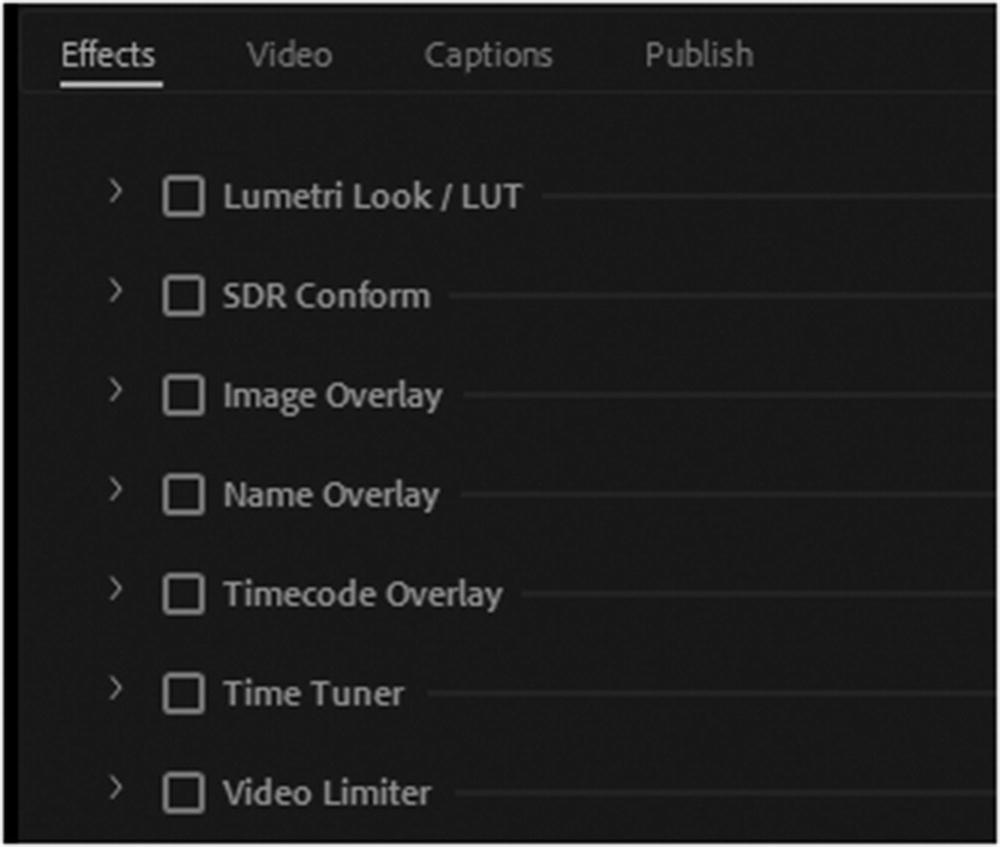
Effects Tab
Export and Summary settings for a BMP Sequence
Lumetri Look and SDR Conform are a fast way to give your images an overall color effect. You may have used this setting for other video files and want to keep the look of these images in the sequence consistent with the video if you plan to use them in the same project. Also, the Image Overlay and Name Overlay options can quickly watermark your images in the sequence.
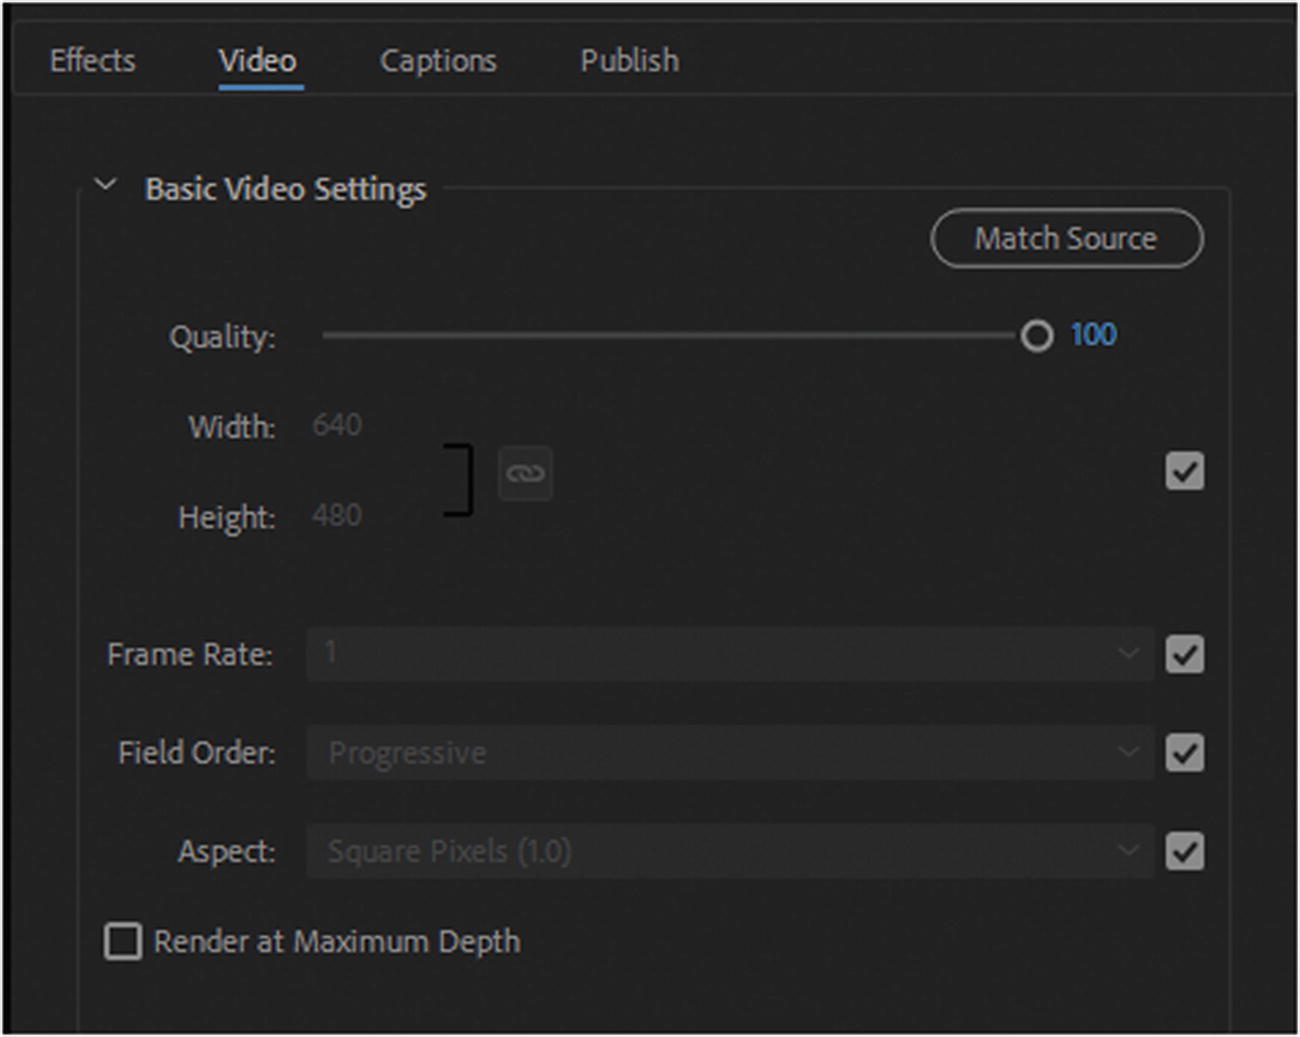
Video Tab
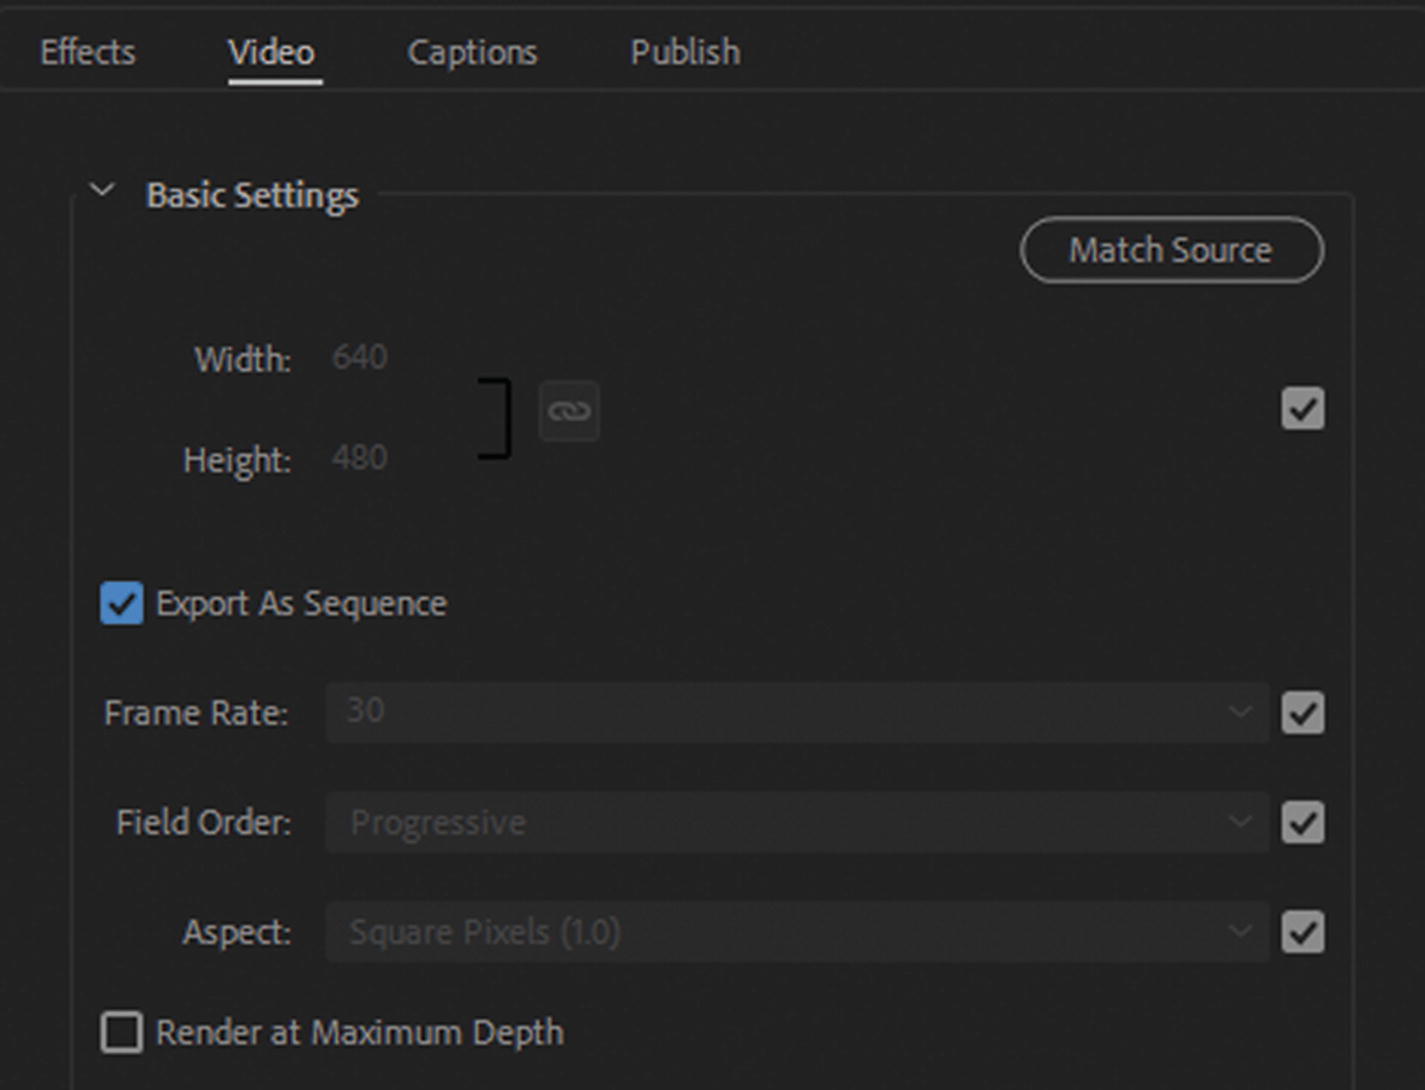
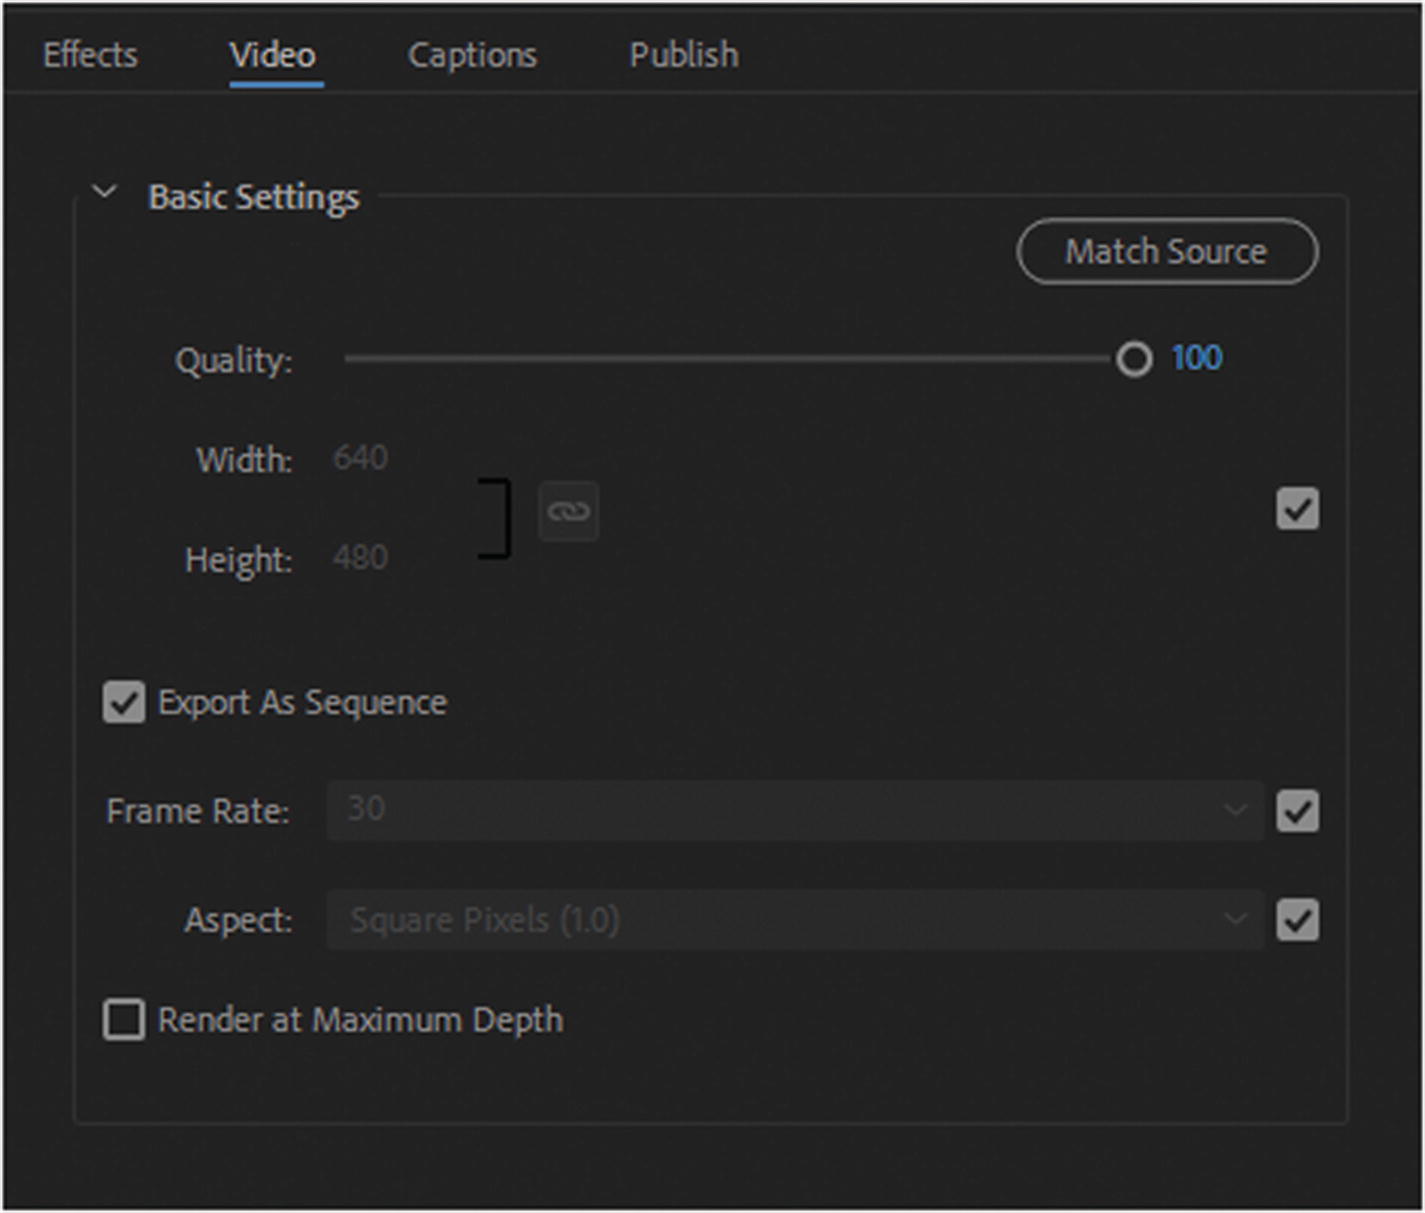
Video tab for Basic Settings
The settings on the right allow you to alter the frame rate, field order, and aspect ratio.
Render at Maximum depth may improve the image quality, but the rendering may be longer than expected and increase the file size.
Captions Tab
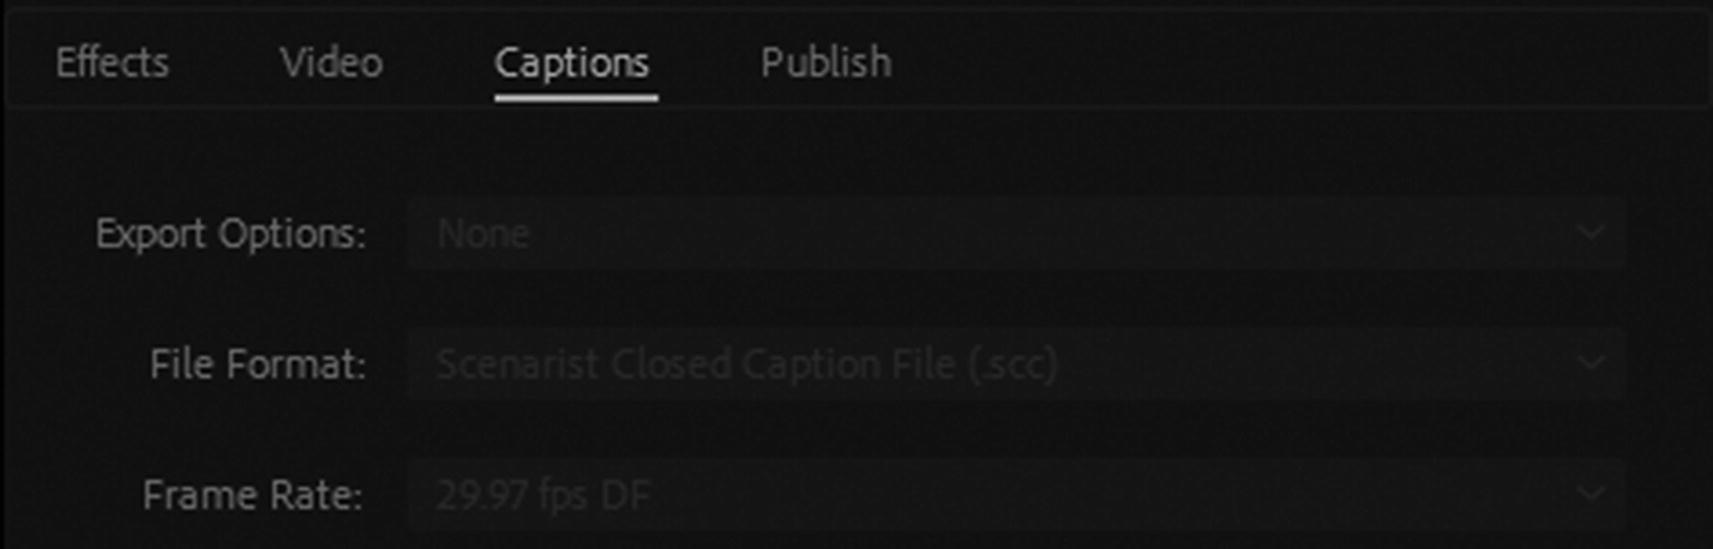
Captions tab, the settings are not available
Publish Tab
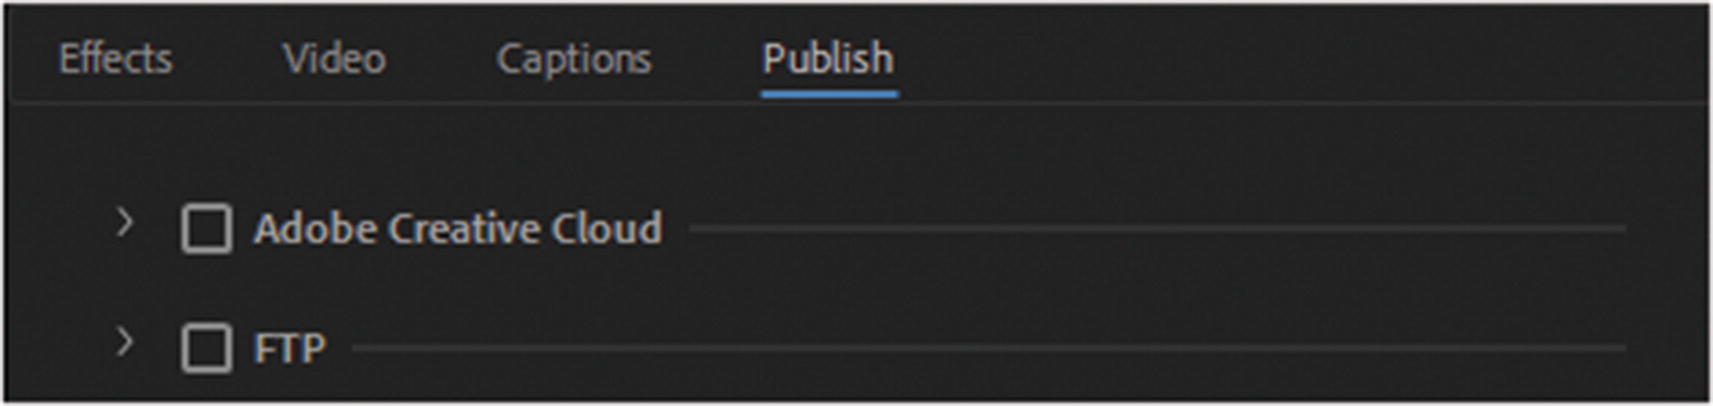
Publish tab for Creative Cloud and FTP
Image sequences should be stored in a folder and then uploaded to a site for use in a gallery. If you plan to use them for another project they can be further edited using Photoshop or Animate for another MP4 video that will be used on your site or a social media site.
Render Time Code and Alpha Channel Settings
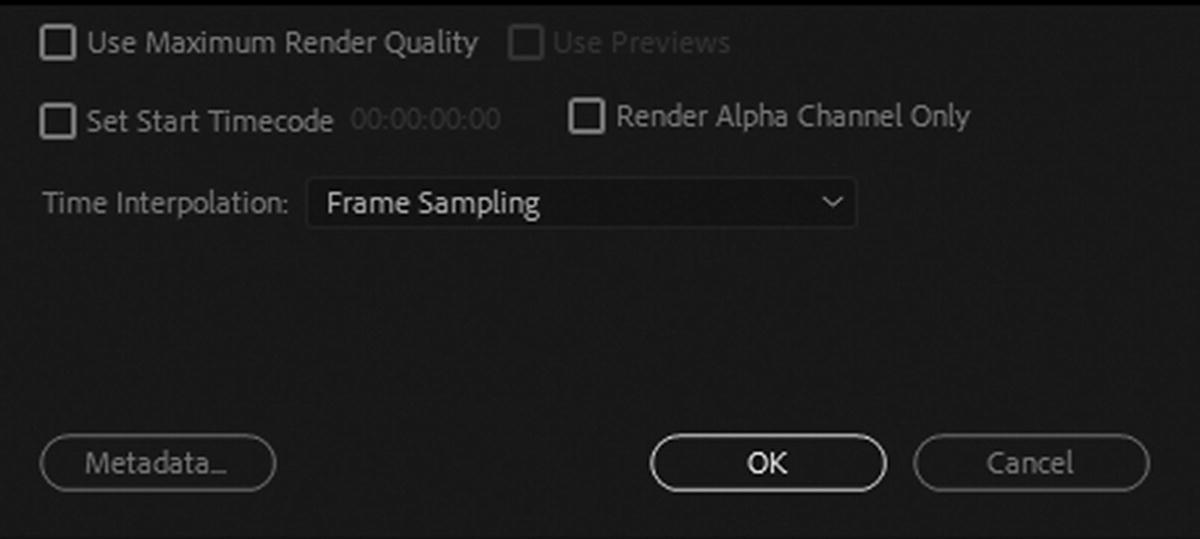
Final options for setting your render and metadata
At this point, you can either click OK to confirm your changes, or click Cancel to return to the Queue panel.
JPEG Sequence Export Settings

Export and Summary setting for JPEG image
The Effects, Caption, and Publish tabs are the same as BMP.
Video Tab
Video tab for Basic Settings
As with BMP, you can set the width and height, as well as check Export As Sequence to match the frame rate, aspect ratio, and render at maximum bit depth. You can alter the frame rate and choose an aspect from the drop-down menus when you uncheck them.
PNG Sequence Export Settings
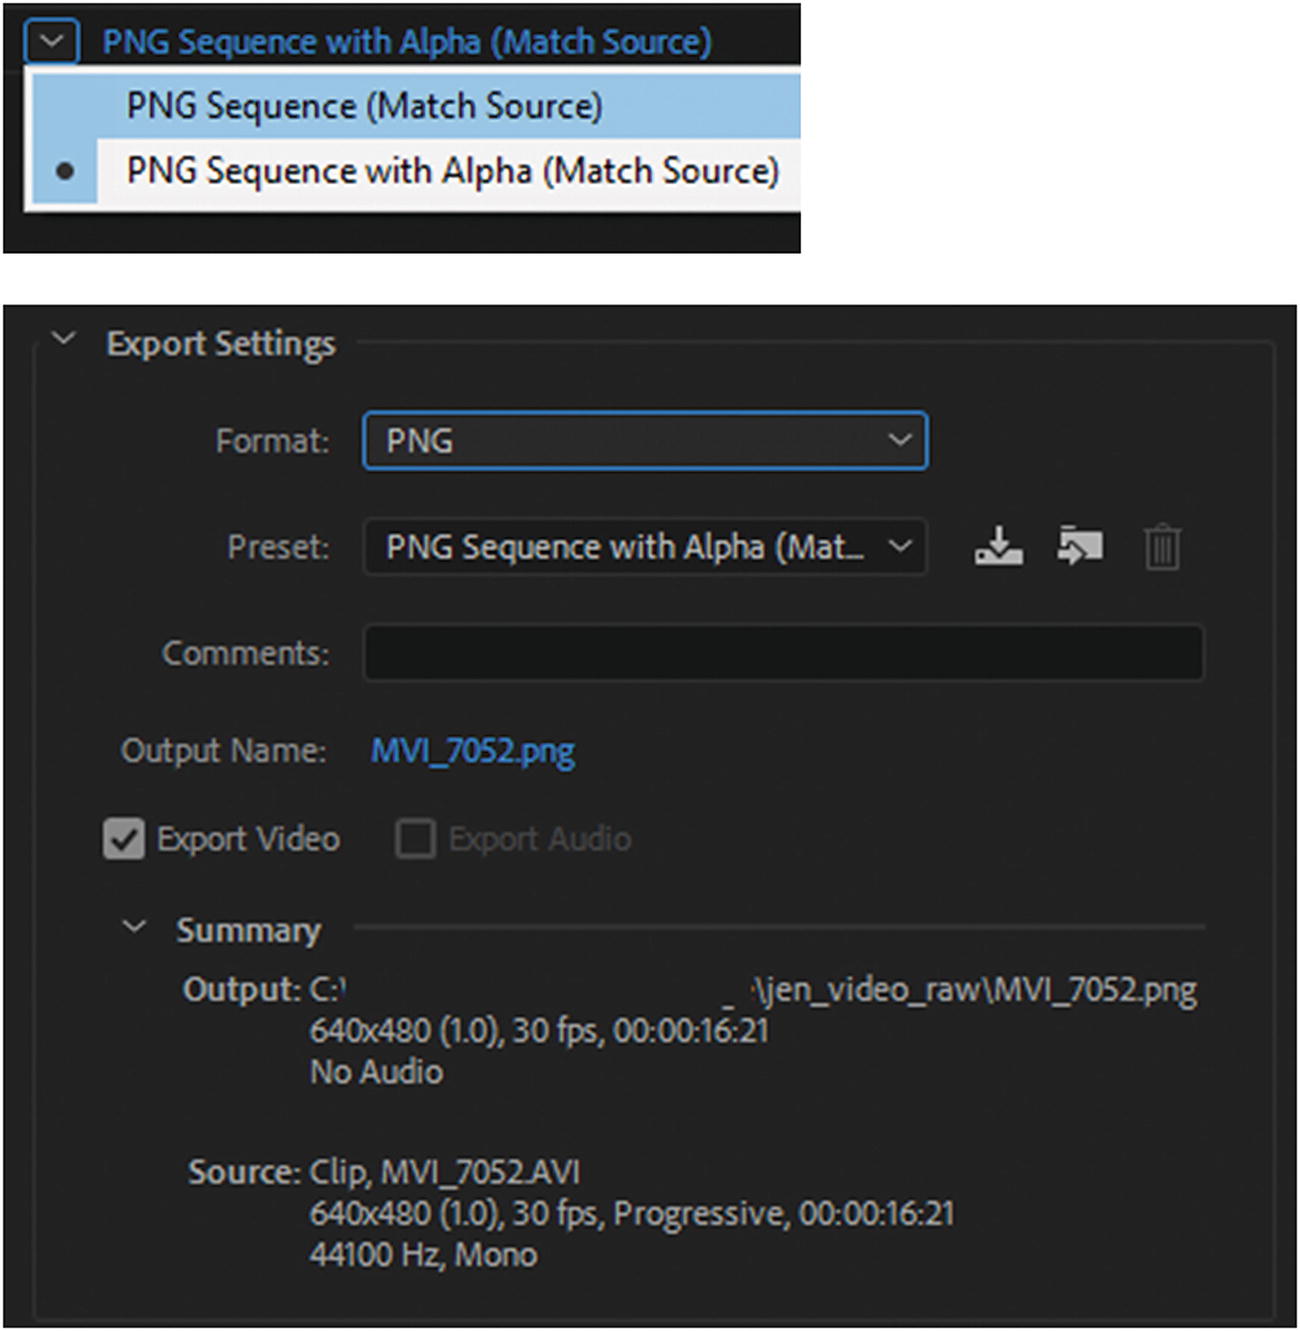
Preset, Export, and Summary settings for a PNG file
The Effects, Captions, and Publish tabs are the same as the BMP image sequence.
Video Tab

Video tab for Basic Settings for a PNG sequence
Enabling or disabling Include Alpha Channel alters the preset and determines whether the alpha channel or transparency is included or not.
GIF (Static) Image Sequence Export Settings
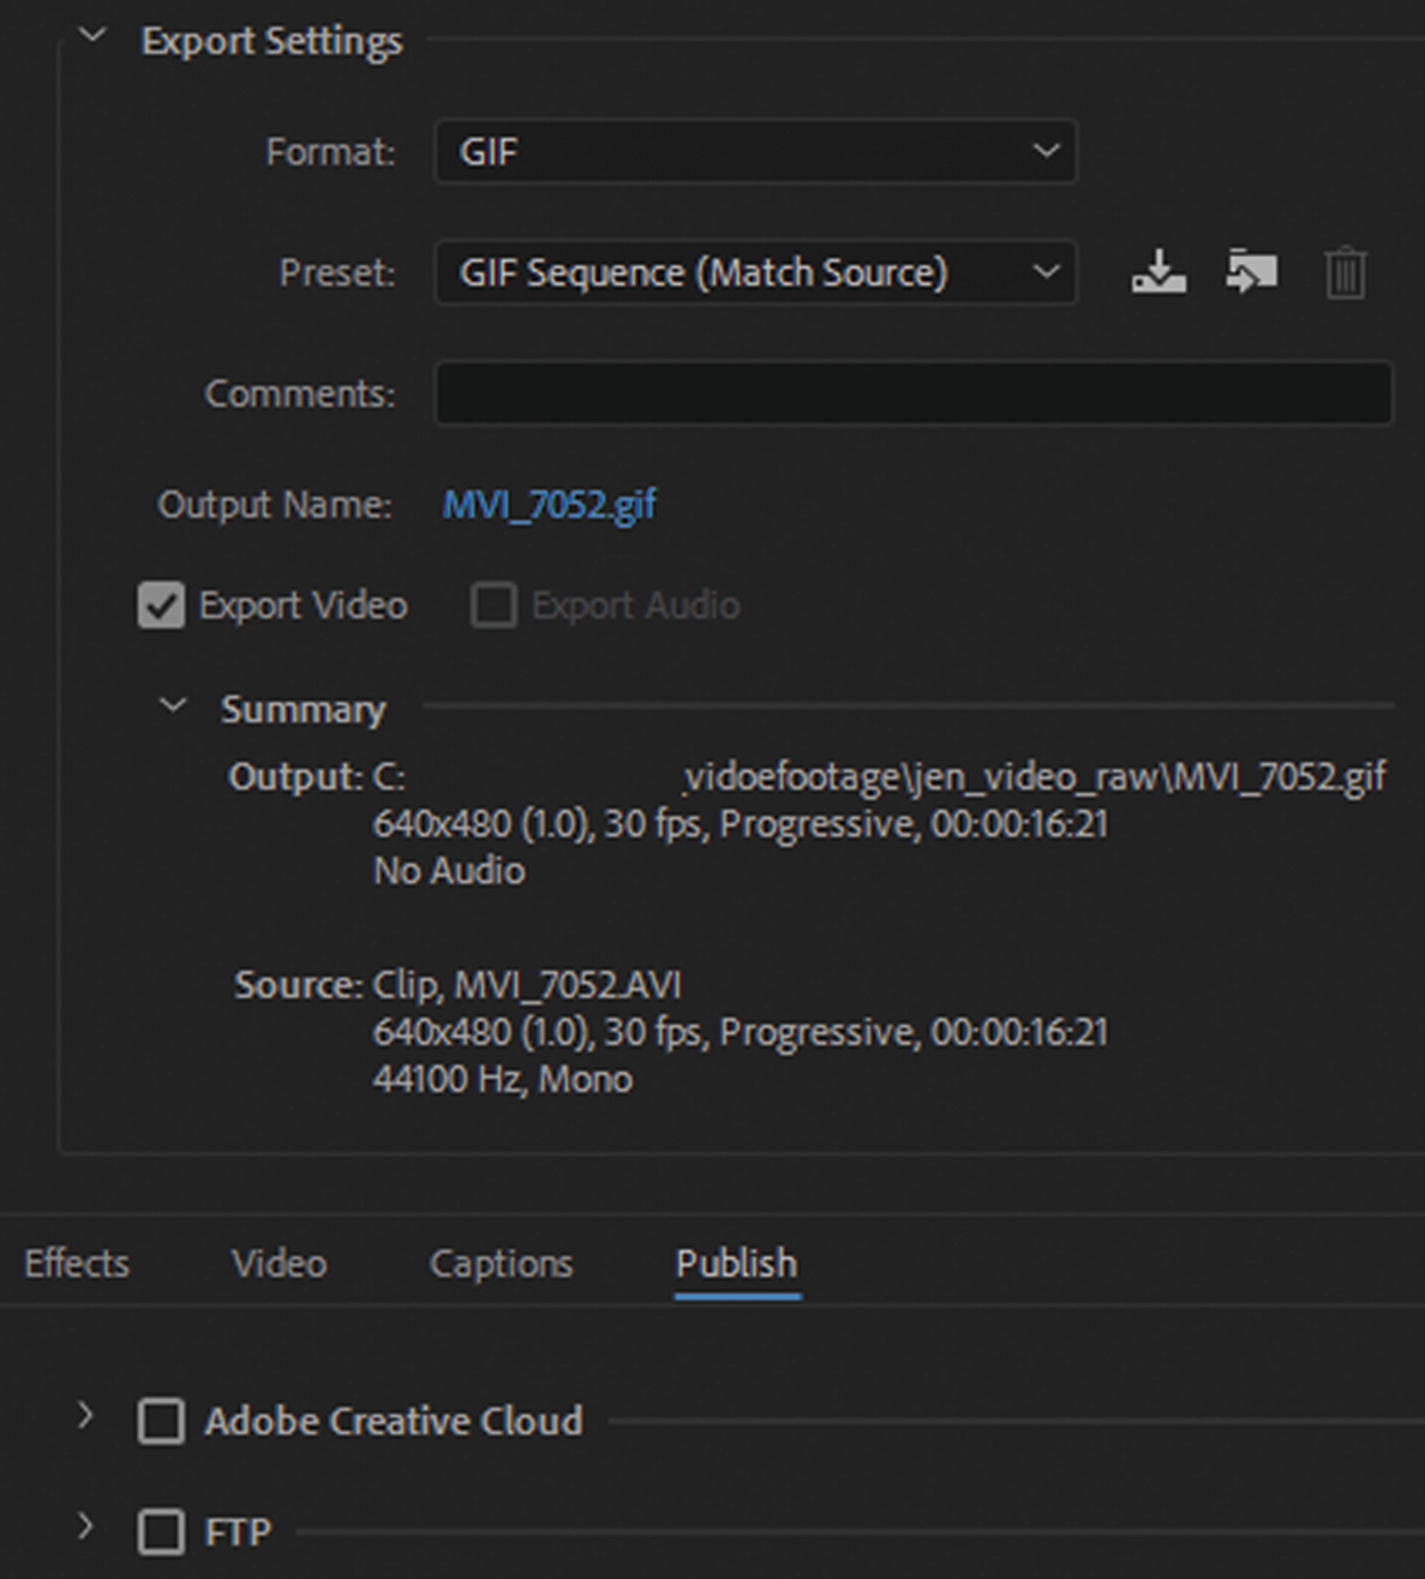
Export Settings for GIF sequence
Remember GIF images are best for logos or graphics with very little color like an animation. For full-color photos for the web, it is best to use a JPEG or PNG sequence. PNGs generally have a lower file size, but can retain their image quality.
Animated GIF
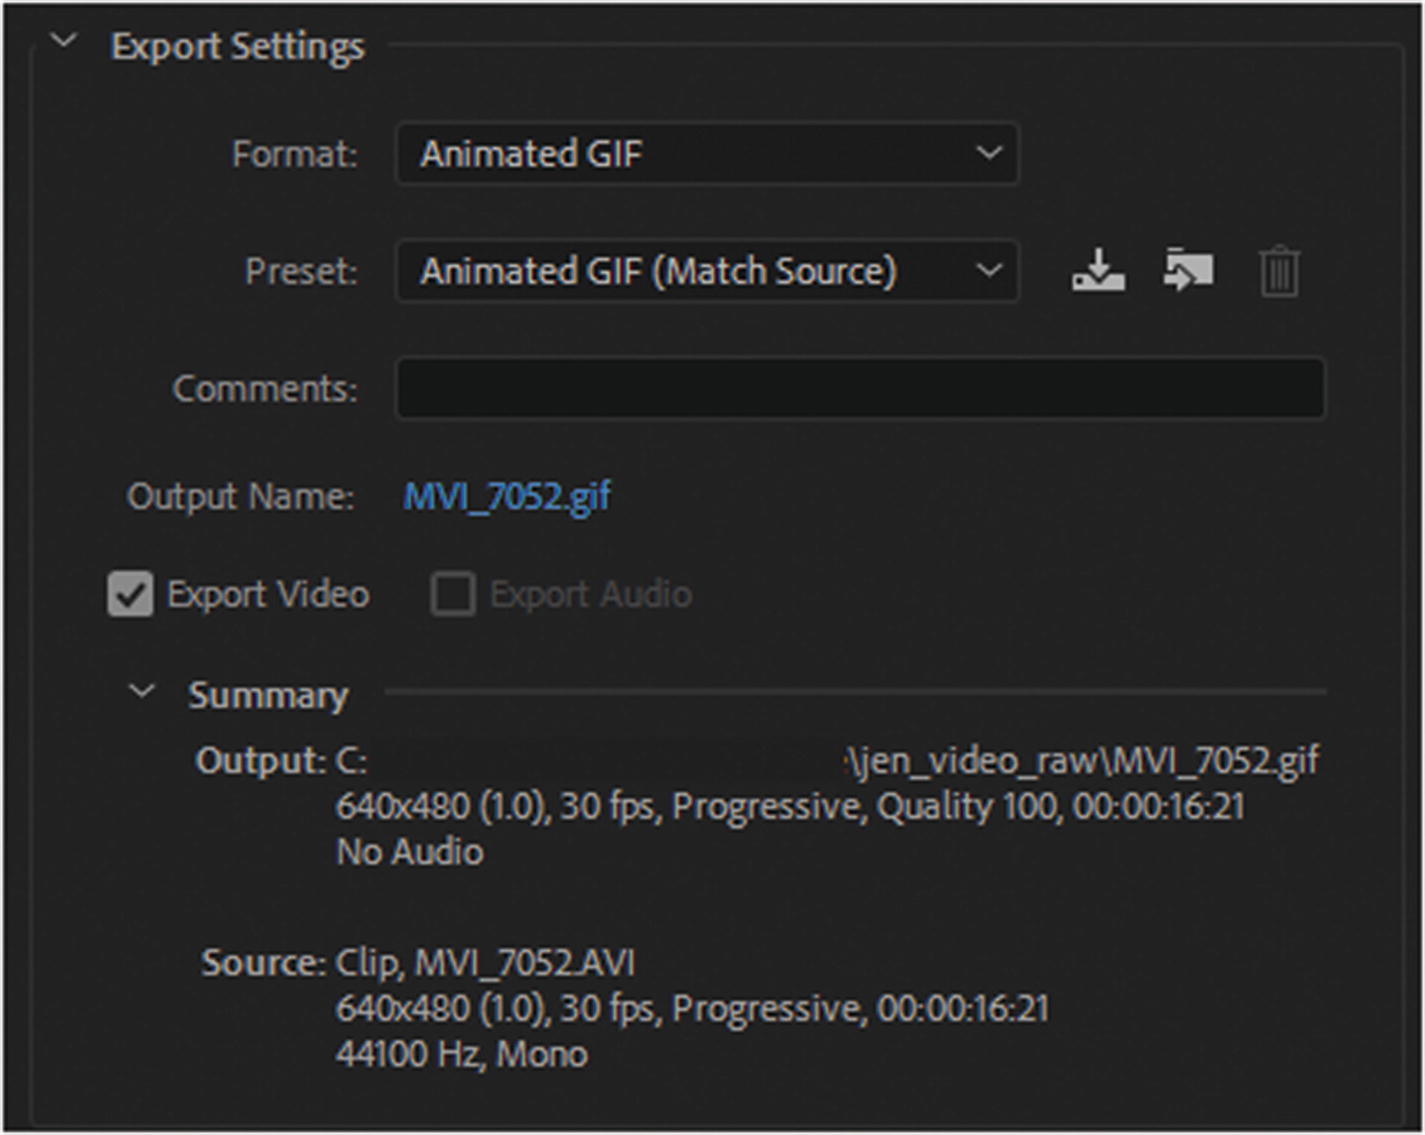
Export Settings and Summary for GIF animation
The Export Settings, Summary, Effects, and Captions and lower render settings tabs are the same as a BMP file. However, the Video and Publish tabs do have some slightly different settings.
Video Tab
Video tab in Basic Video settings
Publish Tab
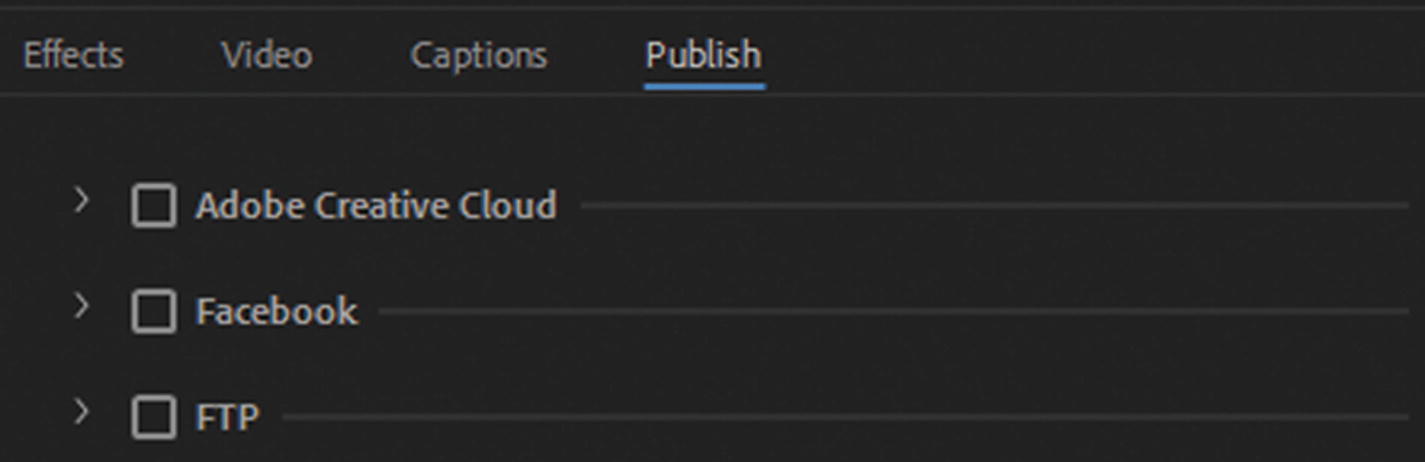
Publish tab for Adobe Creative Cloud, Facebook, and FTP
You cannot publish directly to other social media sites, like Twitter or YouTube. This is because you are publishing GIF animations and not actual video.
Note
If you are planning using any of your images in your sequence for print or high-quality documents, TIFF Image Sequence is a good option to output the images. You can always place these in your InDesign CC file in the document layout and then export as a PDF file in Adobe Acrobat. Media Encoder cannot create PDF files, so this is a way to add images from your video to a document.
Summary
In this chapter, you looked at how to convert frames in your video into image sequences for other projects. You also saw that like Photoshop and Animate, you can use Media Encoder to create an animated GIF.
In the last chapter of Part 5, you put your knowledge into practice and work with some video and audio files to export media for the Hot Glass Tango site.