
In this chapter, you look at how to add your HTML5 video, audio, and canvas animations as an animated composition or OAM file. You’ll also briefly look at a few other options that Dreamweaver has available for adding related multimedia.
Note
This chapter does not have any actual projects; however, you can use the files in the Part 6 folder to practice opening and viewing for this lesson. They are at https://github.com/Apress/graphics-multimedia-web-adobe-creative-cloud .
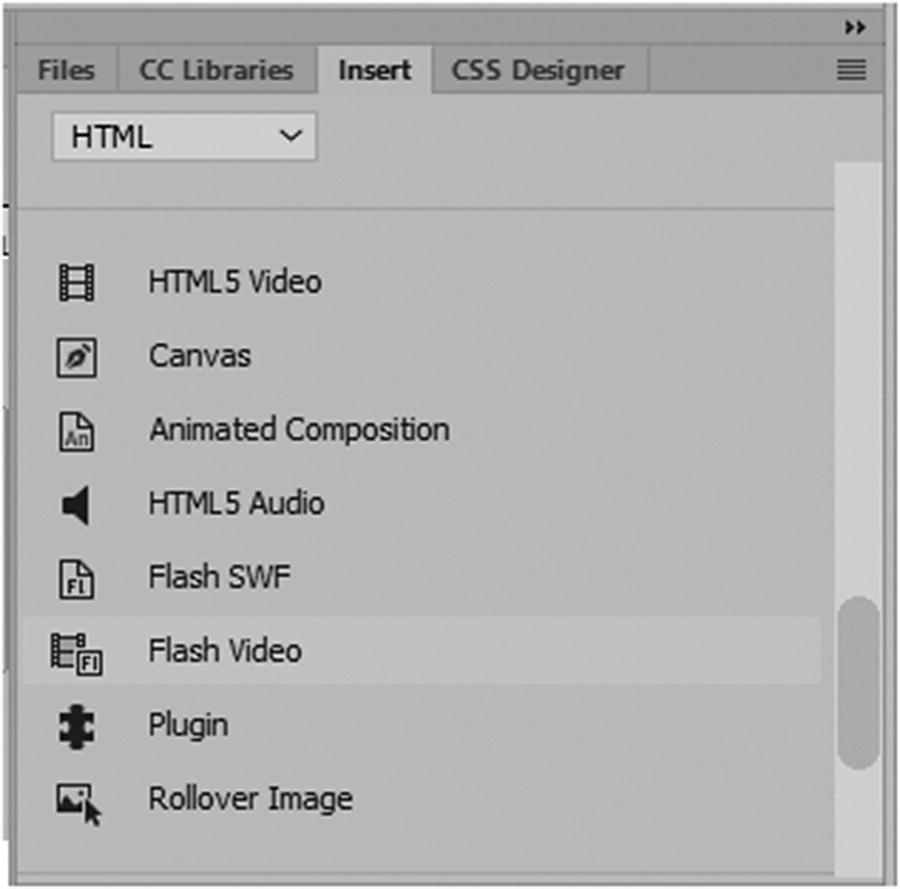
The Insert panel contains various multimedia tags
Inserting HTML5 Video
MP4 (.mp4)
WebM (.webm)
Ogg Theora (.ovg)
In Part 5, you learned about these three formats and how to use Media Encoder to create an MP4, also known as H.264. It is the most commonly used format for video on the Internet. To create the other two formats Webm and Ogg, you need to acquire an additional plug-in for Media Encoder from a third-party provider or find a freeware software (the Miro Video Converter) to create these formats. Refer to Part5 for this information. In most cases, MP4 video is sufficient for your website; however, if you are concerned with backward compatibility, then you want to make sure you have the additional formats.
Streaming and Embedded Video or Have The Video On Your Own Site?
The final code (ID) from W3schools is the link code to the uploaded video on YouTube; in this case, the width and height are defined in the <iframe>.
If you would like to learn how to utilize the autoplay, playlist, loop, and control features within the link, check out www.w3schools.com/html/html_youtube.asp .
If your clients have a powerful enough server, it is better to use HTML5 and set up the video on their site, as you see in a moment. With large videos that run over 5 minutes or more, make sure to run tests; otherwise, you may experience slow load times or broken streaming. Learning how to insert HTML5 video on your own site gives you a better understanding of how video works.
Setup and Testing
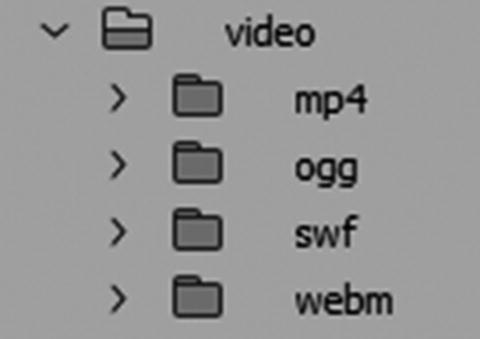
In the Files panel there is a video folder that has all the formats organized
Note
You may have older Flash files (.swf) for older browser compatibility; they are not a requirement because the Internet is moving away from this format. Some browsers do not support streaming these files. In the Hot Glass Tango, there is no SWF folder.
Besides the video files, you want to make sure that you have a JPG poster image, also known as a splash screen design . This is the image that the audience sees when the HTML5 video is not playing as the file first loads. Make sure that the image has the same dimensions as the video file; in this case, 640×480.
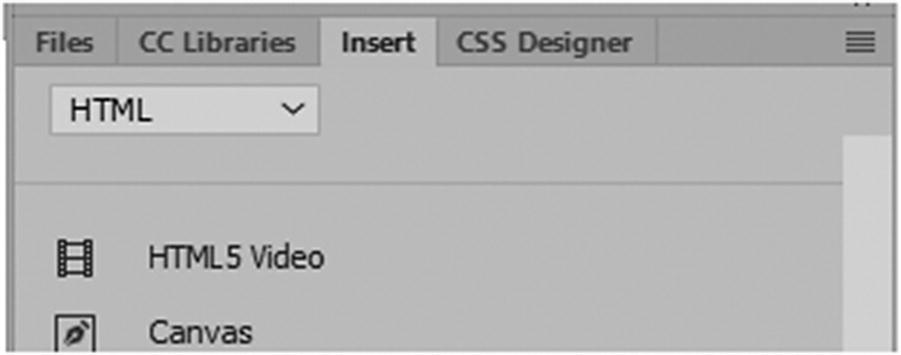
To insert the video, go to the Insert menu’s HTML tab and locate the HTML5 video icon.
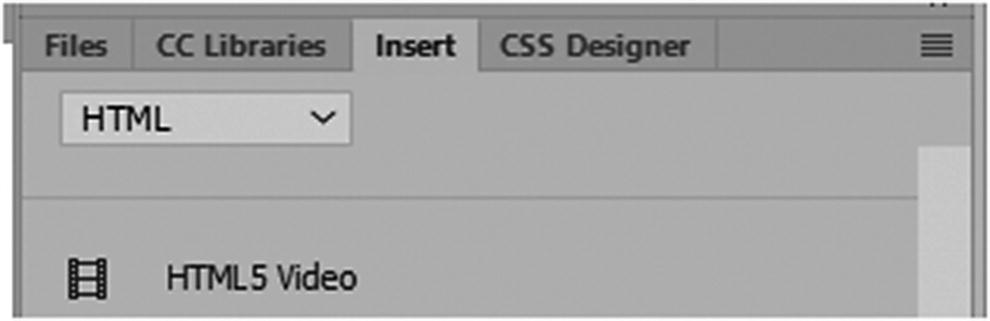
In the Insert panel you can scroll down and locate the tag for inserting HTML5 video

In the Properties panel, when you select the video tag, you can see there are many setting options for attributes
ID: The same as ID for all other tags. Add a name for your video here. Accessed by CSS or JavaScript.
Class: You can add a class to your video. Note that you are not able to alter some settings of the video’s design, but you can add a border around the video or center the tag.
W and H: This is the width and height of the video in pixels that you set in Media Encoder or whatever video editor you chose to export your file for the web. Remember, if you are using more than one source of the same video or a poster image, make sure that they are all the same width and height to prevent distortion in your layout.
Source: This refers to the link to the main video that displays, in this case it is the MP4 video; if you do not have an MP4, you might make one of your other formats the source, but I recommend MP4 as the primary link.
Poster: This is the link to an image that displays when your video is first downloaded, and the Play button has not yet been pressed. If you do not create a poster, the first frame of the video is used instead. Usually, a poster is a JPG file that you design as a title page in Photoshop. You find the poster in your images folder and then link it with the Folder icon in the Properties panel.
Title : Refers to the title attribute of the video tag.
Fallback text : If none of your video formats play in an older browser, you can add text here to let your clients know that they have to upgrade. You can add a message, such as “Your browser does not support HTML5 video.”
Controls : This is for the video’s player area, to see the controls check the check box; it is the default setting so that the user can control when to start or pause the video or move to a different point with the sider. It also hides or shows the volume controls and screen size settings. By unchecking this option, the controls for the user may be unavailable when they view the video in their browser.
Loop: This allows the video to loop and play many times. This is generally left unchecked by default.
AutoPlay : This allows the video to start playing as soon as the page loads. The attribute does not work on all mobile devices. It is generally left unchecked by default.
Muted : The sound is initially turned off when the video loads. This is generally left unchecked by default. If you don’t want audio in your video, then make sure to remove it when you render your file.
- Preload : Specifies the method used to cache the video when it loads. Its default is set to none, but you can also choose auto (load the entire video when the page loads) or metadata (load only metadata when the page loads) from the drop-down menu. If AutoPlay is selected, this area is ignored. Refer to Figure 36-5.
 Figure 36-5
Preload options for video in the Properties panel
Alt Source 1 : This is the next available video source after the main source link. In this case, you locate a WebM video, as this is the next popular setting for browser compatibility. If you do not have a video in this setting, you can leave this link blank.
Alt Source 2 : This is the next available video source after the Alt source 1 link. In this case, you would locate a OVG video, as this is the third popular setting for browser compatibility. If you do not have a video in this setting, you can leave this link blank.
Flash Fallback : You can add a flash fallback link to a SWF file here; however, if your video does not have this source option, or if you are not using SWF files, you can leave this link blank.

The set up for the video tag
Within the <video> tag, first the poster attribute and then each video <source> is listed in order of compatibility; if none work, use the fallback text in a paragraph or <p> tag.

Add an ID to each video source in the Properties panel
Adding IDs are useful if you need to call up some additional JavaScript, as you see in Chapter 39.
The final thing that you can do is add a codec to the type attribute. It is important to add at least the type and codecs. These help the browser determine whether it can decode the files.
Note
You may get an error message after adding these codecs in Dreamweaver’s Output panel, but in this case, you can ignore it because this is the standard way of setting up the codec. Refer to Figure 36-8.
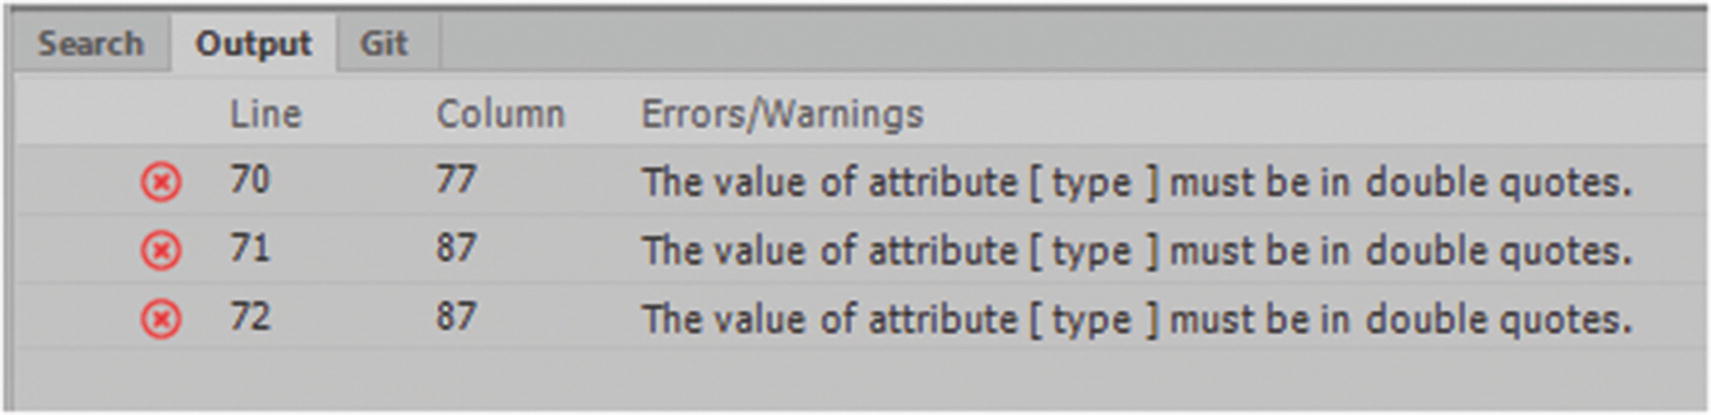
Dreamweaver may throw a warning on how the quotes are used, but you can ignore the warning
If there are any changes in this setting, you can check https://en.wikipedia.org/wiki/HTML5_video .
The Track Tag
At this point, you might want to test your video and links in various browsers to make sure the media is playing correctly.
Mobile and Video Scaling
You can learn more about this at www.w3schools.com/css/css_rwd_videos.asp .
Can You Insert Video into a Background Using CSS?
Like an image, you can insert video into a background using CSS, but it is simply behind other <div> and not using in the CSS property background image. This could be useful on an intro or index page, where the movie is behind a small amount of text that overlays the video while it plays with the controls removed. Objects moving in the background can be distracting. A better option is to use a GIF animation (no audio) within the background-image property. Or use a <canvas> animation from Animate CC because elements are better controlled and maintained.
If you’re looking for an example of video in the background, check out www.w3schools.com/howto/howto_css_fullscreen_video.asp , which uses a combination of HTML, CSS, and JavaScript to control the video with a single button.
Inserting HTML5 Audio
MP3 (.mp3)
WAV (.wav)
Theora Ogg (.ogg)
In Media Encoder, you can create MP3 files and WAV sound files, but for Ogg, you need to acquire a third-party plug-in or use a free program like Miro Video Converter. Safari and Internet Explorer do not support Ogg, but Chrome, Firefox, and Opera do. In most cases, MP3 and WAV audio are sufficient for your website; however, if you are concerned with backward compatibility, then you want to make sure that you have the other formats.
Setup and Testing
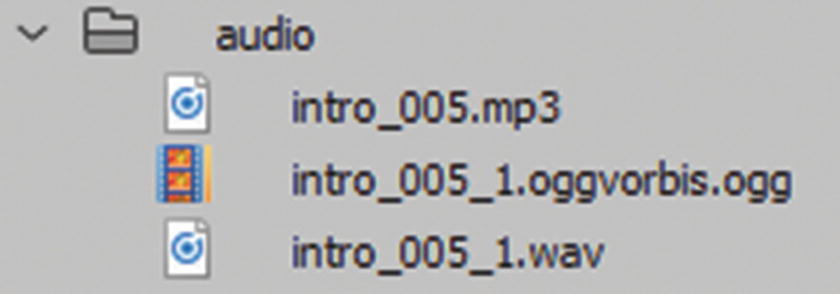
The audio files added to an audio folder in the Site Root folder in the Files panel

In the Insert panel, locate the HTML5 audio tag to insert audio into your webpage
Find the place on your webpage that you want to insert the audio links; place the cursor in that spot in Code view or Design view, and click the icon in the Insert menu.

The Properties panel with audio tag selected
ID : This is the same as ID for all other tags; add a name for your audio here. It is accessed by CSS or JavaScript.
Class : You can add a class to your audio. Note that some settings you are not able to alter such as the default browser audio’s design, but you can add a border around the audio area or center it.
Source : This refers to the link to the main audio that displays; in this case, it is the MP3 audio. If you do not have MP3, you might make one of your other formats the source, but I recommend MP3 as the primary link.
Title : Refers to the title attribute of the audio tag.
Fallback Text : If none of your audio plays in a browser, you can add some text here to let your clients know that they may have to upgrade. You could add a message such as “Your Browser does not support HTML5 audio.”
Controls : This is for the audio’s player area to see the Controls check the check box, it is the default setting so that the user can control when to start or pause the audio or move to a different point with the sider. It also affects the appearance of volume controls. If unchecked, the user cannot control the audio while listening to it in the browser.
Loop : This allows the audio to loop and play many times. It is unchecked by default.
AutoPlay : This allows the audio to start playing as soon as the page loads. This attribute does not work on all mobile devices. It is unchecked by default.
Muted : The sound is initially turned off. It is unchecked by default.
- Preload : Specifies the method used to cache the audio when it loads. Its default is set to none, but you can also choose auto (load the entire audio when the page loads) or metadata (load only metadata when the page loads) from the drop-down menu. If AutoPlay is selected, this area is ignored. Refer to Figure 36-12.
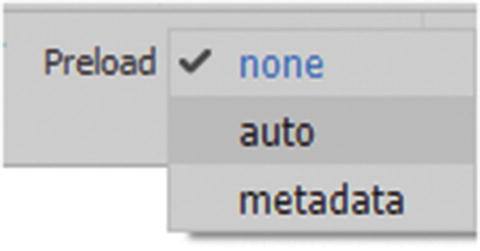 Figure 36-12
Choose a preload property from the properties menu
Alt Source 1 : This is the next available audio source after the main source link. In this case, you locate a WAV audio as this is the next popular setting for browser compatibility. If you do not have an audio in this setting, you can leave this link blank.
Alt Source 2 : This is the next available audio source after the Alt source 1 link. In this case, you locate a Ogg audio as this is the third popular setting for browser compatibility. If you do not have an audio in this setting, you can leave this link blank.

The audio settings have been added to the Properties panel
Within the <audio> tag, which defines the sound content, each audio <source> that defines the media resource is listed in order of compatibility and finally if none of these sources work the Fallback Text in a paragraph or <p> tag is displayed.

Add an ID for each audio source using the Properties panel
Now the browser can detect which audio or alternate audio files it wants to choose.
IDs are useful if you need to reference additional JavaScript.
Unlike <video> sources, you do not need to add an attribute codec for audio. For more information, refer to https://en.wikipedia.org/wiki/HTML5_Audio .
At this point, you might want to test your audio and links in various browsers to make sure that the media is playing correctly.
Can You Insert Audio into a Background Using CSS?
Like video, you can hide the audio controls so that the sound cannot be turned off by the user. Keep in mind that this might be annoying to some users if the sound is very loud or they don’t like music. This is not a good practice. It is generally better to provide users some control options, like a button to mute, lower the volume, or turn on the sound by choice.
You can apply sound to <div> elements with CSS background images that can alter or change using CSS3 transitions and transforms or make a sound using JavaScript when they are hovered over (mouse-enter) or clicked. Sound can have many uses on a website that user’s can interact with. However make sure they have the option of turning off the sound as well.
Audio CSS Aural
A CSS feature for audio that you might not be aware of is aural style sheets. These style sheets convert text into audio for people who are visually impaired and require a screen reader or a speech synthesizer. The Internet should be for everyone, so if you want more information on how to add an aural style sheet, check out www.w3schools.com/cssref/css_ref_aural.asp .

Rather than create a style sheet for screen or print, you can create one just for aural
Insert a Canvas Element
a folder called images containing images
a folder called sounds containing audio, generally MP3 or WAV files
a JavaScript file (.js)that is linked and interacts with the HTML5(.html) file that is created
an HTML5 file (.html) that contains the <canvas> element that contains the animation. When you looked inside this file you found internal inline CSS, internal JavaScript and a link to JavaScript on an external library site (Create JS) that helps control the animation.
If you opened the generated OAM package, besides the above mentioned, you would also find XML files that control setting and the generated a poster image(.png).
You can also have a small video (MP4) inside the <canvas> that is part of the animation; this is created using the components panel. This appears as a separate linked file along with the aforementioned files.
Importing Animate Canvas into Dreamweaver
Once you have exported these files from Animate CC and brought them into Dreamweaver CC, you see that it contains many of the HTML5 tags that you reviewed in Chapter 31. At this point, it is up to you how you want to work with the <canvas> in the HTML file and incorporate it into your website.
Option 1
If you are planning for it to be an index or intro page that is not part of the template, you may just make a copy of this file with the new name and then continue to edit it with minor alterations, such as using CSS to center the <canvas> element, alter the background, add some text, add navigation links, or anything else that makes this page match your theme for your website.

Locate a line of code within a current document

While in the external JavaScript file, you can use the search text box to find a line of code
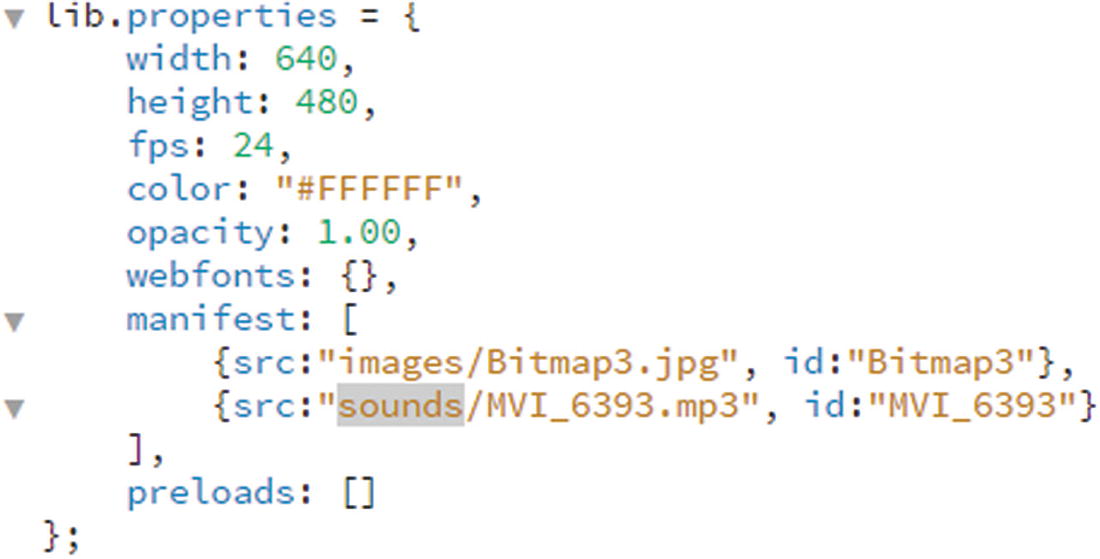
The line of code where the link to the audio of the canvas is found
If you plan to alter the name of the file or replace it, use the Find tool to make sure that the parts of the file name match the new name throughout the JavaScript; make the changes carefully. Whatever audio alterations you make, always test that the sound still works correctly.
Option 2
Then add the other code in the <body>, including the <canvas>, into a specific <div> element on your page. Make sure to save and test the file links and JavaScript. You may need to adjust the CSS because it may not align the way you want it to at first. This is a laborious task. For template-based pages, there is a much cleaner way of working with the code—by using an OAM or animated composition.
Canvas Element Created Without Animate
You don’t need to use Animate CC to create all of your <canvas> elements. If you are creating still images on a <canvas> element, you can use Dreamweaver to do the work.
Use the Insert panel to create a canvas tag
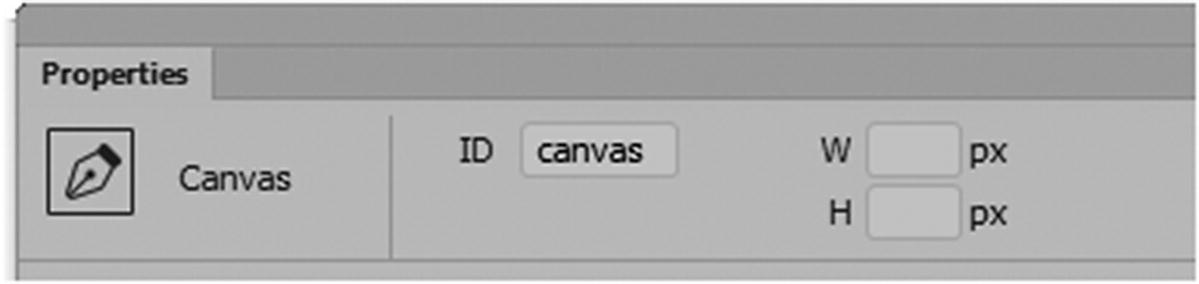
In the Properties panel you can view the canvas tag
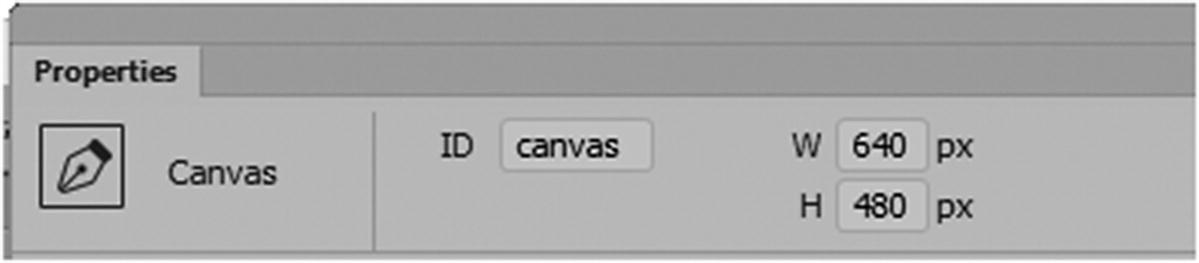
In the Properties panel, set the width and height of the canvas tag
As you saw in Animate CC, this program makes it quite easy to create graphics for the <canvas> element container. The canvas is used to quickly draw graphics (with color and gradients) with JavaScript formatting. If you aren’t familiar with JavaScript formatting, this could be a challenging task, so Animate is an excellent choice for complex animations.
Note
The <canvas> element is interactive and responds to JavaScript events. You can program for user actions, such as click buttons and finger movements. These elements are used for gaming. Do not mix the game code you create in Animate CC with those you hand code yourself in Dreamweaver. I find that you should only use the JavaScript code that is compatible with the CreateJS library while in Animate CC, because it works with the frames per second feature of Animate CC. Trying to copy JavaScript code directly into an Animate HTML5 Canvas (.fla) Action panel from a site like W3Schools might work for a still image, but usually ends in animated graphics not functioning or having a jerky motion.
Insert Animated Composition or OAM
In Animate CC, when you export an HTML5 Canvas file, you also have the option of exporting an OAM file, also known as an animated composition. OAM and the canvas file are the same in that they both can contain animations, but the OAM’s construction is slightly different in that you now must extract and import the HTML5 Canvas animation to insert it into Dreamweaver. From the OAM files, a folder called “animation assets” is created in the root directory, which you’ll look at more closely in a moment.
After you have exported or published an OAM file from Animate, you notice that it is one single file and not separate parts. This is because the OAM is merely a package, like how you would create a ZIP file. Animate CC has put the files into one folder, and you need Dreamweaver CC to unpack it.
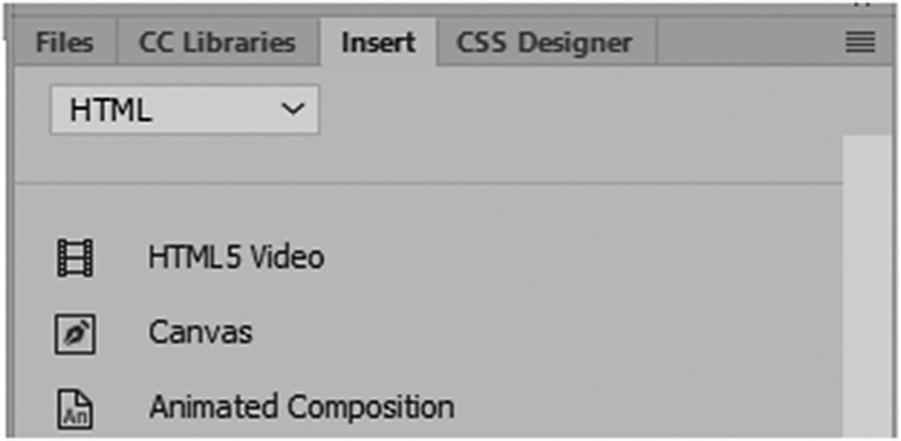
Use the Insert panel to unpack and insert the animated composition HTML5 canvas
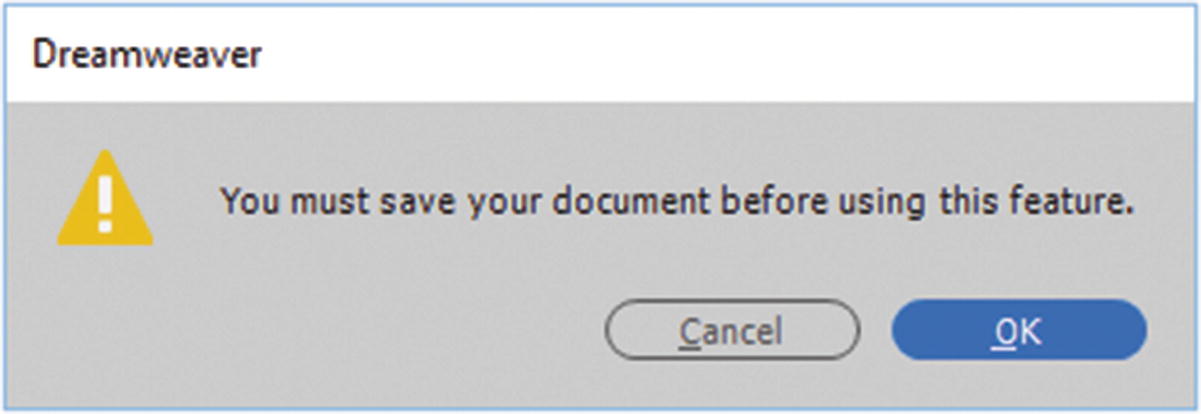
Make sure you have saved your HTML file before you insert the animated composition
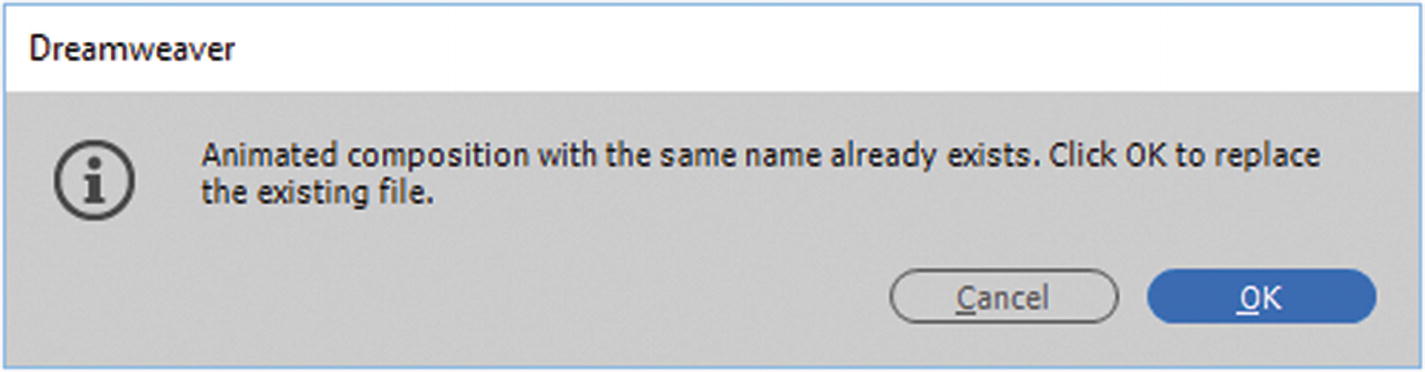
If the animated composition has already been unpacked you may receive this warning

The unpacked animated composition contains the HTML5 Canvas file
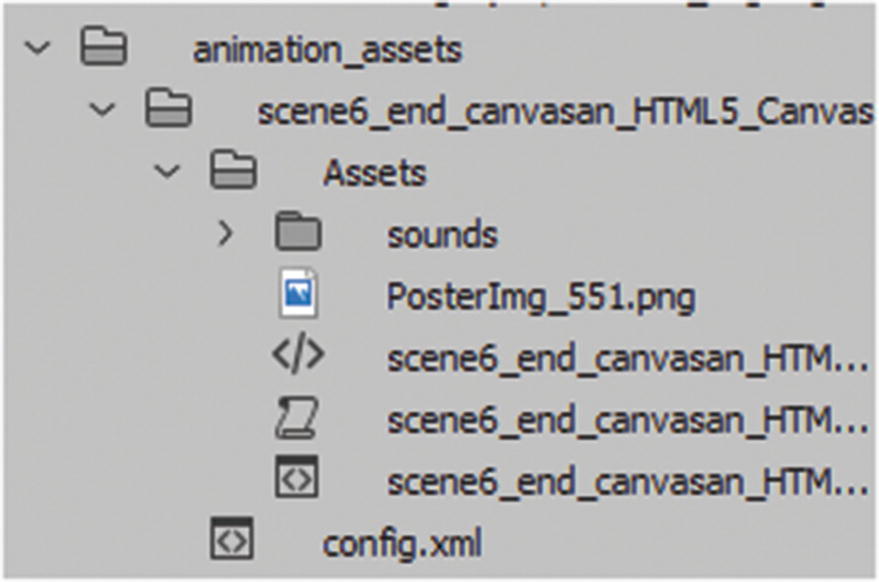
The unpacked animated assets as seen in the Files panel
XML files to control order
External JavaScript to control movement
A graphic PNG file that is a poster image
An HTML file that is linked to your new HTML page
A folder that contain the audio sounds for the canvas file
The internal structure of this file is the same as the canvas file that you saw earlier, so if your plan is to add an animation from Animate CC to a template-based page, this is a cleaner and faster option. The <object> tag acts as a “window,” and this is far better than trying to copy and paste your code from your HTML5 Canvas file directly into the template-based page. If you need to adjust your animation assets folder path, it is found in Site ➤ Manage Site in the Advanced Settings tab ➤ Animation Assets.
Inserting Flash SWF and Flash Video
I do not go into any detail regarding the steps for inserting Flash SWF (.swf) or Flash video (.flv) because most web designers are moving away from these formats due to the processing power and runtime strain it puts on mobile devices.

You can still use the Insert panel to insert Flash SWF and Flash video files
Note
If you are reviewing a client’s older site and you are not sure if it contains Flash SWF or Flash video files, you can check in the Assets panel in the Media tab. Refer to Figure 36-28.
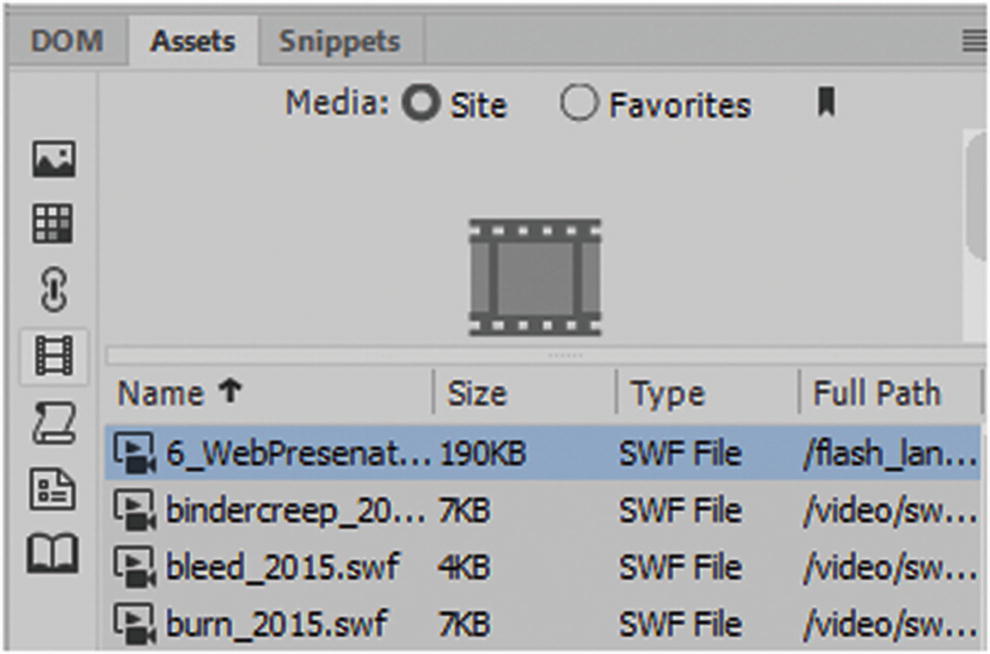
The Asset panel is a useful tool if you are trying to locate older flash files in a client’s root folder
You can then locate the folders that they are stored in and remove the files that are old or outdated. Media in the Assets panel does not help you locate MP4 files or audio files.
Insert Plug-in
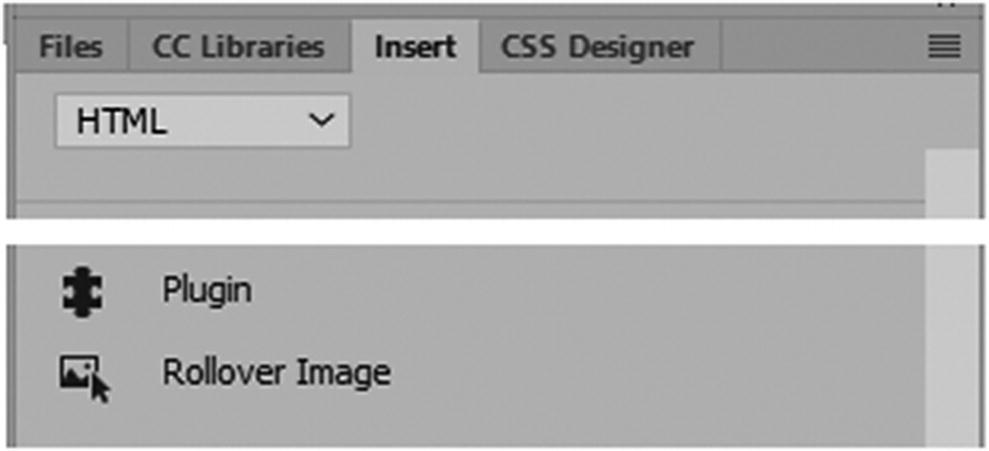
Use the plugin tag to insert third-party media
This concludes inserting various media into our HTML5 webpages by using the Insert HTML tab.
Summary
In this chapter, you looked at how to insert several types of multimedia, such as video, audio, HTML5 Canvas, and animated composition OAM. You looked at older multimedia options that Dreamweaver still offers.
In the next chapter, before you finish reviewing the site, you’ll look at a few additional options and panels that you can use in Dreamweaver to enhance the look of your site.