
In this chapter, you look at a few final tools that you can use to enhance your designs in Animate.
Note
This chapter does not have any actual projects; however, you can use the files in the Chapter 23 folder to practice opening and viewing for this lesson. They are at https://github.com/Apress/graphics-multimedia-web-adobe-creative-cloud .
Edit ➤ Preferences
Although you do not design any actual JavaScript in the Actions panel, which you will look in a moment, make sure to look at the code editor if you plan to work with JavaScript within Animate.
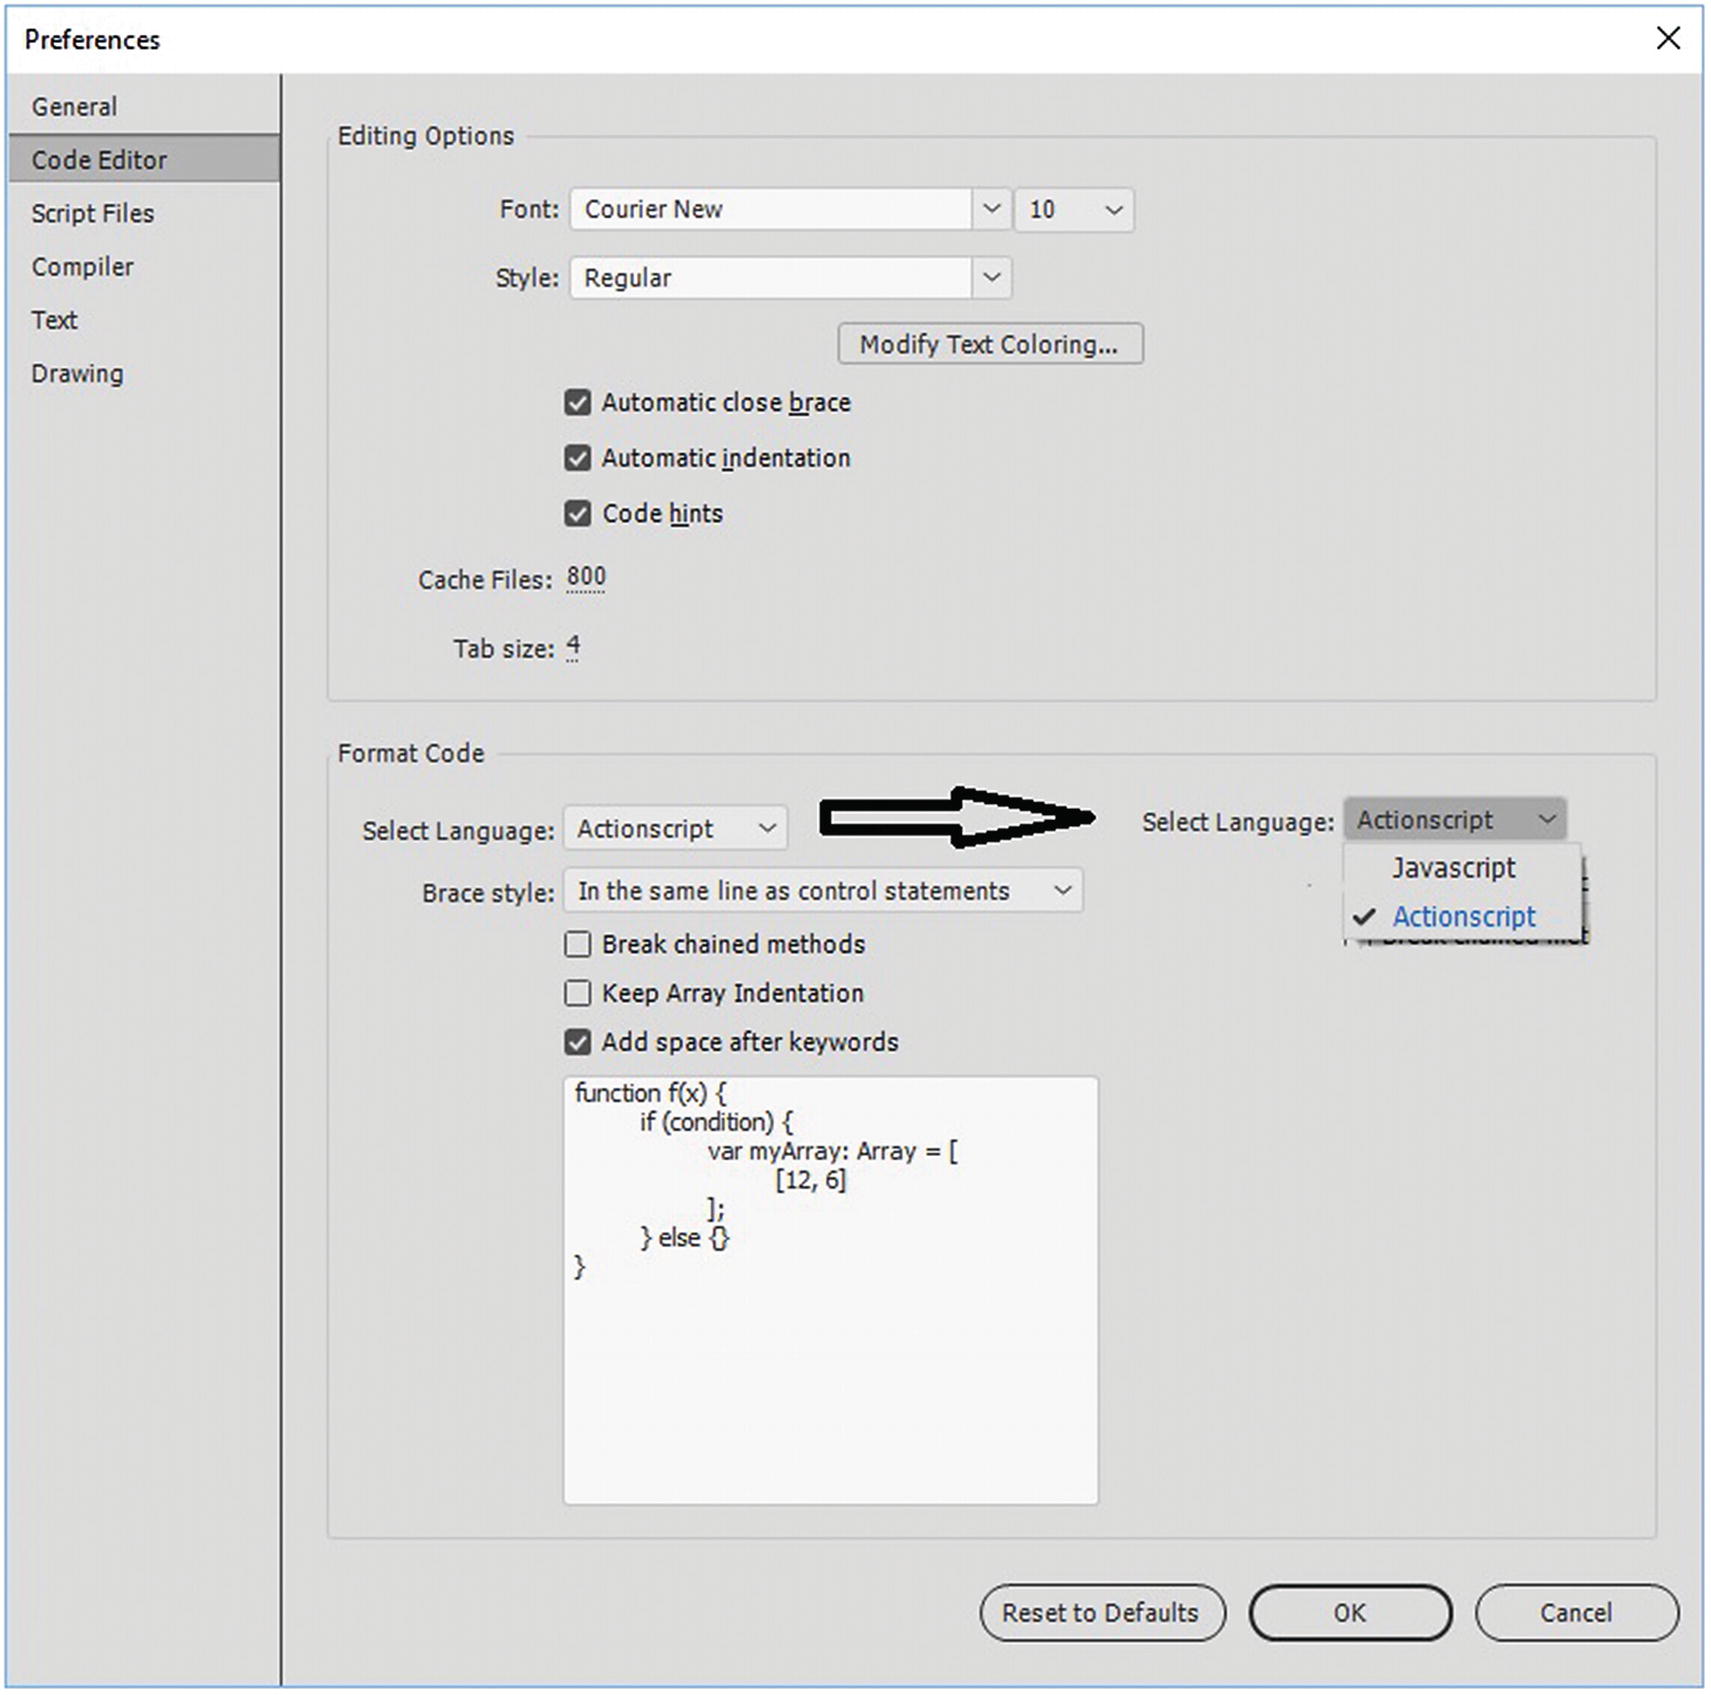
The Preferences panel allows you to change from ActionScript to JavaScript settings
Click OK to set changes, or you can reset to defaults if you need the original settings; however, in most cases, it is assumed that you are using JavaScript in an HTML5 Canvas, so you do not have to alter anything this area.
Actions, Code Snippets, and History Panels
As you have seen, Photoshop CC and Illustrator CC both have what is known as the Actions panel.
Actions Panel
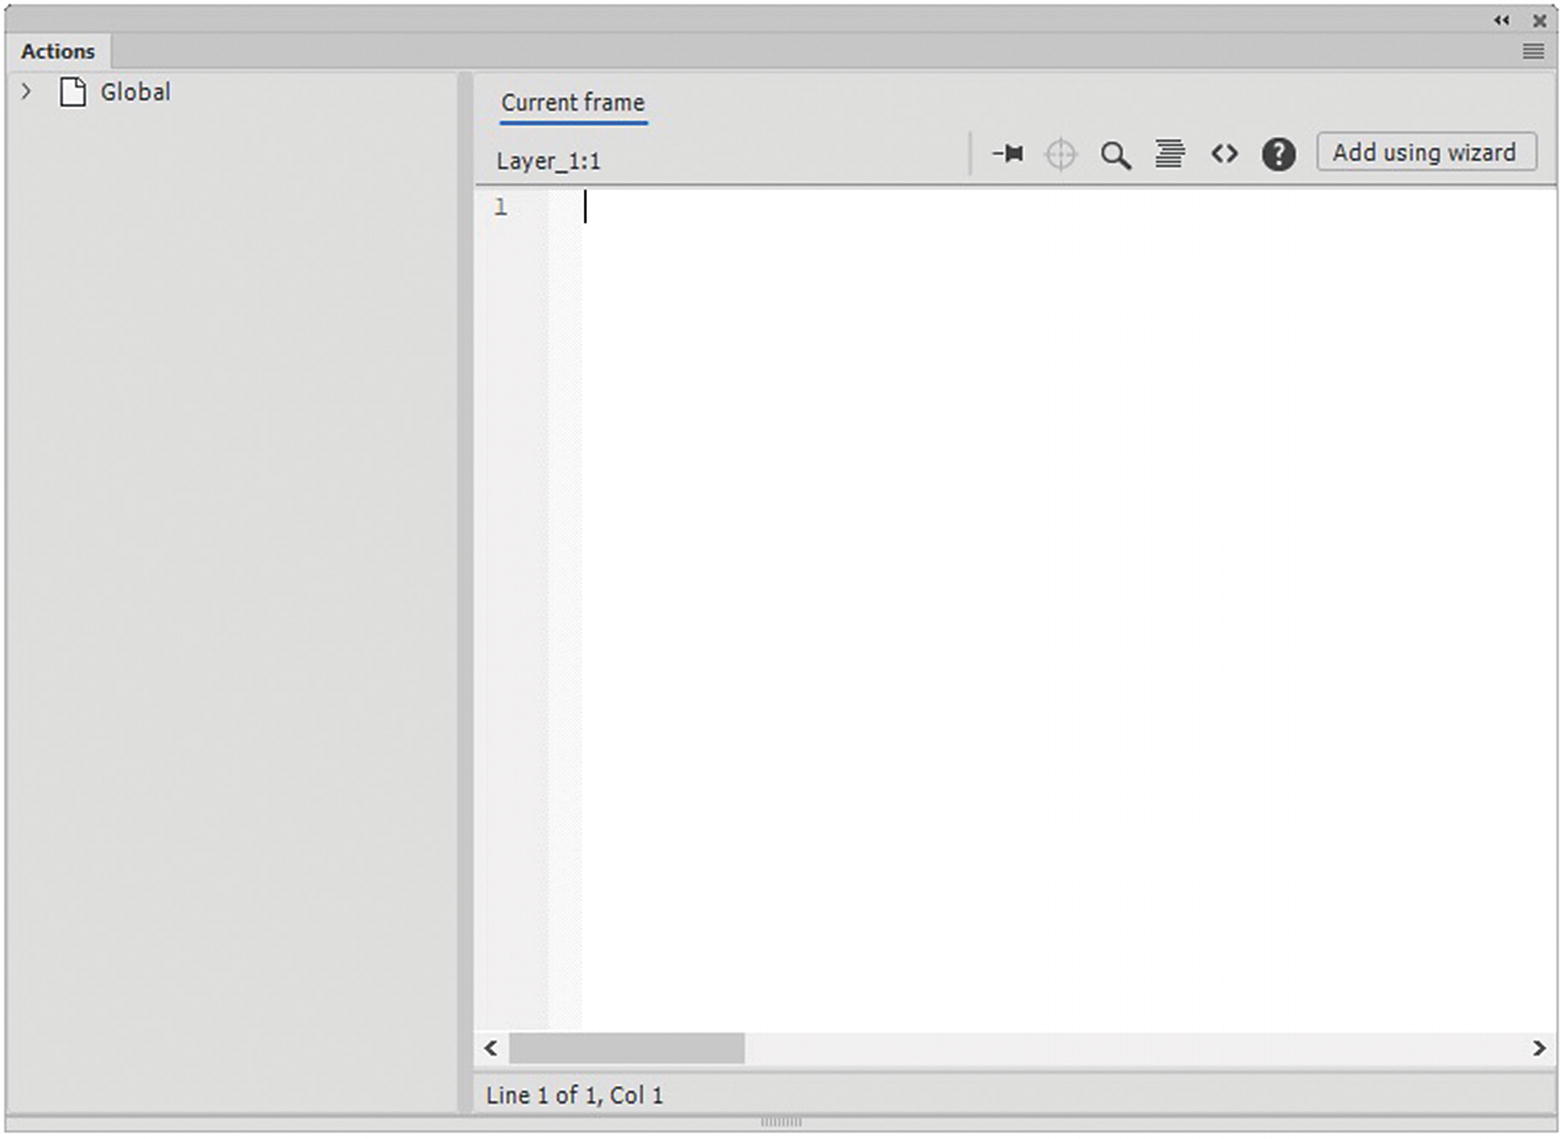
When no symbol is selected in a current frame, the Action panel is blank
This panel is where you can globally add your custom JavaScript to frames or symbols.
The Actions panel (in the upper right) allows you to pin code, search for keywords, find/replace, and format your code.

The Actions panel tools
Code Snippets Panel
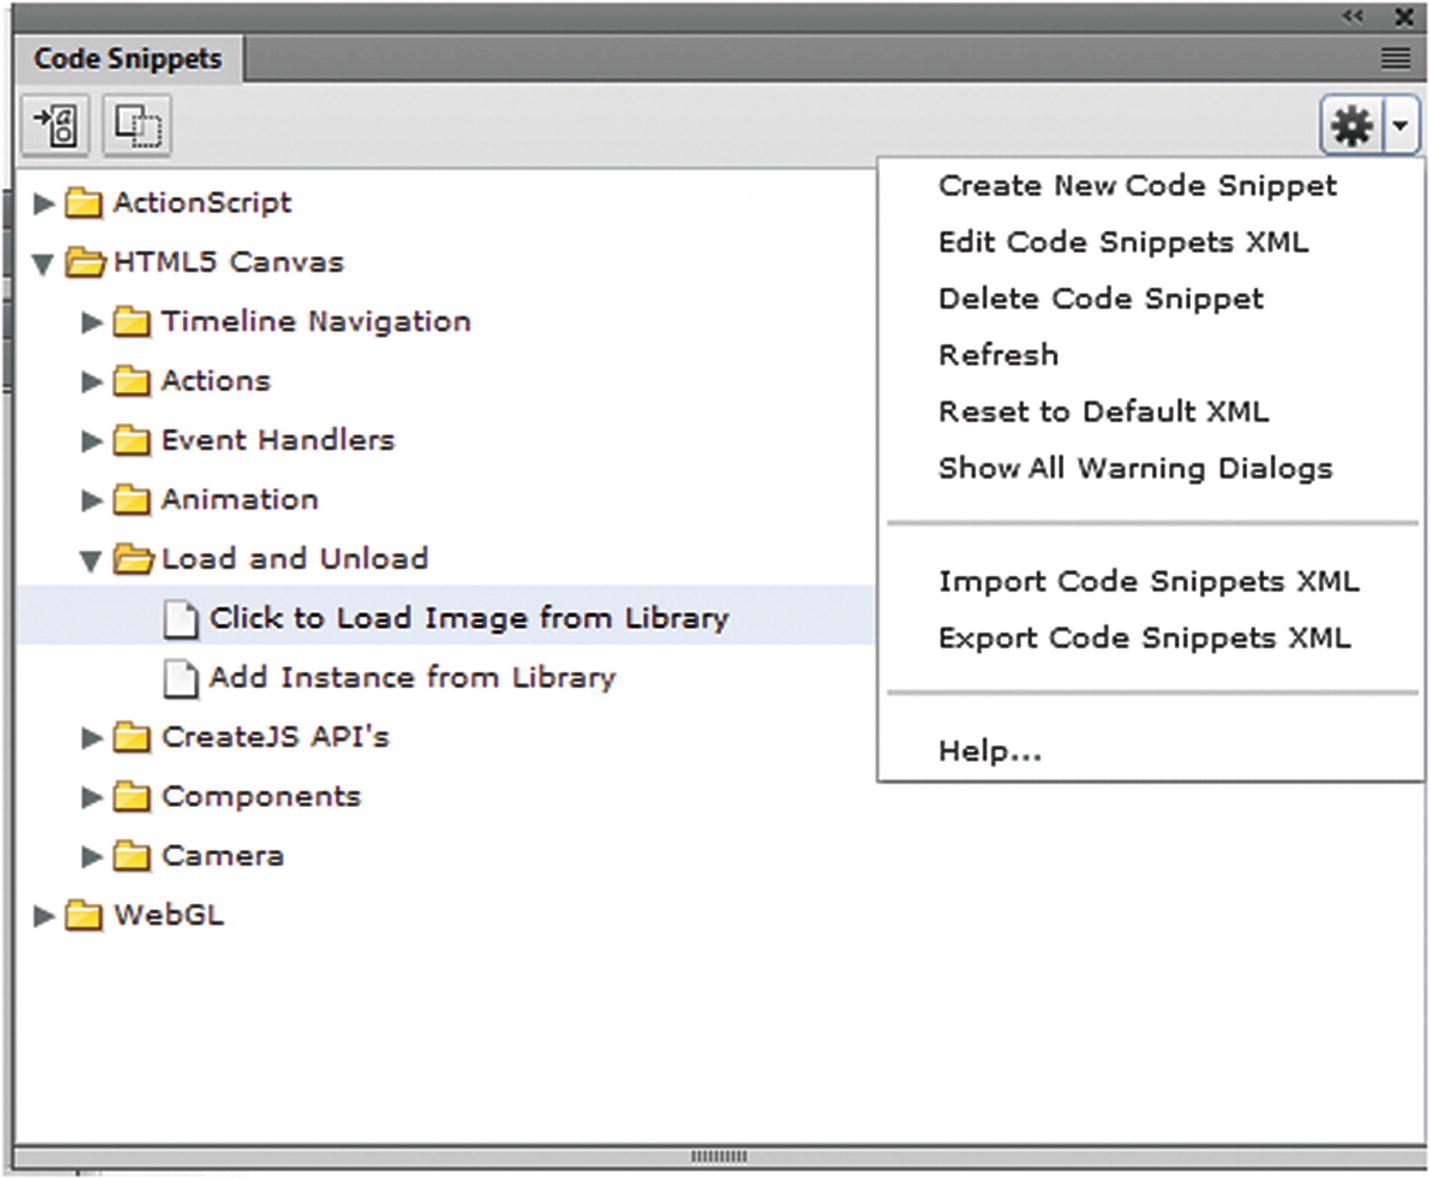
The Code Snippets panel
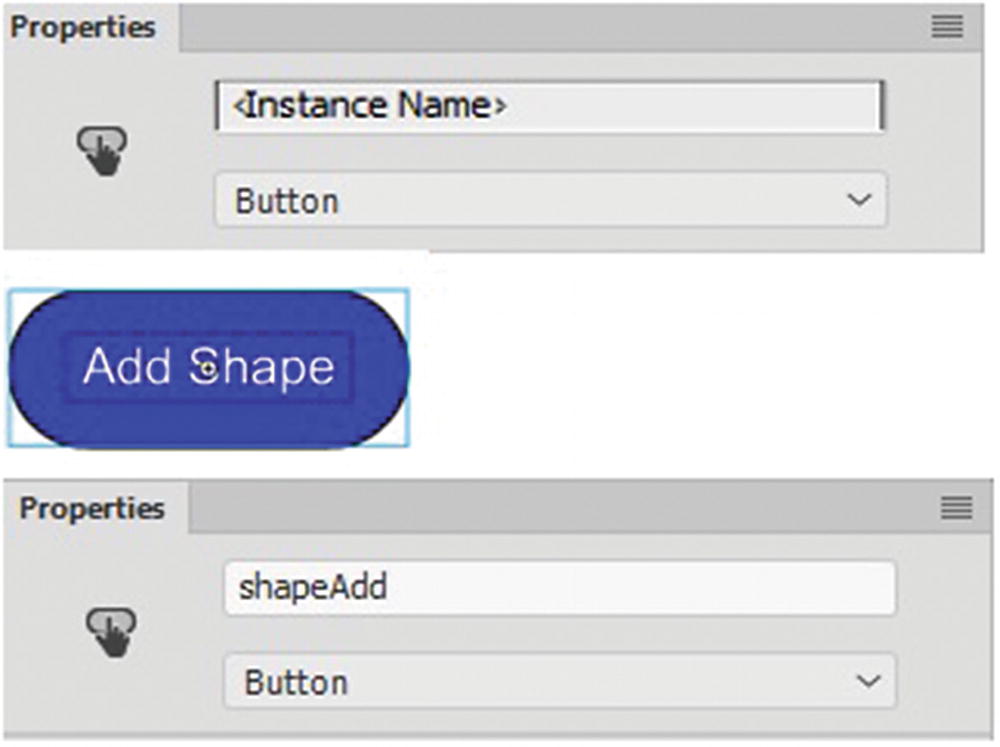
The Properties panel: giving a button an instance name
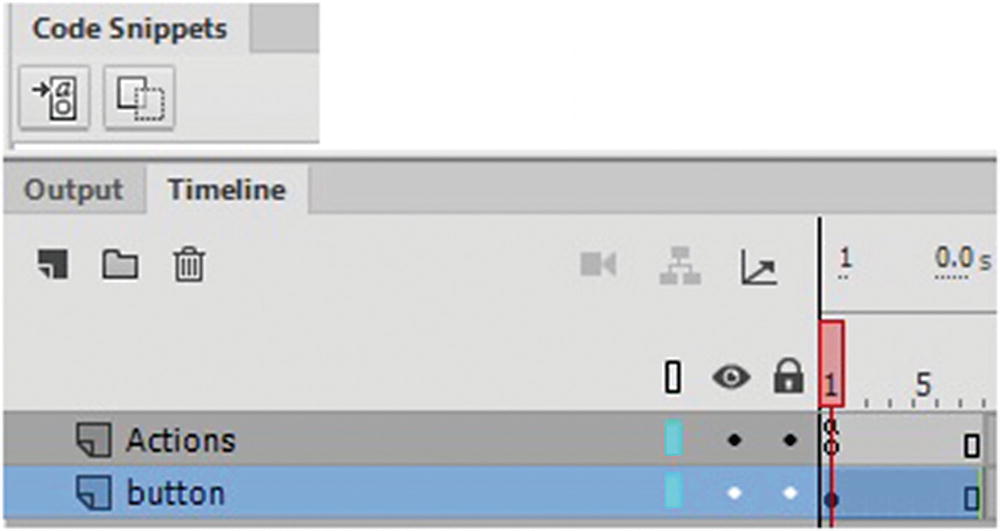
An action layer is added to the Timeline
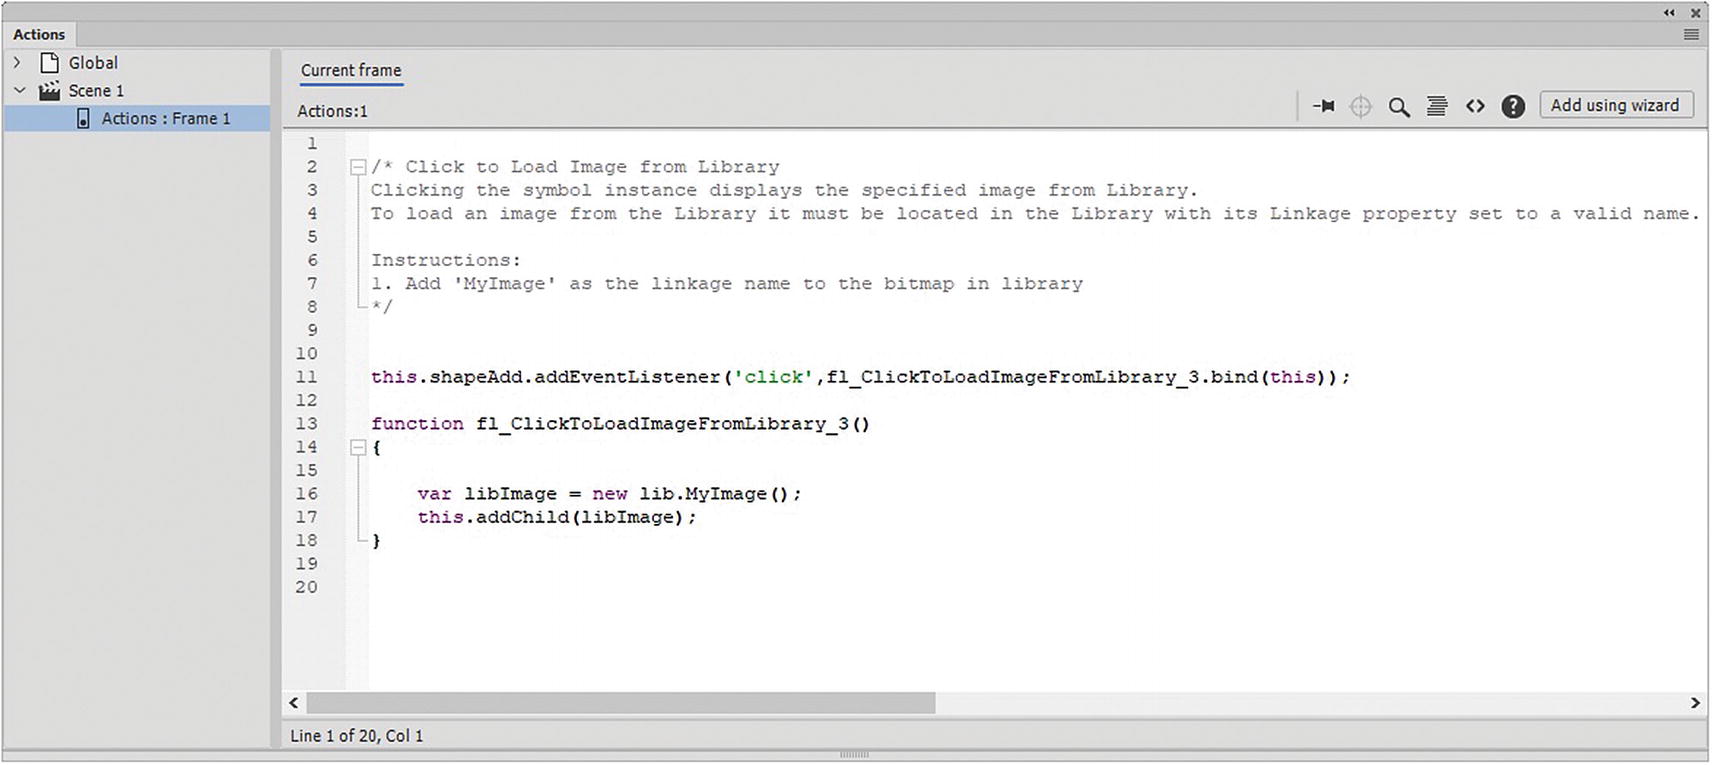
Code is automatically added to the Actions panel for the button action
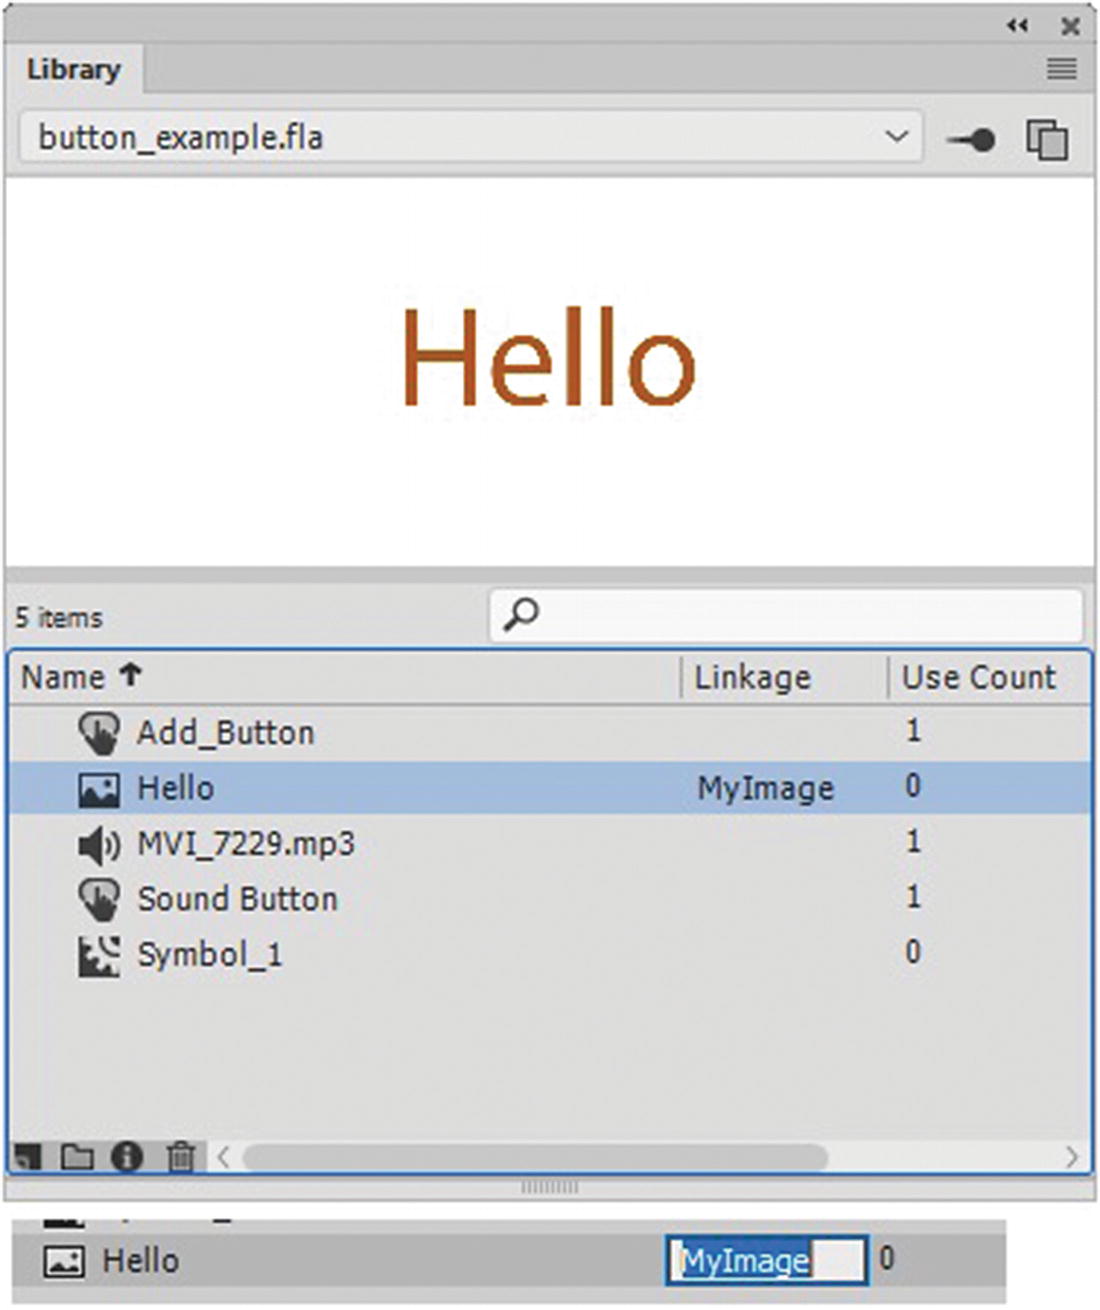
Add the name MyImage to the linkage area of the image
It may not appear as though there is a spot to enter under Linkage, but it when you double-click in this area, a white text area will appear.
If you do not add this linkage, the code will not work.
In this case, I have already completed the example for you in the button_example.fla file. You can see the result in the published button_example.html file.
You see the Code Snippets panel again in Part 6. In the meantime, try a few actions in your HTML5 Canvas file, but make sure to carefully follow the instructions regarding linkage to avoid errors.
Note
For more code help for your own project, click the Add Using Wizard button. Refer to Figure 23-9.
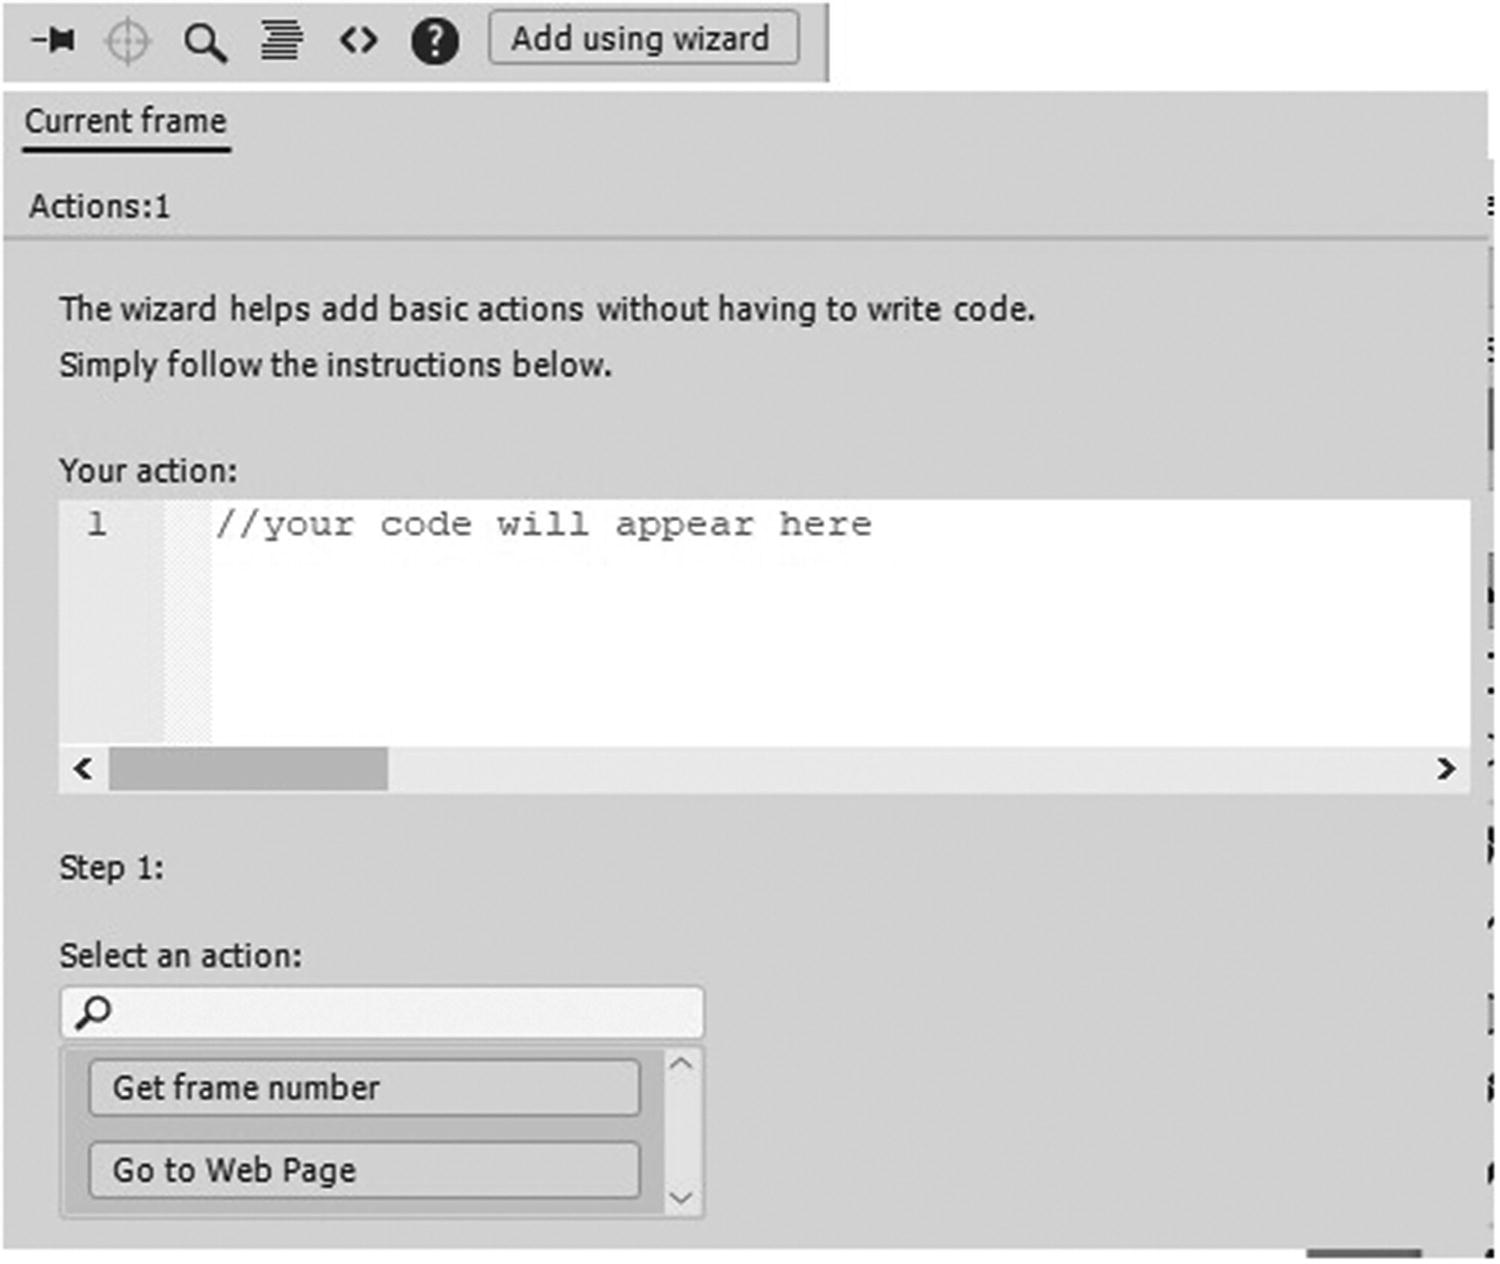
The wizard can help you write basic code in Animate
The wizard gives you step-by-step help by choosing from a list for writing basic code.
Click Next to continue to the next step until you reach Finish and Add; or click Cancel to get out of the wizard area of the Actions panel.
So now that you know a bit more about what the Actions panel does in Animate, how can you create “actions” or recorded steps in Animate like you did in Photoshop or Illustrator that you can save for other projects?
History Panel
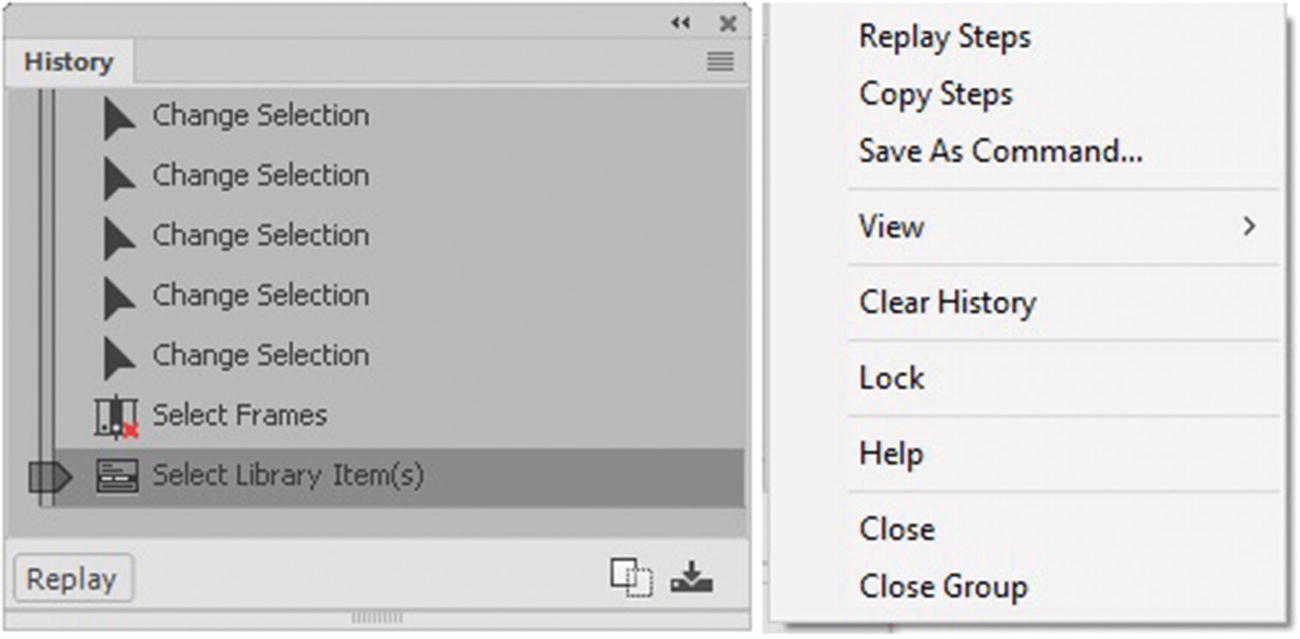
The History panel can be used to create some basic commands
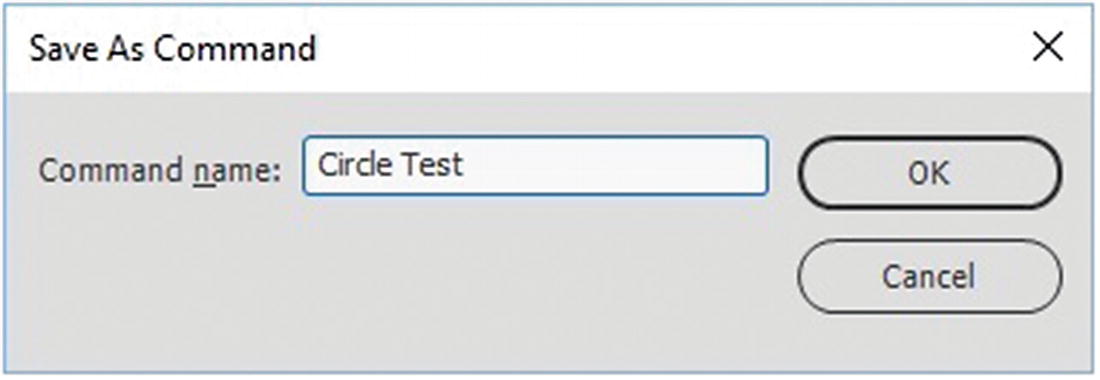
Save As a Command dialog box
A command is basically the same as an action in Photoshop or Illustrator.
Enter a command name and then click OK.
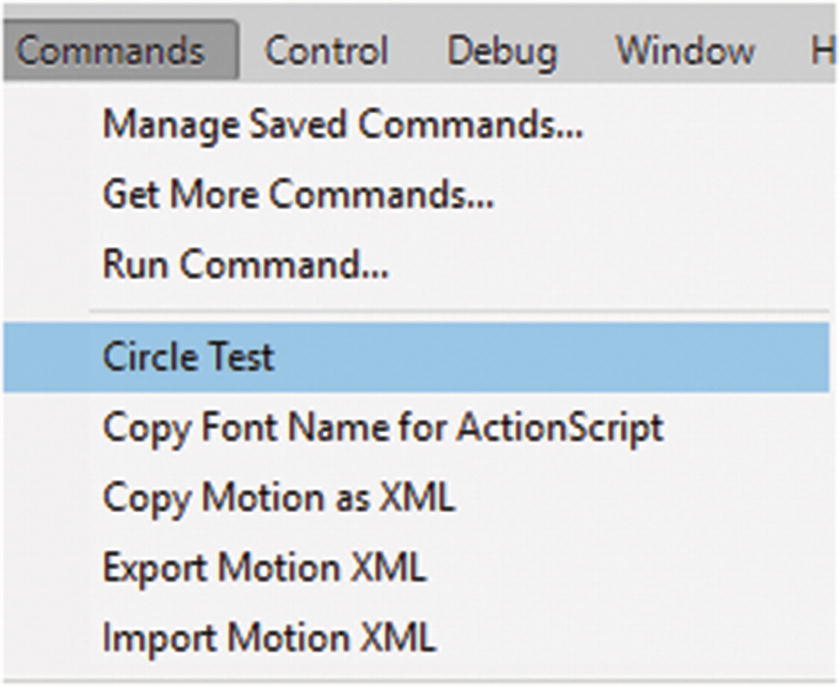
Commands are added to the list
Commands can be managed (renamed or removed), acquired, and run. Copying the steps to a clipboard and into a program like Notepad allows you to view things like coordinates and the size of a shape in relation to its placement on the stage.
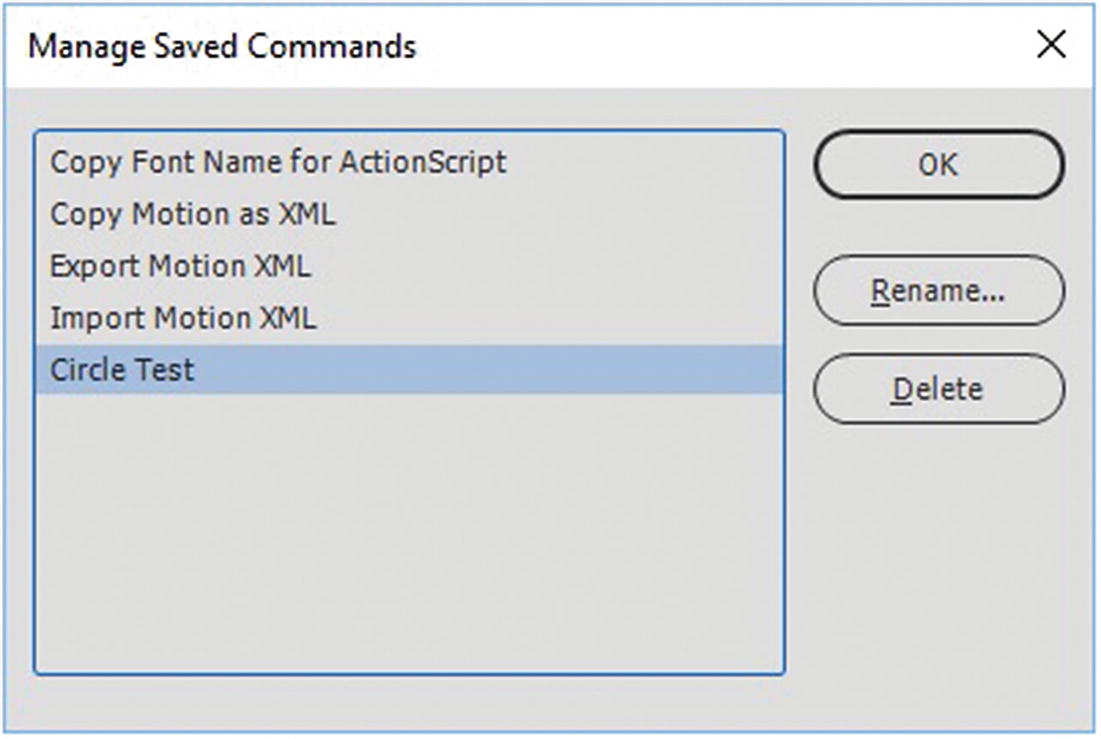
Manage Saved Commands: remove ones that you created or rename them here
CC Libraries
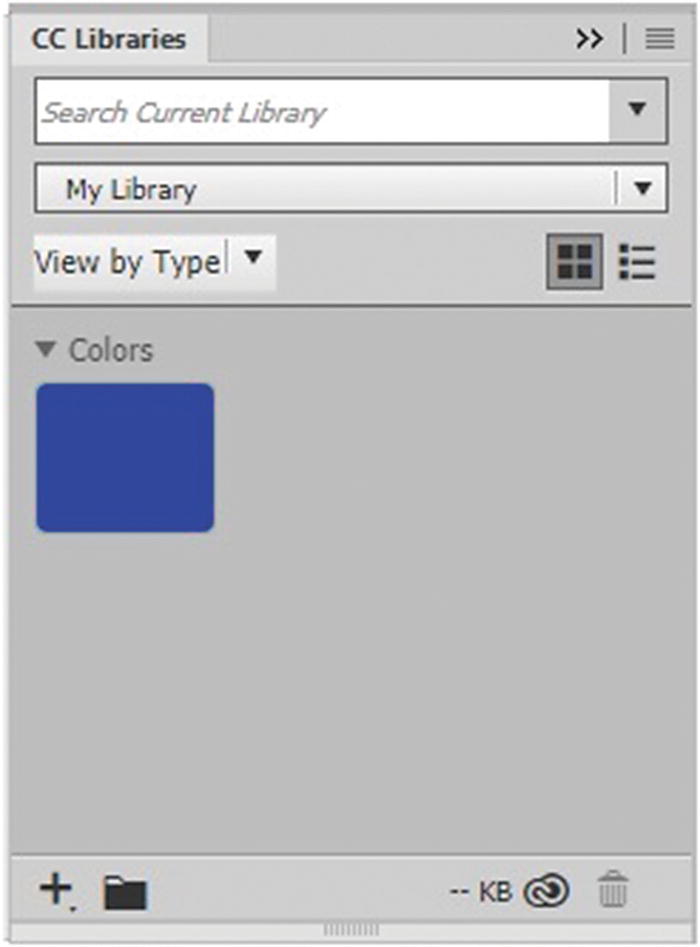
It was introduced with the Creative Cloud. With Animate CC Libraries, you can store colors and save media assets that you create to use in projects. You can then move over to a program like Dreamweaver, and the colors are stored there so that you can refer to them during your project. Notice that CC Libraries is the same as the Library panel in Photoshop, Illustrator, and Dreamweaver. The reason for the slight name change is that Animate already has a Library panel that it uses to store your project’s symbols in. This can be a bit confusing when working between programs; however, use this panel if you want to move objects to the Creative Cloud and share between other Adobe programs.
Patterns for Paint Brush and Pen Tools

The Brush Library panel and the Tools panel
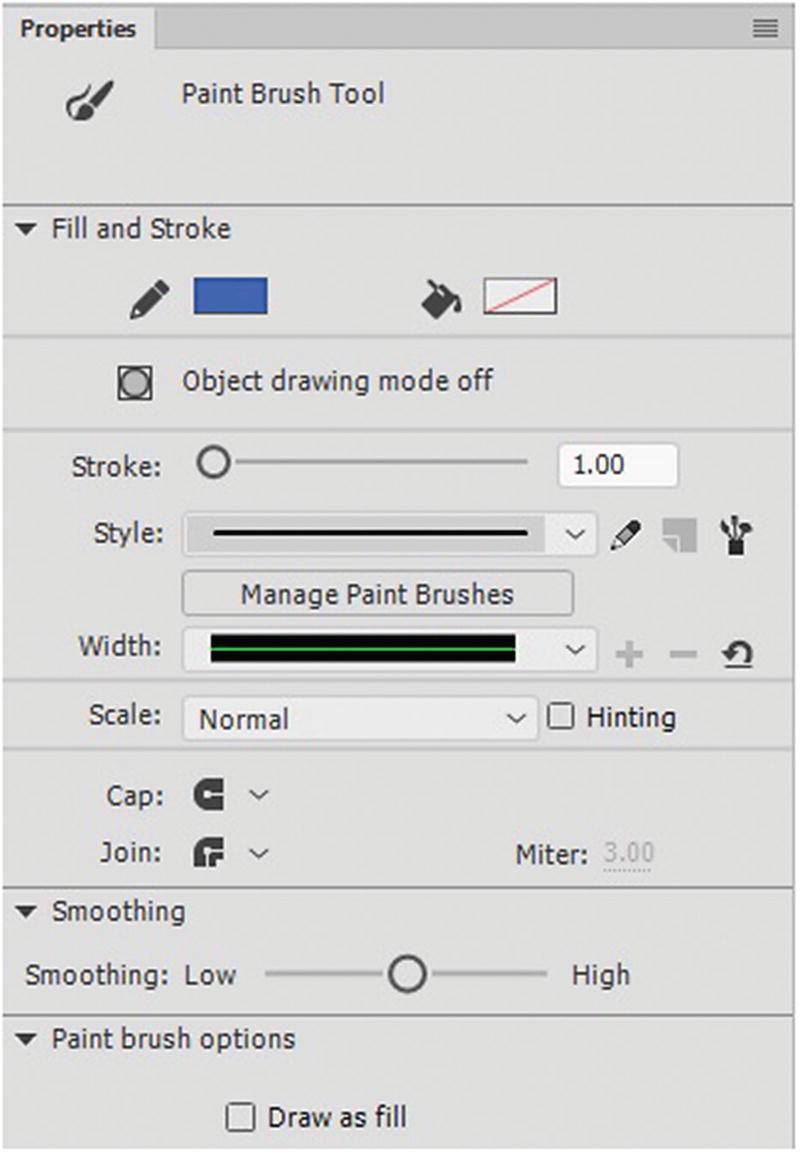
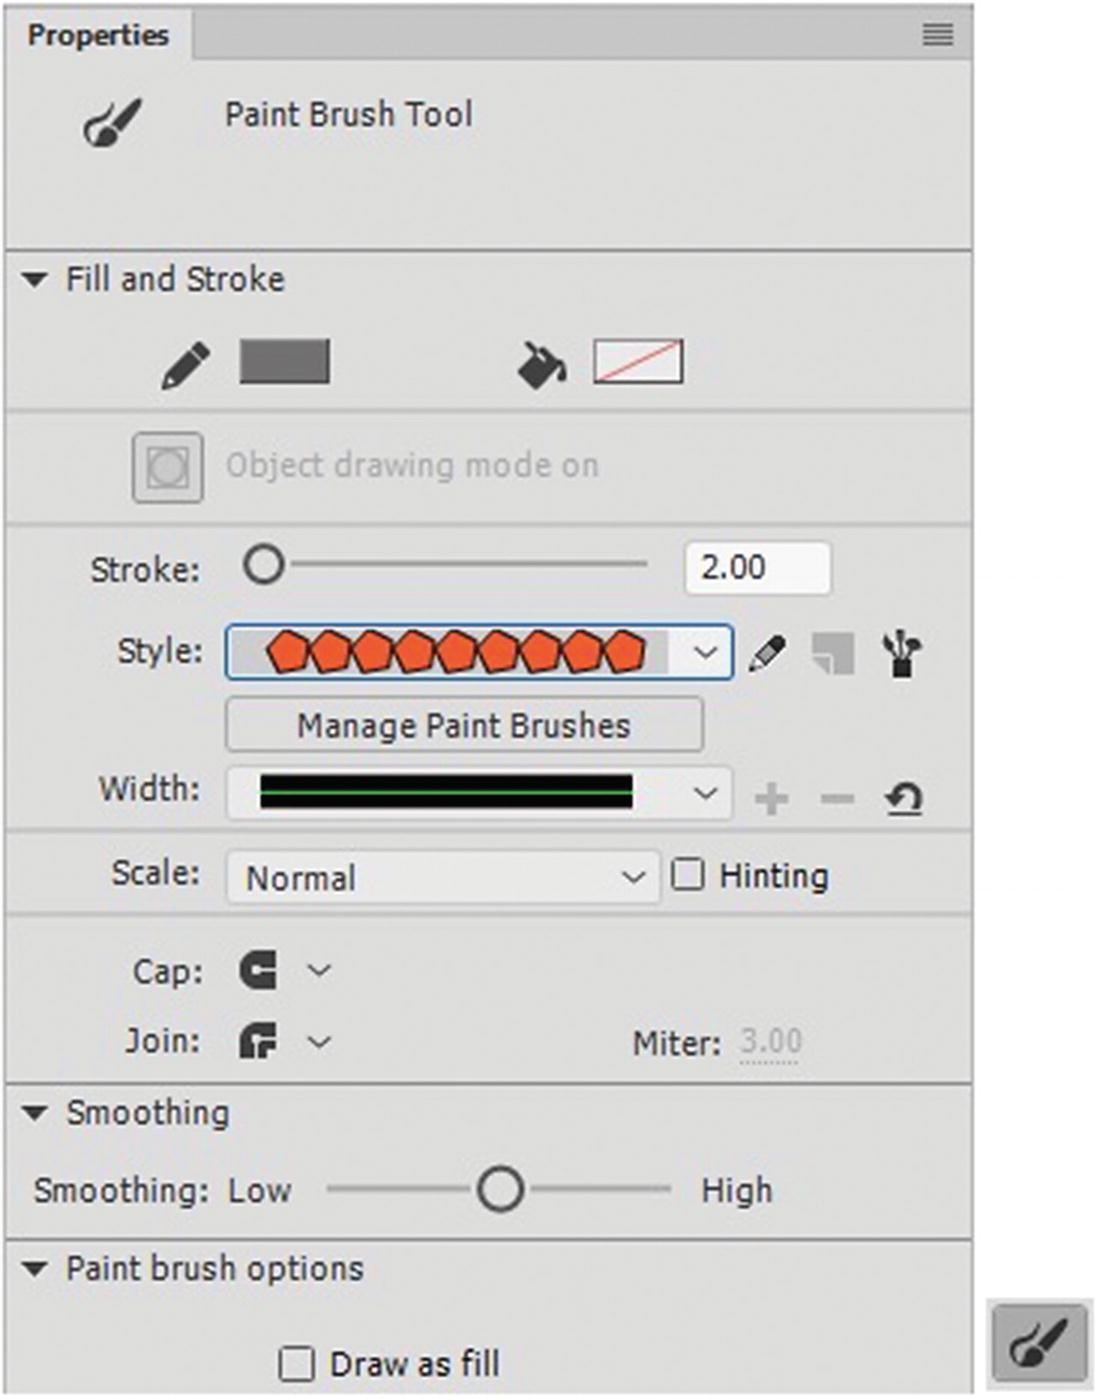
The Properties panel when accessing the Paint Brush tool
Note
These types of brushes do not work for the Pencil (Shift+Y), Brush tool (B) or Eraser tool (E) in the Tools panel and properties. For these, you have to use the generic brushes that come in the Tools panel or Properties panel. Refer to Figures 23-17, 23-18, and 23-19.
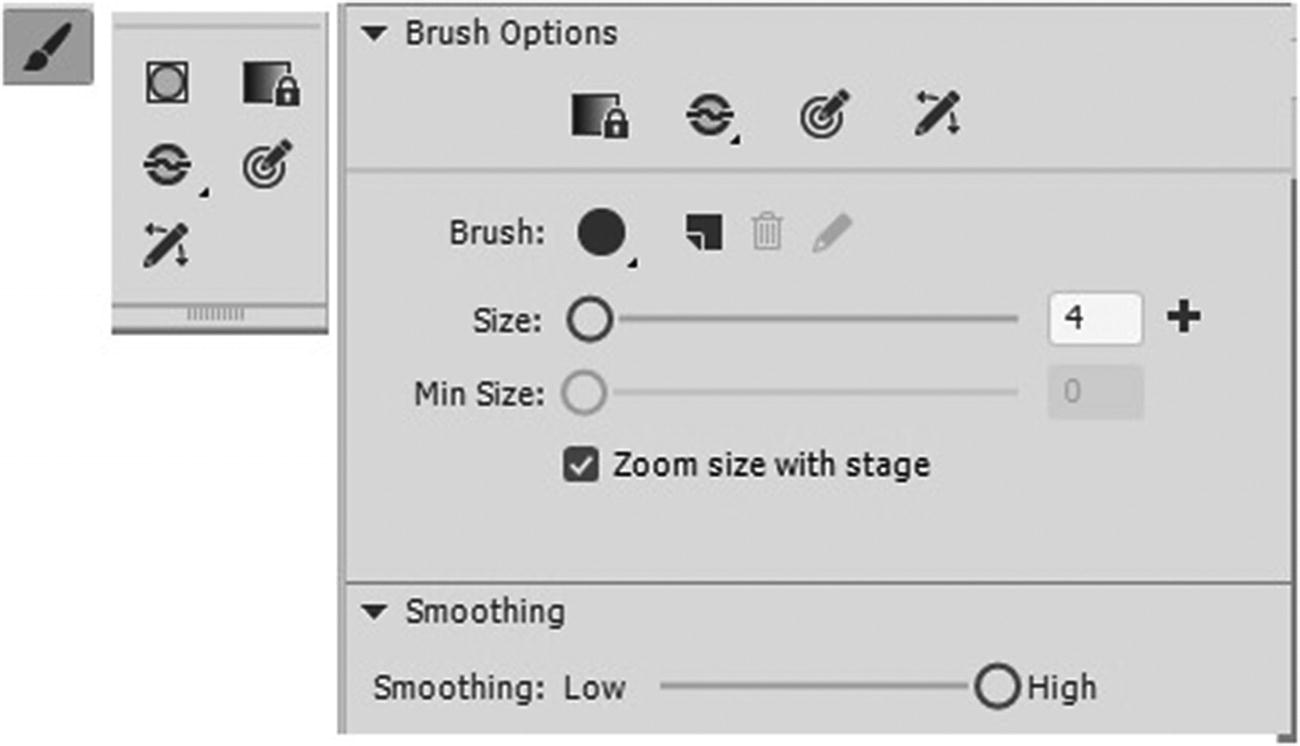
The Brush tool and its options in the lower part of the Tools panel and Properties panel
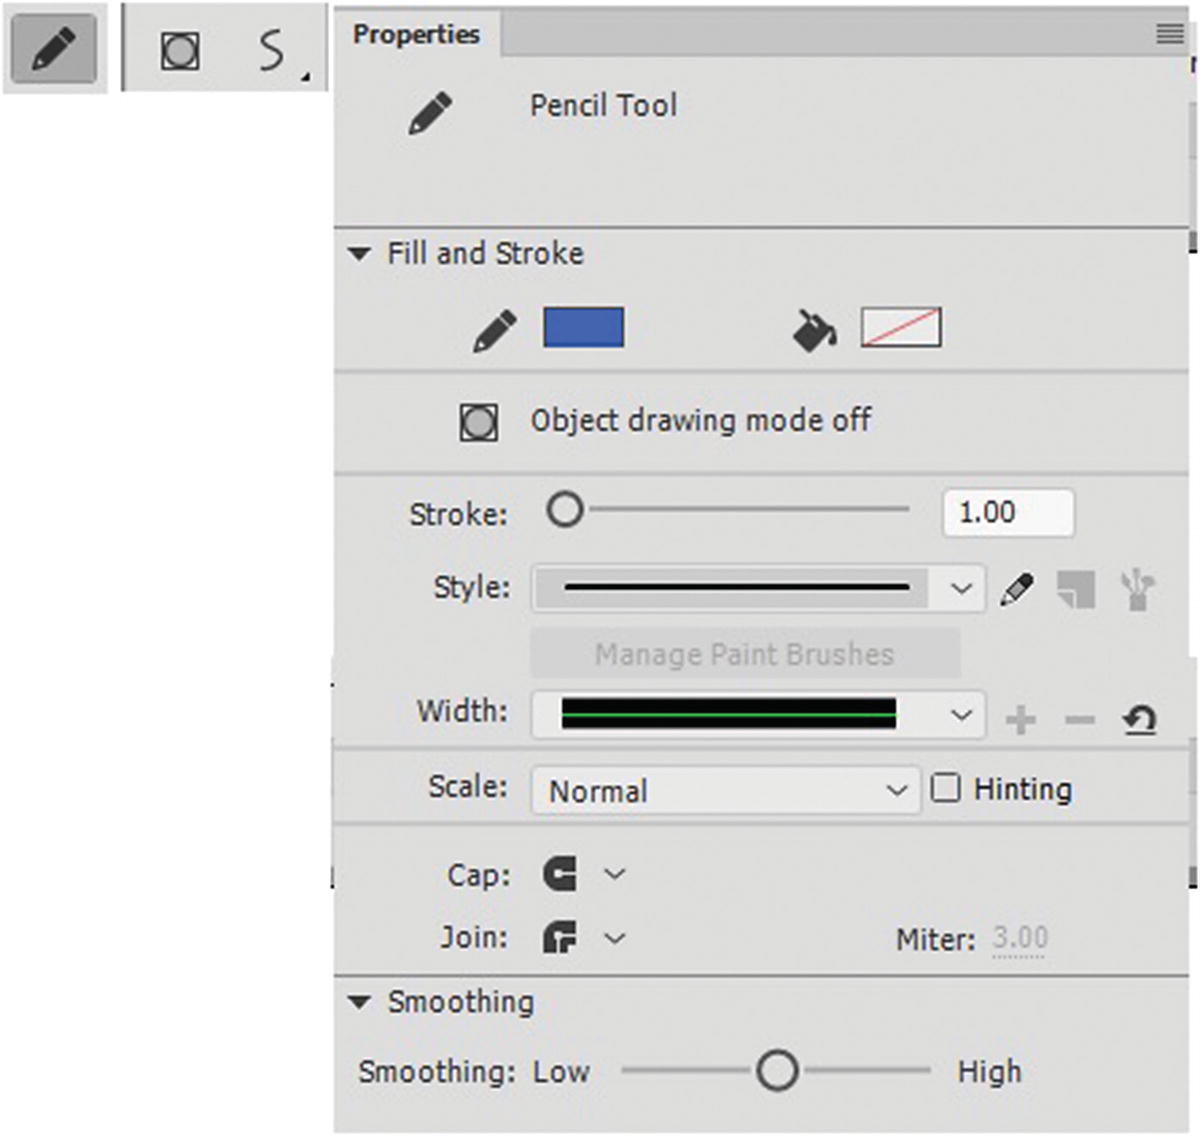
The Pencil tool and its options in the lower part of the Tools panel and Properties panel
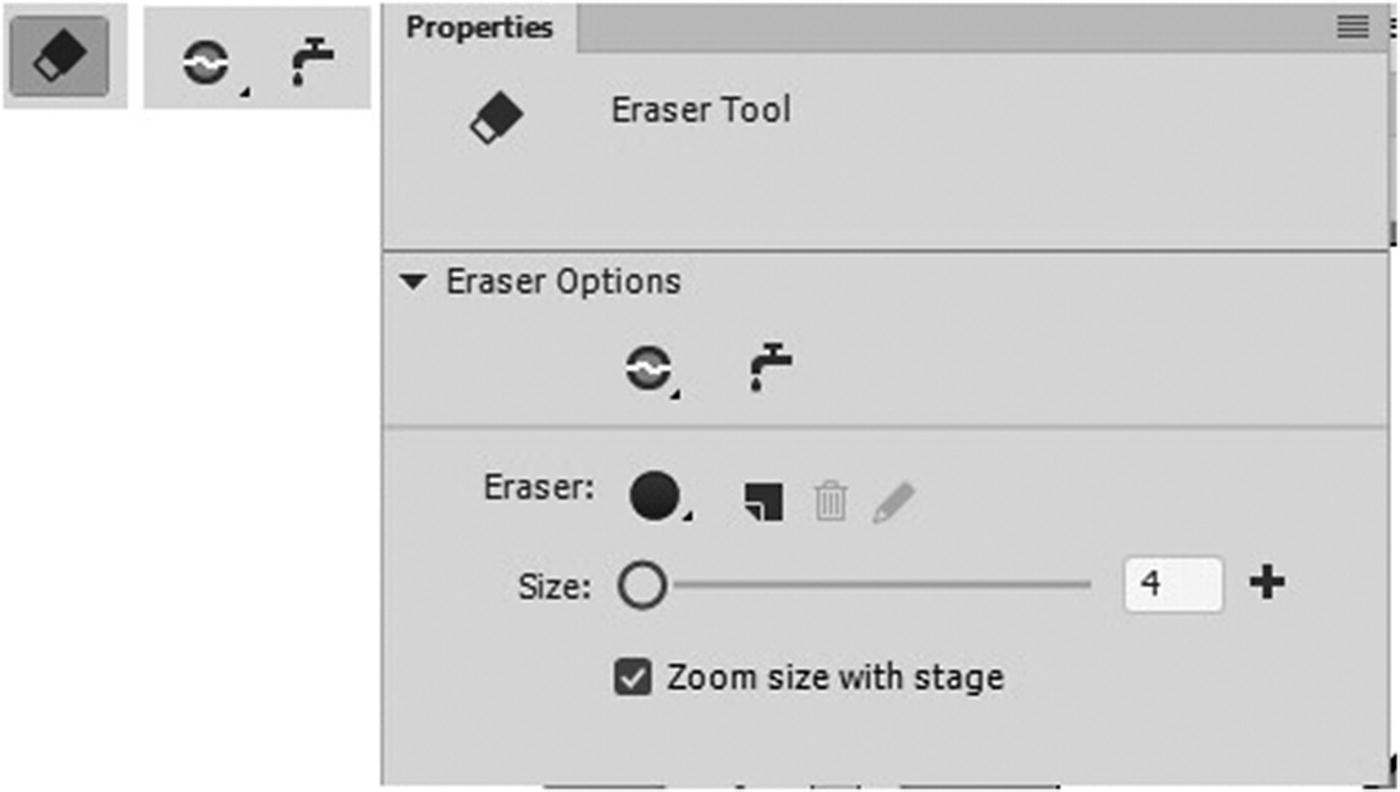
The Eraser tool and its options in the lower part of the Tools panel, and the Properties panel settings
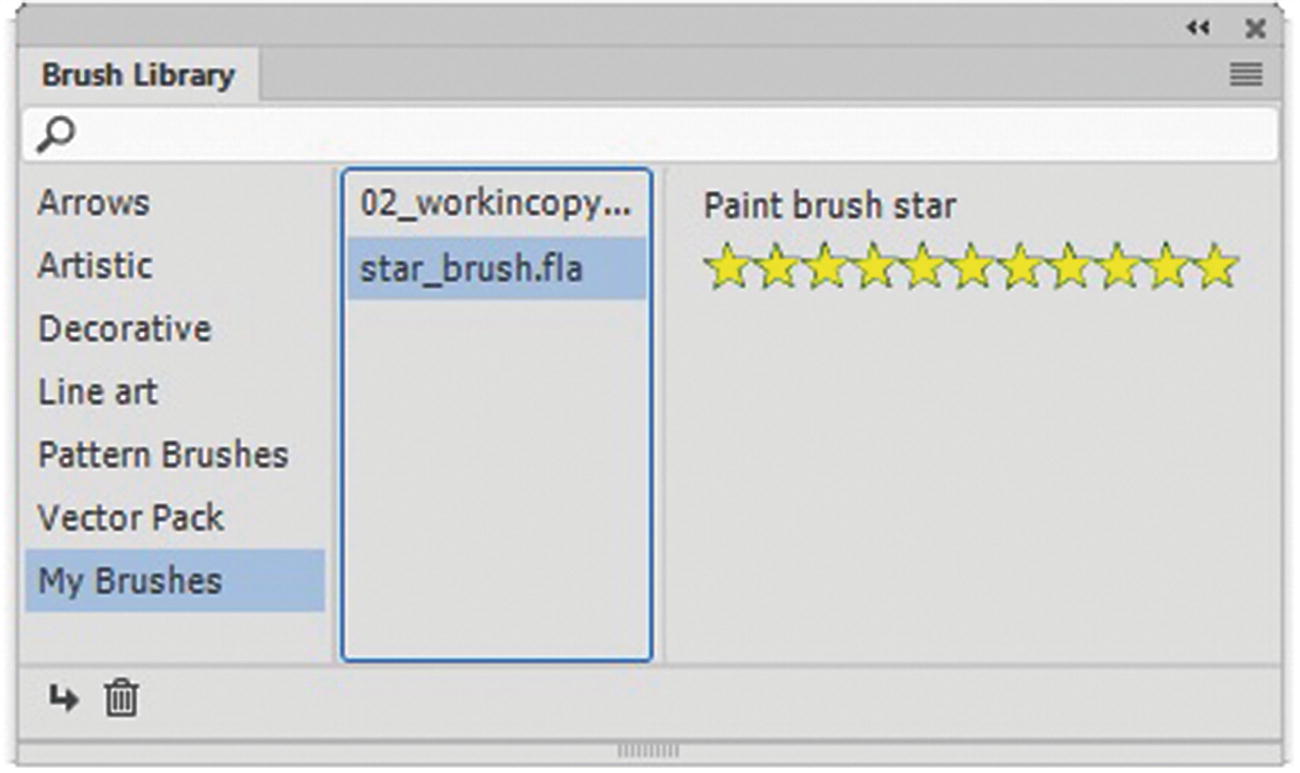
The My Brushes is where you can store your personal brushes in the Brush Library panel
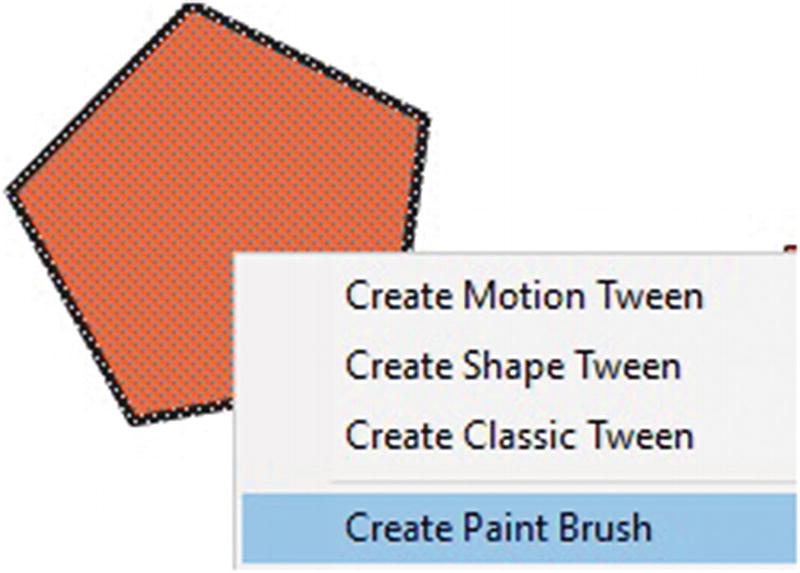
Create your own paint brush

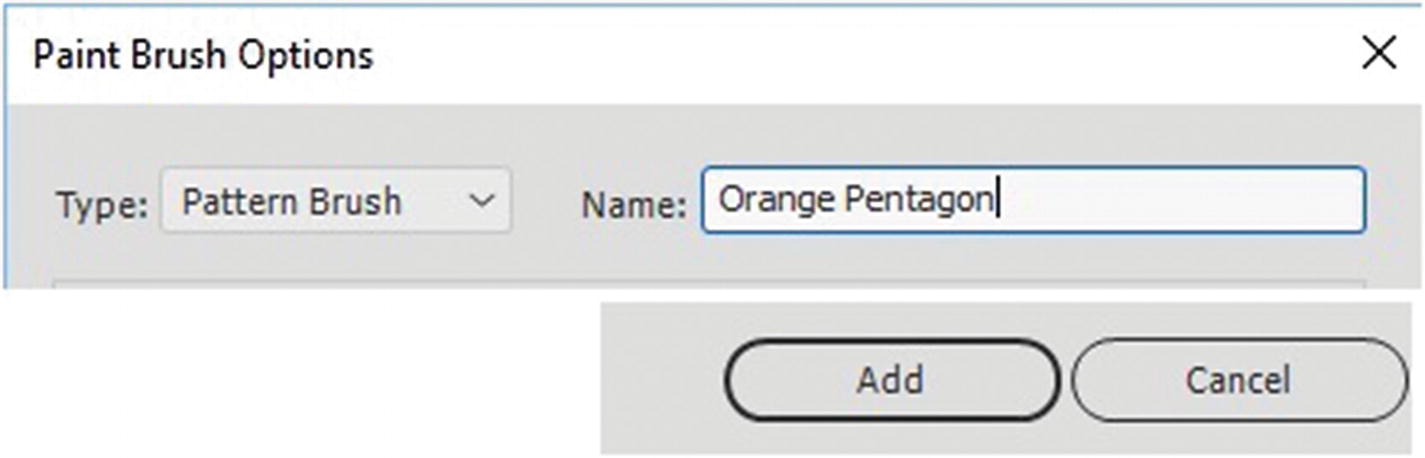
The Paint Brush Options dialog box
Art brush allows you to scale proportionately or stretch (fit stroke length or between guides) one solid shape along a path. Flip the artwork using the arrows or Flip Artwork check box. Overlap parts of the shape. Adjust pressure and tilt sensitivity is useful if you are using a stylus rather than a mouse.
Pattern brush repeats a pattern over the length of the stroke. You can scale, adjust spacing, and flip artwork. In addition, you can alter how the artwork appears at corners from the At Corners drop-down menu. Refer to Figure 23-23.

Adjust the corners of your brush with the None, Center, Flank, Slice, or Overlap settings
Pressure and tilt sensitivity is also available, as it was for the art brush.
Note that the “Apply to existing stokes and update the brush” option is not be available until you add the brush to your set.
Add your Brush to the set in your file
The brush appears in the Properties panel
Give your file a name, such as paint_brush.fla.
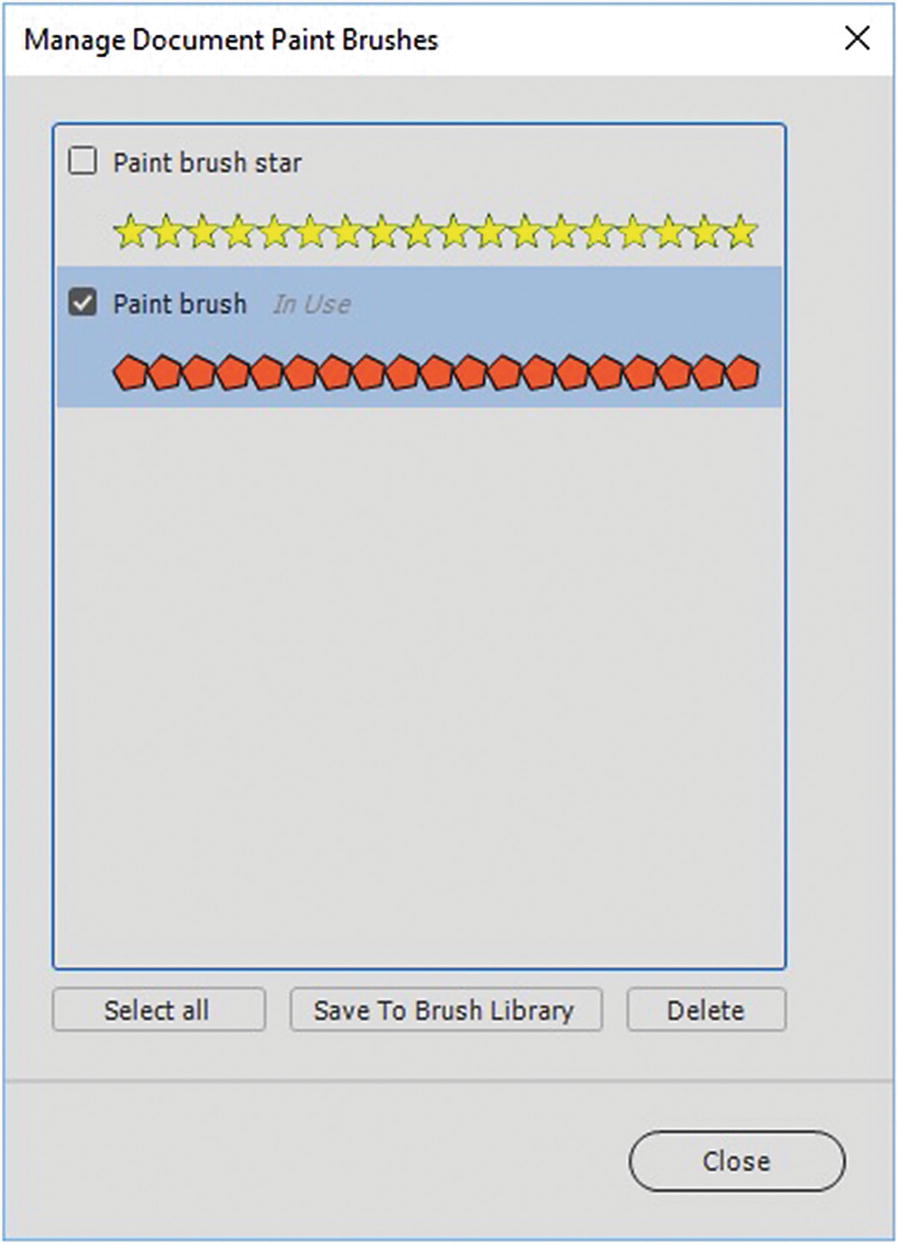
Add your brush to the brush library
Select your newly created brush in the dialog box, choose Save to Brush Library, and click the Close button.
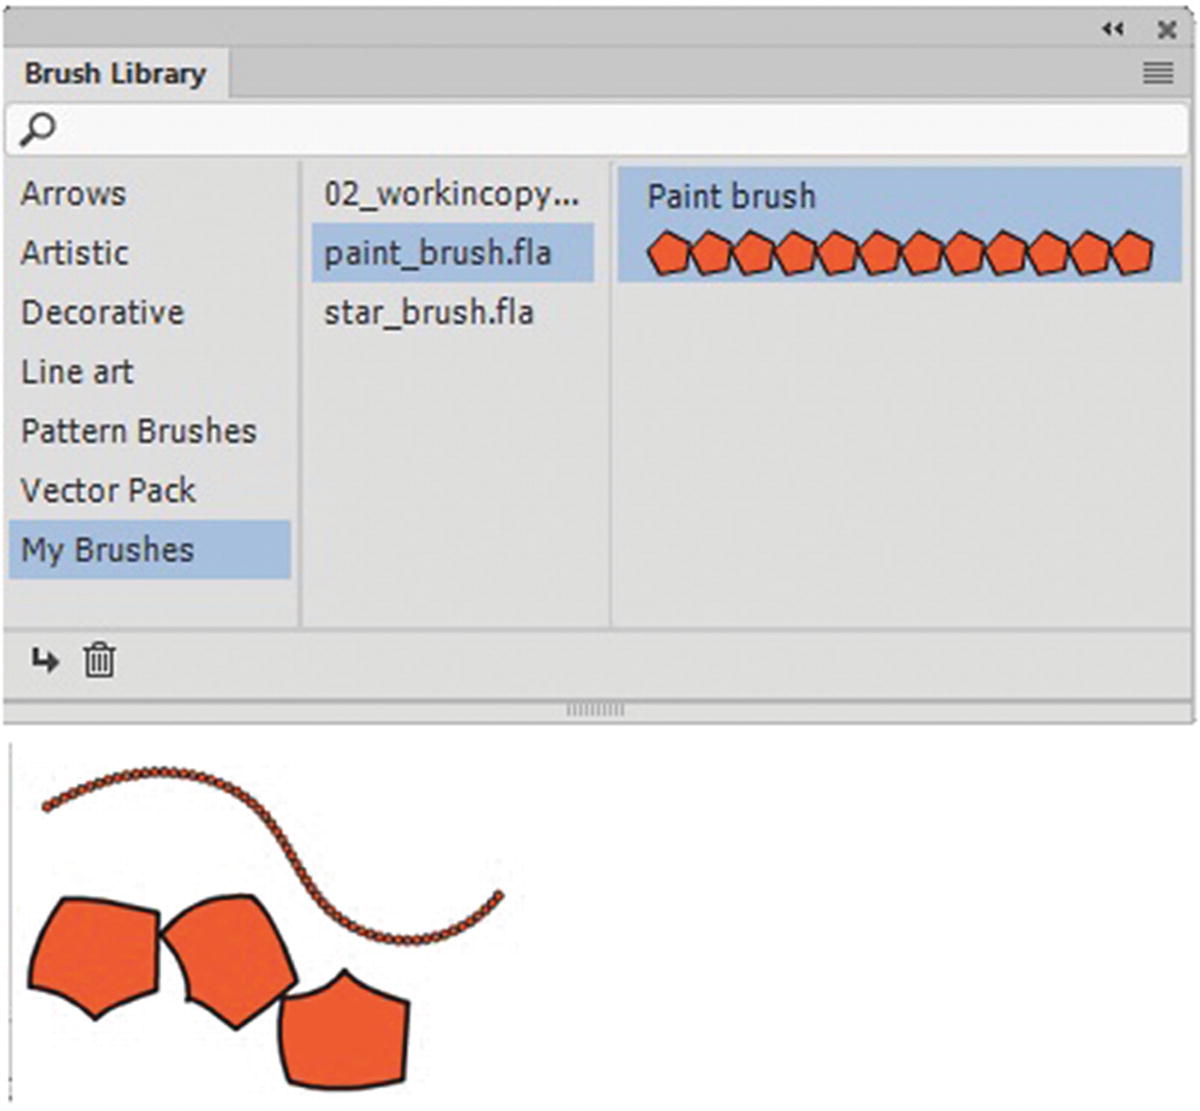
The brush is added to the Library panel and you can use it on the stage

Update the changes you made to the brush
For more information on brushes, visit https://helpx.adobe.com/animate/using/working-with-paint-brush.html and https://helpx.adobe.com/ca/animate/using/creating-paint-brushes.html . Note: that in the new CC 2019 version you can now use the new Asset warp tool (W) pin in the tools panel to alter your brush pattern designs further on a shape. It operates in a similar manner to the Puppet warp tools in Photoshop and Illustrator as see in Chapter 14.
3D in Animations
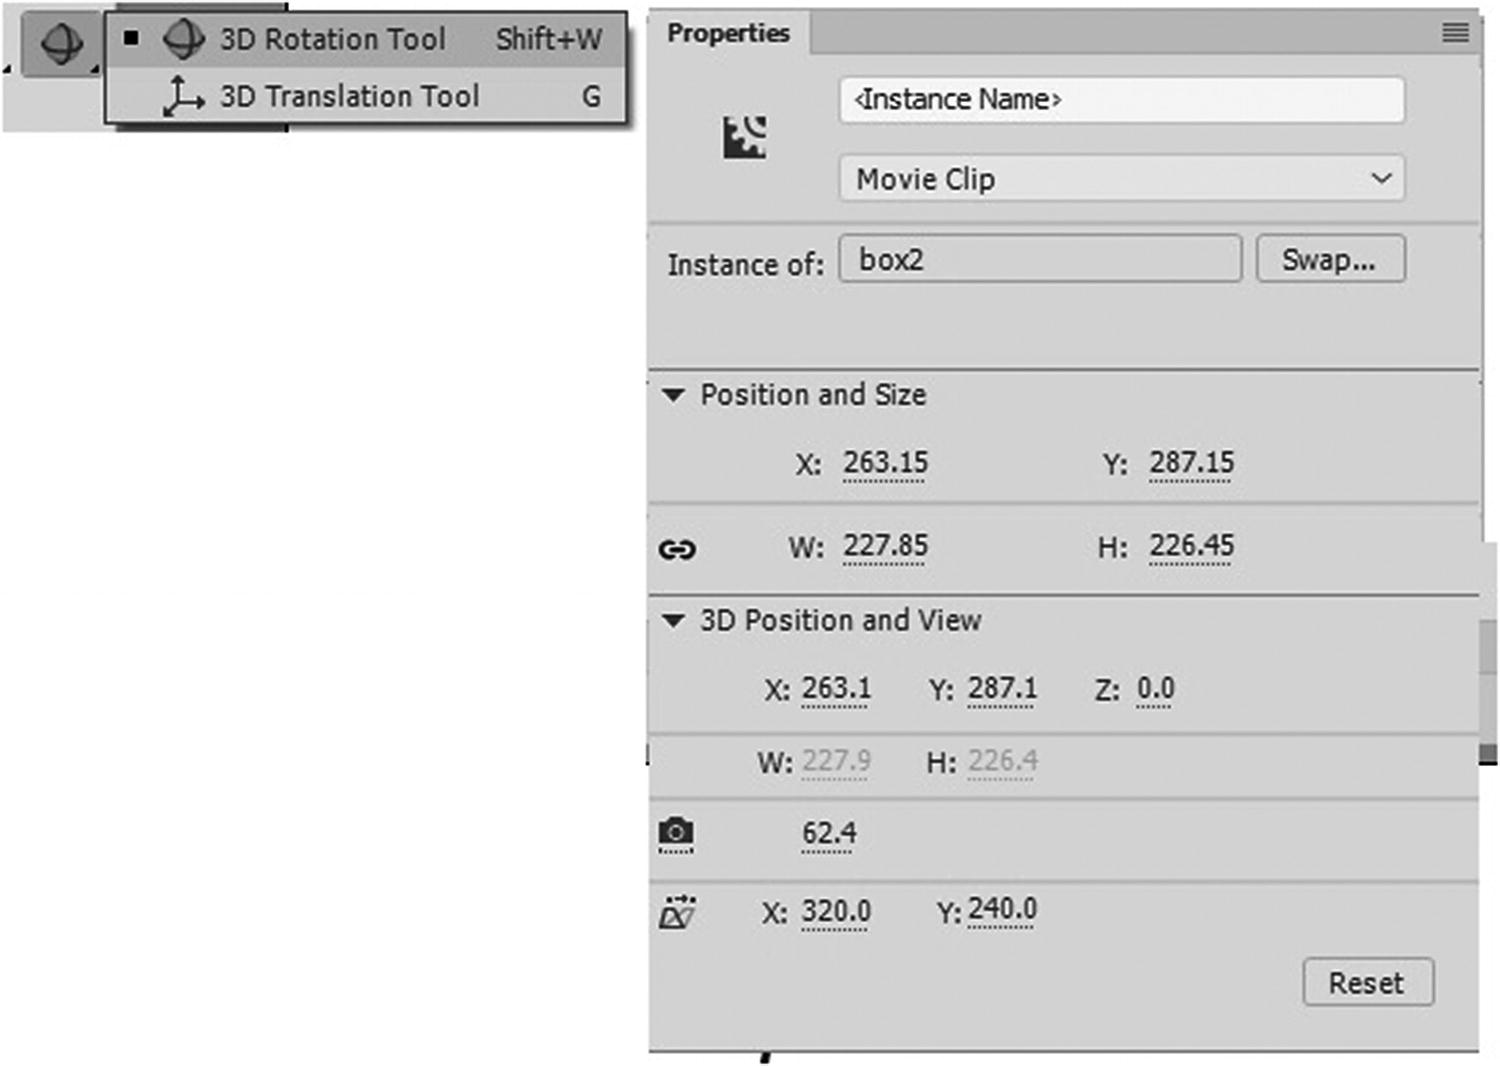
The properties of a Movie Clip when using 3D tools

Text symbol scaled in 3D using tools
Having said that, you can trick the 3D to work with text in HTML5 Canvas. If you create the text in an ActionScript 3.0 file, make the 3D modifications to the movie-clip symbol and then right-click Convert to bitmap (F8). Copy and paste into the HTML5 Canvas file and resave as a symbol. The only drawback is that you cannot edit the text. You can export as a JPEG or publish as part of the animation.
Web Fonts
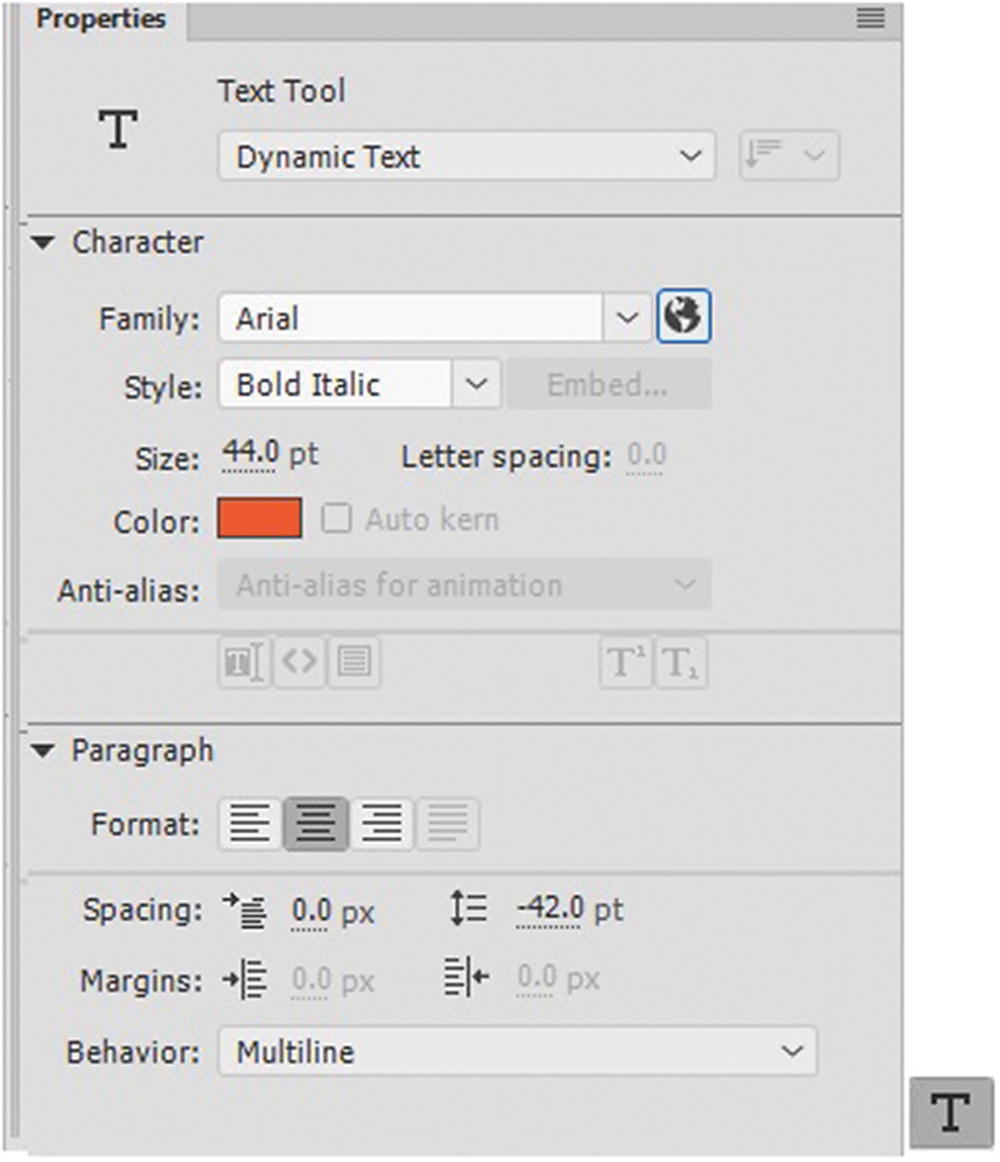
The text tool has access to web fonts
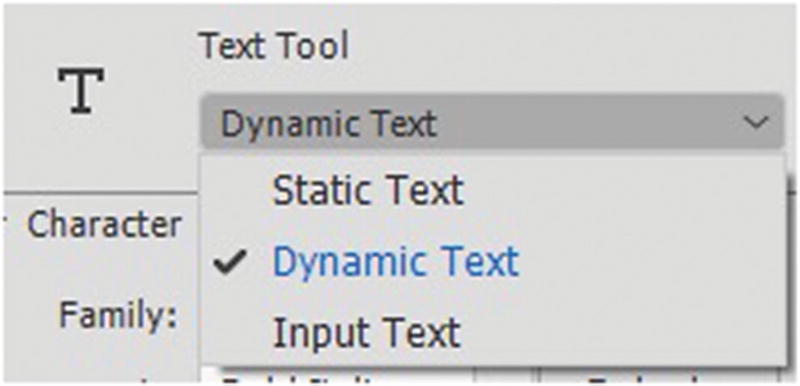
Choosing the type of text to use in your HTML5 Canvas file
While at first this may not see like a deal breaker, each font has different spacing and sizing, which may cause the parts of the font to appear the wrong size or to be chopped off in the animation.
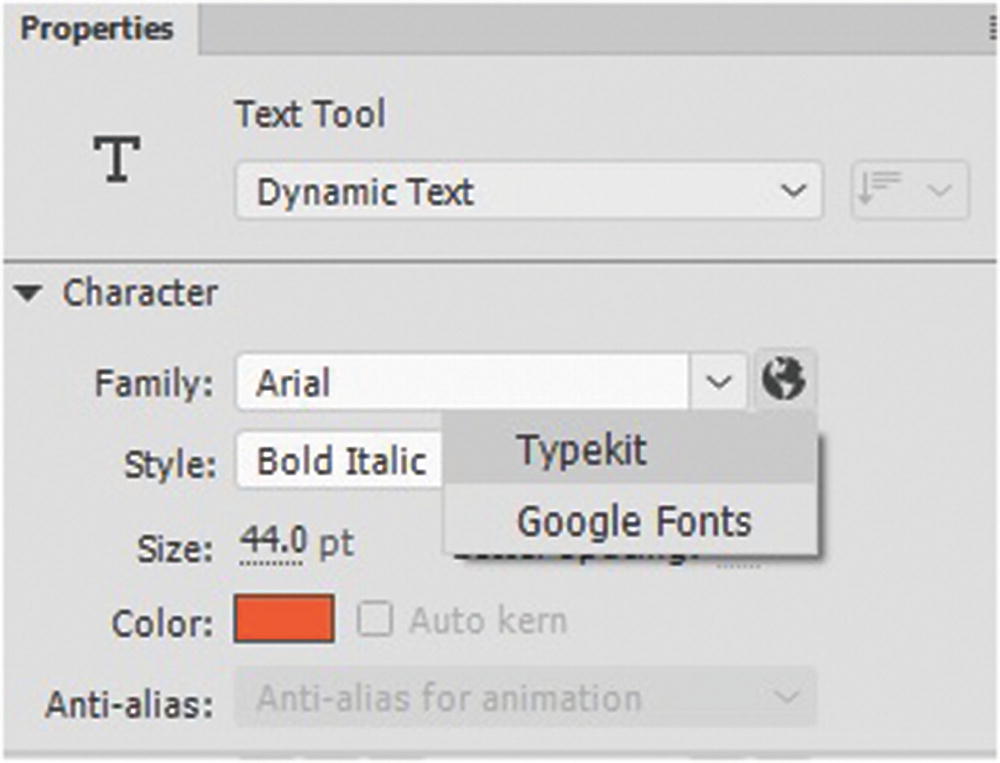
Choose the type of web font you want to use
You must be signed into a Creative Cloud account to use Adobe Fonts Typekit.
If you do not have it, you get the following error message when trying to select the font: “No user is signed in. Web fonts cannot be used.”
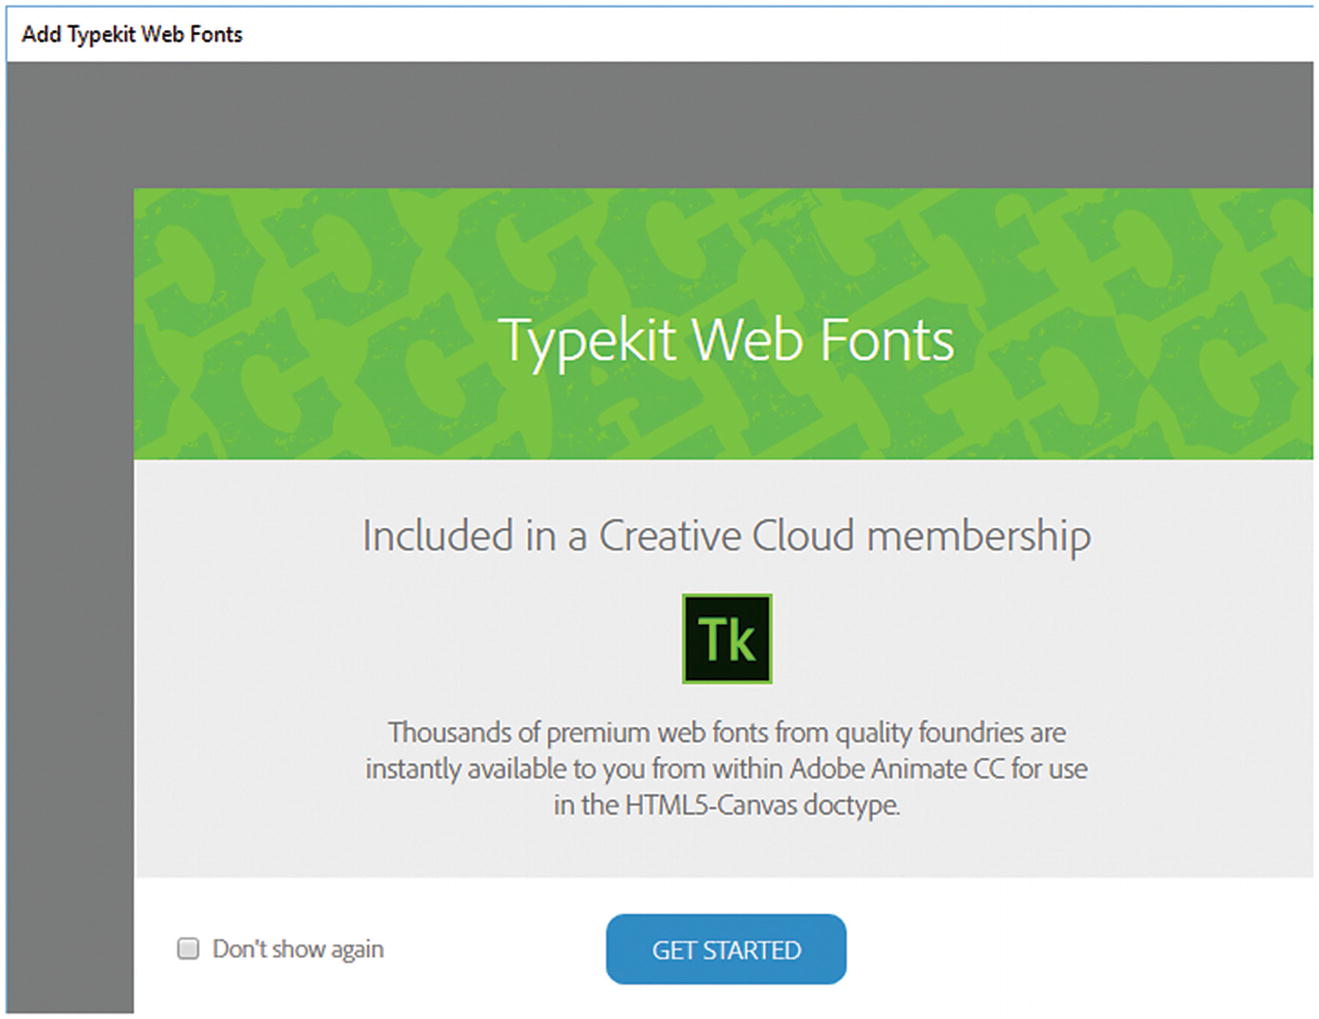
Set up for Adobe Fonts Typekit web fonts
Click Get Started to start viewing fonts.
The HTML/JavaScript Content is linked to your Adobe Fonts Typekit Account. As you saw in Chapter 22, with the Publish Settings dialog box, you can link your domain’s URL in the Web Fonts tab. Adobe Fonts Typekit is also used in Dreamweaver CC.
You can link and unlink fonts as you require them. For help on how to do this, refer to https://helpx.adobe.com/animate/using/typekit-web-fonts.html .
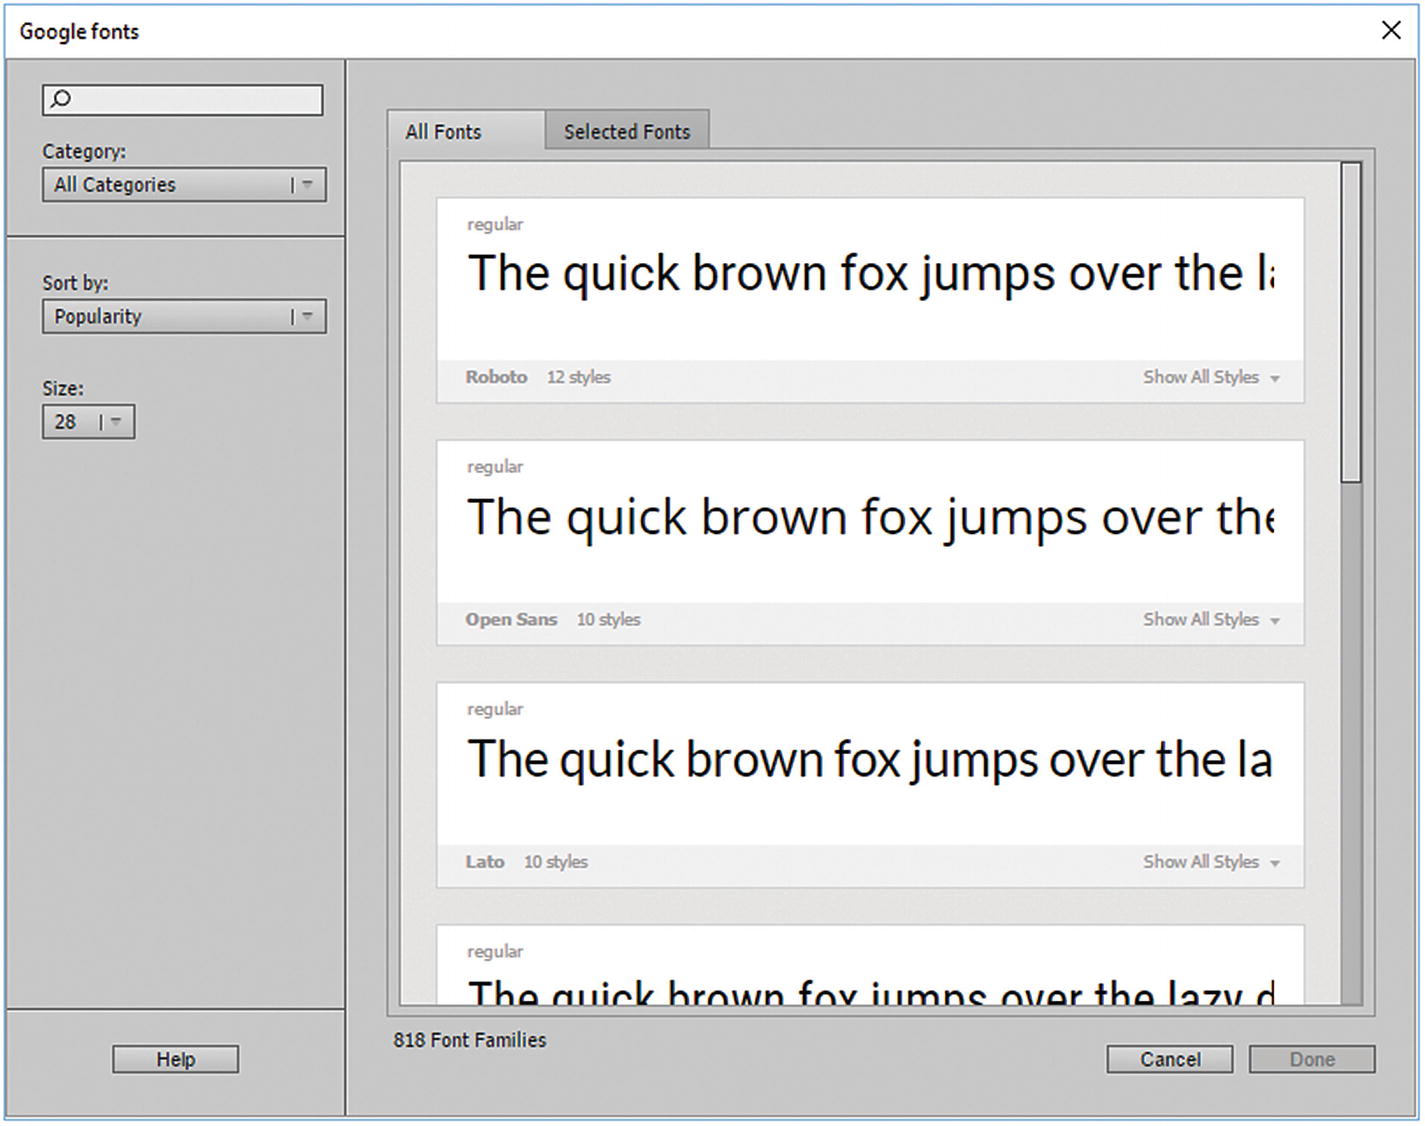
Google font options
For more information on Google fonts, visit https://helpx.adobe.com/animate/using/google-fonts.html .
The Dangers of Flashing Graphics
Animate CC, unfortunately, does not have a section on color blindness to view proofs of your animation. Alternatively, you could bring screenshots of selected frames into Photoshop CC to check how people with color blindness will interpret your animation.
There is another important mater that you need to consider when you are creating animations with frames and moving items: the dangers of flashing graphics . An animated graphic that pulsates on the screen can affect the vision and brain of the viewer. Some people have photosensitive epilepsy (PSE), which causes them to have seizures that are triggered by visual stimuli that form patterns in time or space, such as flashing lights and bold or regular fast pulsating moving patterns.
So as a web designer, you should be aware of this and avoid adding large areas of an animation that flash more than three times in any one second. For more information and the latest criteria, visit https://en.wikipedia.org/wiki/Photosensitive_epilepsy .
Summary
In this chapter, you looked at a few miscellaneous tools, such as brushes, 3D, and web fonts that you can use within Animate for your animation projects. Also, you saw how to create a basic action and where to find commands. You discovered that not everyone sees or experiences graphics the same way as you do, and as a designer, it is your responsibility to make your animations an enjoyable experience to watch.
In the last chapter of Part 4, you are going to put the knowledge that you learned in Animate into practice and create three projects that will be part of the Hot Glass Tango website.