
In this chapter, you look at how to set up your website to start working in Dreamweaver.
Note
This chapter does not have any actual projects; however, you can use the files in the Part 6 folder to practice opening and viewing for this lesson. They are at https://github.com/Apress/graphics-multimedia-web-adobe-creative-cloud .
Entering the Maze’s Center
The purpose or endgame of a maze is to have a center or goal where you reach the destination or prize. So far, as you have seen in Adobe, you have come to different junction points (Photoshop CC, Illustrator CC, Animate CC, and Media Encoder CC) to create and assemble the graphics and media that are used for the final website.
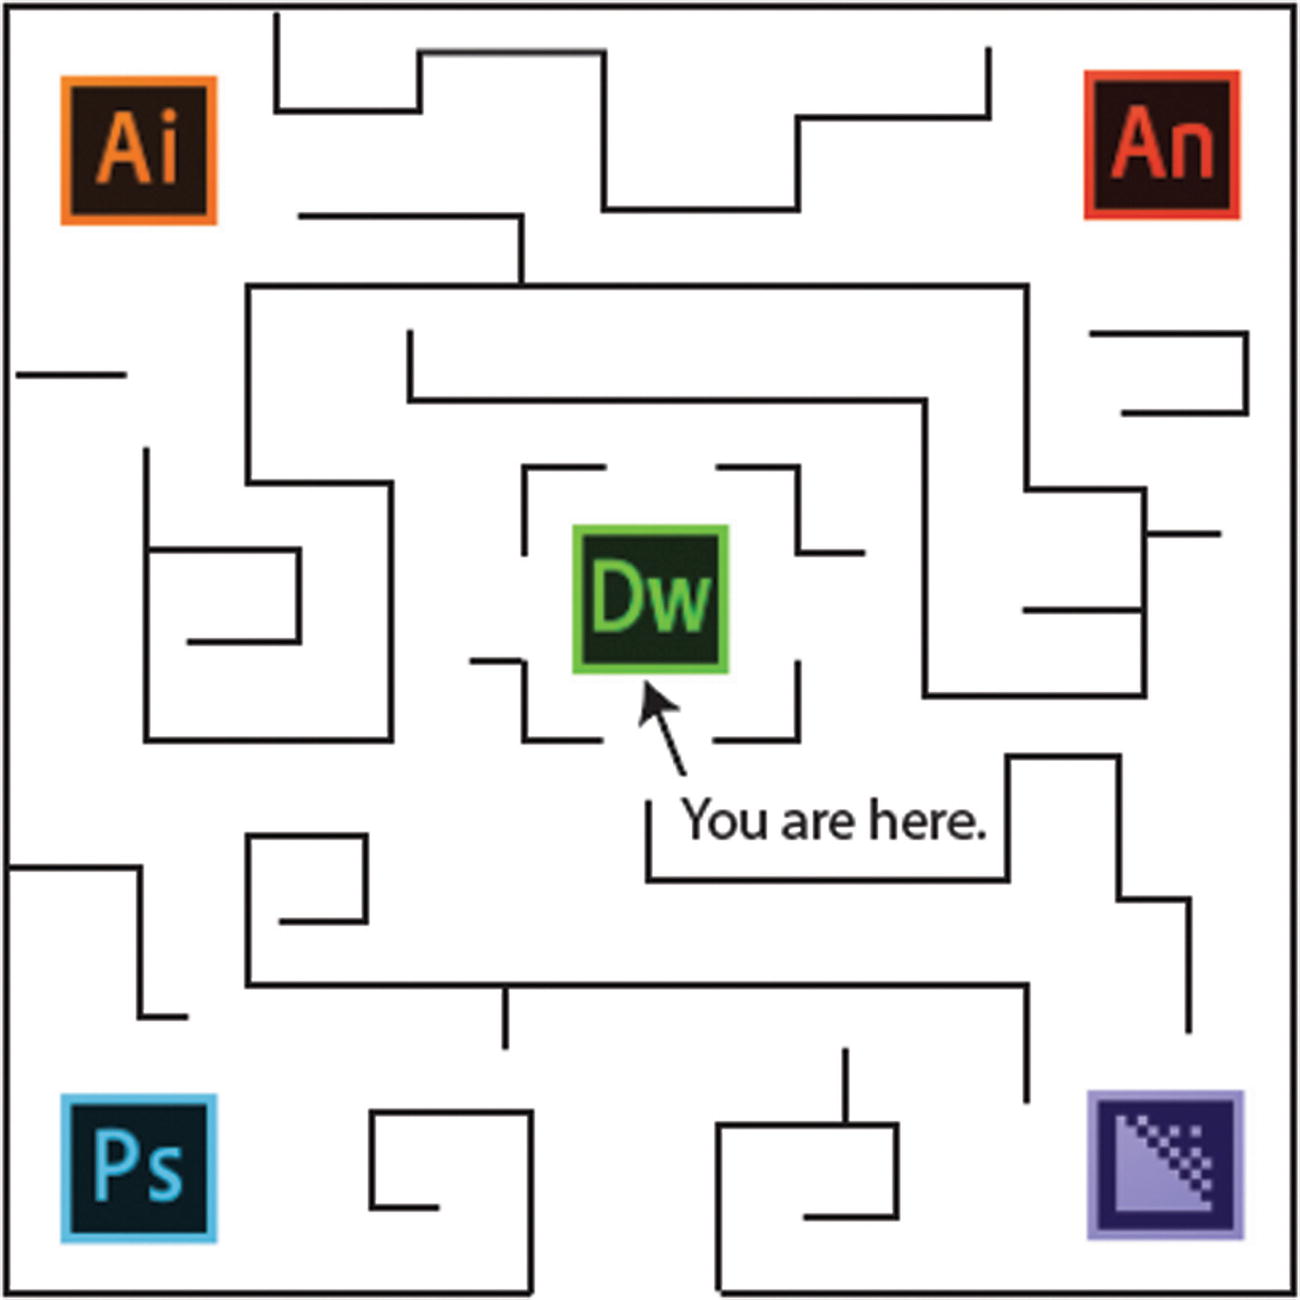
You are now in the center of the maze
Differences and Similarities Between Dreamweaver and Muse

Adobe Muse was creating basic responsive websites
Muse CC was a great program for beginner web designers that did not want to learn coding just yet. You could use it to create some basic responsive websites using themes. You could also use your audio, video, and images as part of the design. As you progress as a designer and coder, however, you want to customize certain settings in your layout or themes, and your site may increase in size and complexity.
One main drawback to working with Muse was that if you’re working with another person who uses Dreamweaver CC or any HTML complier to build your site, and you bring your Muse files for them to edit, once it’s in Dreamweaver as HTML, you couldn’t go back to Muse to continue designing. However, if you learn basic coding like HTML5, CSS, and JavaScript, there is no need for Muse and you can build your own responsive website using Dreamweaver.
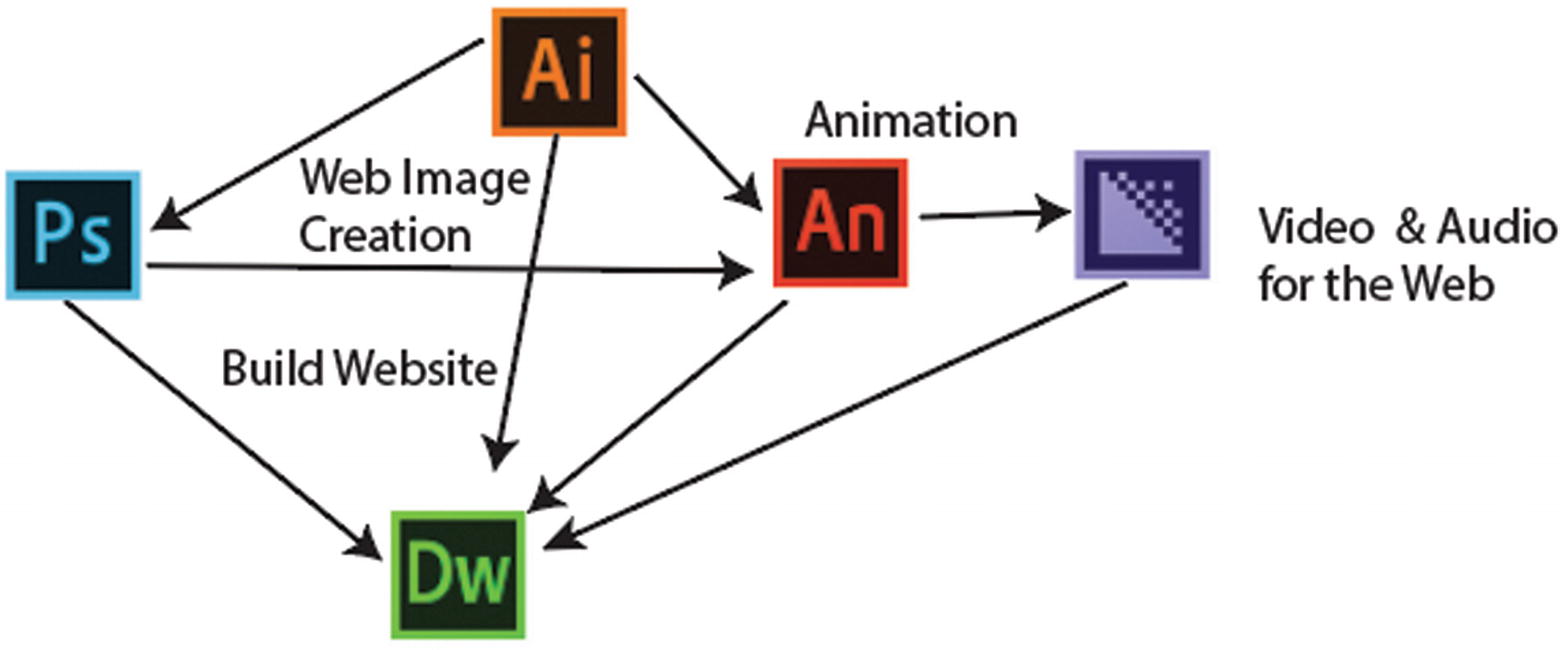
The Adobe programs that are used to build images for a website
Now that you have collected your multimedia , its time so start integrating it into your site
Setting up in Dreamweaver
My first complete website after college in 2003 was built using Adobe’s first web development program, known as Adobe GoLive. I had read some books on basic web design but did not really understand what the purpose of the HTML coding and CSS formatting was. I was limited by what I could do with the layout because I could not manipulate the placement of the graphics and text to suit my requirements.
Eventually, around 2006 or 2007, I became more serious about learning web design and started using Macromedia Dreamweaver (later bought by Adobe and replaced Adobe GoLive in 2007). I took some continuing studies courses for several years to continue my research into coding for work, and today besides building websites for clients, I work at the college as an instructor assisting students on the basics of web design with Adobe Dreamweaver CC.
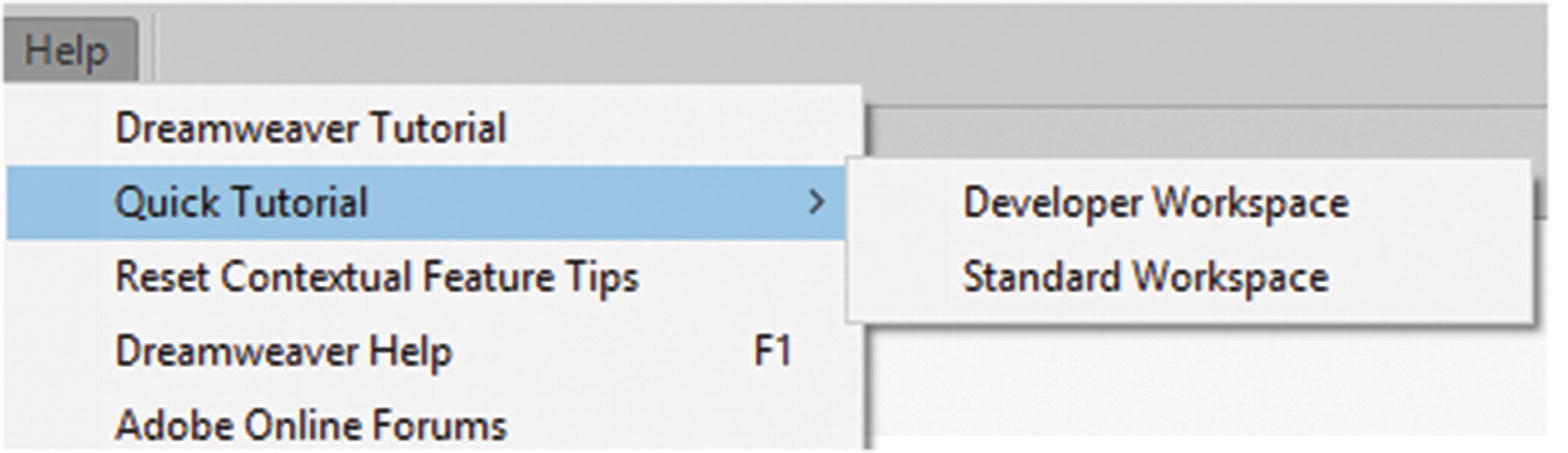
Some tutorial information is available in the Help menu
Note
While working in Dreamweaver, you can do some dragging and dropping of files, but it is important to at least learn the basics of HTML5, CSS3, and some JavaScript or jQuery. You learn about these topics as you progress through the book and work with the Hot Glass Tango website that was built using Bootstrap. I recommend that if you want to see online tutorials and files that you can use in Dreamweaver, check out W3Schools where you can browse through the various lessons and examples at www.w3schools.com :
In this book, you work with some graphics that were already created. You will add them to various pages on the Hot Glass Tango website.
Click the Install button to add Dreamweaver to your site
Note
Before you install any Adobe program, make sure that your computer meets the system requirements; otherwise the install may fail. For more information, check https://helpx.adobe.com/dreamweaver/system-requirements.html .

Open Dreamweaver from the Creative Cloud console
Once Dreamweaver CC opens, let’s set up your workspace so that it is the same as mine.
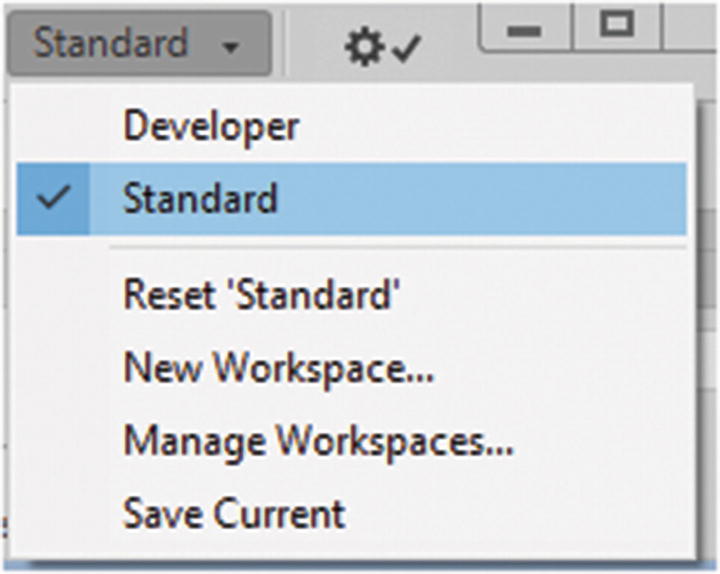
Choose a workspace in Dreamweaver
However, depending on your workflow, you may prefer the Developer workspace (a layout geared towards coding), or you may want to create a New Workspace, as you saw you could do with Photoshop (in Part 2), Illustrator (in Part 3), Animate (in Part 4), and Media Encoder (in Part 5). After saving your workspace, you can switch and manage your workspaces during your project while you edit your documents or panels.
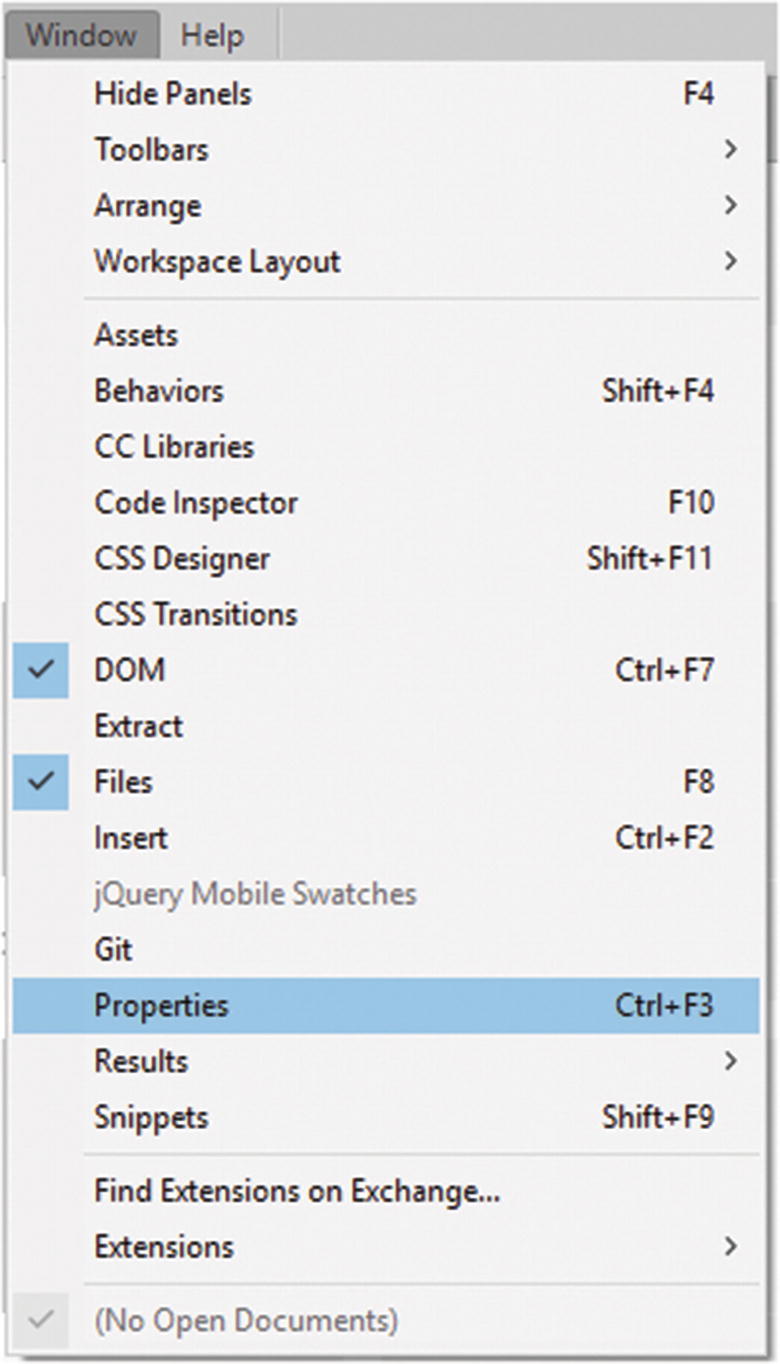
Add the Properties panel to your workflow
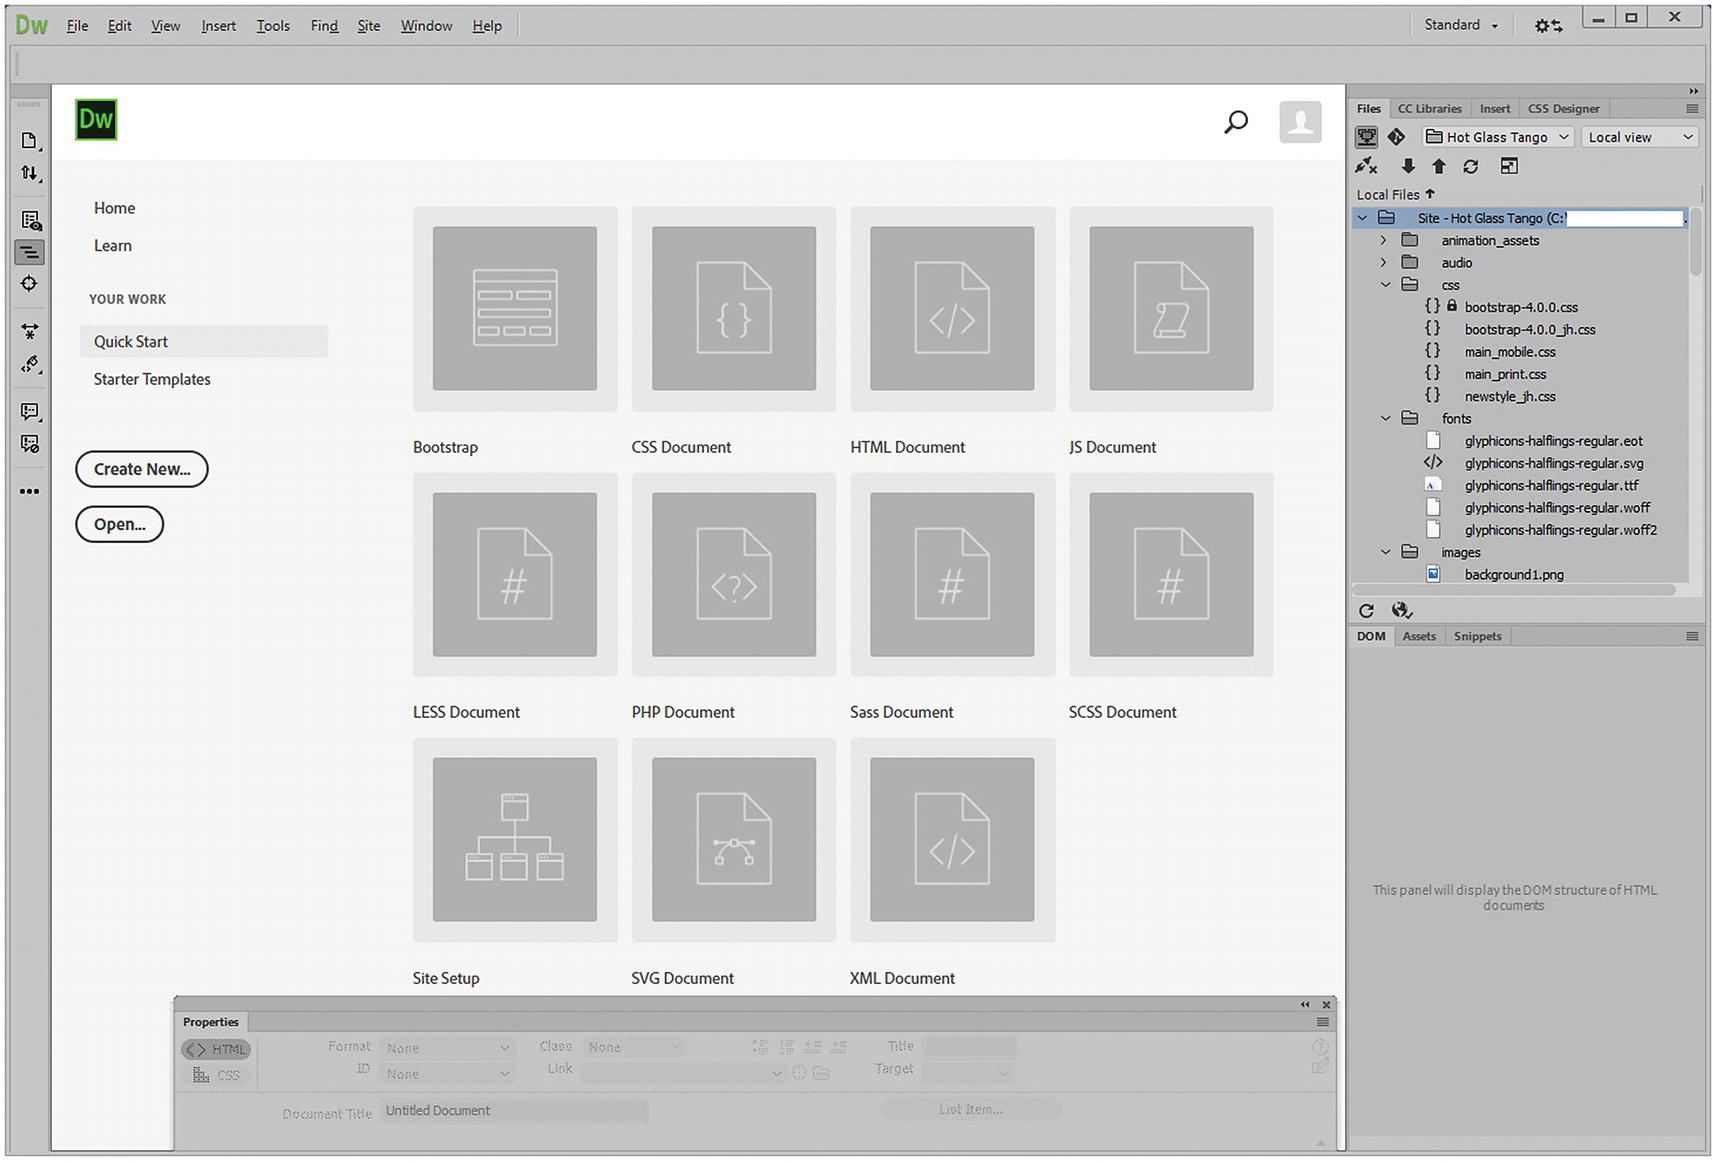
Standard workspace in Dreamweaver with Properties panel and Quick Start selected
Make sure to choose Quick Start; this option is found in the Start-up panel and the Work tab. This option allows you to quickly start building a preset file type without having to go through the File ➤ New dialog box.
Toolbar Overview
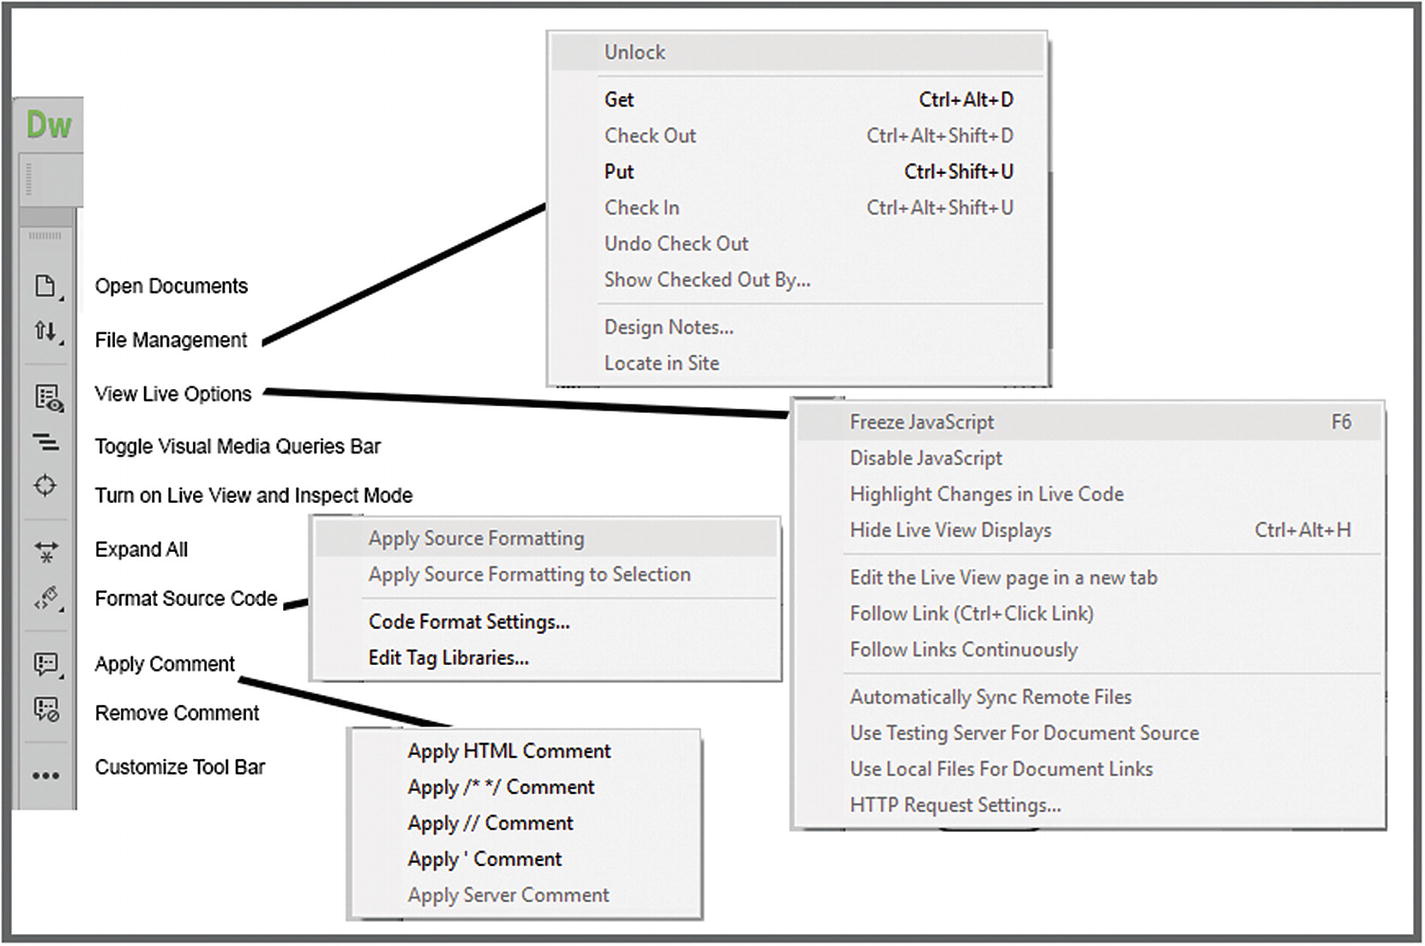
The Toolbar panel in Dreamweaver
Open Documents : Allows you to open or review the currently opened documents, in a single window with the tabs. You can switch between the documents by selecting that file from the pop-out list.
File Management : Allows you to get (download) and put (upload) a current file via FTP, providing you have this set-up, in Site ➤ Manage Sites, files can also be Check in or out if working with another group member or team, Design Notes allow you to add notes to a separate HTML file that team members can access as a reference. Locate in Site helps you locate the currently open file in your Files panel so that you can see where it is in the hierarchy of the site.
View Live Options : This only appears in the toolbar if your Live option is enabled in Toolbars ➤ Document. Refer to Figure 30-12. It allows you to work with your JavaScript during testing to freeze or disable it. Highlight changes in the Live code, hide/show live view displays guides, edit the Live view page in a new tab, and follow links. You can also automatically synchronize with remote files and transfer the document you are viewing between your local and remote sites. Further options include the testing server for document source, local files for document links, and the HTTP Request settings.
Toggle Visual Media Queries Bar : Allows this bar to show or hide when a file is open. Refer to Figure 30-13.

Choose whether to see your file in Live or Design view
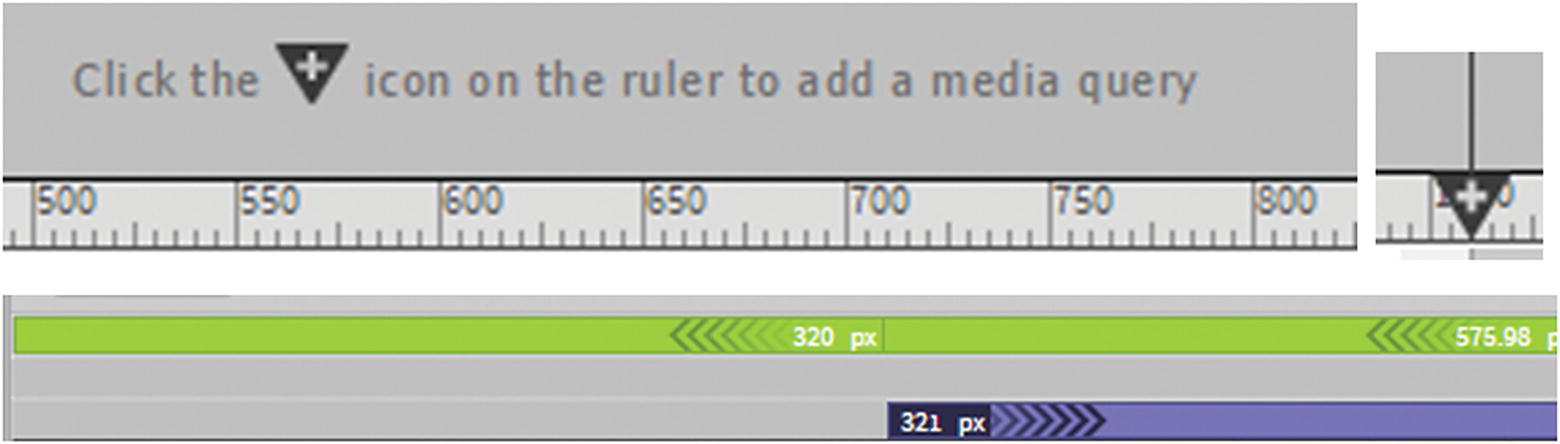
Review the media queries in your file
Make a plus arrow appear on a ruler and you can set various change points or CSS media queries. This happens in various browser layouts; for example, your site may have three states: one for mobile, another for tablet, and a final for the desktop. This can ultimately be controlled using CSS. Media query refers to the type of media (mobile, tablet, or desktop) that you are viewing the website on. For now, leave this area hidden or in Design view. Design view displays a representation of the document, previewing how the user views a page in a web browser.
Turn on Live view and inspect mode : Live view is an interactive preview of your website that is accurately rendering in real time. In this view, you can also edit your HTML elements. This tool also removes the rulers. You can add them back by clicking in the design and then the Live view in the Document toolbar. When this is on, you can click the menu area (triple horizontal lines) of the image and then the code appears in a pop-out dialog box that you can edit and it points out where the code can be found when you are in Split view. Refer to Figure 30-14.
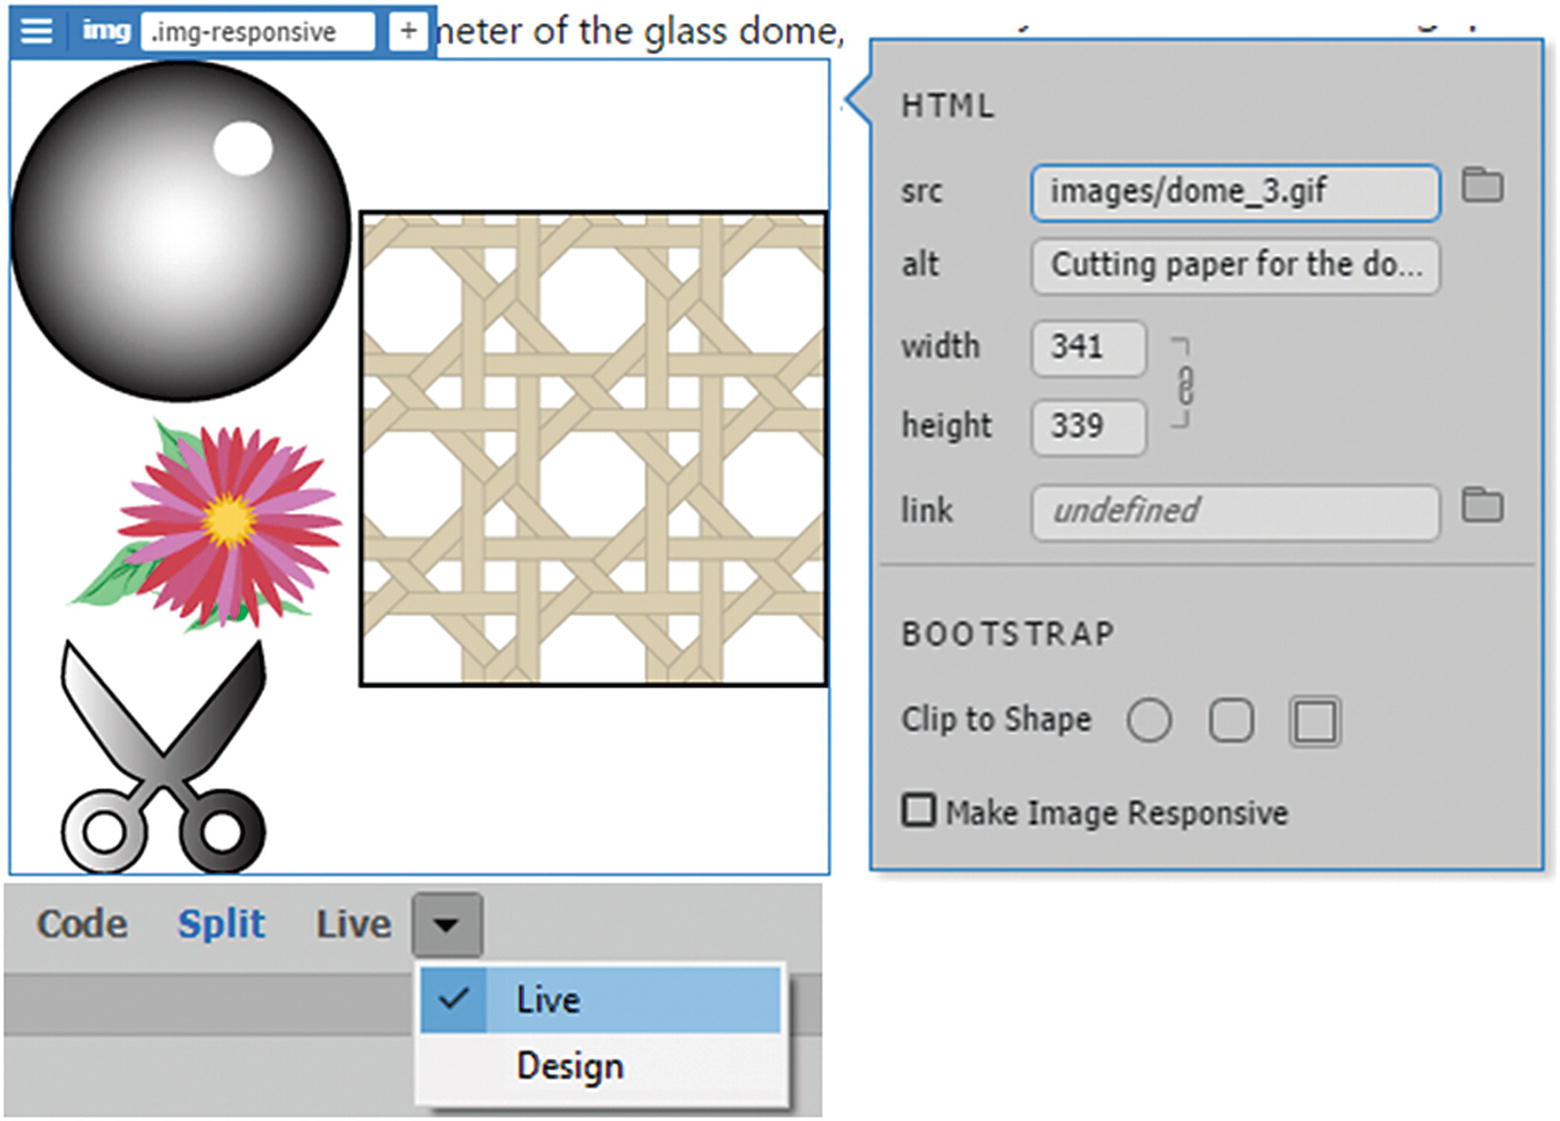
Use inspect mode to check the sizes of images
Expand All : Refers to when you are working either in Code view or Split view, if part of the code is collapsed or hidden, Expand All restores all the code to the expanded or show state so that you can look at it all.
Format Source Code : Allows you to apply formatting to a selection; it also allows you to view and edit code format settings and edit tag libraries, which are advanced settings that require knowledge of HTML and CSS. This tool is only visible when in Code view or Split view.
Apply Comment and Remove Comment : Allows you to add or remove HTML, CSS, JavaScript, or server comments. Comments are lines of code that do not affect the operation of the code. They are just helpful reminders or hints while working on a project to you as the designer or other designers as to what the code does. In HTML you might write
Highlighting the comment in the Code view and clicking the Remove Comment icon removes the comment symbols. It now becomes just a sentence which can affect the operation of the code.
As with the other mentioned Adobe programs like Photoshop you can access more subtools when you click the triangle in the lower right of each tools.
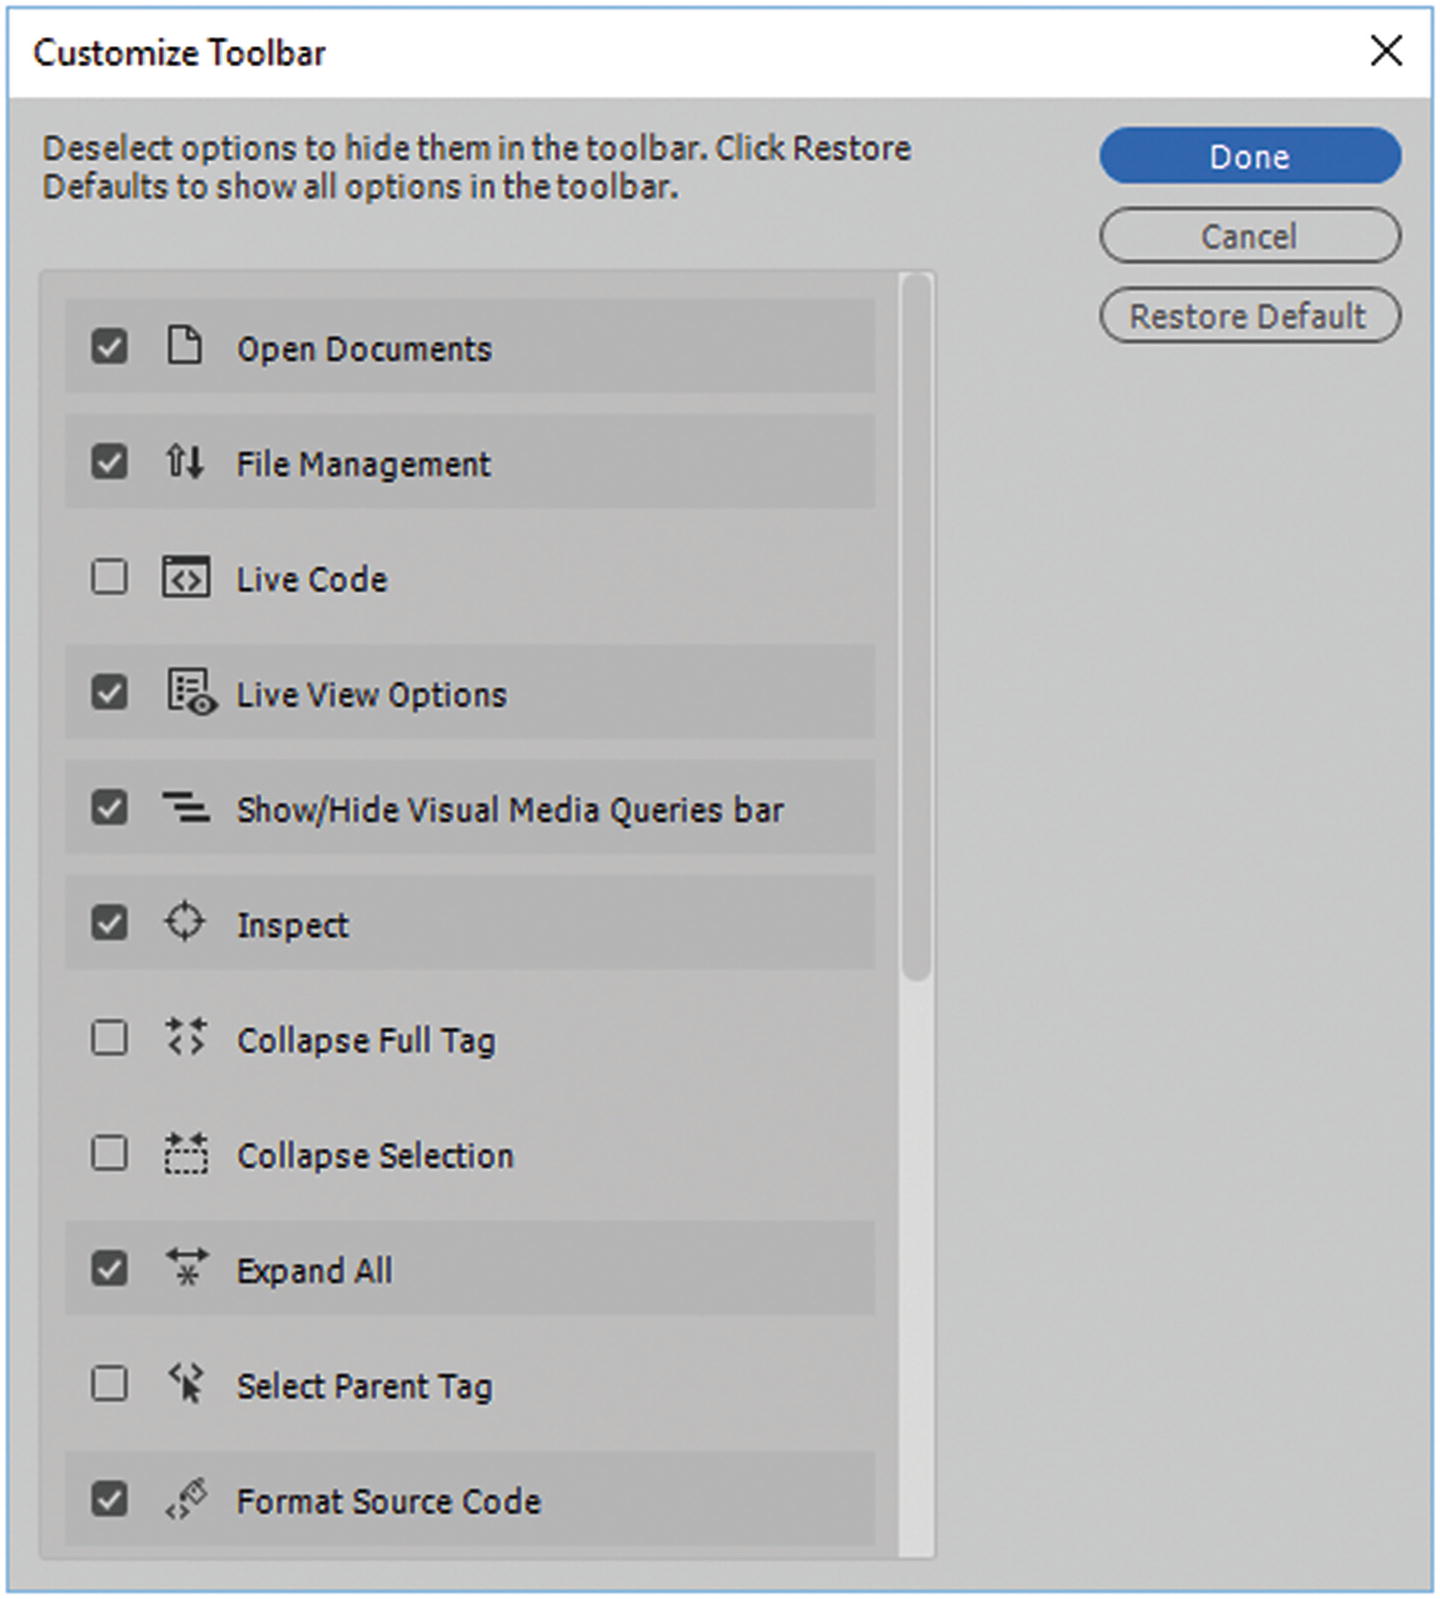
Scroll through the Customize Toolbar dialog box to see if there are any other tools you want to add to the toolbar
However, most of the tools and settings that you need are found in the Properties panel and the Insert panel, which you look at in more detail shortly. Nevertheless, take some time to check out the extra tools and add them to your toolbar if required for your project.

Toolbar Standards panel
This panel allows you to quickly access many of the settings you would find in the File or Edit menus.
You can create a new document, open a document in your site, save, save all files currently open, print the code of the file, cut, copy, paste, redo, undo, and refresh the current file.
Note
If you would like to set your interface to the same color as mine, go to Edit ➤ Preferences and choose the Interface tab. Then choose an App Theme (third from the left) and code theme: light, and click Apply and close. Refer to Figure 30-17.
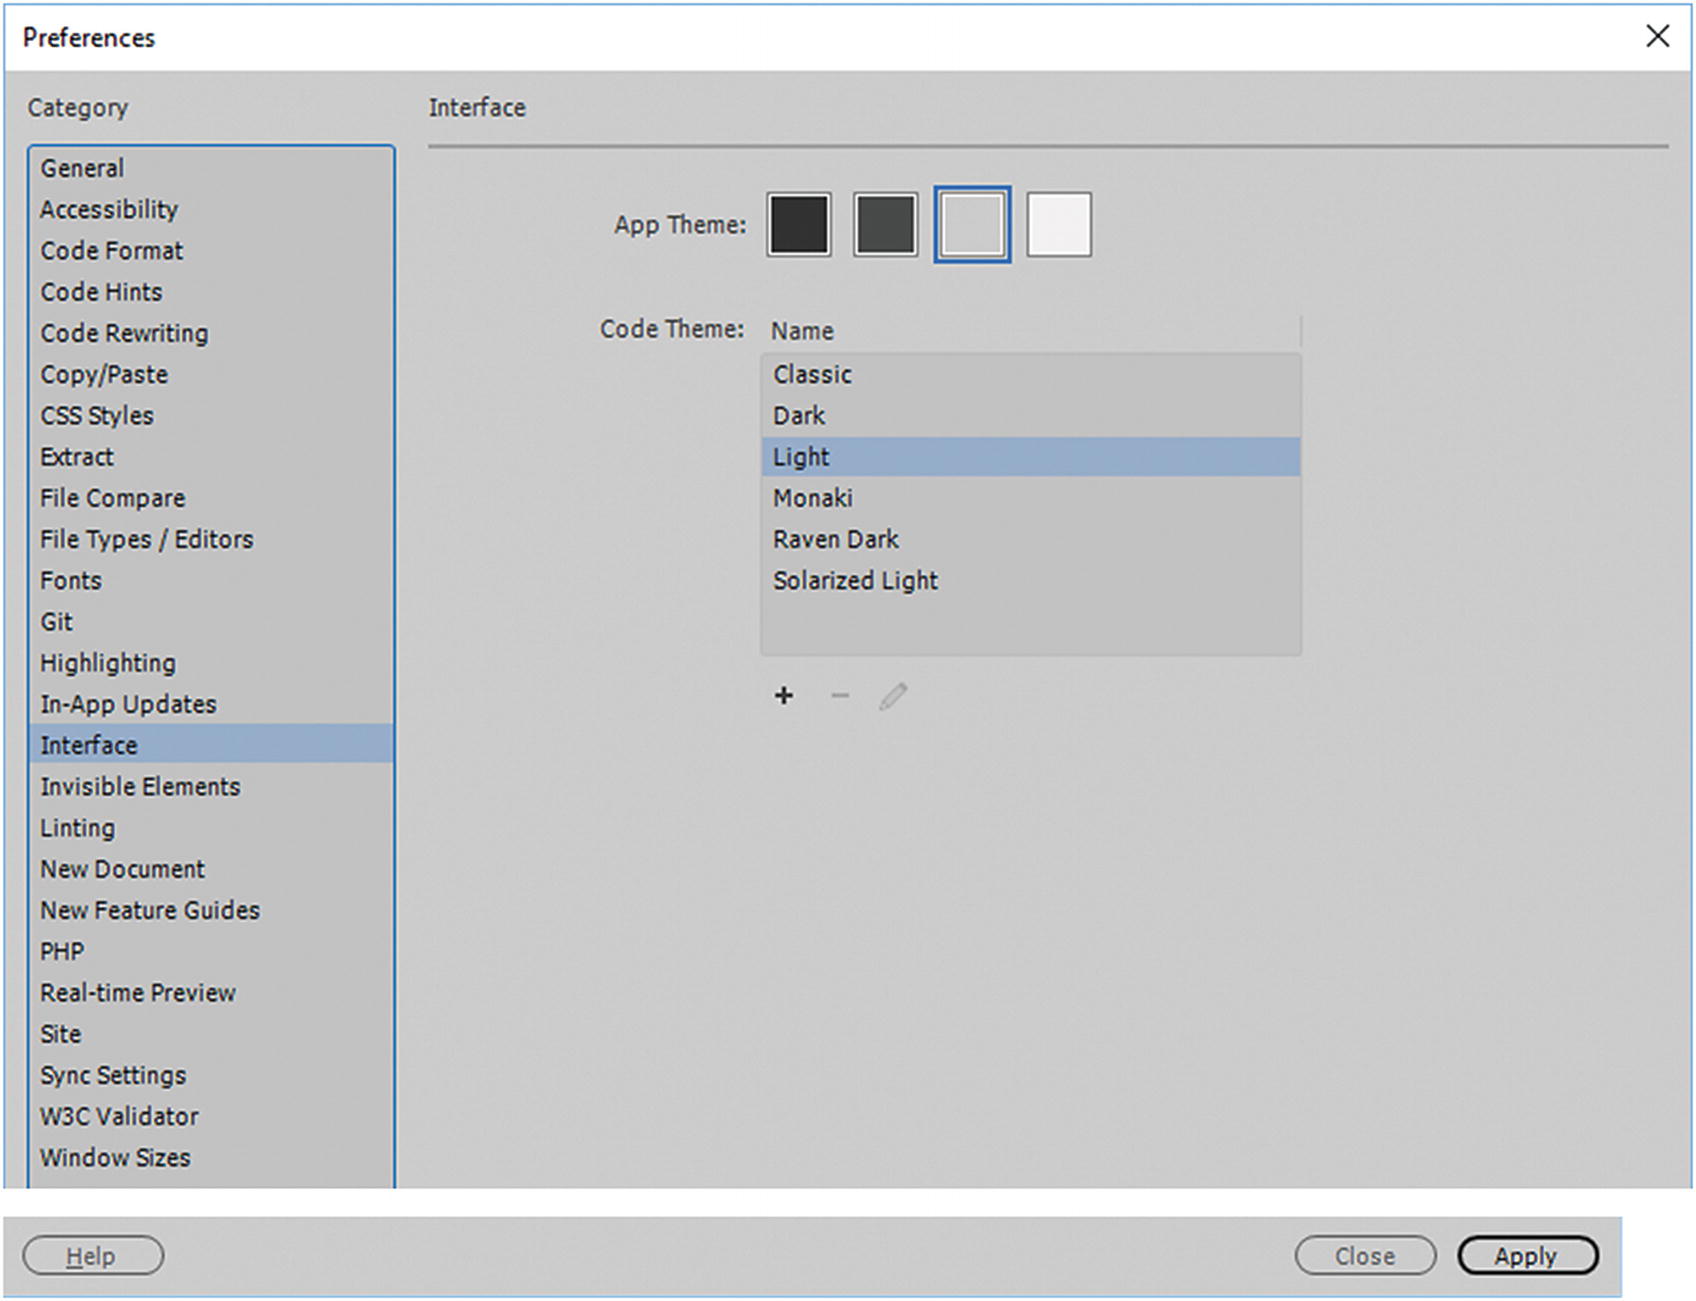
Preferences panel setting the interface color
I prefer a medium gray and a light code theme, as I find it reduces eye strain, but you may prefer another setting.
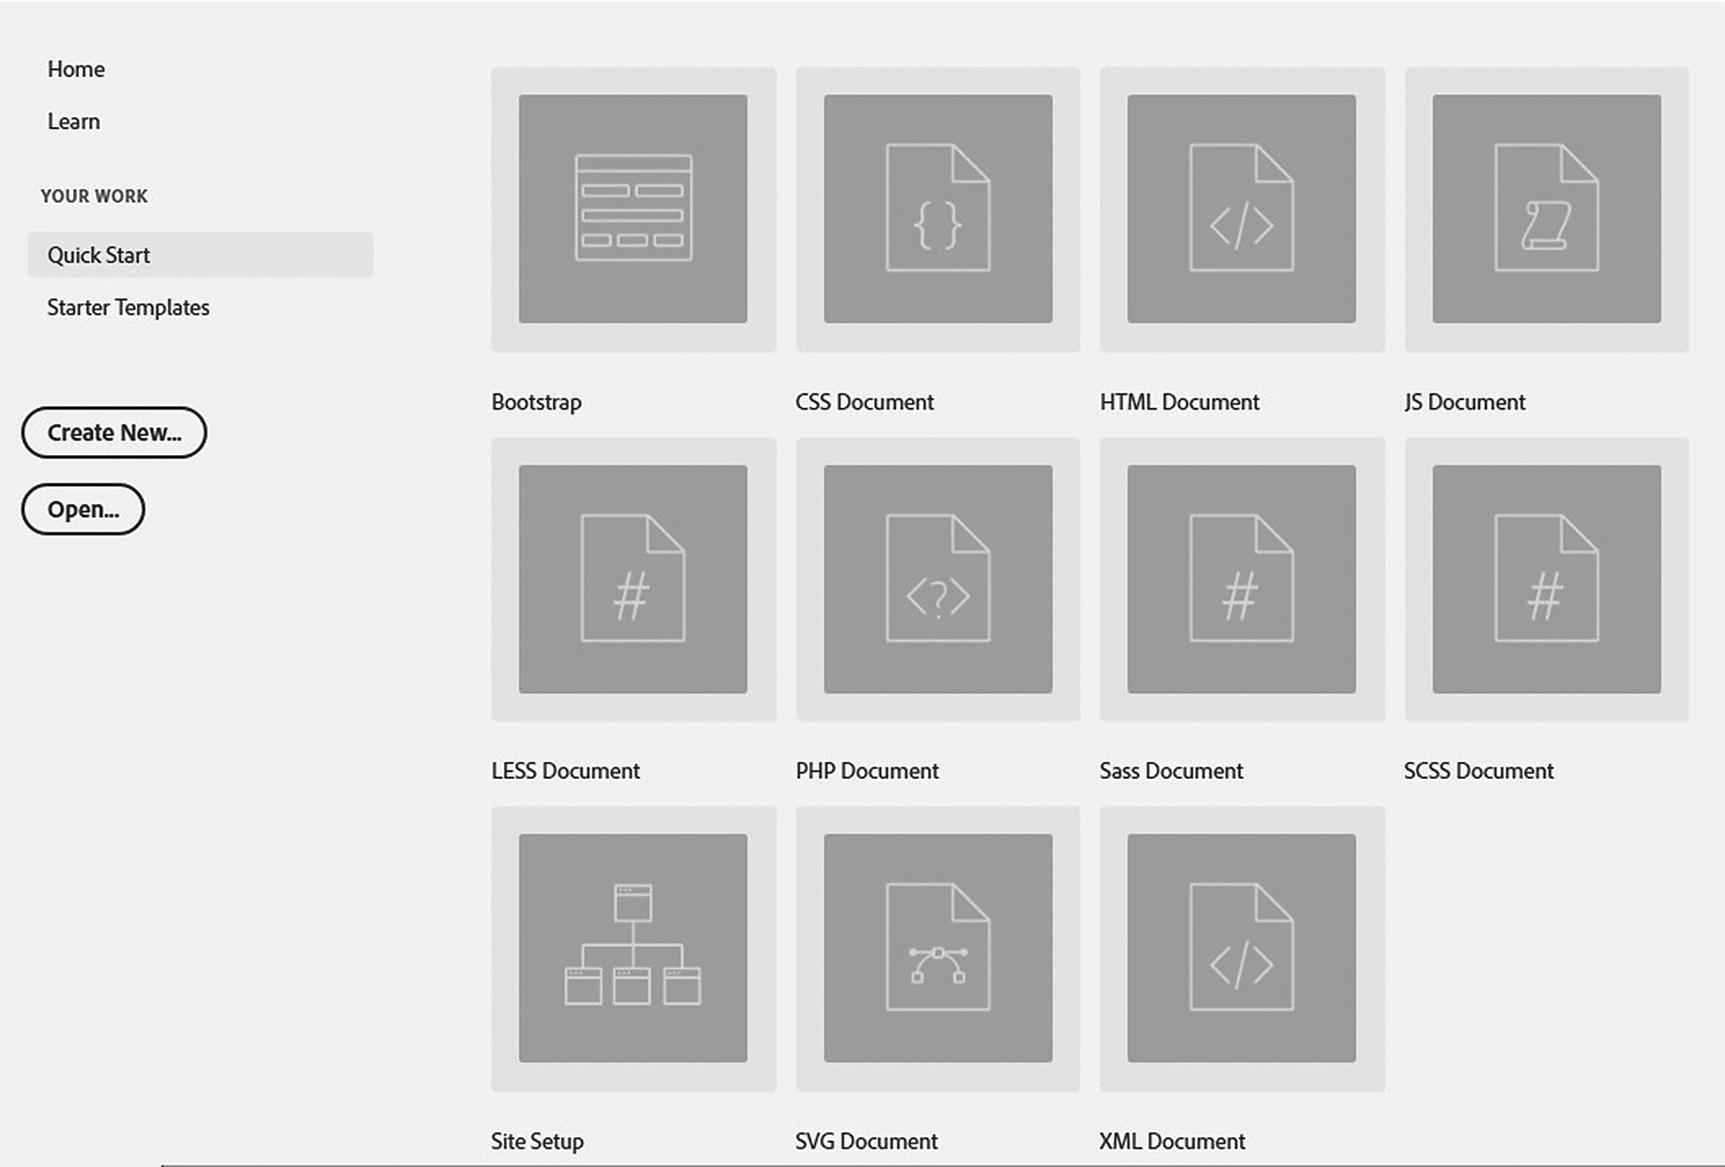
The Quick Start file choice for Dreamweaver
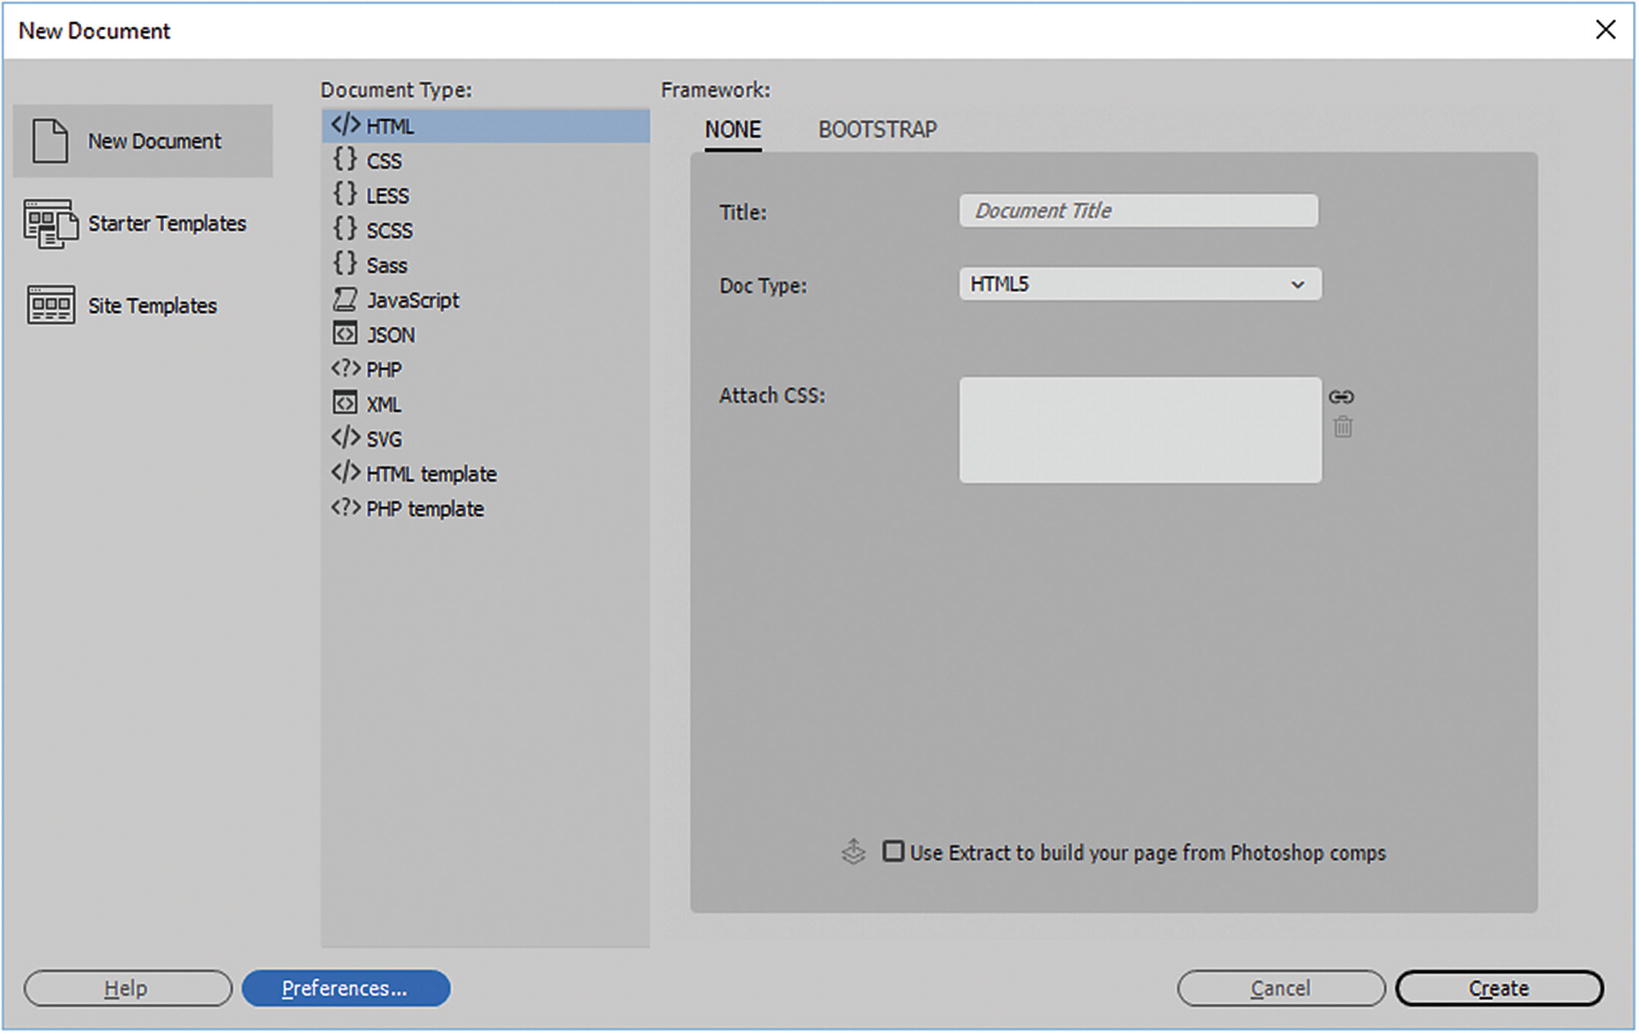
New Document dialog box
If you have been using the default of HTML4 in the past or need to revert to an older file version, you can choose it from the drop-down menu; however, do not keep the doc type as HTML5.
You can also work with a variety of other file formats, such as external CSS, external JavaScript, JSON, PHP, XML, and SVG. See Chapters 14 and 16 for more information on SVG files.
In addition, Dreamweaver allows you to create templates. Templates are in some ways like themes that you see on a website; you build one template background, and then all the HTML5 pages that you base on that template for your website is consistently similar. You can either create your own template, work with a starter template that Adobe has created, or a site template that a client has already created for you.
You look at templates in more detail in Chapter 35. Let’s first discuss HTML5 files. Click the Create button in the New Document dialog box to create a new HTML5 document.
What is HTML5 (.html)?
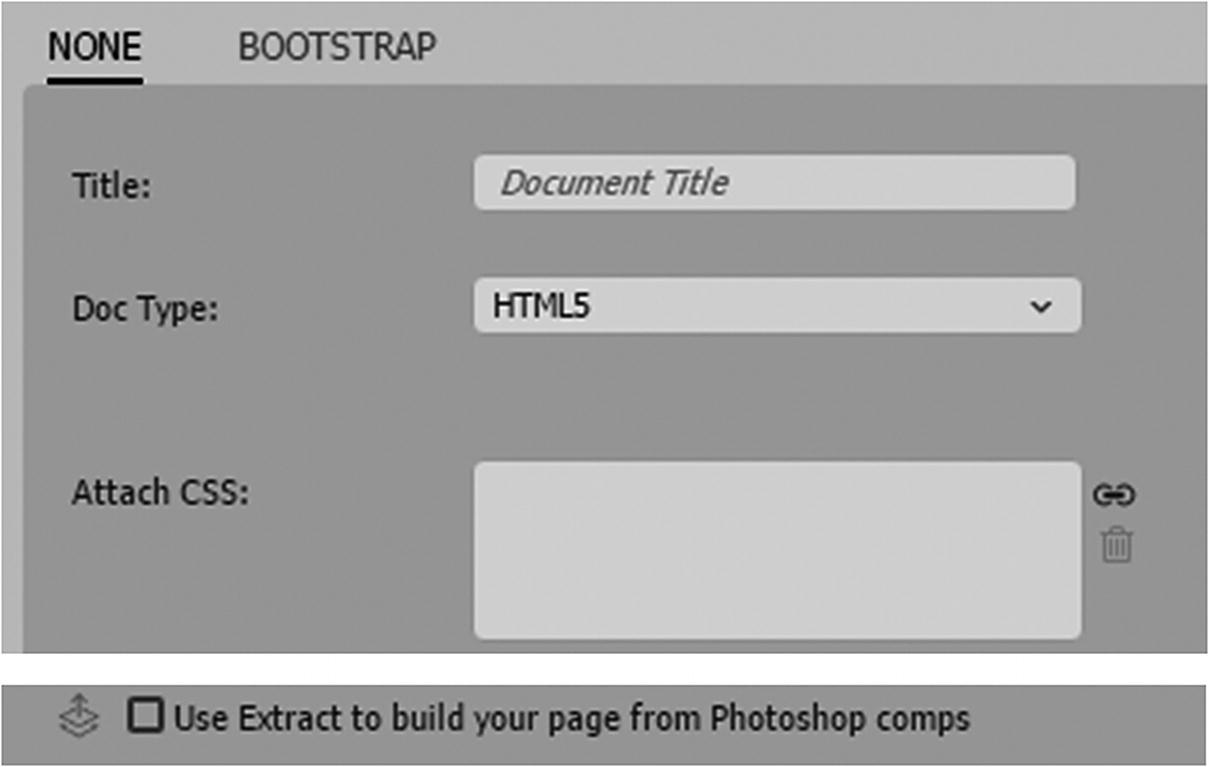
New Document dialog box Doc Type HTML5
Here you can name give the document a title (this appears in the <title> tag), choose a doc type of HTML5. If you have already created an external file, attach a CSS file with the Link icon; you can also remove it using the Trash icon.
Note
Use extract to build your page from Photoshop comps works if your RAW PSD file contained Photoshop layer comps. See Chapter 4 on how to export comps as seen in Figure 30-20.
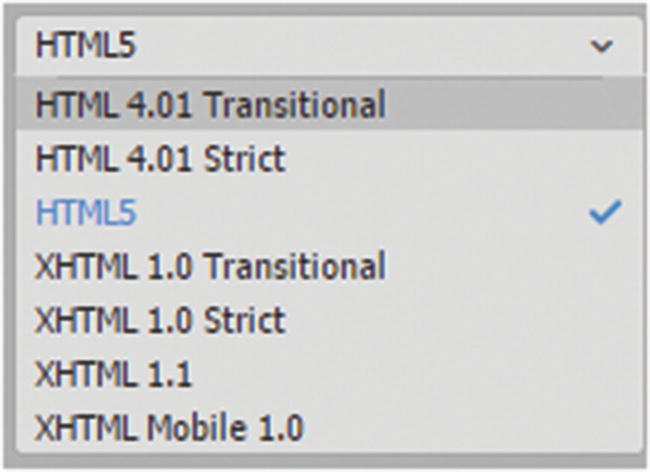
Choose from the Doc Type settings
HTML4 and HTML5 Formats
HTML 4.01 Transitional (Allows some deprecated/obsolete tags) |
<!DOCTYPE HTML PUBLIC "-//W3C//DTD HTML 4.01 Transitional//EN" " http://www.w3.org/TR/html4/loose.dtd "> <html> <head> <meta http-equiv="Content-Type" content="text/html; charset=utf-8"> <title>Untitled Document</title> </head> <body> </body> </html> |
HTML 4.01 Strict (Does not allow deprecated/obsolete tags) |
<!DOCTYPE HTML PUBLIC "-//W3C//DTD HTML 4.01//EN" " http://www.w3.org/TR/html4/strict.dtd "> <html> <head> <meta http-equiv="Content-Type" content="text/html; charset=utf-8"> <title>Untitled Document</title> </head> <body> </body> </html> |
HTML5 (While this allows some older features, you cannot access the new audio and video features of HTML unless you use this format.) |
<!doctype html> <html> <head> <meta charset="utf-8"> <title>Untitled Document</title> </head> <body> </body> </html> |
For more information on doc types, review the examples at www.w3schools.com/tags/tag_doctype.asp .
To access the full range of new HTML5 features and work with the latest CSS, you need to use the HTML5 doc type and click Create to create your new page.
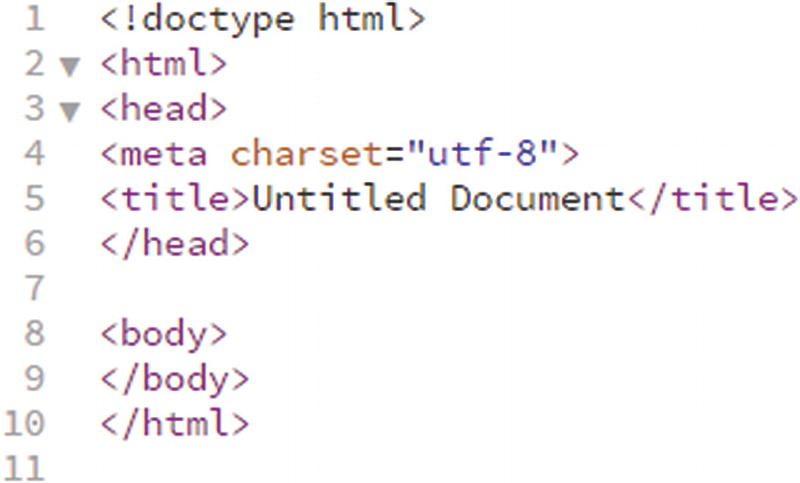
A new HTML5 file open in Dreamweaver in Code view
<!doctype html> : Defines the doc type.
<html> </html> : Surrounds the head, meta, title, and body tags: It lets you know this is an HTML document. If one of these tags is altered incorrectly or removed, the document becomes corrupt, and you should fix it right away if you are working on the file in Dreamweaver CC. See how to do this in the “Fixing Errors” section. You also want to add the lang or language attribute of your site, like this: <html lang="en">. Refer to Figure 30-23.
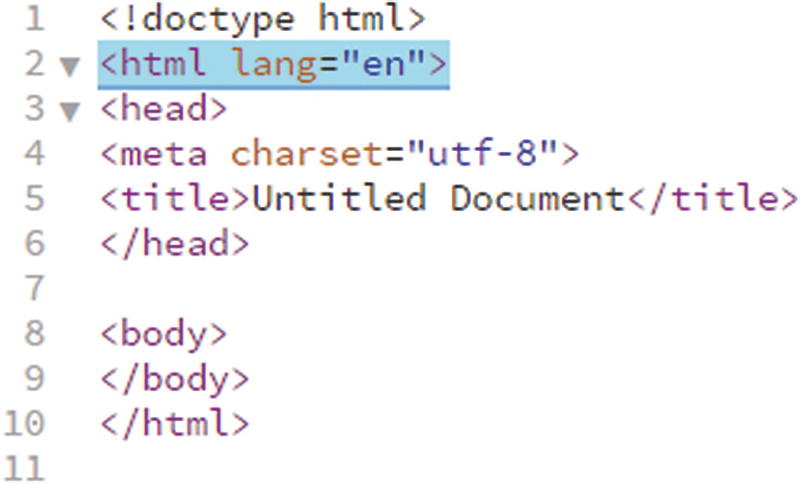
Add language to your HTML5 files
Dreamweaver CC does not add this attribute because it does not know what language your site is. If the language is English, then you use lang="en"; if French, lang="fr"; or Spanish, lang="es".
For a more complete reference, you can view this information at
<head> </head> : The head acts as container for all the head elements. The head tags in a new document contains the <meta>, and <title> tags, by default. However, once you start building the document, it can contain a lot more tags for the document, including reference to internal <style> or external <link> CSS, JavaScript <script>, <base> or <nonscript> tags. The viewers of your website never see what is in the head; however, the head tag is like your brain—it controls how much of the information is going to be presented or displayed. The viewer only sees what is in the <body> tag or what is figuratively external. Remember, what is going on in the “head” is displayed visually in the body “language” or code.
<meta charset="utf-8"> : An attribute of an element found within the head tag. Defines metadata about an HTML document. Metadata is often extra data that can be added to a file whether it be HTML or even audio or video, as you saw in Adobe Media Encoder CC. Metadata for the HTML5 document has a charset or character set attribute included, depending on the country of origin; with the text or symbol characters it may be different, but UTF-8 is common to North America. UTF-8 is character encoding for Unicode.
<title>Untitled Document</title> : Found in the head tag. Defines the title or name of the document page. While it is important to save the file with a file name, it also needs a title that appears in the browser. Without a title that is unique, viewers will not know what page in your website they are on when they look at the tabs in their browser. Adding a title improves the navigation on your site, as it is displayed in search engines for the purposes of optimization and usability.
<body></body> : The final most important tag in your HTML file is the body. Viewers see in their browsers what you placed within this tag. It can contain tags such as text, images, tables, lists, and hyperlinks. It is to this area you are adding images or references to images that appear via CSS or JavaScript that is found in the head tag. You can add JavaScript to the body area, but this code is often referenced to JavaScript that appears somewhere in the head.
Import and Save Your File to Your Site
Once you have created a new file, it is time to save it with a name in your site folder. If you have not set up a site, you can save the file to any folder as you would a Photoshop or Illustrator file; however, if you are saving multiple HTML files, it is important to be able to save these files to the same folder repeatedly without getting mixed up. When building a website, organization is key. Saving a site makes Dreamweaver remember the same folder each time you save a new file.
Before saving your first HTML page in the main menu, go to Site ➤ New site.
Note
If you have already created a site, skip down to the File ➤ Save area.
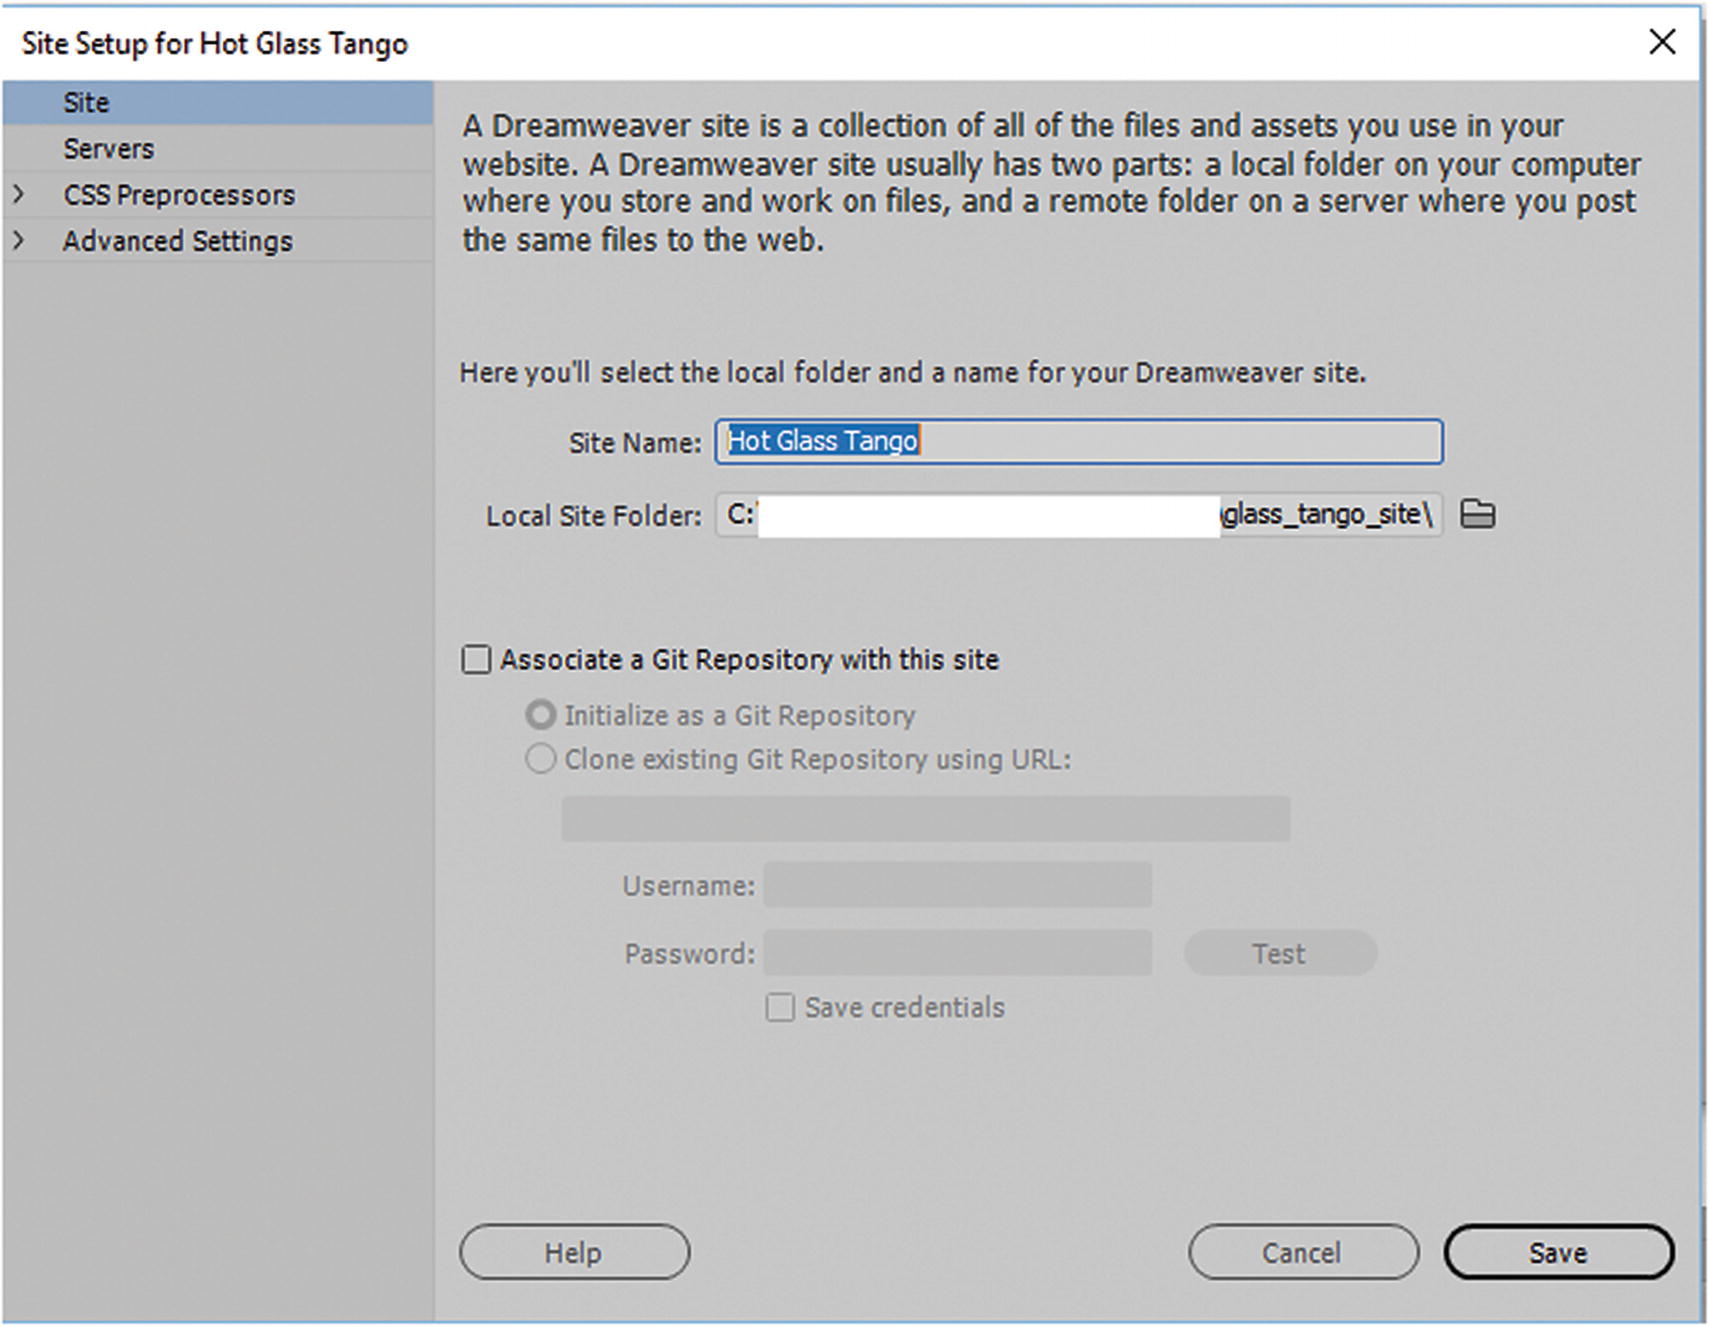
Site setup Site tab
To follow along, Locate the “glass tango site” folder for this chapter you will be using it as a reference in Part 6.
In the site, add a site name: Hot Glass Tango. This is a reference point for you when you work in the Files panel, as you may have more than one site. Then use the Local Site Folder icon to locate where you want your local site folder to be, or in this case, the folder that is for this chapter; it may be on your local drive or your external drive. Ignore the area that refers to a Git repository because this has to do with uploading files to a GitHub site, which you are not doing in this book.
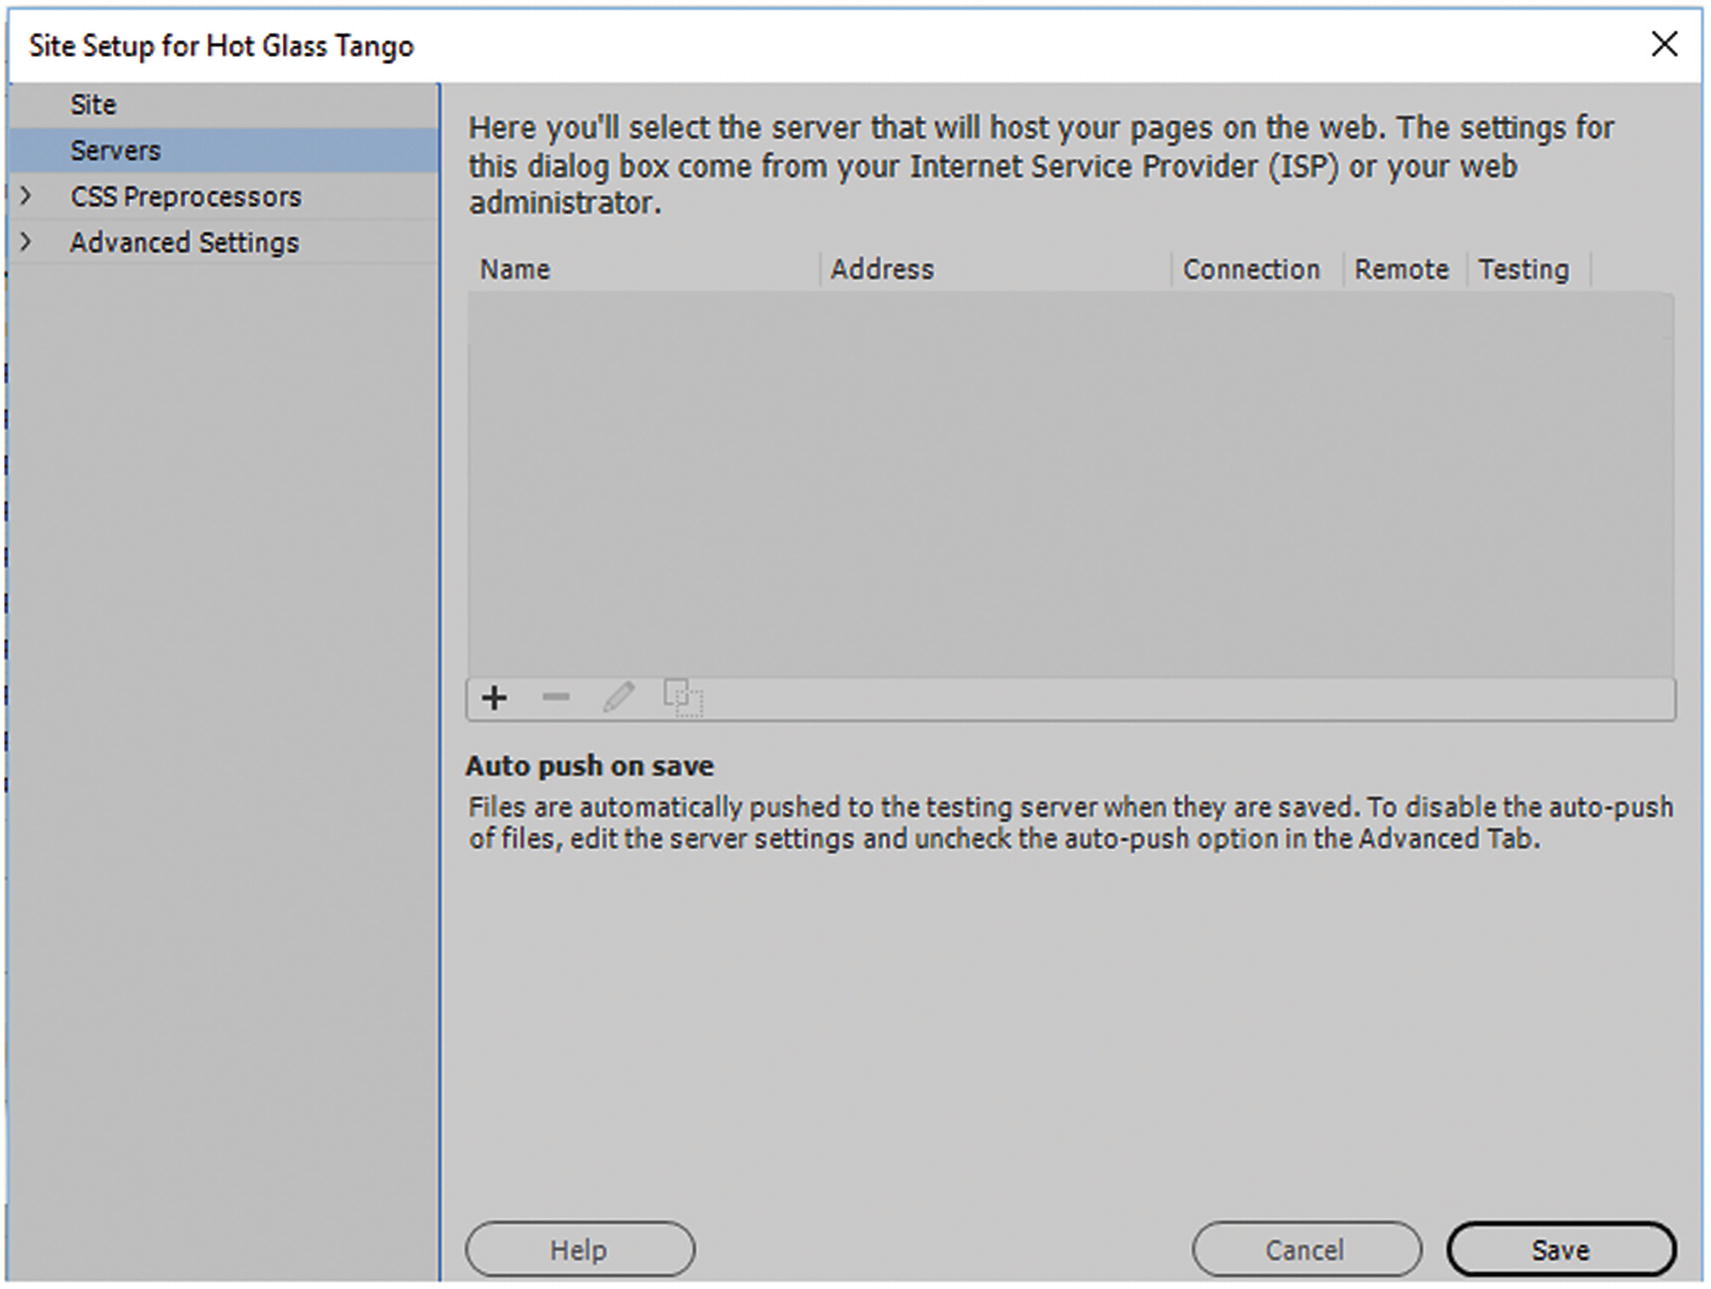
Site Setup Servers tab
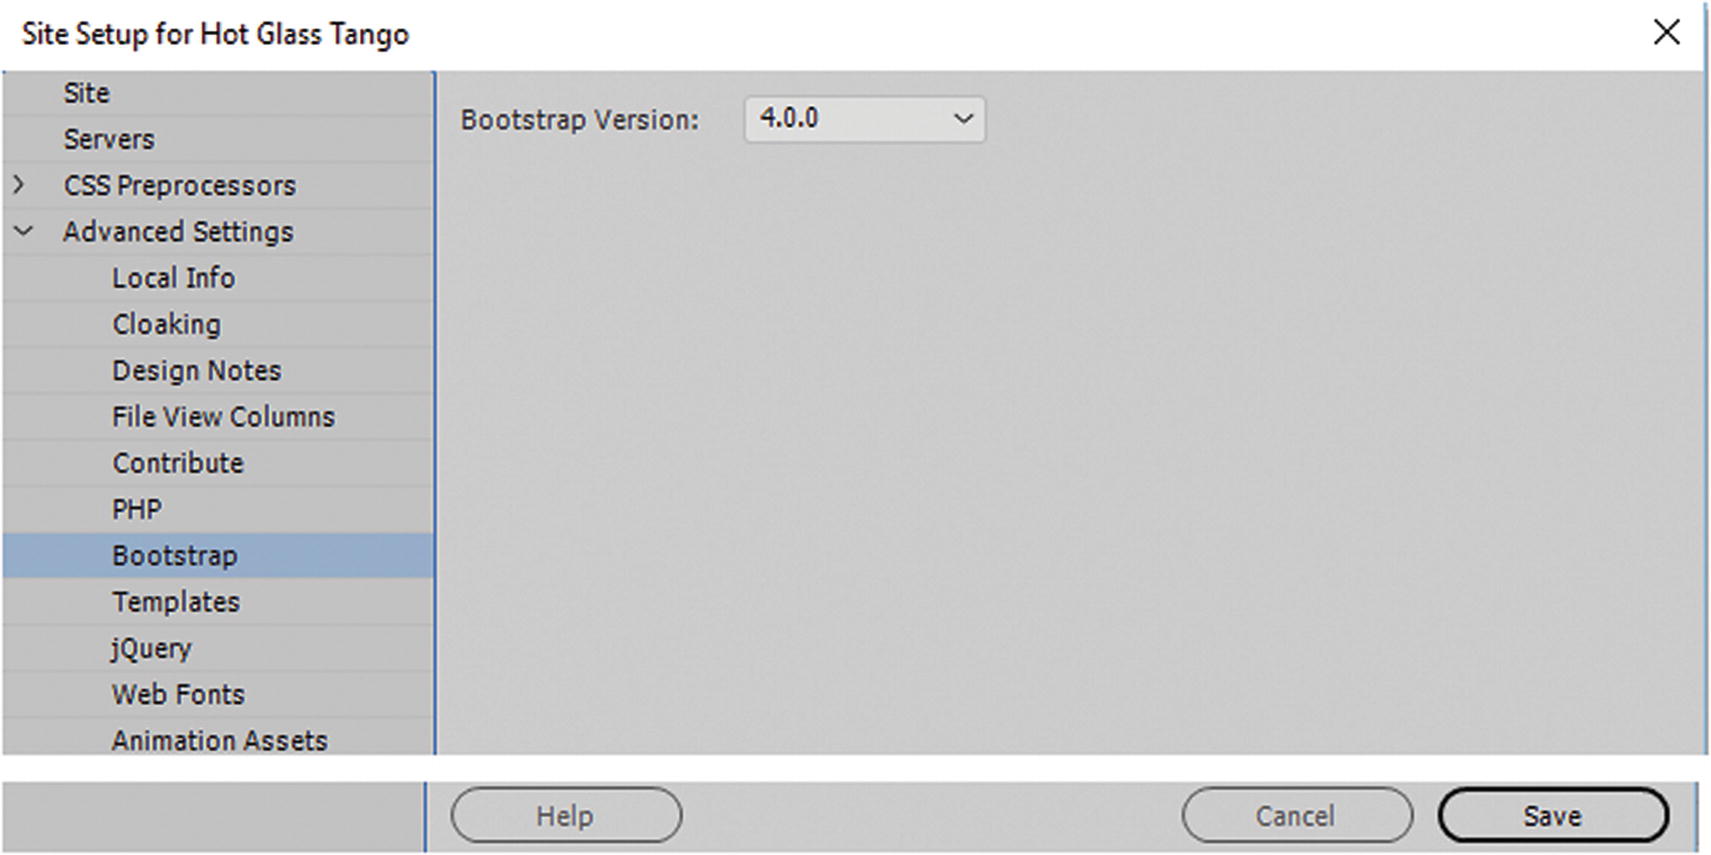
Advanced Settings tab
You learn a bit more about Bootstrap in Chapter 35. It is a free front-end framework that comes with Dreamweaver to create responsive designs while working with HTML, CSS, and various adaptable JavaScript (jQuery) plug-ins. Version 4.4.0 is supported by version IE 10 and higher.
You may want to visit the Advanced Settings tab if you must make further adjustments to your own site, but for now click Save to exit the dialog box.
Your folder should now be set up and appear in the Files panel.

Save your file as an HTML document
If you are unsure if you are in the Site Root folder, click the Site Root button; otherwise, locate the folder within the site root that you want to save the file into.
Once done, click Save.
Files Panel
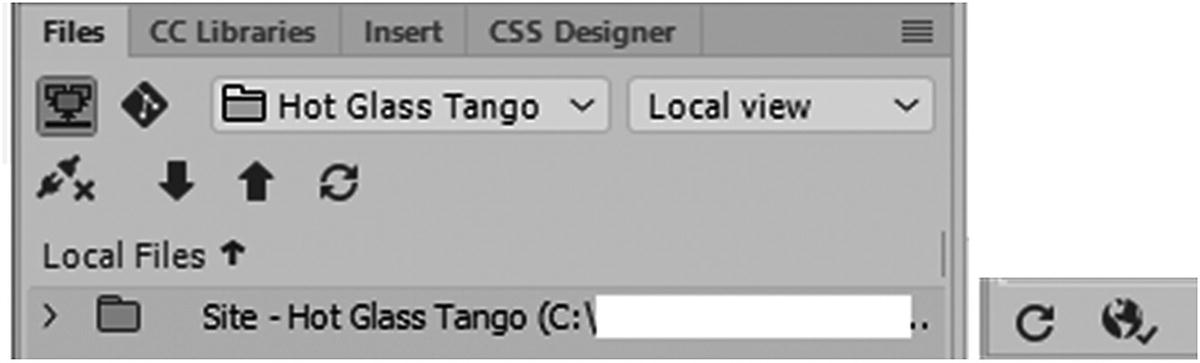
Files panel and Refresh icon to see alterations
However, if a file is moved outside of Dreamweaver, it may not update links if there are any changes. The best practice is to update links within Dreamweaver or move files within the Files panel rather than your computer’s file folder. That way, Dreamweaver can keep track and alert you to changes to links.
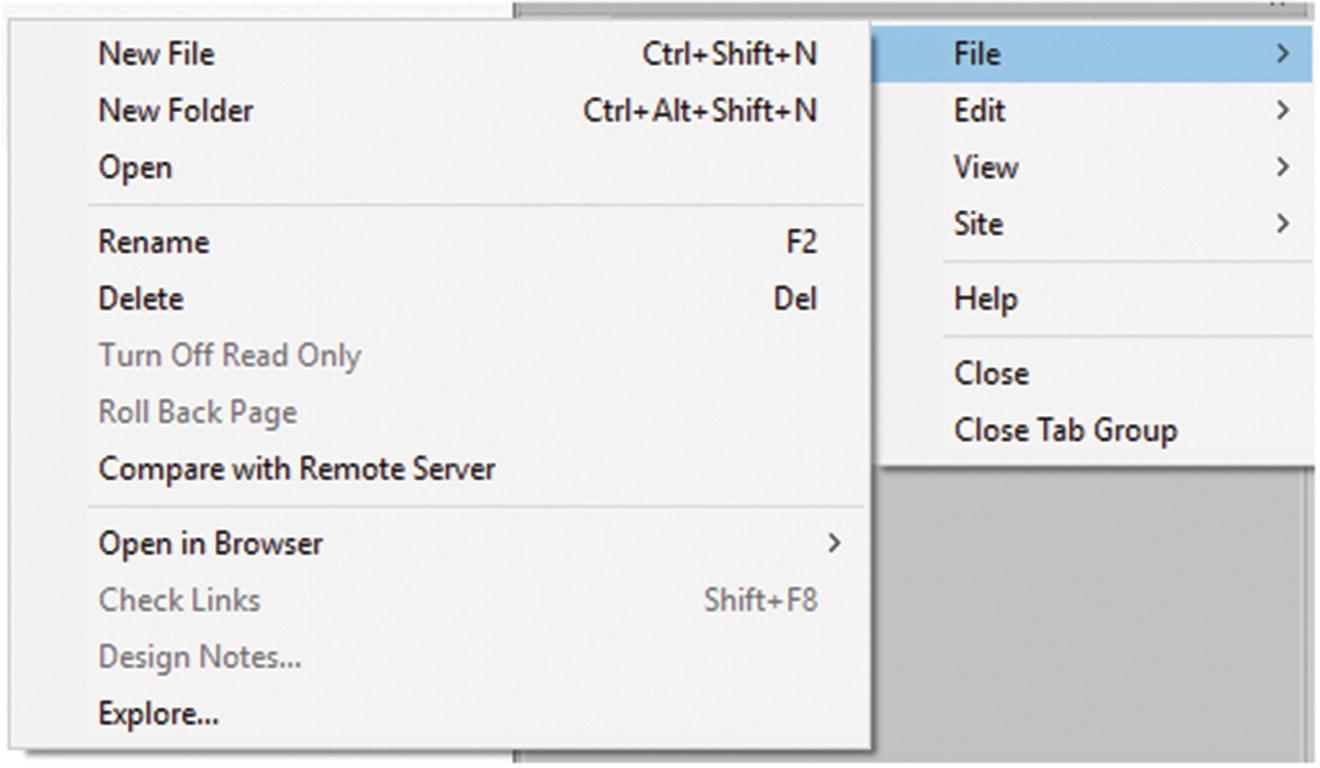
Options in the Files panel menu
Just remember that when you delete a file in the Files panel, it is permanently deleted outside of Dreamweaver as well.
Fixing Errors

Detecting errors in an HTML5 file

Dreamweaver gives you a hint when in detects an HTML5 error within the open document
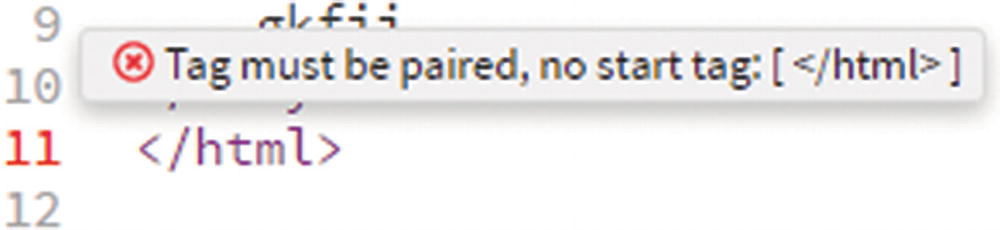
In Code view, Dreamweaver shows where the error is located
When you have corrected any errors, save the file, and the icon returns to a green check. Errors are removed from the Output panel as well.
You look at other ways to further validate files in the site in Chapter 38. For now, you can File ➤ Close this practice file. File ➤ Exit Dreamweaver or leave the program open for the next chapter.
Summary
In this chapter, you looked at some of the differences between Dreamweaver and the previously used Muse. You saw how different Adobe platforms or your clients’ files can work with Dreamweaver. You then set up your workspace in Dreamweaver, created a basic HTML5 document, imported a site, and saved your file. You also saw how to use the Files panel to organize your work. Lastly, you looked at how Dreamweaver detects errors in a file and helps you correct them.
In the next chapter, you start adding graphics to the Hot Glass Tango site.