
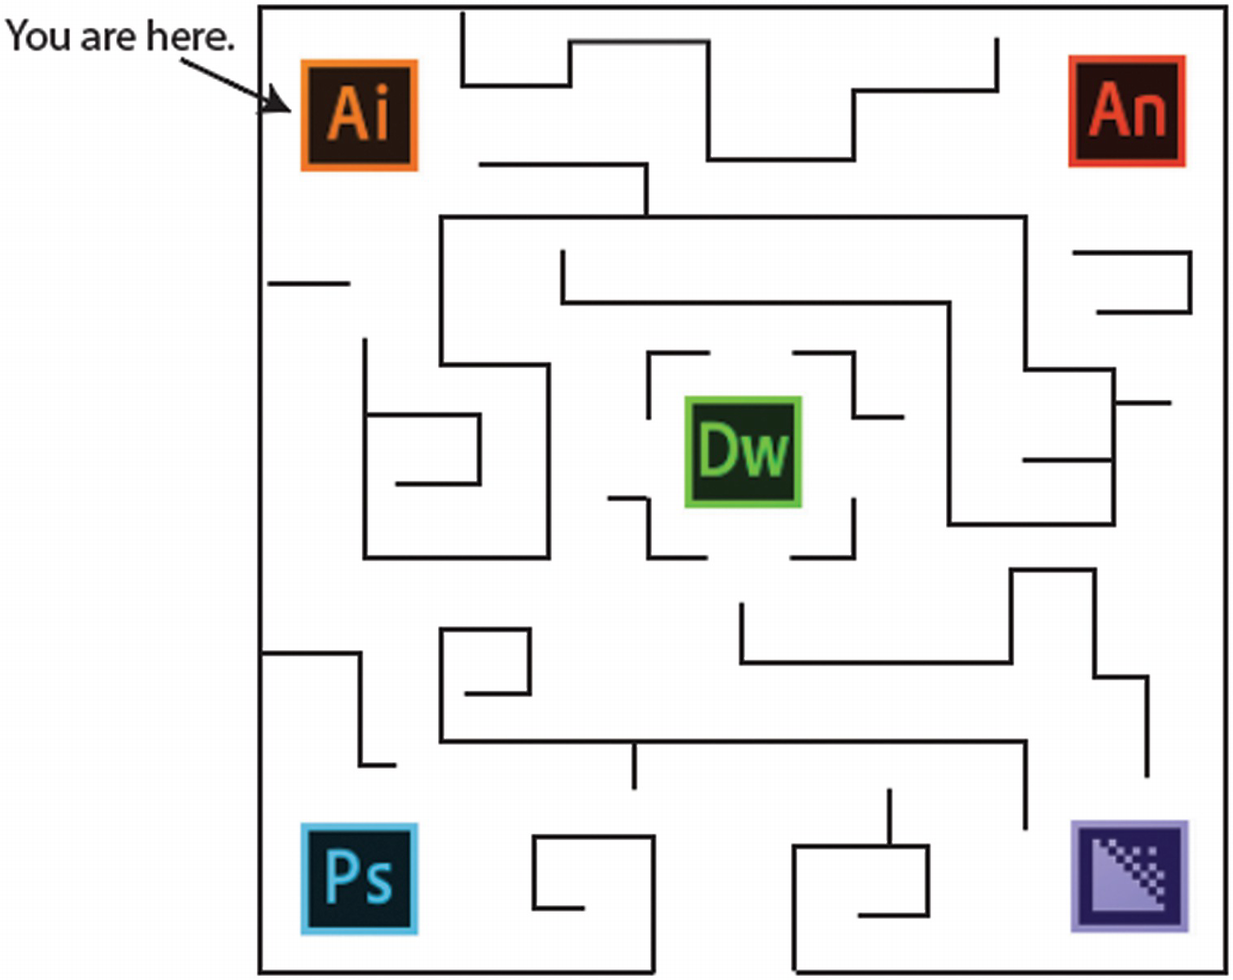
After working with Photoshop, you now begin exploring Illustrator CC
Note
This chapter does not have any actual projects; however, you can use the files in the Chapter 10 folder to practice opening and viewing for this lesson. They are at https://github.com/Apress/graphics-multimedia-web-adobe-creative-cloud .
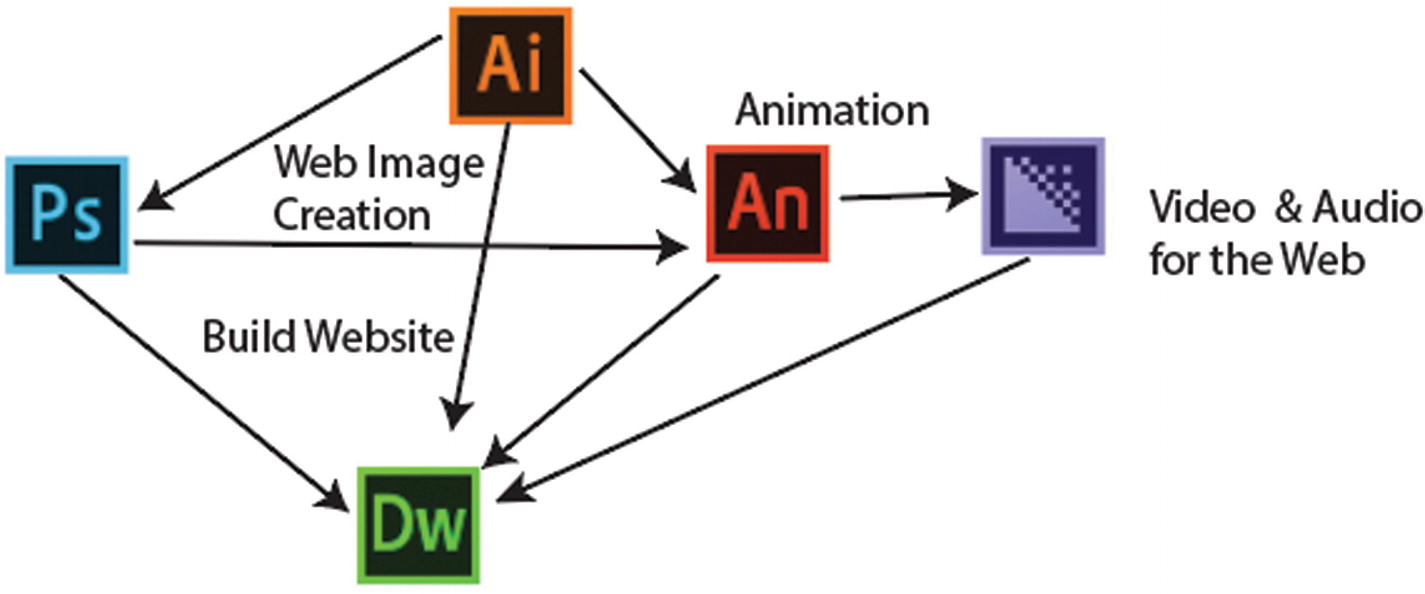
Graphics that are drawn in Illustrator can be exported into other Adobe programs like Photoshop, Dreamweaver, and Animate so that you can continue your multimedia project
In this chapter, you begin by setting up your workspace. If you have never used Illustrator, I recommend reading a book like Adobe Illustrator CC Classroom in a Book by Brian Wood (Adobe Press, 2017), where you get a basic overview of the program and many of its tools. You can also check out Illustrator’s Learn panel, which has step-by-step tutorials on various projects. In Part 3, you work with graphics that are already created and then save them for the web.
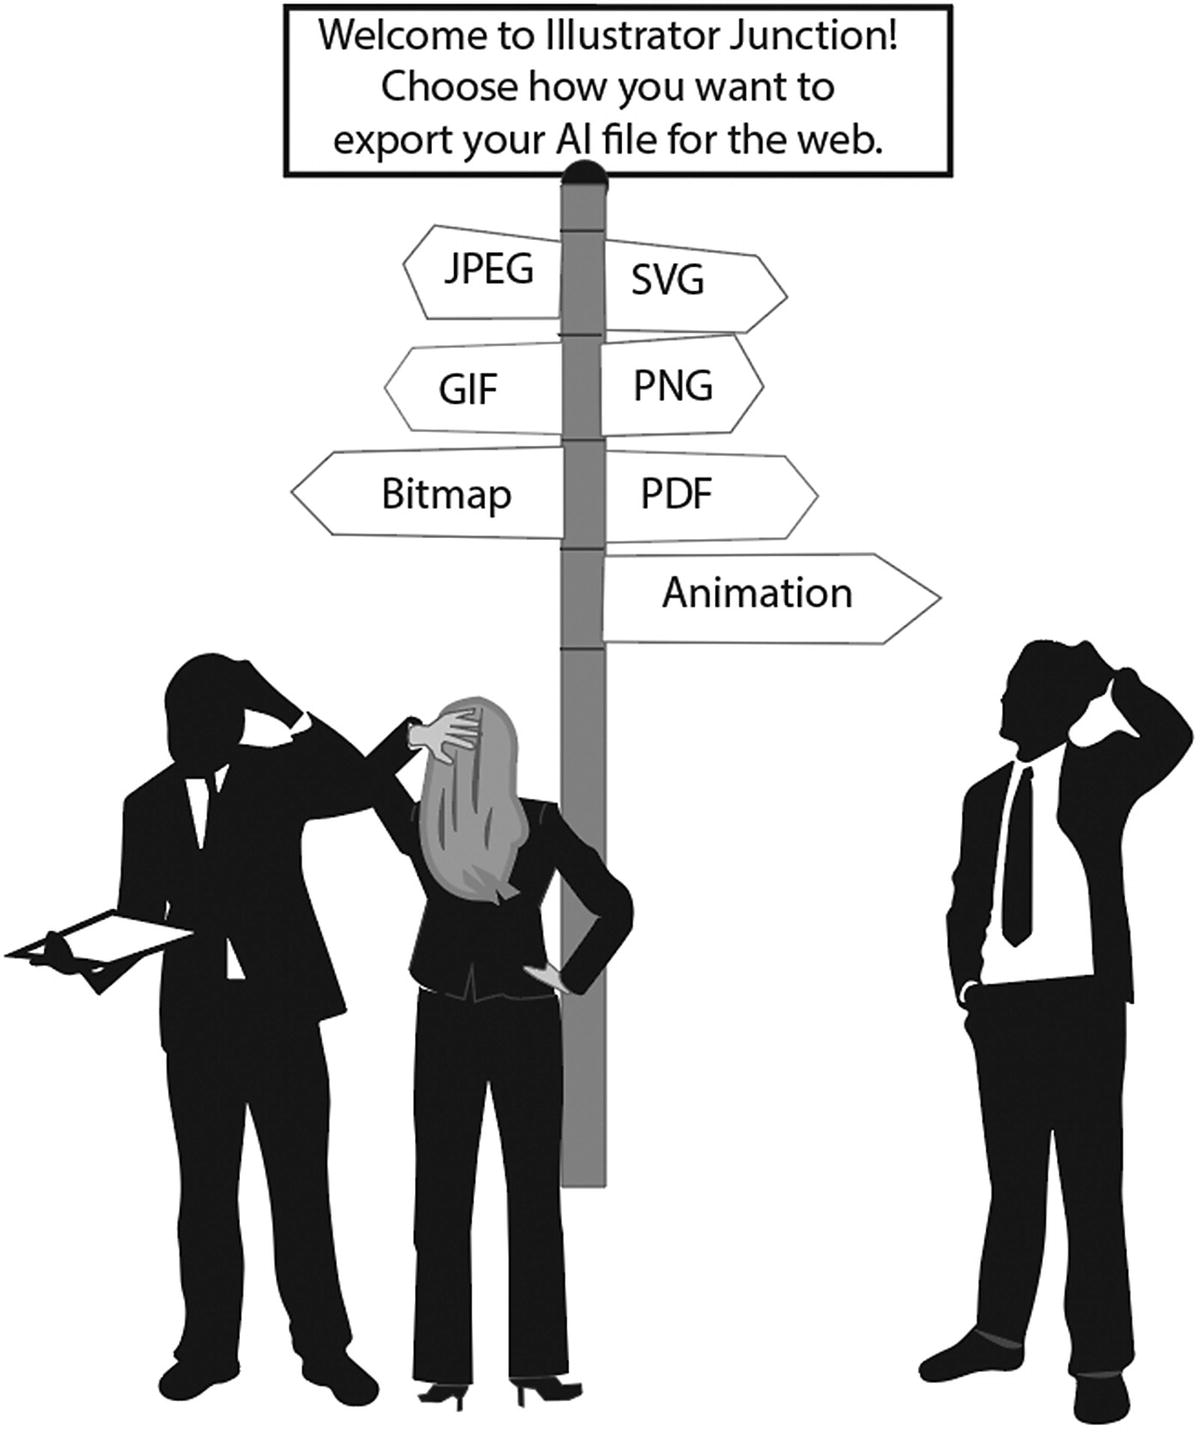
Here you can see a junction or point of decision within Illustrator. What is the correct type of file format to use for a specific project?
Working with RAW and Layered Files (AI, EPS, PDF)
Click the Install button when you want to install an Adobe program like Illustrator from the Creative Cloud
Note
Before you install an Adobe program, make sure that your computer meets the system requirements; otherwise, the installation may fail. For more information, see https://helpx.adobe.com/illustrator/system-requirements.html .

Click Open to open the Illustrator program
Once Illustrator CC opens, you can set up your workspace so that yours appears the same as mine.

Choose Web in the Workspace tab in in Illustrator
The Essentials Classic workspace offers all tool, while web limits the amount of tools
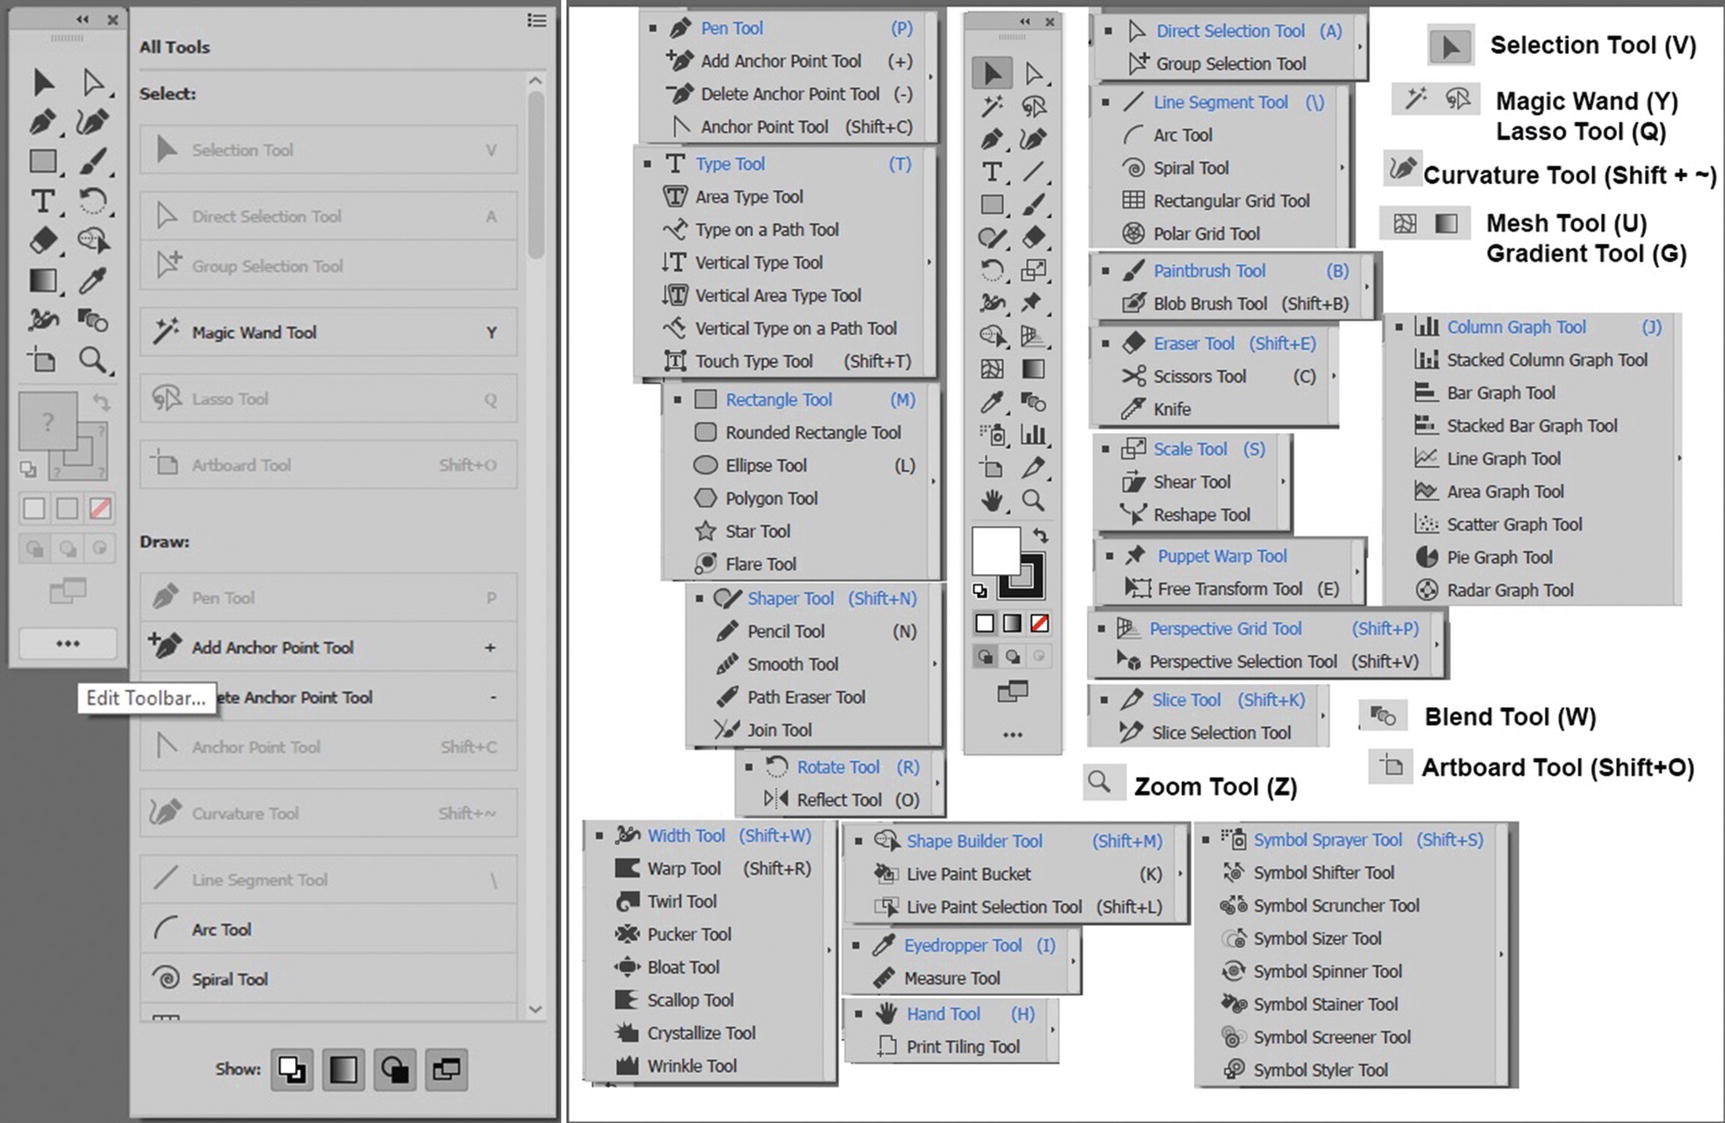
As seen in Figure 10-7 Photoshop’s and Illustrator’s Tools panels look similar, you can customize the Illustrator Tools panel as you did with Photoshop, this time using the (...) edit tool bar icon at the bottom of the panel.
In Part 3, you look at some of the panels available in the Automation workspace. If you prefer another workspace for your web design workflow, you can always choose a different one or create your own custom workspace (New Workspace), as seen in Figure 10-6.
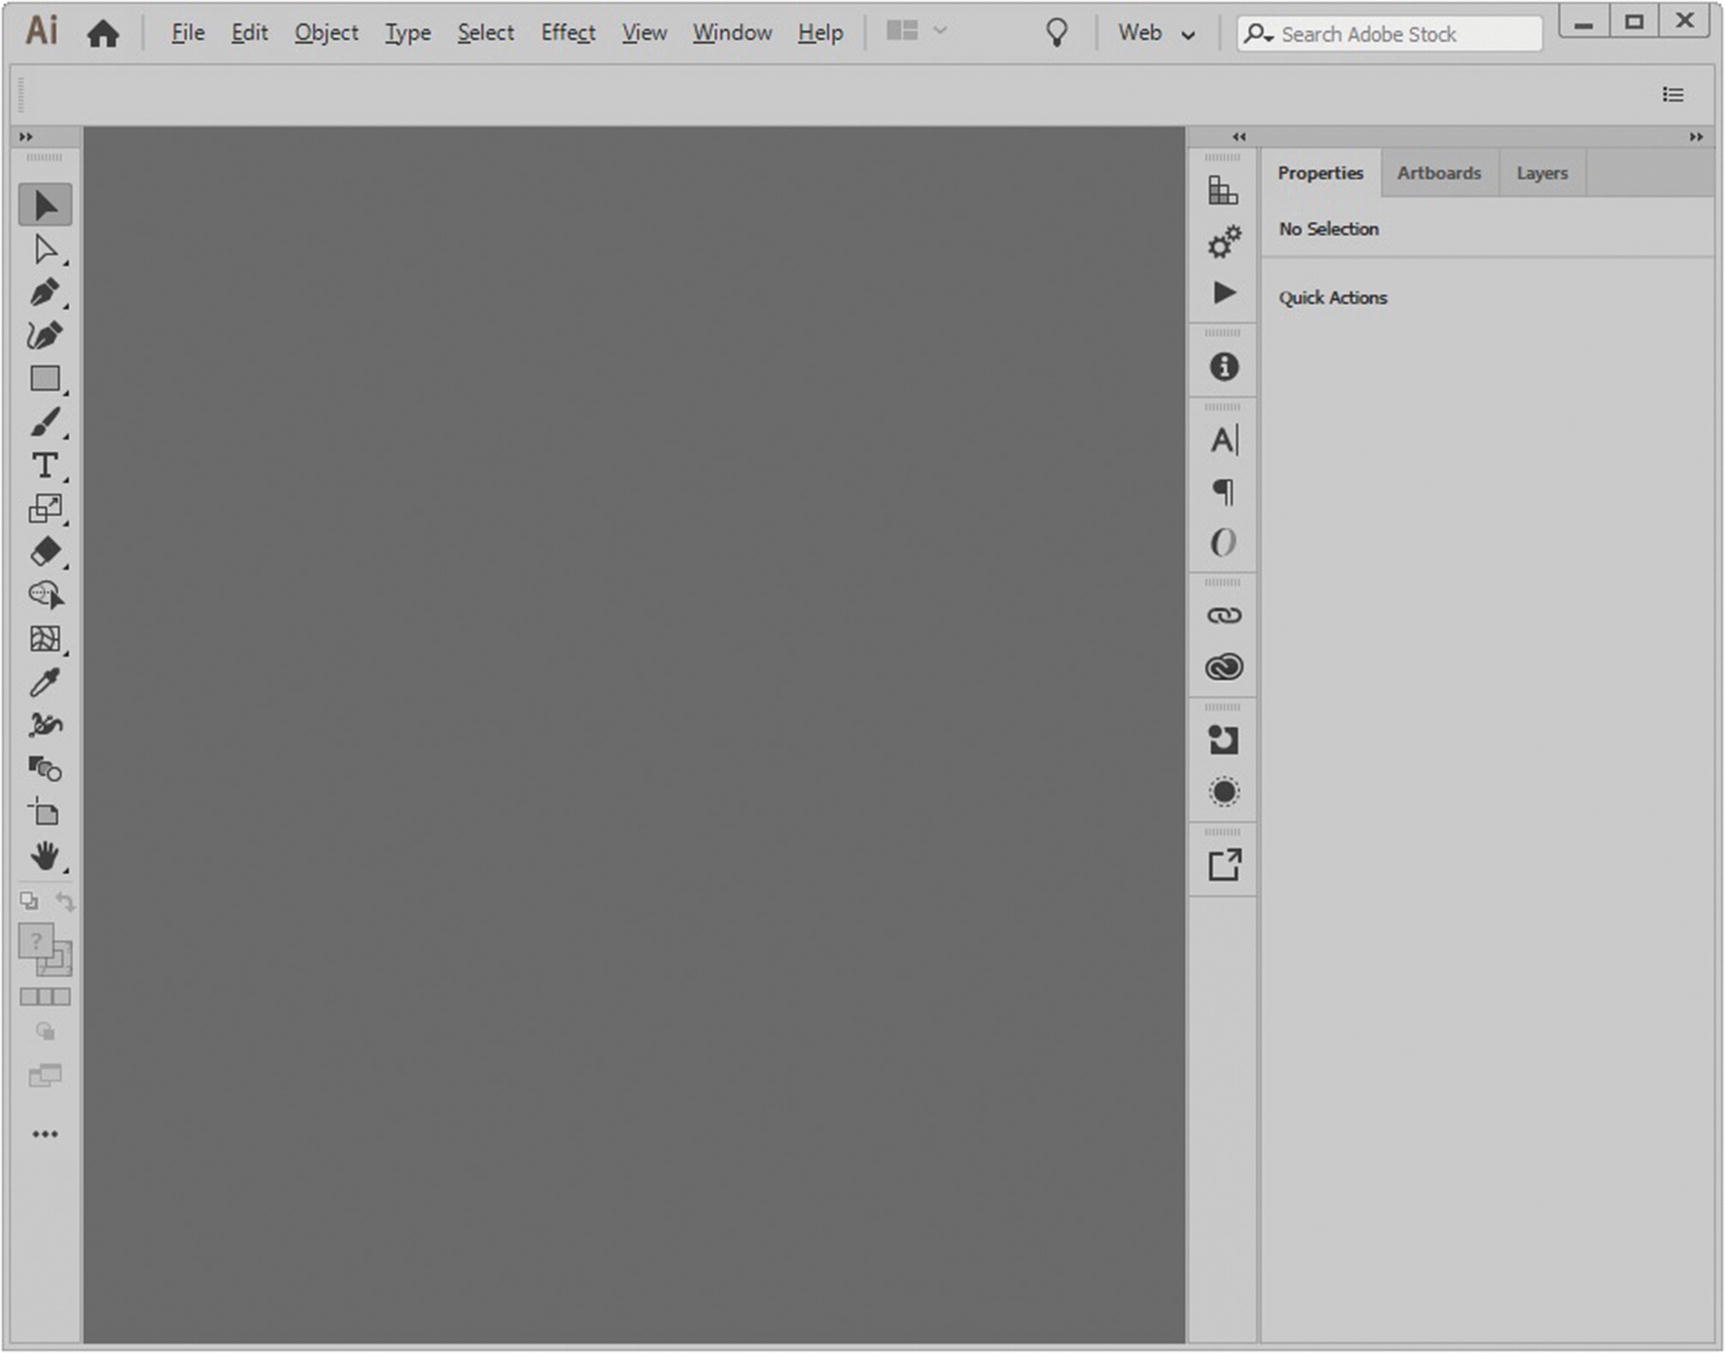
The Web workspace
If you prefer that your Tools panel is two columns, make sure to drag the panel out from the left to undock it, and then click the double arrows in the upper part of the Tools panel to make it two columns, as seen in Figure 10-7.
Creating a New File
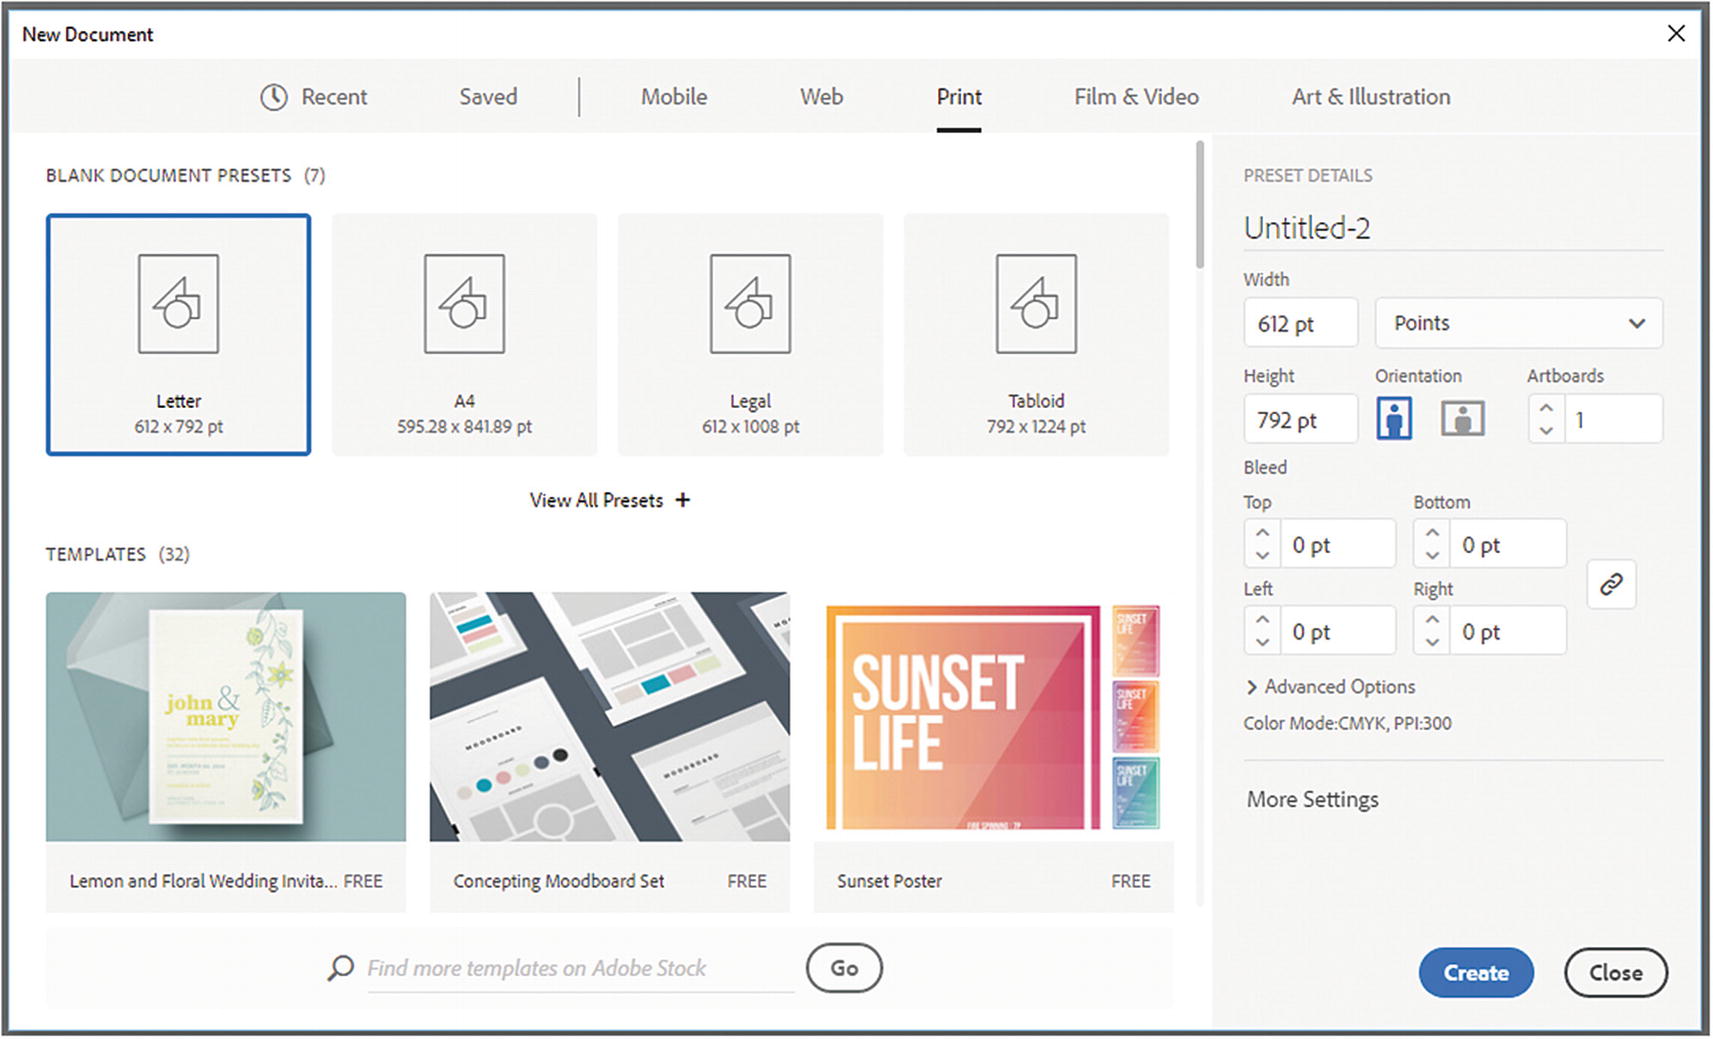
The New Document dialog box

When working on illustrations for the web, make sure that the color mode is already set to RGB color
Note
If you are not sure about size of the items that you are planning to create for the web, you can always keep your file at 300 pixels/inch (PPI). Unlike the raster images that you created in Photoshop, the graphics in Illustrator are vector; so if you keep the original AI or EPS file, the images will never degrade and they can be scaled to any size; however, if you know the exact size of your layout, such as when you are building a mockup for a website, use the Web tab to autoset the resolution to 72 pixels/inch (PPI), which is generally the acceptable resolution for most images on the web. Then, click the Create button, as seen in Figure 10-11. Whatever setting you chose, your new file will now open.
Use the Web tab in the New Document dialog box to choose a preset layout, and then click Create to create a new file
Screen (72 ppi)
Medium (150 ppi)
High (300 ppi)

The More Settings button in the New Document dialog box
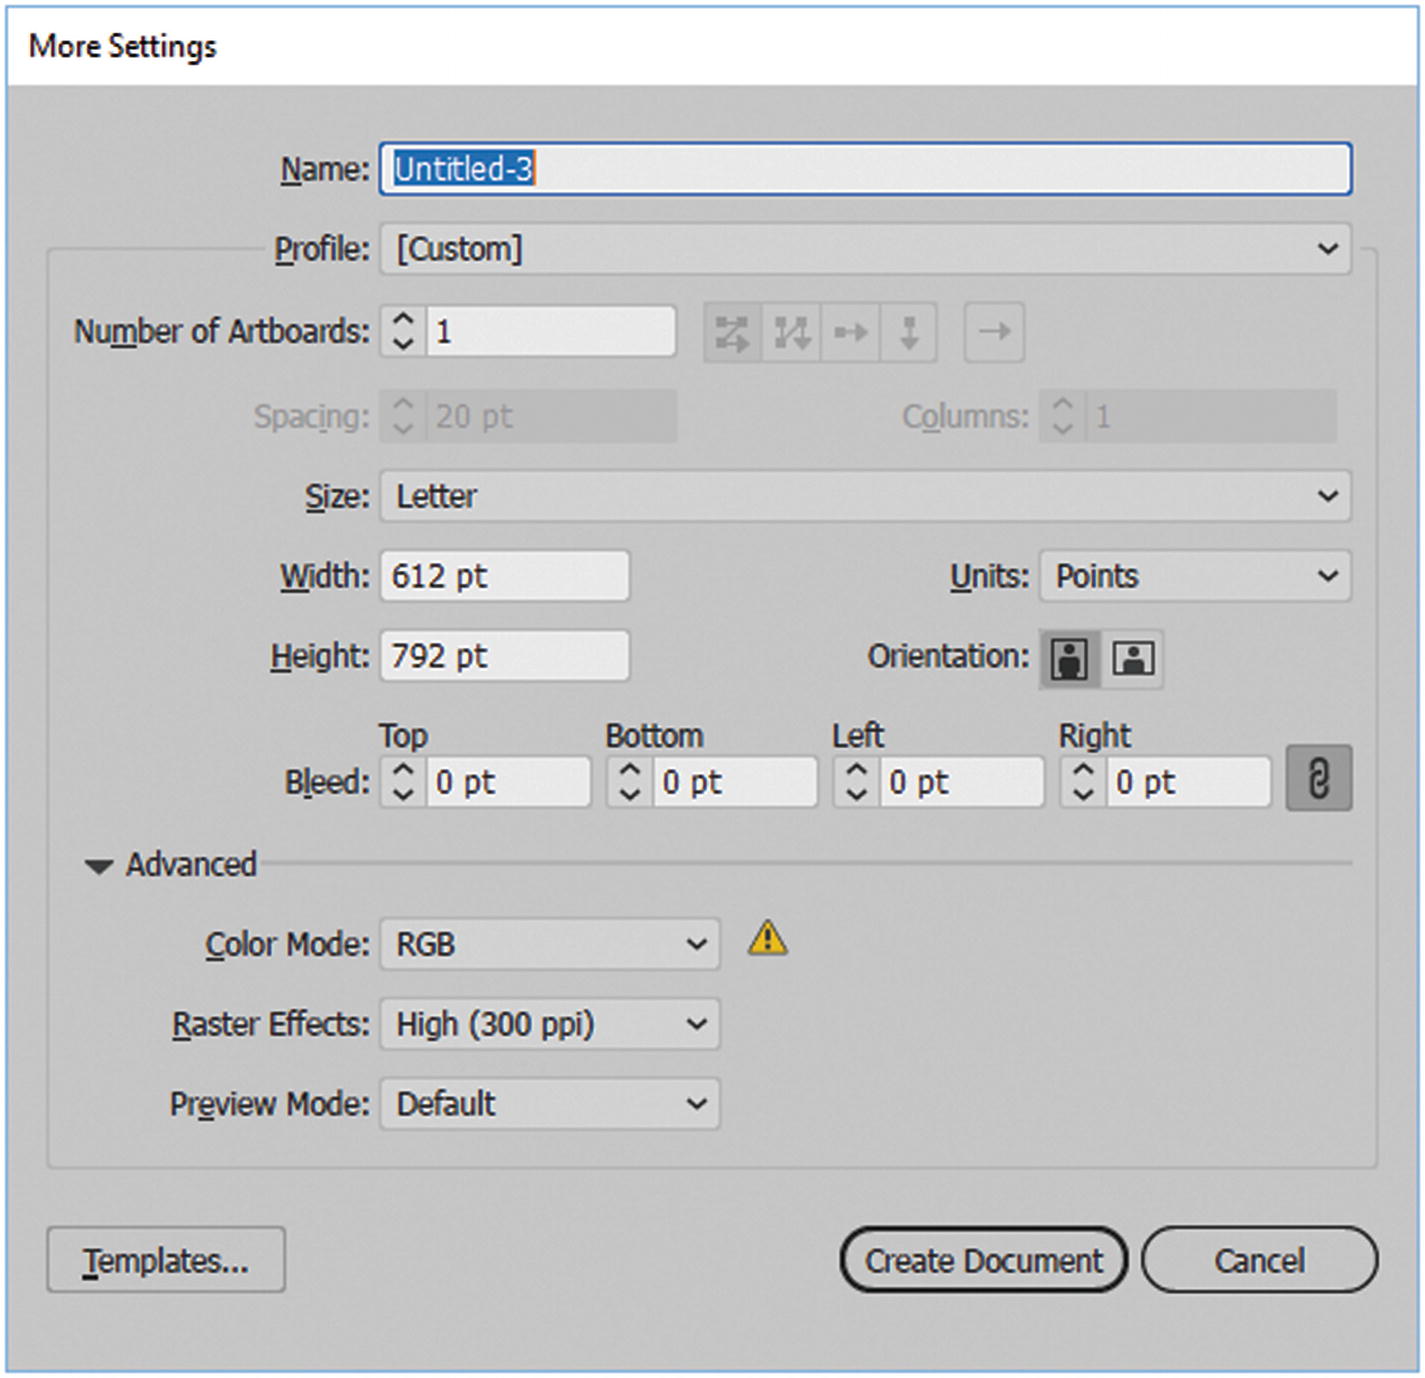
The More Settings dialog box
Here, most of the settings are like what you saw in Figure 10-9, but you can also adjust bleed, access templates, and adjust artboard spacing and columns. When you are done, either click Create Document or click Cancel to return to the New Document dialog box. Clicking Create Document creates a new blank Illustrator file.
You can always create your files directly in Illustrator CC, or you may have collected or acquired your original images in other file formats that you want to place within your new document so that you can trace the images. Others you can open directly in Illustrator. I have listed some you will likely encounter. In the main menu, go to File ➤ Open or to File ➤ Place.
RAW File Types
The following are raster images that may have been created in a program like Photoshop. You may want to use them for tracing the graphic (Image Trace). You may want to use the pen tool. But ultimately, if you continue to work with illustrated files in Illustrator, you have to save them in another vector format.
Bitmap (.bmp) : This file is often created when you scan a file with your office scanner. It is common to Windows-compatible computers. While it can be used on the web, the file size is often quite large, so it’s best to save in a file format that is better suited for the web.
TIFF (.tif,.tiff) : Often graphic artists save a final single-layered piece of artwork as a TIFF file, which are considered images that do not lose quality “lossless” as copies are saved from them, and they retain their original size; no compression of data occurs.
Photoshop PSD (.psd, .pdd) : When creating your graphics, you may save your files in multiple layers. Photoshop PSD files allow you to retain layers, effects, and masks. After you save and close a file, you can always come back to continue to edit until you are ready to export a copy to the web.
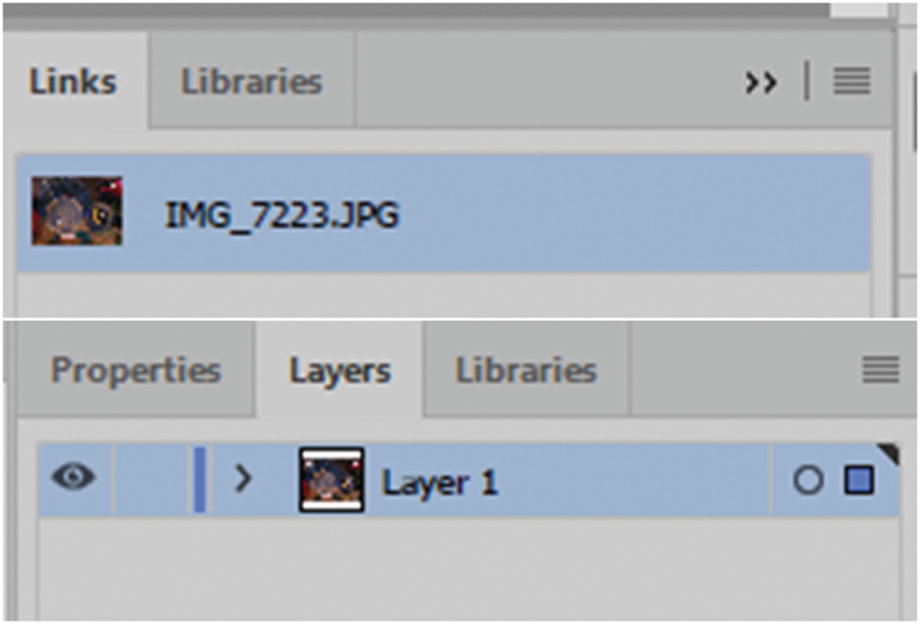
You can check which raster images are linked in the Links panel and where they are in the Layers panel
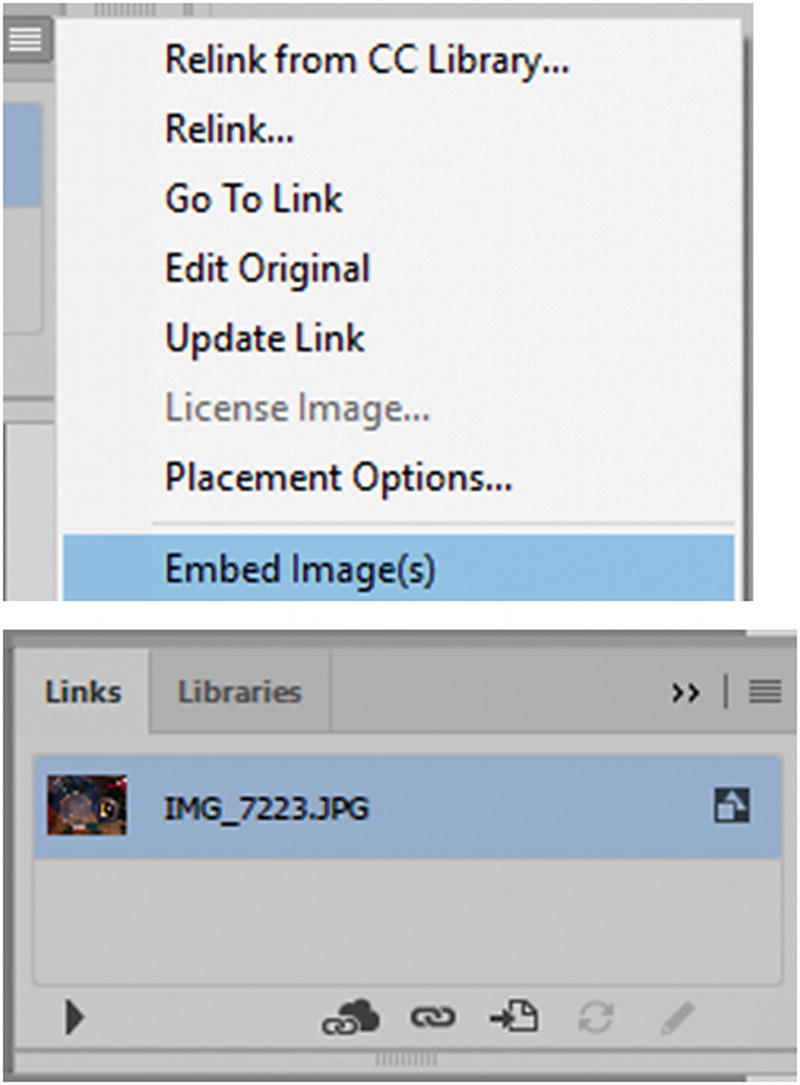
You can check which raster images are linked or embeded in the Links panel
To unembed the image right away, choose Edit ➤ Undo or from the Links menu (Unembed…) so that you can save the image as a PSD file or Tiff in a folder. The recreated image will now return to being a linked file and is now separate and in no way linked to the original you first placed.
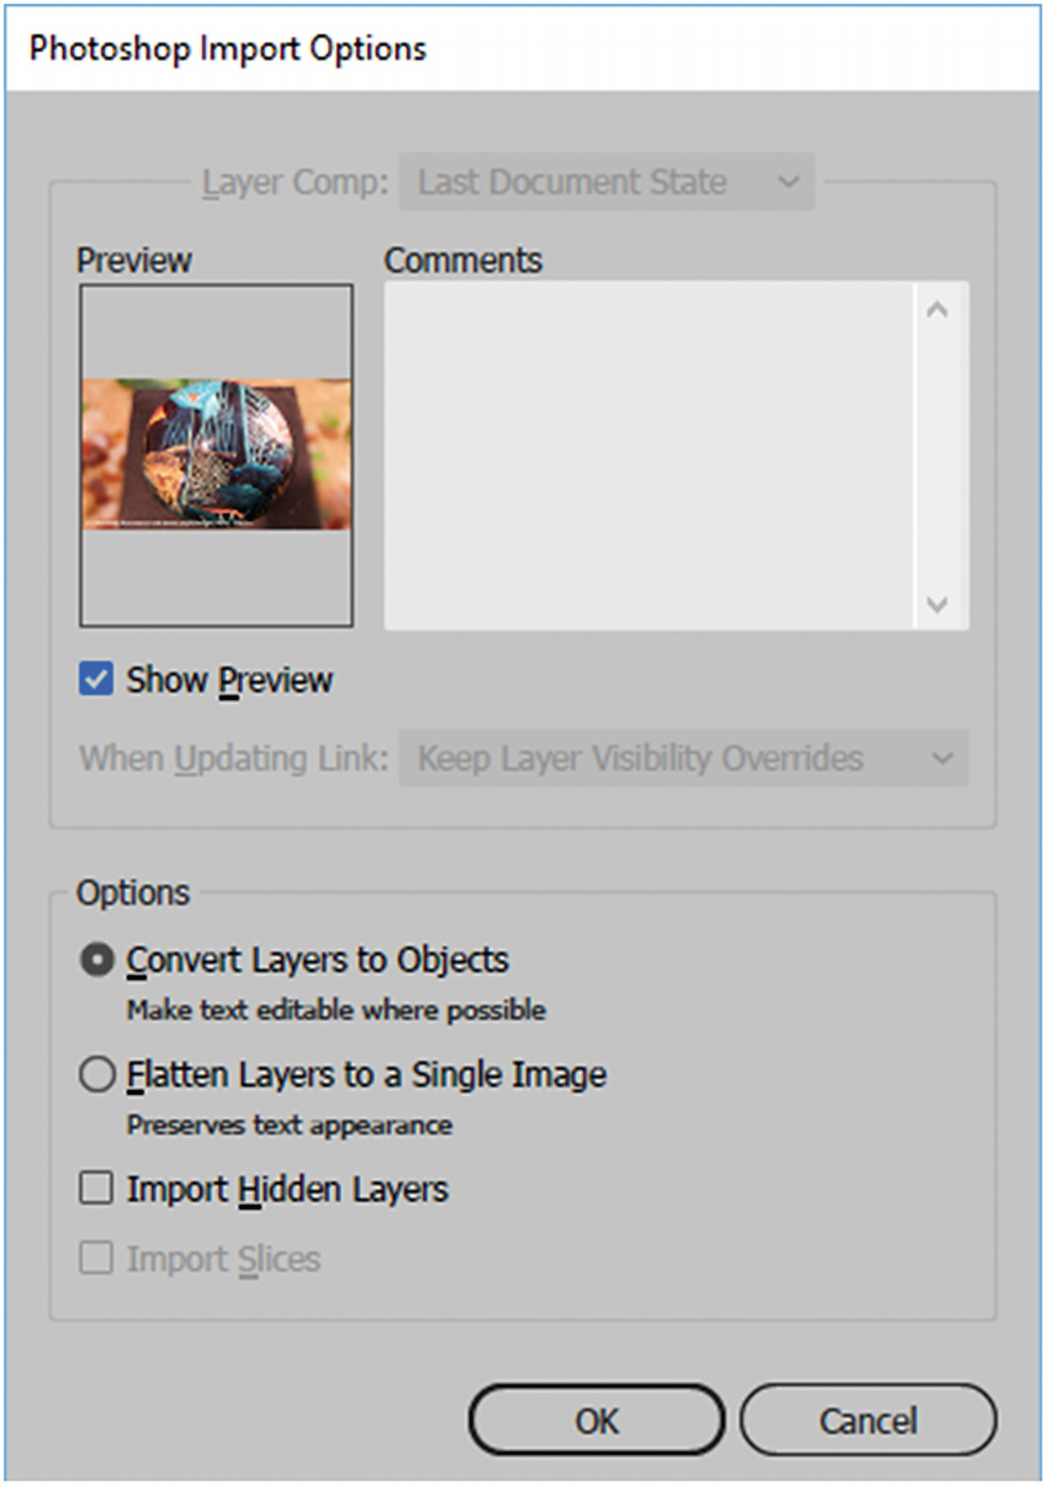
Example of what options are available if you import a Photoshop file
Convert Layers to Objects: This is good if you want to keep text editable
Flatten to a Single Image: Preserves text appearance
Import Hidden Layers and Import Slices: If there are any in the original PSD
Make sure that you are working on a backup file so that you do not alter the original in some way.
In other instances, if you open a JPEG, no dialog box will appear, and the file is opened directly in Illustrator. That is why the File ➤ Place option may be best way to persevere the original artwork. It all depends on what you are trying to accomplish.
Adobe Illustrator (.ai, .ait) : A proprietary file format developed by Adobe Systems for representing single-page vector-based drawings in the EPS and PDF formats. The .ai filename extension is used by Adobe Illustrator. While it can contain only one page, it can have multiple artboards. When it is saved with an .ait extension, it is known as an Adobe Illustrator template and can be used as a starting point for files that have certain similar designs (e.g., business cards, brochures, packaging, and logos). This format preserves various layers, filters, and effects that are applied to graphics within the file, and you can close the file and return to editing it further.
Adobe PDF (.pdf) : The Portable Document Format was developed by Adobe Systems, and it is read by Adobe Acrobat Reader. These files can contain raster and vector images and text. You can open these files in Illustrator to copy out vector graphics, but be aware that due to compression, things like layer order or the integrity of the text may be altered or converted to outlines. Once you have copied the graphics that you want from a PDF file, it is best to save the new file as an AI or EPS file so that the integrity of the graphics and text are maintained for future projects.
Encapsulated Postscript and Illustrator EPS (.eps, .epsf, .ps): The EPS format preserves many of the graphic elements that you can create with Adobe Illustrator, which means that EPS files can be reopened and edited as Illustrator files (AI). Because EPS files are based on the PostScript language, they can contain both vector and bitmap graphics. If your artwork contains multiple artboards, these artboards are preserved in the EPS format. However, be aware that depending on what types of filters and effects were used to create the file, the EPS file size may be smaller or larger than an AI file when saved. Also, older EPS files do not support some Illustrator features, so it might be best to save any artwork you copy from an EPS as an AI file. For more information on how to save this type of artwork, visit https://helpx.adobe.com/illustrator/using/saving-artwork.html .
Enhanced metafile (.emf) : Some CD and DVDs contain vector clip art in this format. Widely used by Windows applications as an interchange format for exporting vector graphics data. Illustrator may rasterize some vector data when exporting artwork to EMF format.
Windows metafile (.wmf) : Some CD/DVDs that contain vector clip art in this format. An intermediate exchange format for 16-bit Windows applications. The WMF format is supported by almost all Windows drawing and layout programs; however, it has limited vector graphics support, and wherever possible, EMF format should be used in place of WMF format or saved as an EPS or AI file when working on your project.
Note
Illustrator can open many other file formats, including AutoCAD and SVG files that can contain vector shapes, but unlike Photoshop, it cannot open video files. Refer to Figure 10-17.
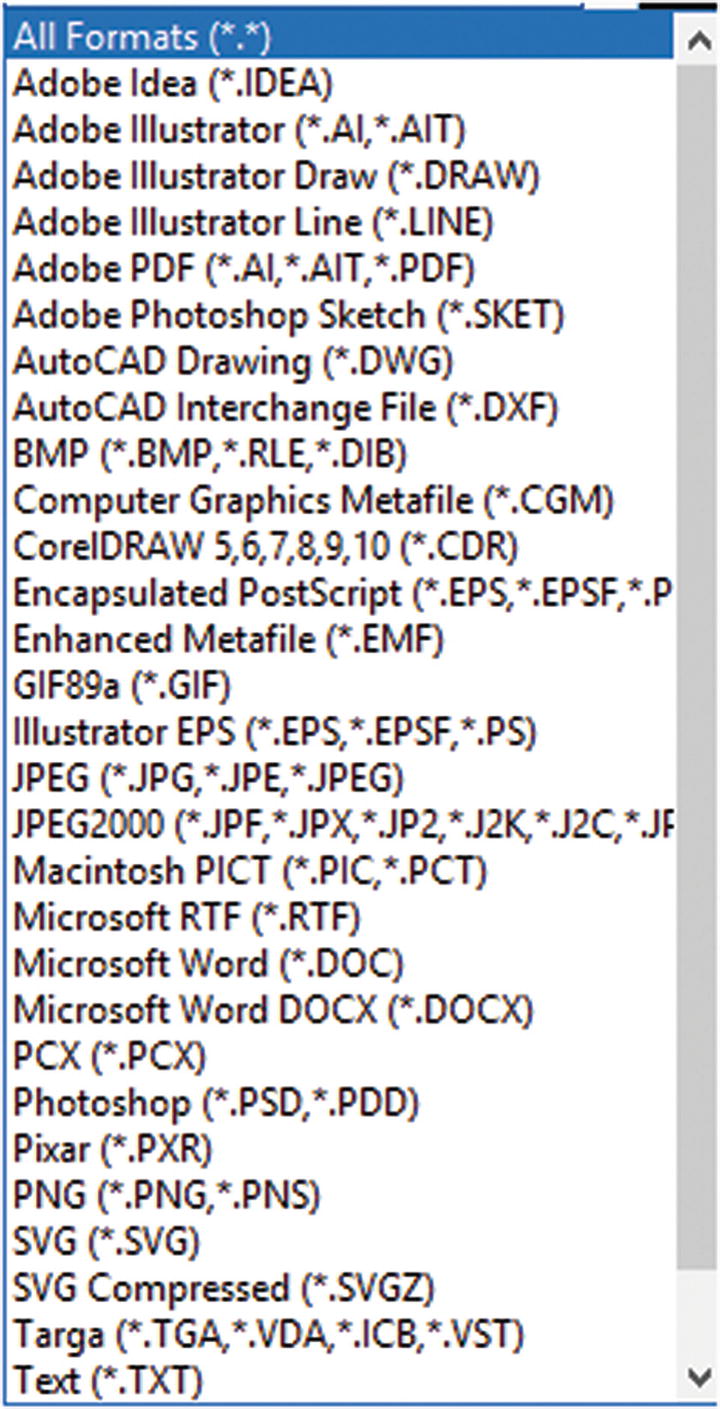
There are many file formats that Illustrator can open or link to
For more information on other formats you might encounter, visit https://helpx.adobe.com/illustrator/kb/supported-file-formats-illustrator.html .
When you are done, you can save any open file as an AI or EPS for now. Then select File ➤ Close and File ➤ Exit to leave Illustrator CC, or you can keep Illustrator and the files open for the next chapter.
Summary
In this chapter, you started to explore Illustrator CC and some of the file formats that you can work with or save your artwork as. In the next chapter, you look at some of the color mode choices and determine which ones are correct for your web design projects.