
In this chapter, you look at how JavaScript is used with images and <div> tags to add further movement to some elements where CSS may not be enough.
Note
This chapter does not have any actual projects; however, you can use the files in the Part 6 folder to practice opening and viewing for this lesson. They are at https://github.com/Apress/graphics-multimedia-web-adobe-creative-cloud .
As you have seen, you can create action and movement with the new CSS3 features, such as animation. CSS can’t do everything just yet—for some things you need JavaScript, especially if you must target older browsers that do not accept CSS3. JavaScript is used to compensate for some types of movement or styling that older browsers may not recognize.
In combination with HTML, it is one of the easiest programing languages to learn, and it can range in skill level from basic to complex. JavaScript code should not be confused with Java code, which is for programmers of applications. JavaScript only requires the browser to operate, while Java requires both the browser and a virtual machine (software and hardware) to compile.
JavaScript is an event-driven language, which means that it responds to actions taken by the user. It programs the behavior of webpages.
Object + Event = Action
- Inline within a tag in the <body><button type="button" onclick="myFunction()">Try it</button>
- As separate section within the <body><script>document.getElementById("demo").innerHTML = "My First JavaScript";</script>
- Into the <head> tag as internal JavaScript<script>function myFunction() {document.getElementById("demo").innerHTML = "Paragraph changed.";}</script>
- An external file (myfile.js) that is linked in the <head> with a link to a script within your site or on someone else’s site if you are using their JavaScript Library.<script src="myScript.js"></script><script src="https://www.somesite.com/javacsripts/myScript.js"></script>
Note
The script within the external JavaScript file does not reside inside <script> tags. Also, you should not link to someone else’s external script from a website, unless you have permission to do so.
tag: (getElementsByTagName)
ID: (document.getElementById)
class: (getElementsByClassName)
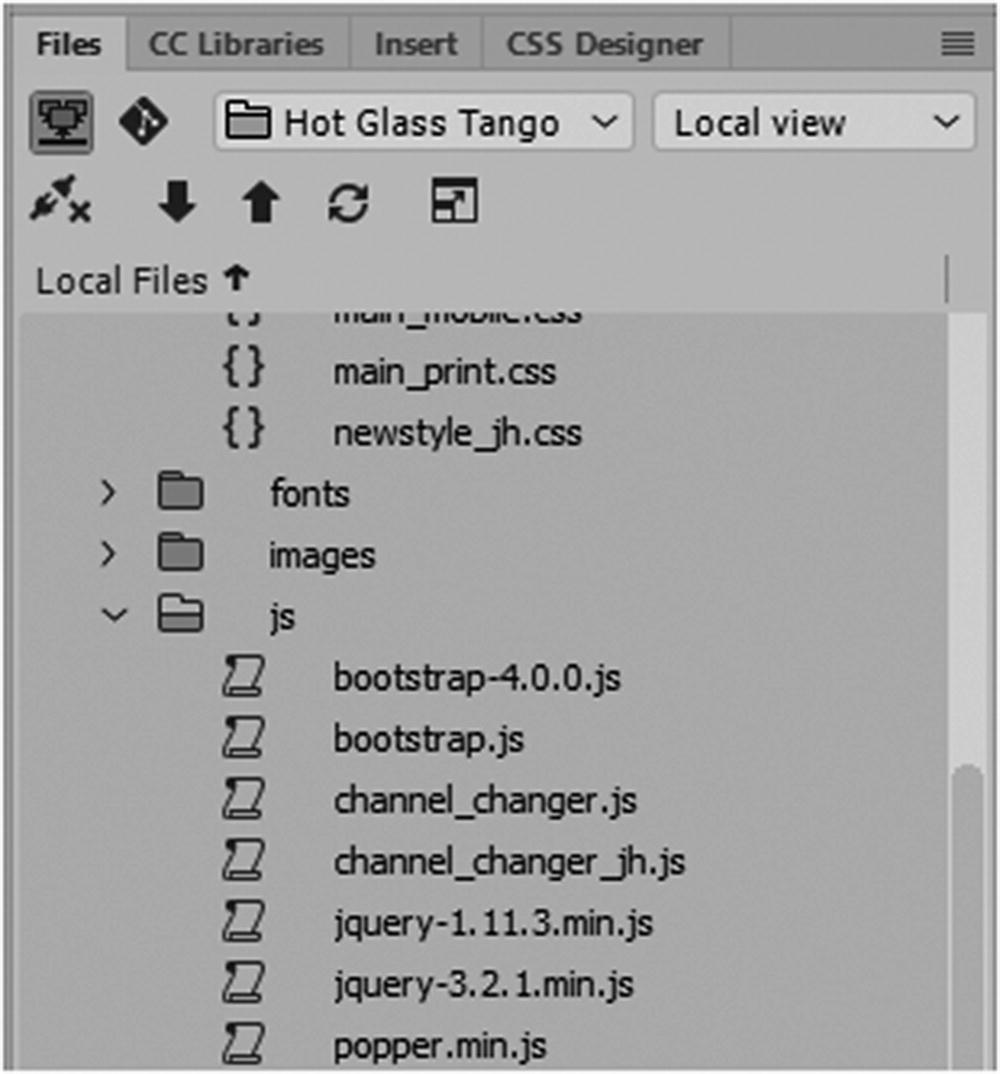
Adding JavaScript to your root folder
Regardless, you have to add some connecting JavaScript into the <body> area of the file. Since JavaScript is difficult to learn at first, it is good to look at examples of how others write the code, and then if you find a feature you like, try to replicate the order of where the <scripts> tags are placed. Overtime, as you practice, you learn to modify your own code and create your own <scripts> to suit your needs.
As with CSS, you can find many great starting examples at W3Schools ( www.w3schools.com/js/default.asp ), which you can copy into Dreamweaver’s code editor to modify.
It takes time to learn JavaScript and all its features. If you are new to JavaScript, don’t expect to learn it all in one day. Reading the tutorials or finding a book on the basics is very useful in getting started.
In this book, I point out a few basic settings for working with images, which you can use in Dreamweaver to get started.
Creating a New JavaScript File
Create a new external JavaScript file
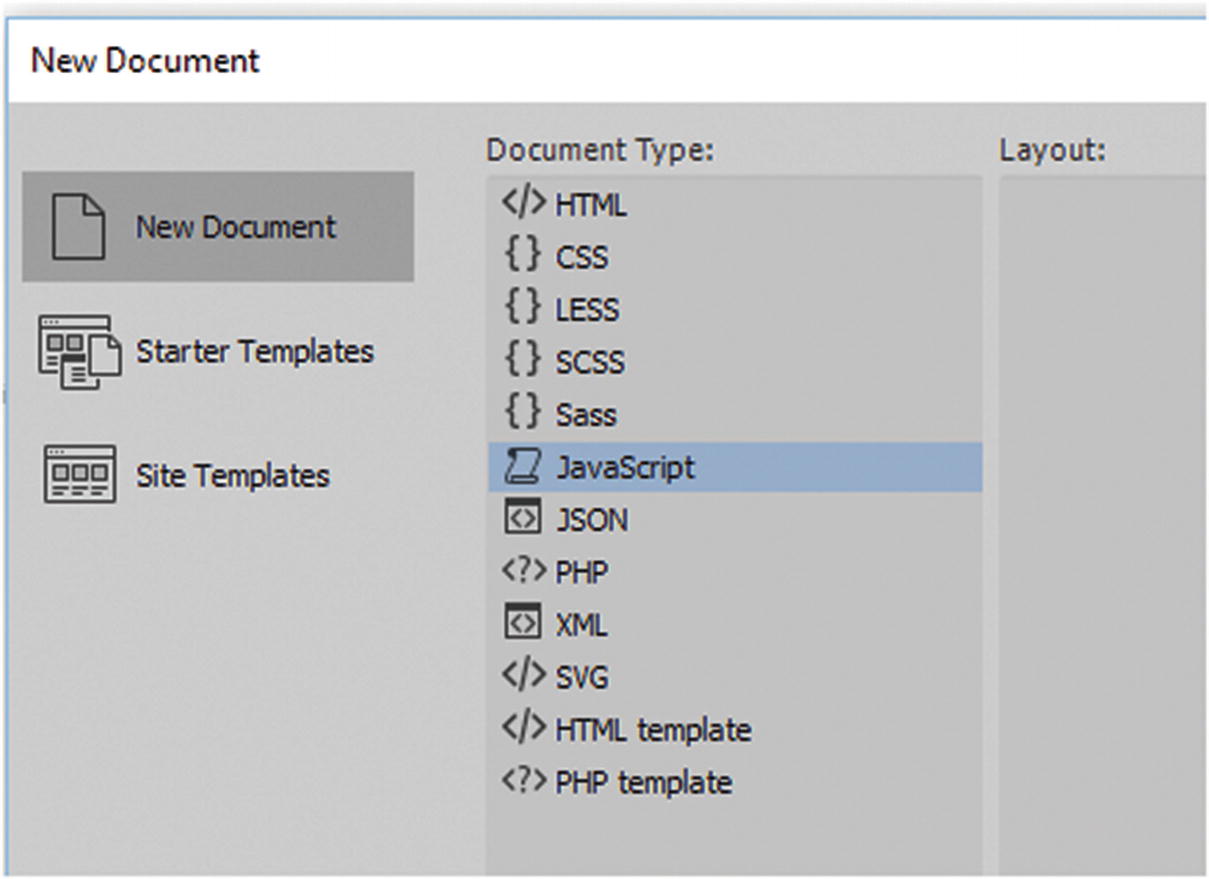
Create a new JavaScript file

Click Create to create a new JavaScript file

A new external JavaScript file
You would then copy your JavaScript here and save your file inside of your site’s root directory folder.
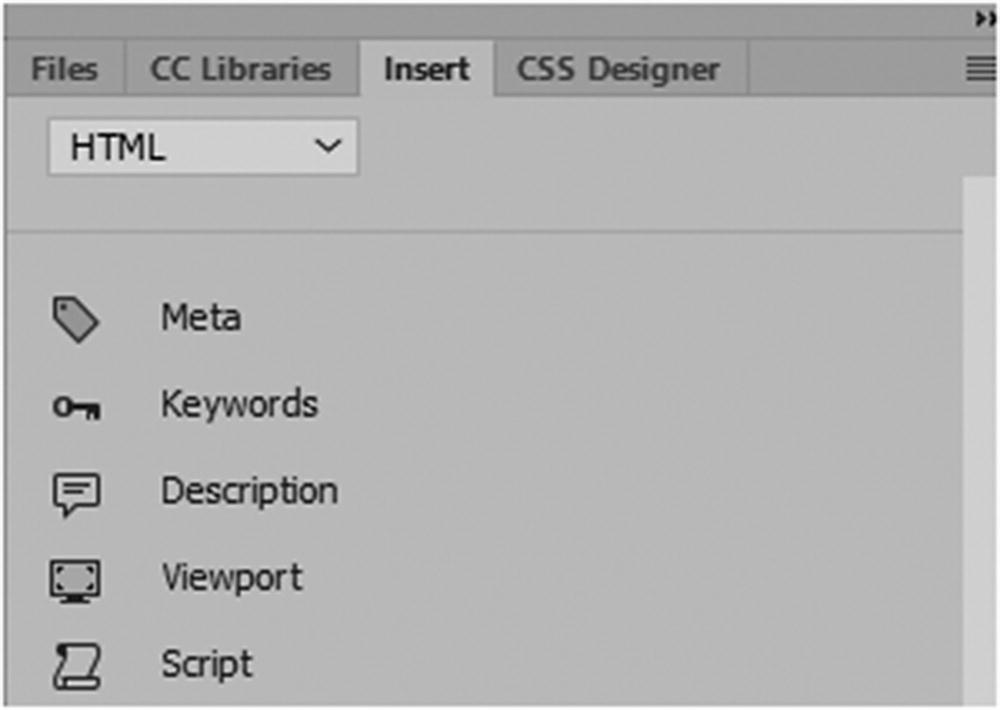
Add a Script to your <head> area
The Select File dialog box opens, and you can search in your JavaScript folder for the external file.
Note
An extra attribute of type="text/javascript" is sometimes added to the <script> tag; this helps older browsers identify that this is JavaScript, but it is optional to add this in HTML5.

JavaScript and jQuery files linked to the top of the file
For the code to work correctly, ensure that the code is referenced to the correct tags, IDs, and classes in the <body> of the document.
Insert Rollover Images
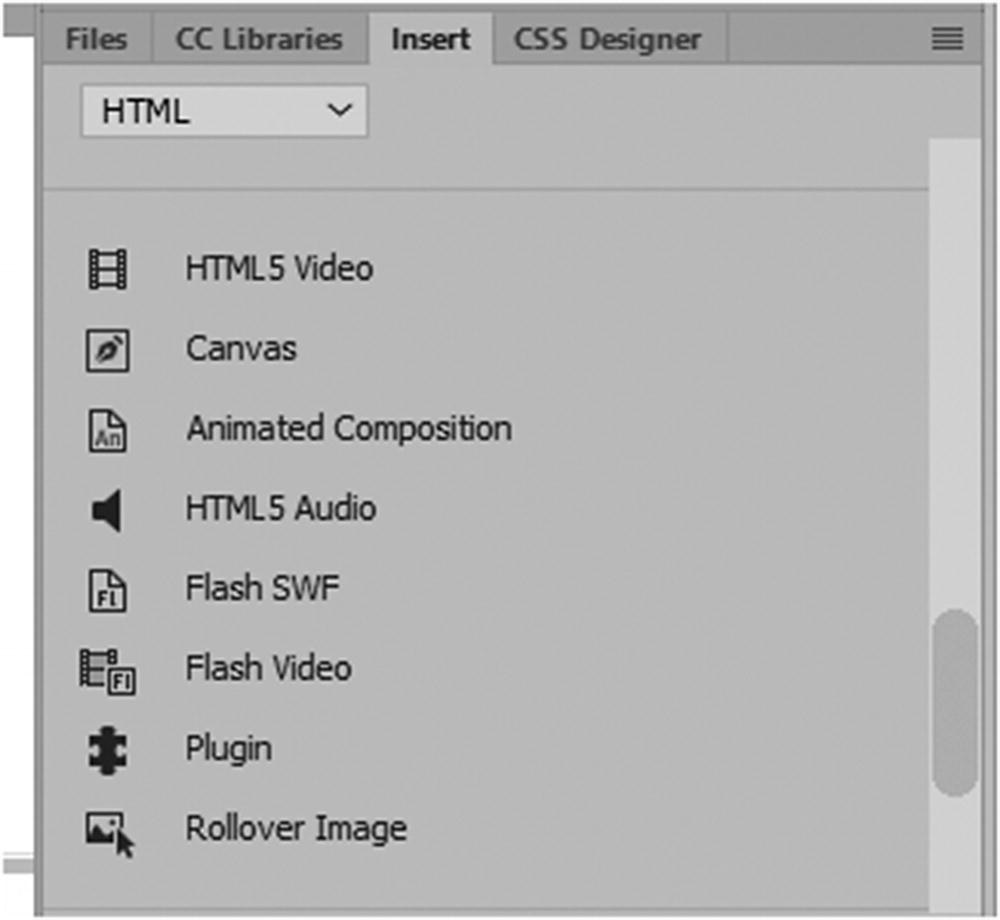
Choose Rollover Image from the Insert panel
You can find this same command at Insert ➤ HTML ➤ Rollover Image.
You saw some examples of images that change when you add a pseudo-class or hover over them in CSS3. For a more interactive feel, you want some images to behave like buttons for navigation, or a printer button to change appearance, so a rollover image is a good option. Rollover images have two states: one when you are not hovering over them and one when you are. To add a rollover image, place the cursor somewhere inside of your HTML5 pages body in Code view and then click the Rollover Image icon in the Insert panel.
Note
This rollover creation does not work by highlighting an image in Design view or Code view. You need to start with a fresh rollover image.
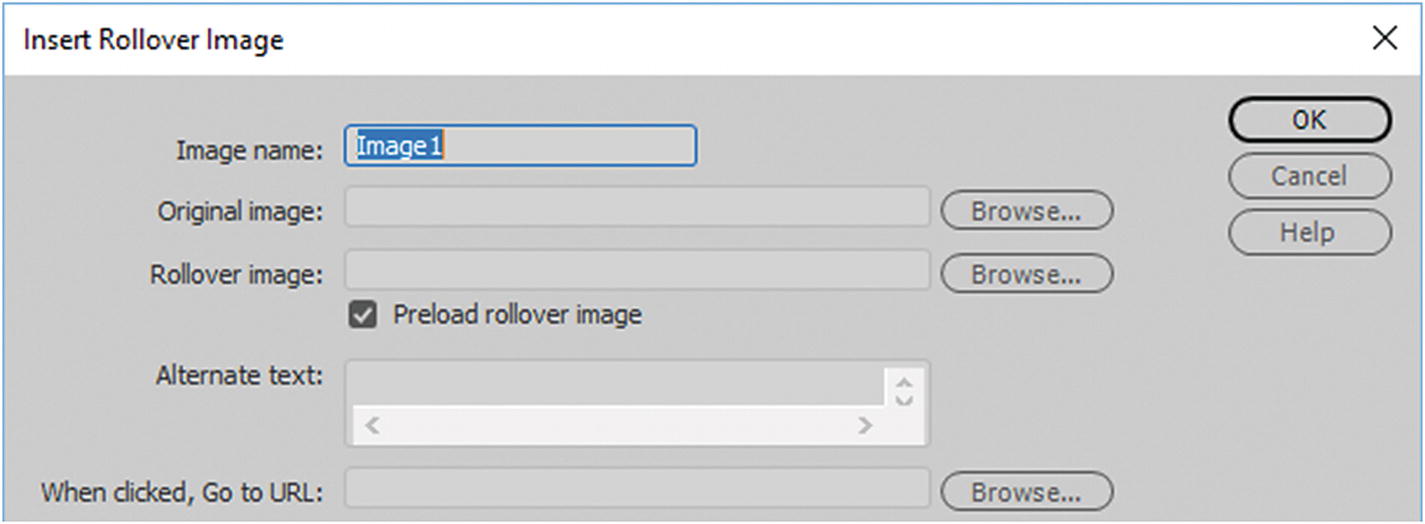
The Insert Rollover Image dialog box
Image name: You can give the button a meaningful one word name with no spaces; this links it to the JavaScript that Dreamweaver is going to generate once you fill out each text field.
Original image: The URL or location of the image you see when you are not hovering over it with your mouse. You can browse in your images file for the correct image.
Rollover image: The URL or location of the image you see when you are hovering over it with your mouse. You can browse in your images file for the correct image. Notice that to keep organized, I added to the name_over or name_hover so that I know which file to match to the correct text field here.
Preload rollover image: Make sure this remains checked so that it loads. This option is selected by default; it helps the images appear more quickly by preloading the rollover image. The browser then stores it in cache until the user hovers.
Alt text: As with any image button, it is good to add alternate text so that screen readers for the visually disabled know what the button represents.
URL: Here you can add a URL and browse within your root site or an outside site. Refer to Figure 34-10.
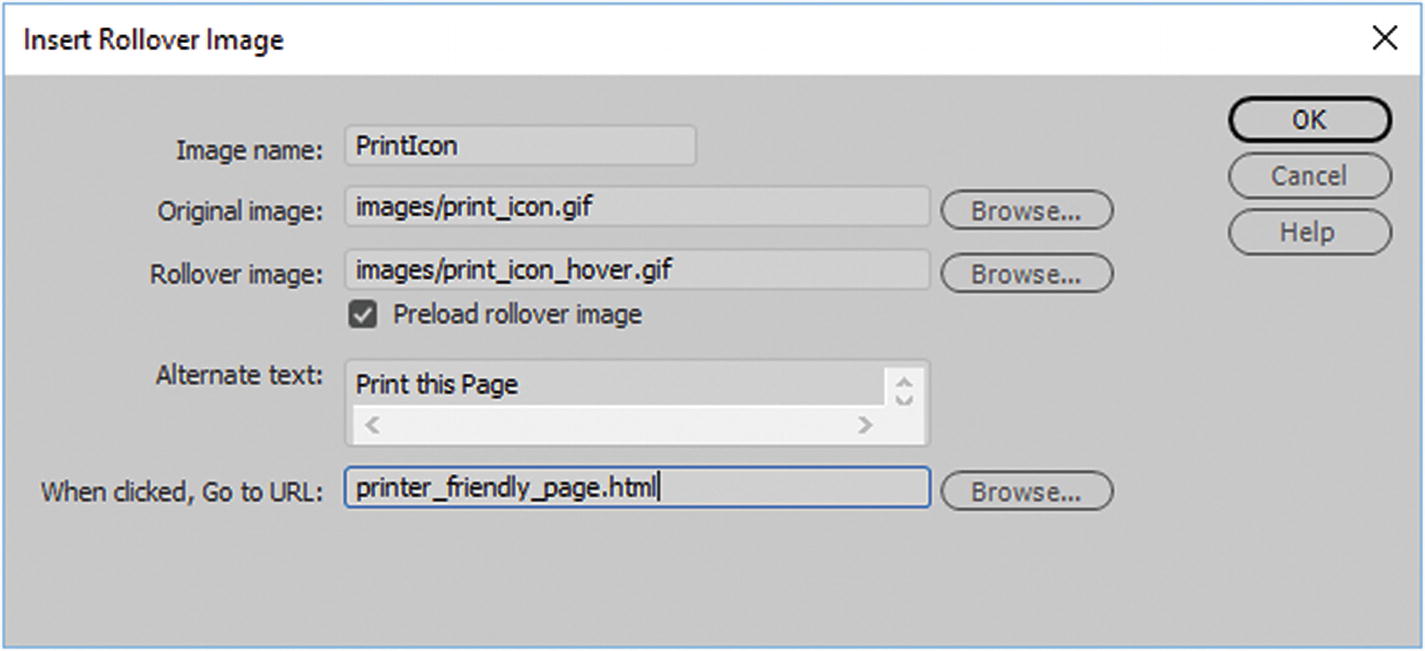
An example of how a rollover button is added to a site
Many people navigate to clickable URLs, so make sure that this links to the correct page or URL by using the Browse button. In this case, I am only using this link as dummy text to eventually replace with JavaScript, as you see shortly.
When done, click OK.
This code is a collection of variables (var), conditions (if), and loops (for); each is inside of four functions (functions) that swap and restore the images as you hover and move away from them within the document.
As you can see, Dreamweaver has added the HTML for the rollover and the URL. Since the preload setting was chosen, the preload script was added to the body so that the hover image would load faster.
As you add more rollover images or want to replace them, this can get tricky, so Dreamweaver has the Behaviors panel that makes working with JavaScript and linking images a bit easier.
Behaviors Panel
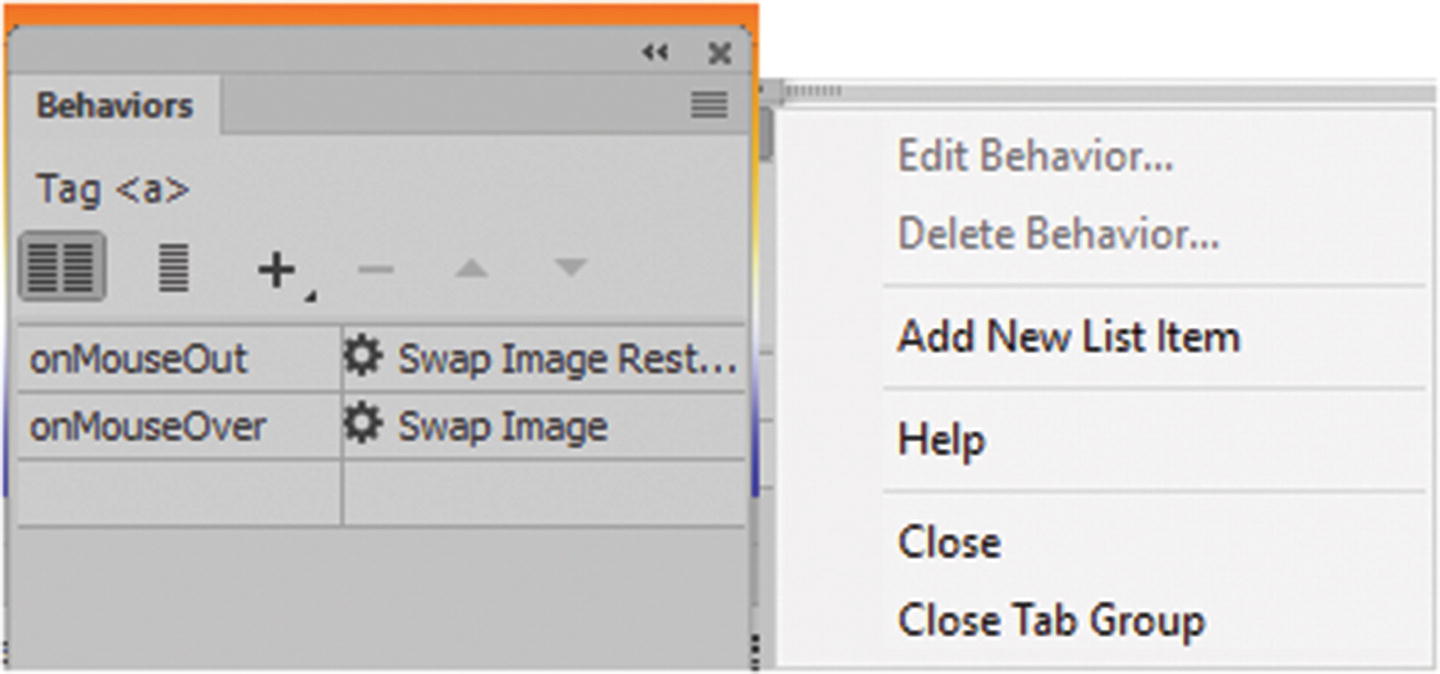
The Behavior panel and its menu when the rollover button is selected
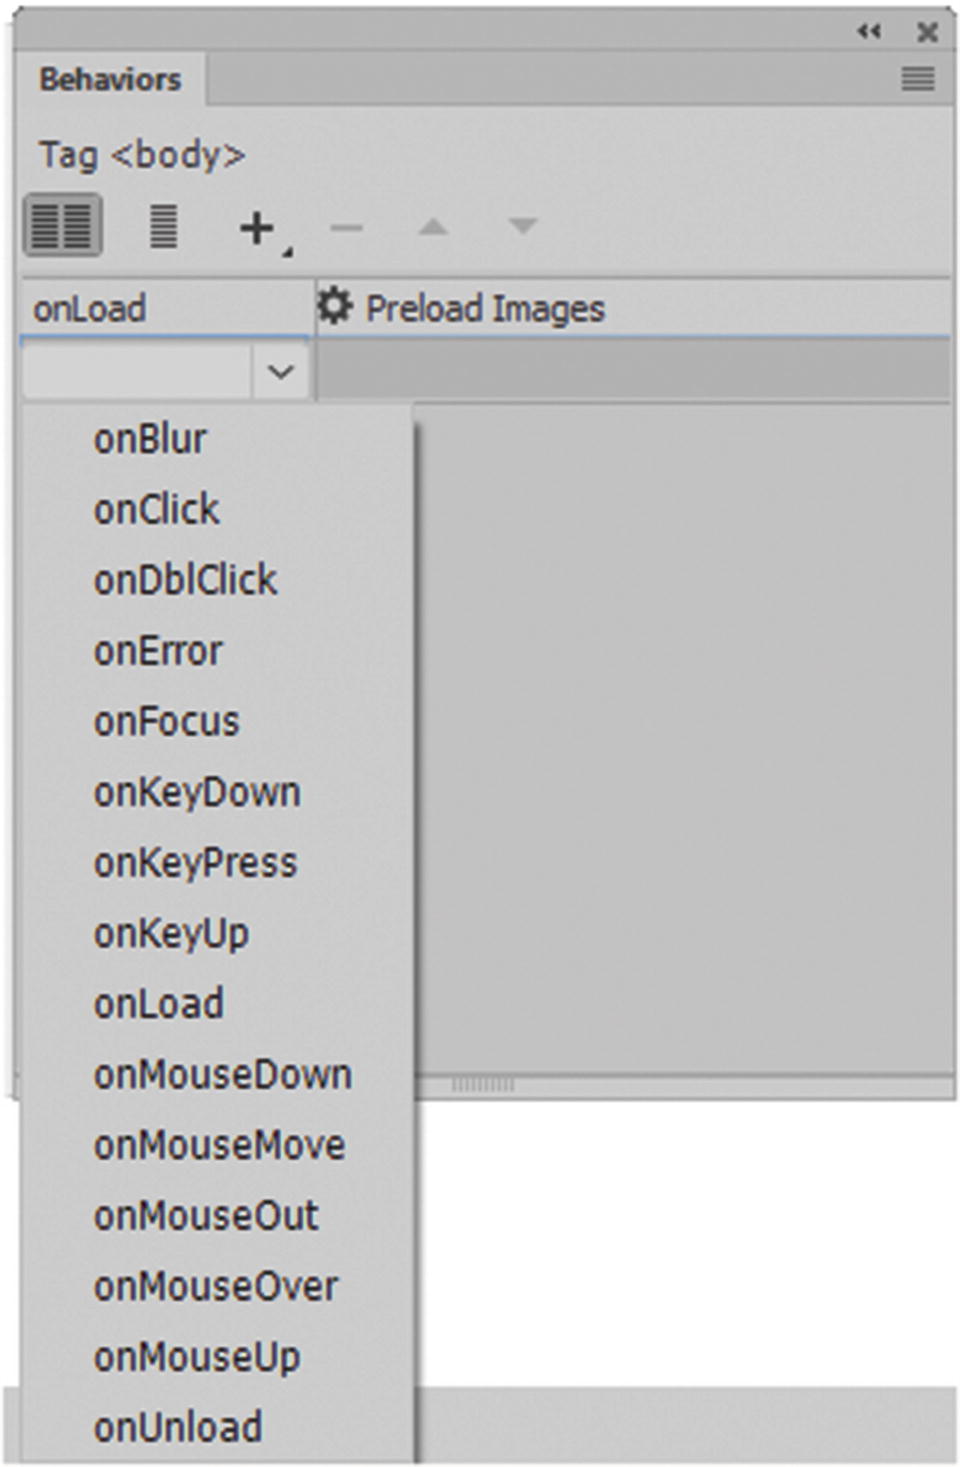
Add an event from the Behaviors panel
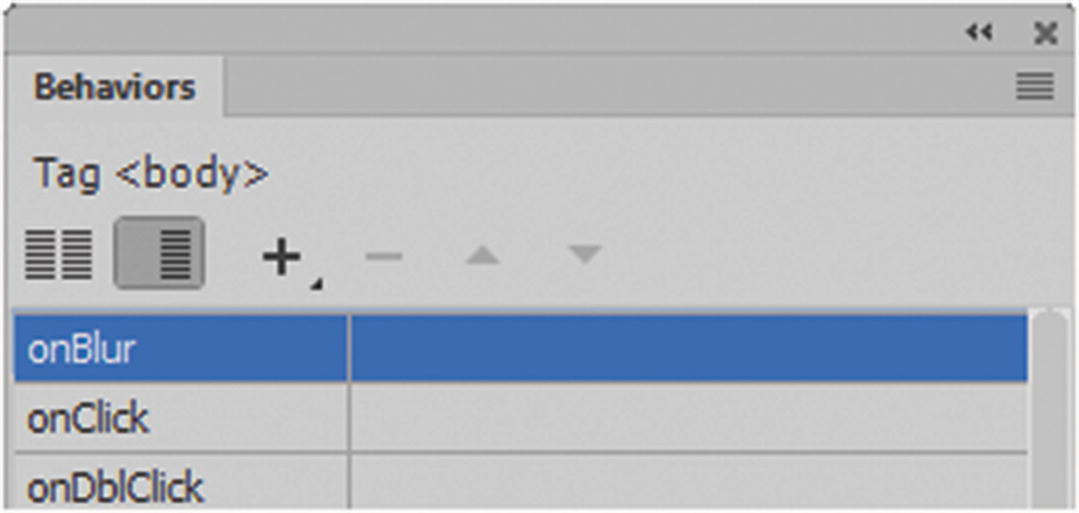
Review your events in the Behaviors panel
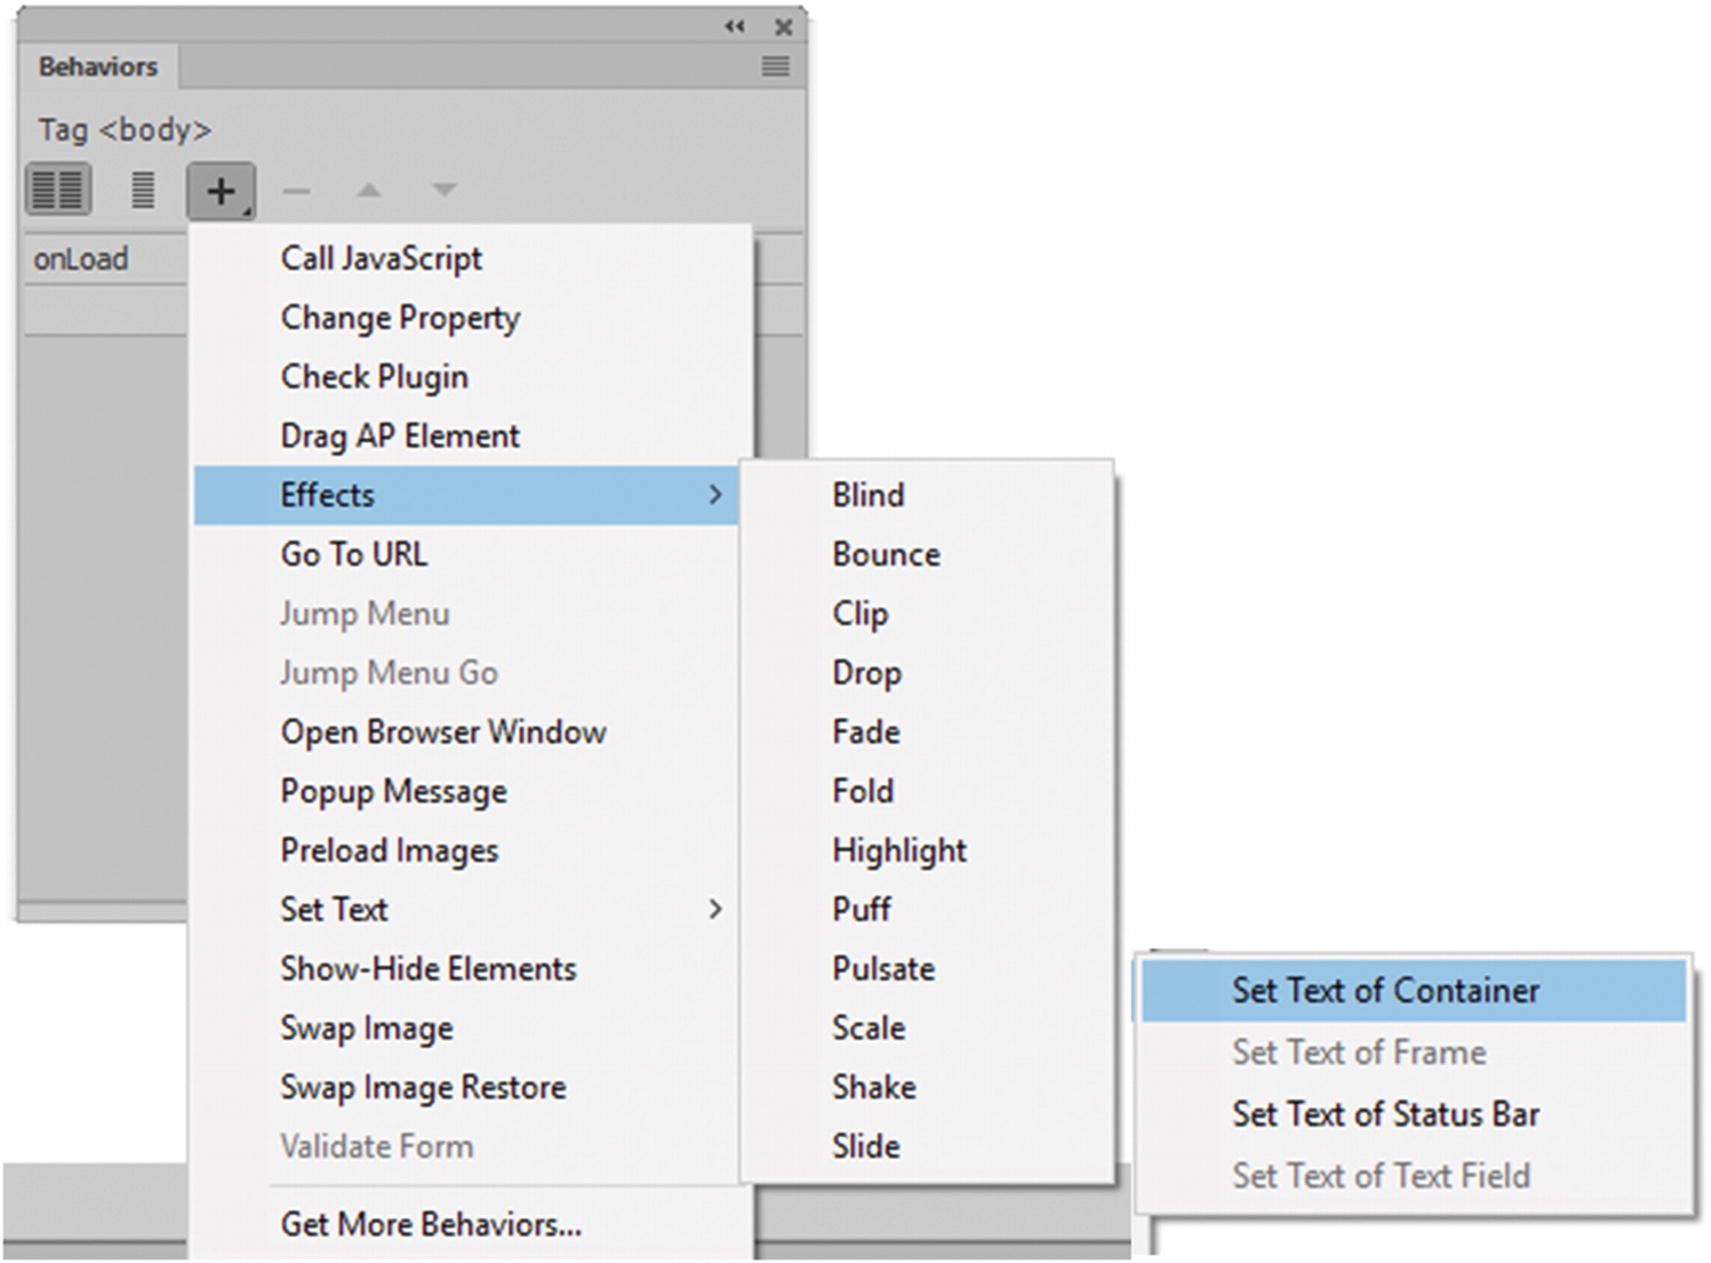
Possible actions added to events
There are many to choose from in the drop-down list, and you can get more online. Some are very similar to the ones found in CSS Effects. They are applied to <div> elements that contain background images as well. Behavior Effects require a JavaScript library known as jQuery , which is loaded into a jQuery Assets folder. You’ll look at jQuery in more detail in Chapter 35; for now let’s continue with the print rollover example, which if we review the code is currently using two behaviors. First, the preload images and then second, the combination of swap image and swap image restore.
Possible actions added to events
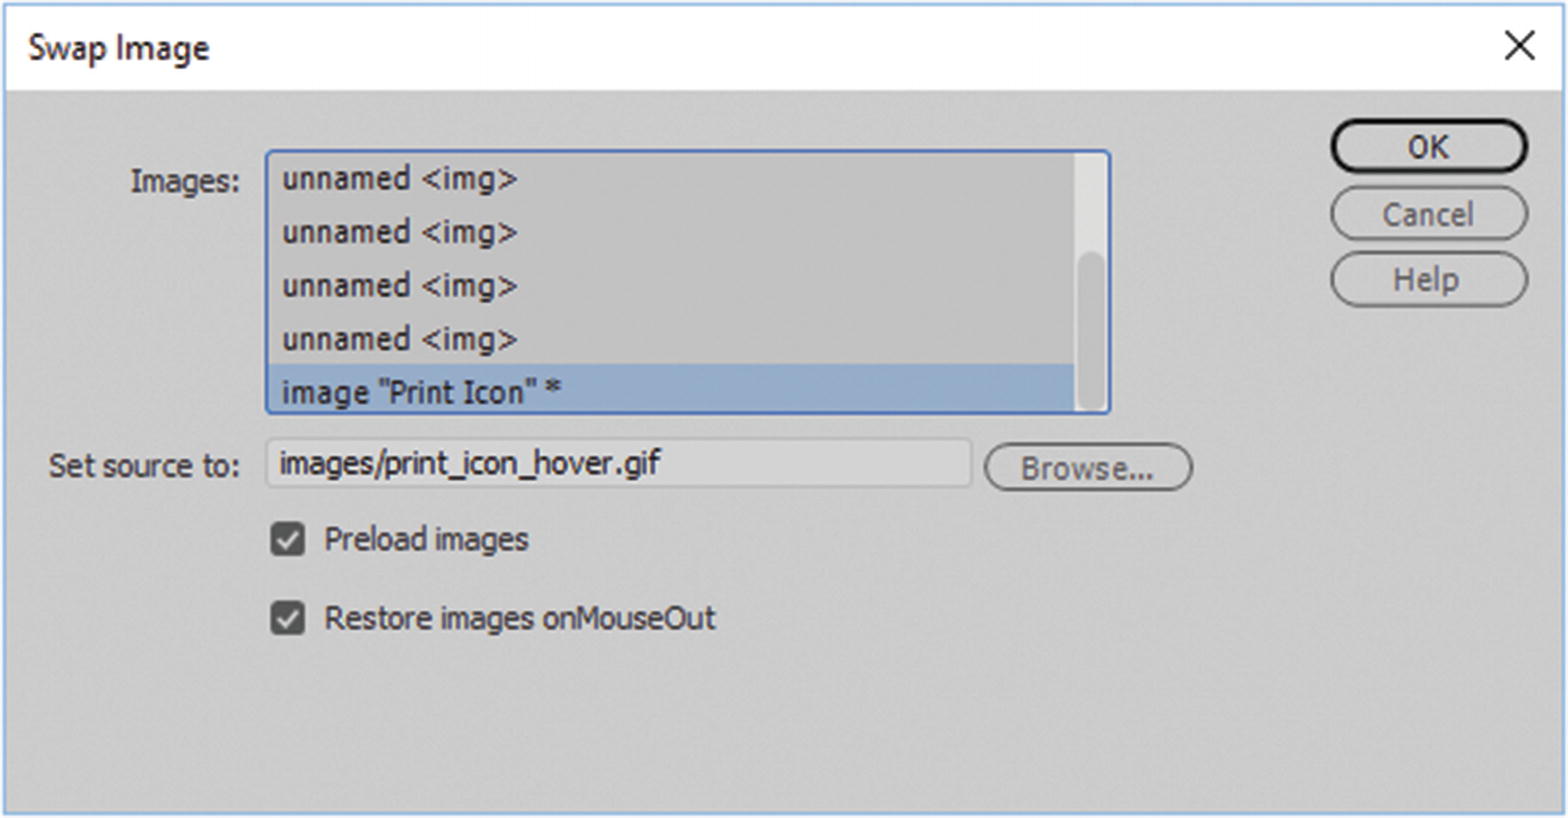
Swap Image dialog box
Select the image you are changing, and change the source by browsing; make sure that both preload images and restore onMouseOut are checked. Click OK.
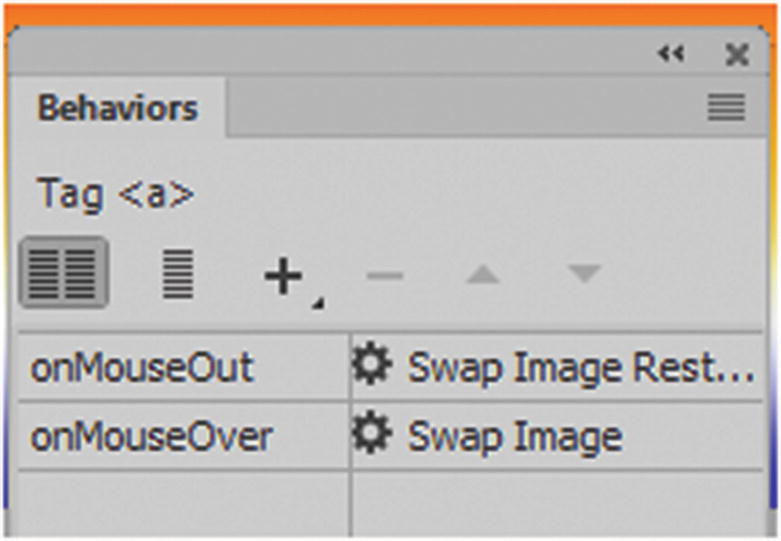
This reloads the hover image state in both the <body> tag and the <a> tag at once. Using this panel is especially important if you are working with single template–based pages (see Chapter 35), because your <body> tag might be locked, and this is the only way that you can edit the code properly. For example, if you change the code in the <a> only by hand and it does not update in the <body>, a linkage corruption could occur. In most cases, it is better to add these types of buttons to only the template so that you can access the <body> rather than separate template-based pages. You can check this swap using Live view or your HTML5 page in a browser. Try hovering over the image.
In a moment, you apply another behavior to this element.
Note
If you need to swap the original image (onmouseOut) rather than using the Behaviors panel, use the Properties panel when you click the <img> tag in Code view or Split view. Refer to Figure 34-17.
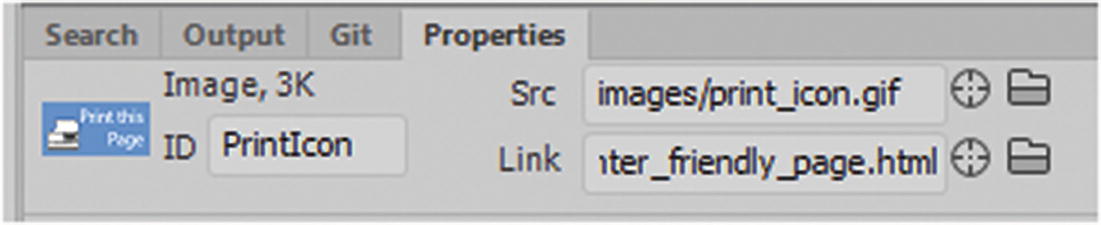
Use the Properties menu to swap the non-hovering image onMouseOut in the image rollover
In the src attribute, you can search for a new image in your images folder by clicking the folder to replace the old image.
Additional Behaviors
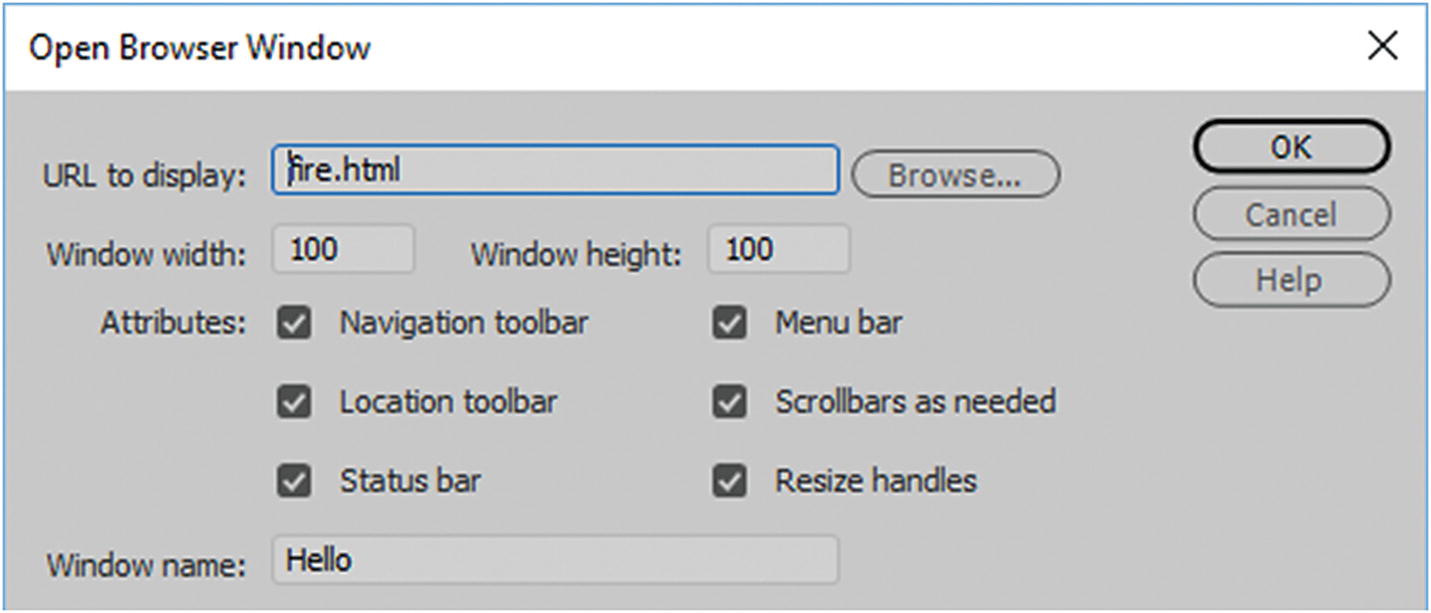
The Open Browser Window dialog box
You can add this to an onClick event in the Behaviors panel.
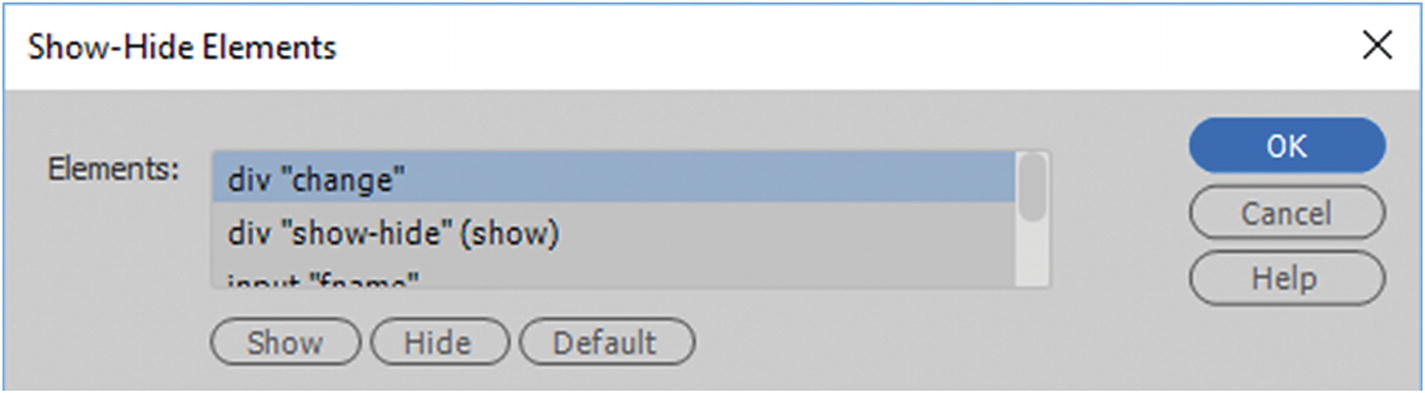
Show-Hide Elements dialog box
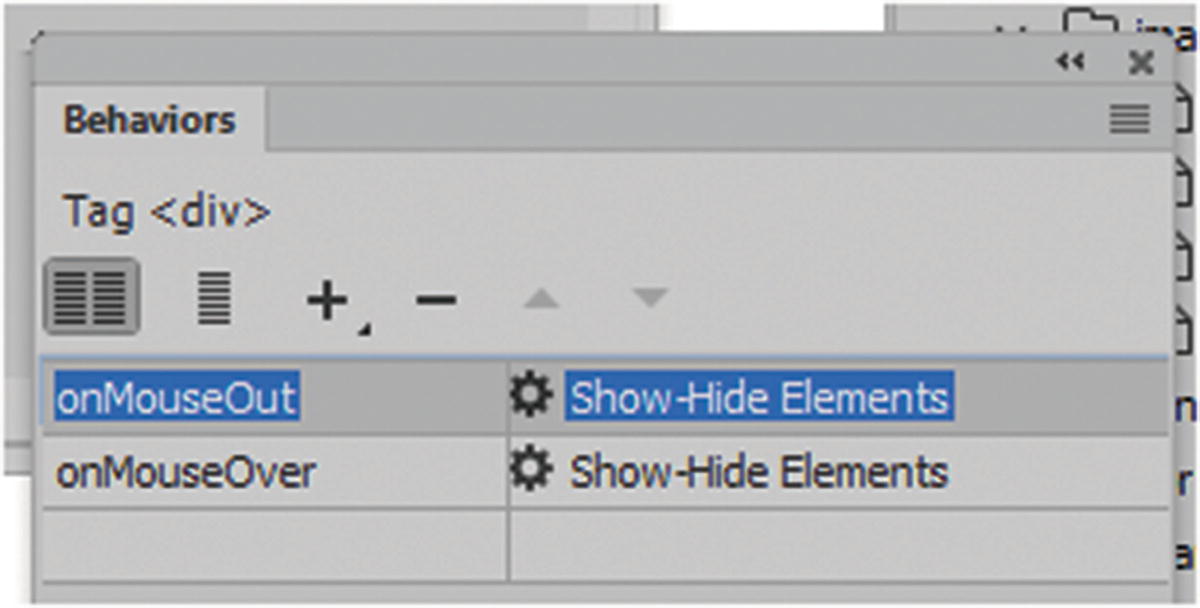
Show-Hide Elements in the Behaviors panel
Notice that in all of these examples, the new JavaScript goes into the <head> section. You could put the code into an external JS file if you find that it is taking up too much room, or you want to only use it on select pages.
With Show and Hide, not all JavaScript must go into the head (depending on who wrote it). The following is a variation I edited from W3Schools. You could use a button to hide and show a <div> that might contain an image or image background.
Show hide images simplified example:
This time, the JavaScript is in the lower area of the <body> right below the </div> closing tag. It uses a function, conditions, and a combination of CSS to display and show. Therefore, it is important to make sure that if you have not built the JavaScript yourself, always follow the order of placement that the code designer has used. First, test your new code in a blank HTML5 document, and then add it your new file and test right away to make sure it is functioning correctly. CSS and JavaScript are very similar in the sense that if there is a naming conflict, you can get unexpected results, such as incorrect formatting or the animation fails to work. So, if you are adding something new to your HTML page, make sure that all IDs and, in some cases, classes are distinctly named.
JavaScript and the Snippets Panel
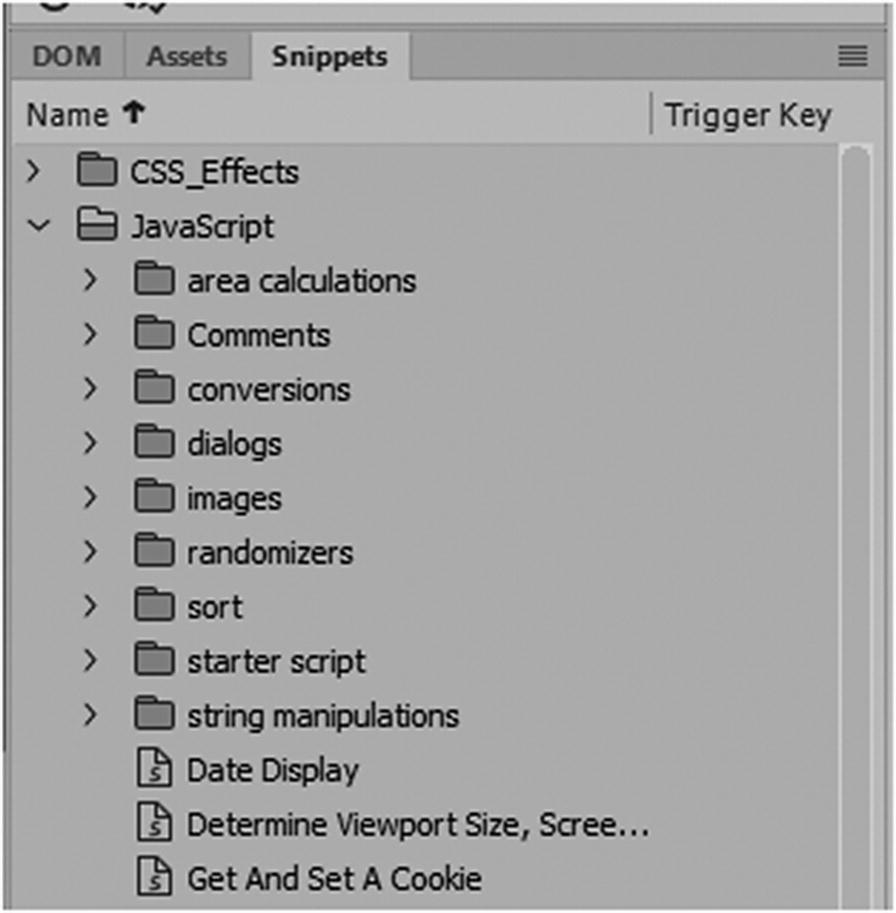
JavaScript resources in the Snippets panel
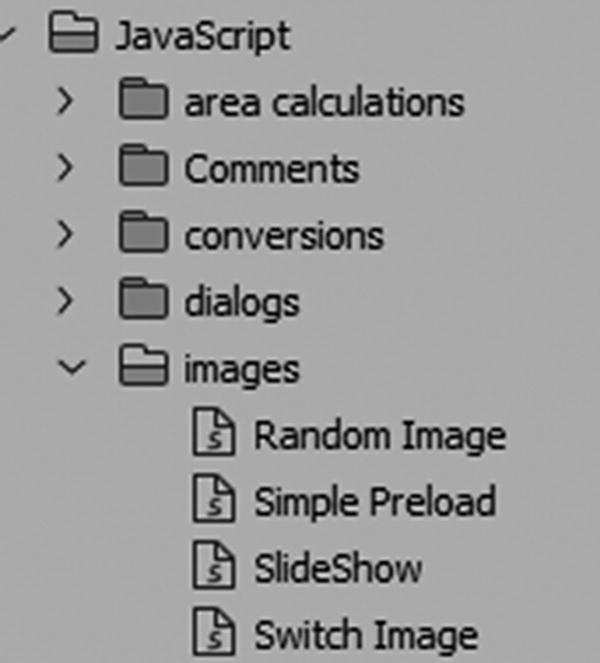
JavaScript image examples in the Snippets panel
- Random Image : Allows you to display a banner with random images. It requires at least one other snippet script called random number (randomizers folder) to work. You can click the Edit Snippet icon in the Snippets panel to review the code before you insert it and learn which other /*Dependencies*/ or additional snippet scripts are required. Refer to Figure 34-23.
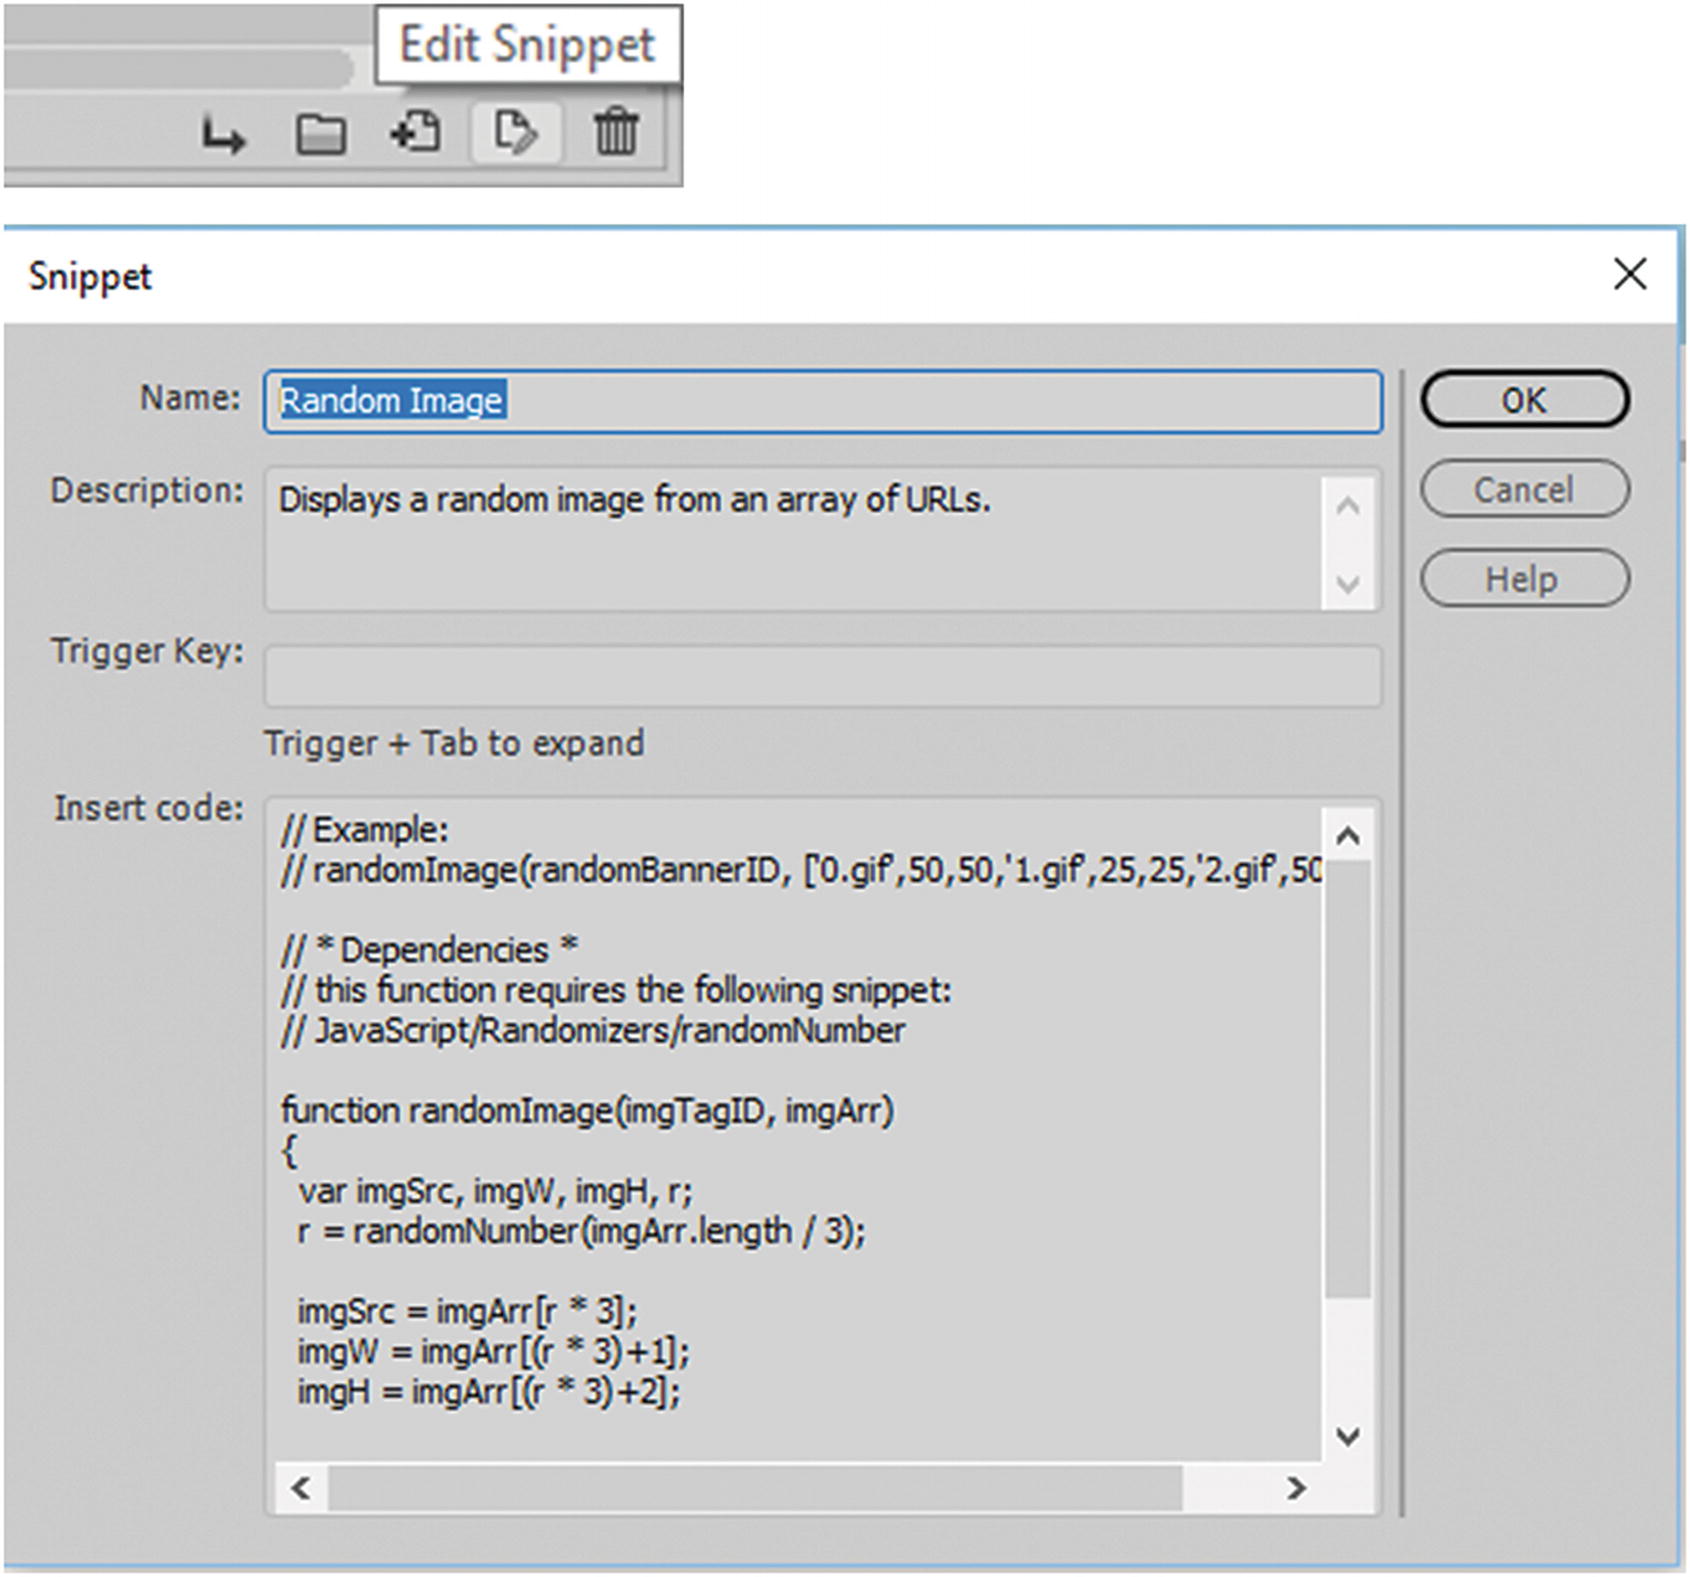 Figure 34-23
JavaScript snippets, reviewing the snippet before inserting it
Simple Preload : This is like the preload image example you looked at in rollovers.
Slide Show : Allows you to create a basic slide show. In this case, the snippet example tells you where each piece of code should be placed. The instructions lets you know that it requires another snippet known as a switch image , which you need to insert to complete the script.
Note
The jQuery and Bootstrap examples use a JavaScript library that has many excellent galleries that you can modify in Dreamweaver. You look at this in Chapter 35.
As with any script, you can add snippets of your own to the panel as you increase your knowledge in JavaScript.
Print Preview
One JavaScript code example that you might want to add to the Snippets panel is how to change the printer button so that instead of going to a URL the code takes you to the browser’s print dialog box. I think a “Print Script” would come in handy. In Chapter 33, you read about the importance of adding CSS for your printer. Once you have your media queries for print set up, you could add a <button></button> tag somewhere on your page; or in this case, to the image rollover that you created.
I removed the URL in the href and changed it to a "#". This is so that the link never actually goes to a page; it only allows the Print Preview dialog box to open.
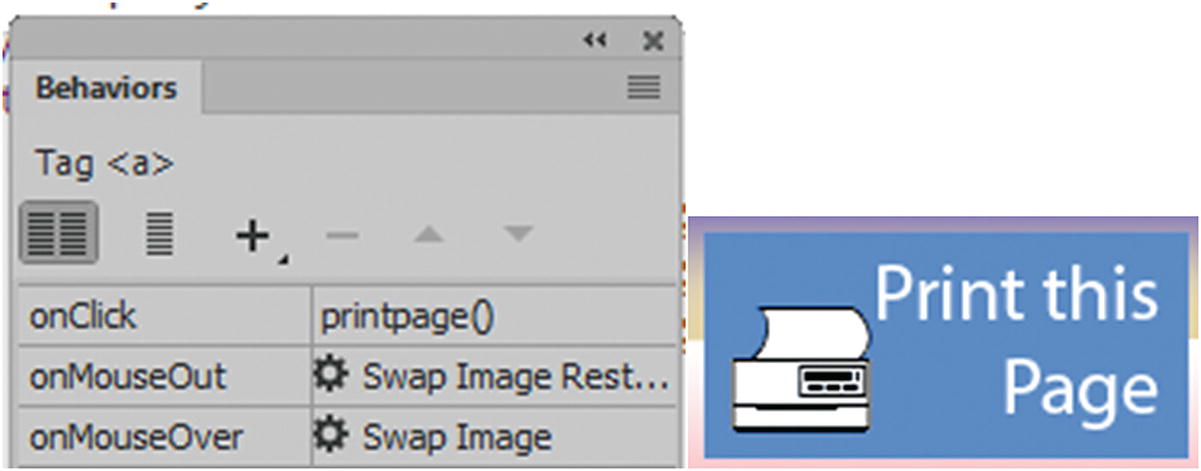
A JavaScript added event in the Behaviors panel and the final button
When the button is clicked, the browser’s Print dialog box opens and the viewer can choose what printer they want to print to. This saves the viewer time in that they don’t have to go to the browser’s main menu and choose File ➤ Print.
Summary
In this chapter, you briefly looked at how JavaScript is used with images so that the viewer can interact with objects on a page, such as a rollover image and the print dialog box. You also saw that Dreamweaver has some resources in the Snippets panel for other projects. You can use the Behaviors panel and the Properties panel to continue editing your JavaScript after you have added it to a webpage.
In the next chapter, you look at Bootstrap and how it incorporates with two of Dreamweaver’s key features: the template and library items.