
In this chapter, you review three parts of the Hot Glass Tango website. First, you review how to insert images. You then look at how an image gallery carousel is added using Bootstrap. Finally, you look at a unique way of using JavaScript in which you can change which video is currently displayed in the <video> tag.
Note
This chapter does have any actual projects that you can review; however, you can copy the HTML files in the Part 6 folder called chapter_39_html_practice into the glass_tango_site folder. The completed files are already in this folder. Use them to practice opening and viewing for this lesson. They are at https://github.com/Apress/graphics-multimedia-web-adobe-creative-cloud .
So far in Chapters 9, 16, 24, and 29 you Put into Practice what you learned in four Adobe Programs. Throughout Part 6, you’ve seen how Dreamweaver can integrate images into a site and the site with the help of a Bootstrap Library and a Template can be Mobile friendly and responsive for more than one sized device. Let’s take a moment to look more in depth look at a few key pages on the website in regards to the upcoming projects.
Adding Images to Web Pages Review
Insert These Images
Code Line | HTML Comment | Image | Alt/ Title Tag |
|---|---|---|---|
95 | <!--Insert DomeImage1--> | dome_1.gif | Glass Half Dome |
96 | <!--Insert DomeImage2--> | dome_2.gif | Scrapbooking paper |
97 | <!--Insert DomeImage3--> | dome_3.gif | Cutting paper for the dome |
98 | <!--Insert DomeImage4--> | dome_4.gif | Gluing an image onto the backing paper |
99 | <!--Insert DomeImage5--> | dome_5.gif | The composite image and the dome |
100 | <!--Insert DomeImage6--> | dome_6.gif | Spreading Diamond Glaze on bottom of dome |
101 | <!--Insert DomeImage7--> | dome_7.gif | Holding the dome down to allow it to dry |
102 | <!--Insert DomeImage8--> | dome_8.gif | Drying time and using nail polish remover for clean up |
103 | <!--Insert DomeImage9--> | dome_9.gif | Trim paper around the dome |
104 | <!--Insert DomeImage10--> | dome_10.gif | Nail polish remover final clean up |
105 | <!--Insert DomeImage11--> | dome_11.gif | Gluing velour paper to back of paperweight |
106 | <!--Insert DomeImage12--> | dome_12.gif | Cut away excess velour paper |
108 | <!--Insert Half DomeImageJPG--> | halfdoome_image.jpg | Side view of half dome paperweight |
Also use the table to reference the text for your alt attributes that you need to add for each image.
If you get stuck, refer to the original howtomake.html file.
JPEG
GIF (Static and Animated)
PNG
SVG
Remember that while you can add an SVG file using this insert method, any form of interactivity will be lost; refer to contact.html. The best way to deal with this issue is to insert the SVG within an <object> tag, as seen on the contact.html and colorsglass.html pages. The object tag was used when you uncompressed your OAM file and extracted the HTML5 Canvas file into the image assets folder on the index.html page, as seen in Chapter 36.
As seen in the howtomake.html file at the bottom of the page, if you want to add a figure caption to your image, you need to wrap the <img> in a figure tag, as seen in Chapter 31 when you looked at sematic elements.
All these image formats can be added as backgrounds to the <div> tag or semantic element using external CSS, as in Chapter 32, using the background property, Code view and the CSS Designer panel.
Some formats have better quality and respond better to compression and expansion.
Background images should add interest and beauty to the site, as in the broken glass colors in the template-based page; however, they should not detract from the readability of the text. Remember to keep this in mind when dealing with viewers who experience color blindness.
Using CSS effects such as opacity or RGBA to overlay an image can sometimes blur the image and make it easier for the viewer to read the text.
When creating with media queries, keep in mind that complex graphics may be too processor intensive for some devices, so at that point, you may need to switch to a lower resolution graphic or just use a colored background.
If adding CSS for print, decide which graphics you think your viewers should print and which ones should be excluded.
Now that you have reviewed the how to make and contact pages, try applying some of these tips to your own project. For now, let’s move on to the second project.
Carousel Gallery (Bootstrap)
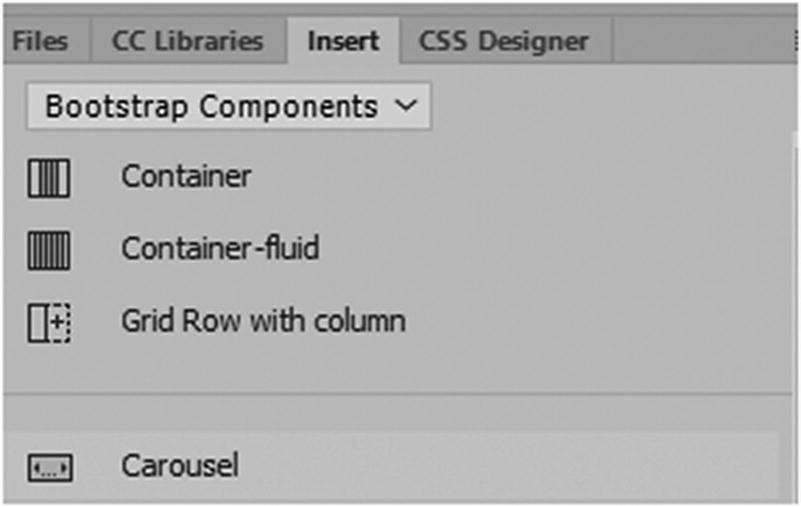
Adding a carousel gallery to a website
The Bootstrap component
This type of gallery can have at between three and twenty images in it. Based on the layout, more than twenty would be too difficult to maintain, and less than three does not add visual interest to the viewer. Just make sure to work with it in Live view so that you can see the results.

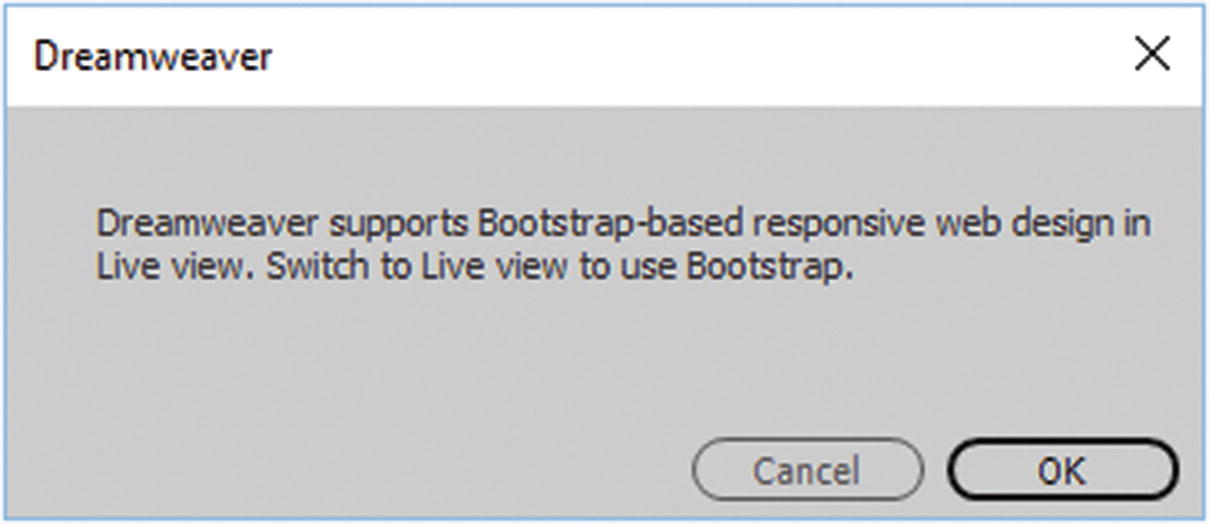
Bootstrap and jQuery files may be added as links to your file
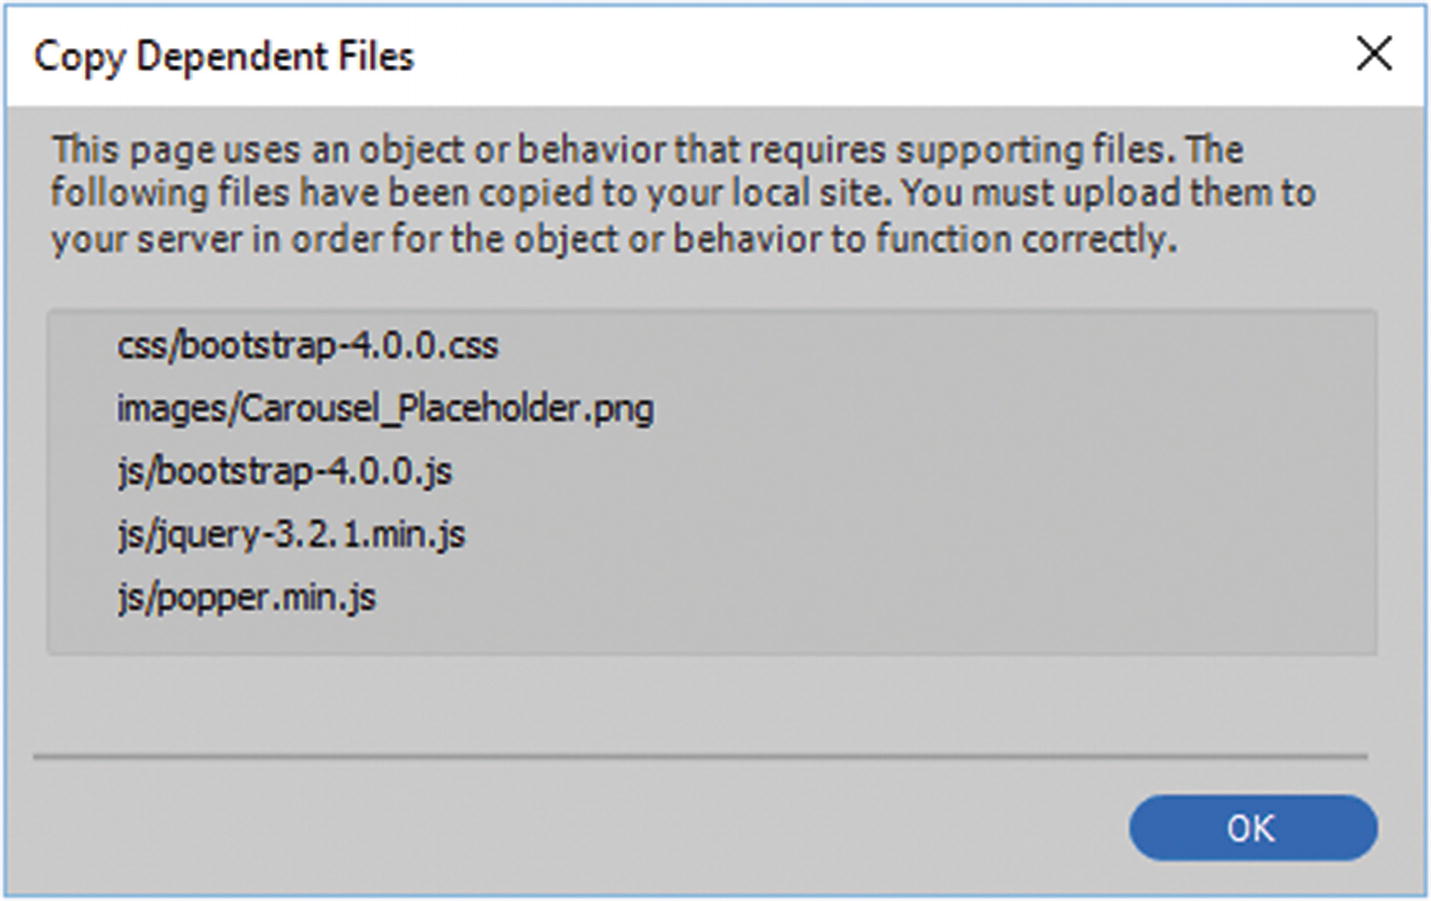
Copy Dependent Files
In this case, they are already present.
Besides the JavaScript and CSS, you also have a temporary placeholder image added to your image folder. You can replace this in the links with your actual images.
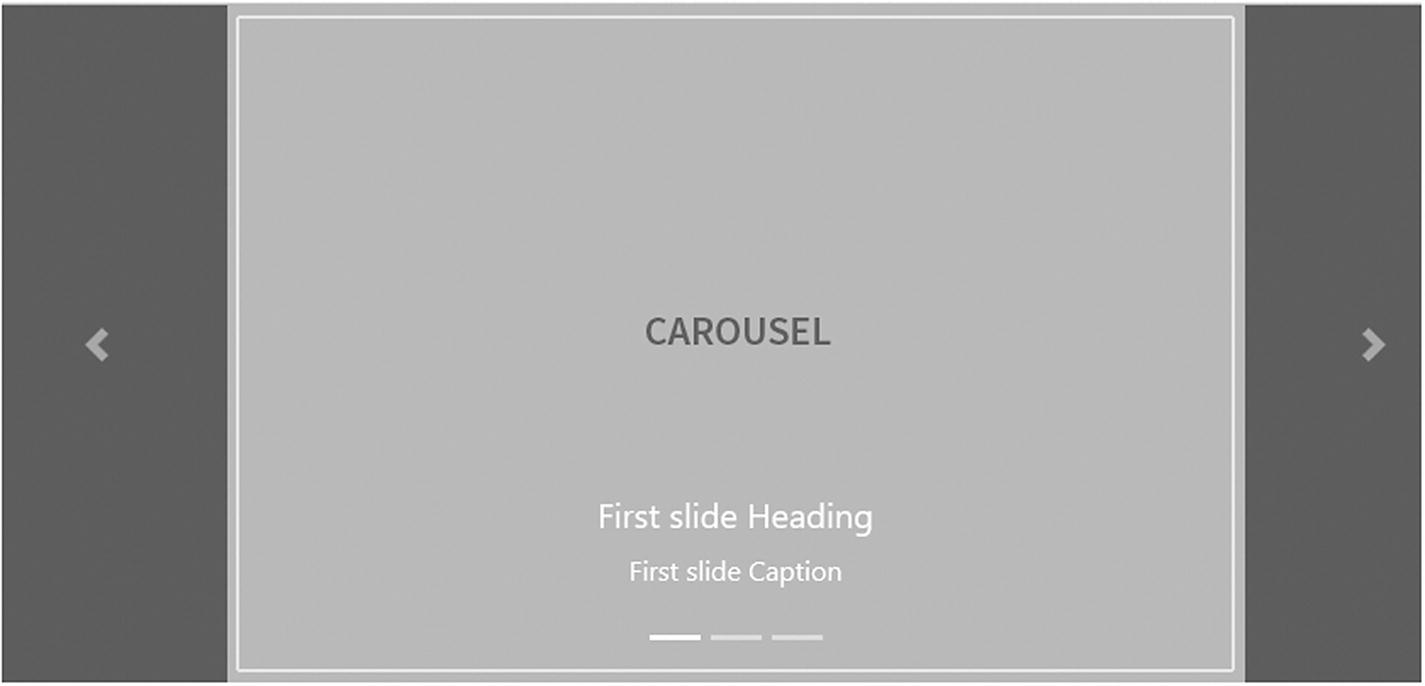
The default carousel
To keep organized, I often use the words fourth or slide 4 (whatever slide it is) as part of the alt tag so that I don’t get confused. This type of gallery is best with no more than 20 images. If you need a gallery with more images, I recommend checking out other Bootstrap options on the W3Schools website or the Bootstrap website. If you are concerned about accessibility standards, nested carousels do not always accurately support this. Nevertheless, they are responsive on your site, and each image should contain an alt attribute.
carousel slide background-gallery
carousel-indicators
carousel-inner
carousel-item active
carousel-caption
carousel-item
carousel-caption
d-block mx-auto
carousel-control-prev
carousel-control-prev-icon
carousel-control-next
carousel-control-next-icon
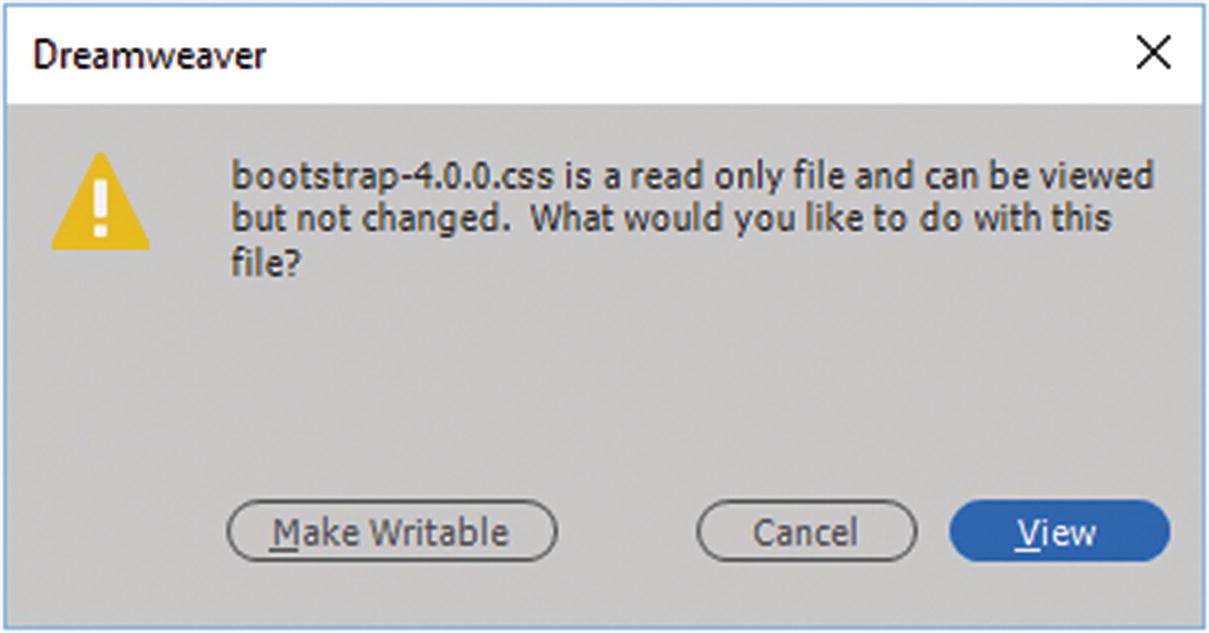
When you enter the locked CSS file, you see this message
If you compare the code, you see that I made very few changes to those lines. Though in other areas of my bootstrap, I made minor edits as well.
Likewise, I further overwrote some of the CSS in my gallery using my own external CSS file, called main_mobile.css; you can see these changes in line 81 of that file. I altered things like text shadow so that the lettering stood out better against the graphics; font size so that the lettering was easier to read; and the border of the <li> indicators circles so that they stood out too. This is to show you that you can override Bootstrap settings when you include another external CSS file below the Bootstrap CSS file. Refer to the <head> area of gallery.html if you need to compare.
Making any changes to the layout and CSS properties of a carousel takes time, so it may take a few hours of testing in a new CSS file to get the layout and colors to suit your needs. Alternatively, using your browser’s Inspect Element feature may help you find the CSS you want to alter more quickly so that you can continue to edit the code in Dreamweaver.
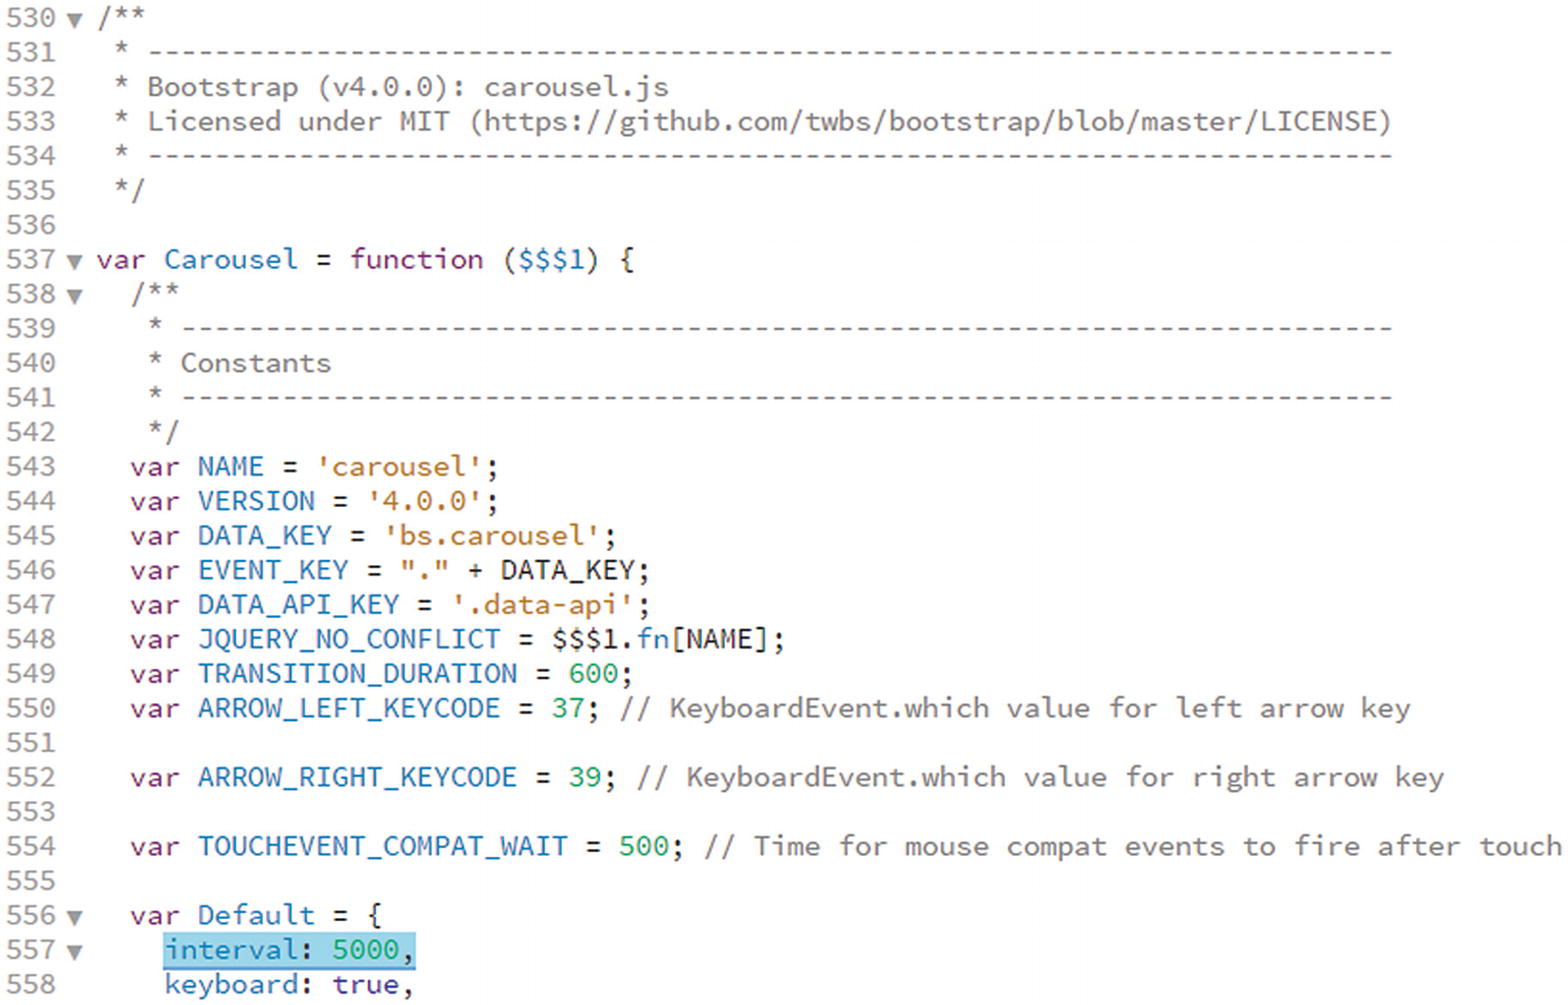
Find the line that alters the speed of the carousel
Look for: interval: 5000.
5000 is the default of 5 seconds, so if you want the gallery to move more slowly, let’s say 10 seconds, then you would change the number to 10000. If you wanted it to move faster, then you might set it to 3000, or three seconds. However, most times, your audience will not appreciate a continuously fast-moving slider; no matter how great your images, this can be annoying and frustrate the viewer. In most cases, the viewer wants to have a bit of time to look at an image. I recommend either leaving it at the default interval or slowing it down to a speed that your audience is comfortable with.
Other than that, I made no other changes to the other JavaScript files.
When you are done, copy the carousel HTML from your blank HTML page into the HTML comment area in gallery_practice39.html.
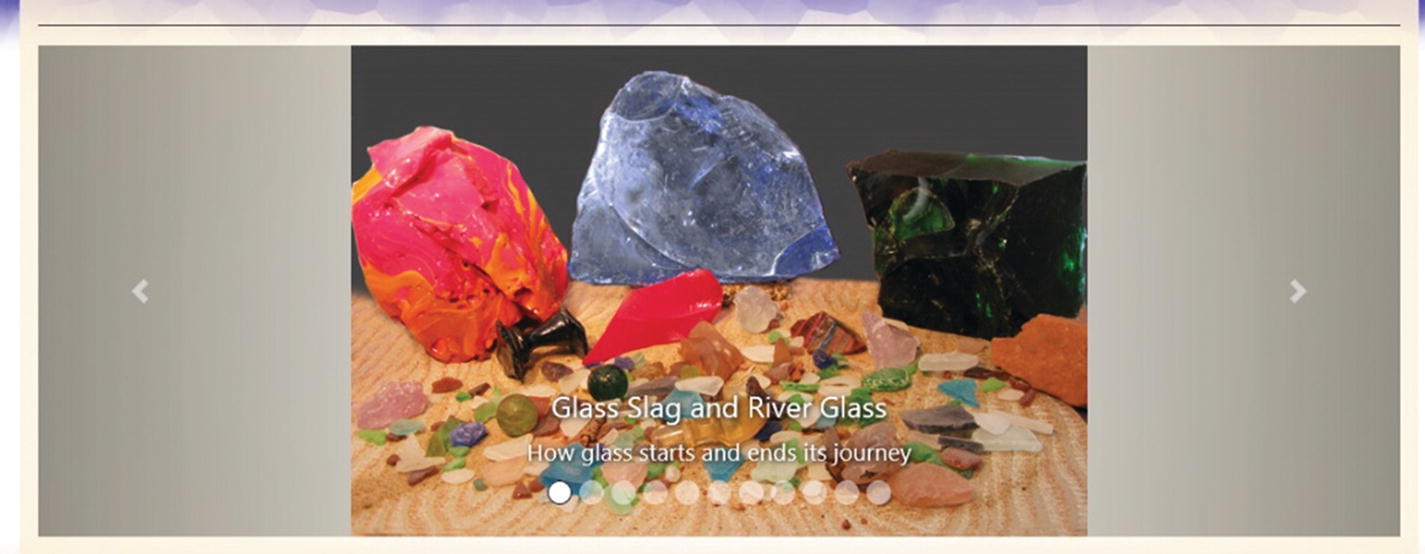
The final gallery in the Hot Glass Tango site
If you expand and contract your browser, you see that it is responsive.
One gallery on a site is often enough; you don’t need to overload your site with a gallery on every page. Likewise, if this gallery does not suit your project’s needs, there are many other similar galleries available online and in W3Schools that use similar HTML5, CSS, and JavaScript styling that you can incorporate into Dreamweaver. Examples include lightboxes and modal images, which are also found at W3Schools.
This concludes our look at the second project. Next, you look at the third and final project on the site.
Video with Channel Changer
This is where you insert your code. Refer to media2.html to see the final result if you get stuck.
While having one video on the page is very useful, sometimes you may want to display more than one on a page. When you’re trying to make a mobile site more compact, it seems kind of redundant to add five or more videos on a page, and viewers must keep scrolling down to see each one. What if the video has steps to follow? What if you are doing a whole series of short stories? How will your viewers feel if they must scroll down the page to see the next episode?

The final gallery in the Hot Glass Tango site
Each time you click a button, you change the poster image and the video.
Here is how the code works. I use only four videos to keep this example easy to understand, but you could expand this concept if you want to.
Each of the buttons has JavaScript tied to them onclick(). Refer to Chapter 34 if you need a review of JavaScript and events. This type of <button> tag is for buttons that are not used in forms.
This code is very much like what you saw in Chapter 36. However, in this case, I left the option of adding SWF files for older browsers; otherwise, you can leave the SWF area blank. The ID links to important code inside the external JavaScript, which has been added as a link below the <video> tag. Take some time to look at the channel_changer_jh.js JavaScript file.
The code is tied to myVideoJH, which is the video’s ID. It then looks for the player ID to play the video. There are four functions, one for each button. When the Video 1 button is clicked, this loads the first video (vid.poster) and any backup options in case the browser does not like the MP4 file. The same happens for Video 2, and so on.
With some modifications, this idea could be applied to buttons and audio files; although you would need to have some sort of visual clue, such as the button being a distinct color, so that the viewer knows which audio file they are listening to.
This concludes our discussion of Dreamweaver. You can continue to review the files or close the program, as this ends my coverage of the five core programs.
Summary
In this chapter, you reviewed how to add your images to a page and a Bootstrap carousel gallery. Then you created a way to change the video using JavaScript and the <video> tag for the Hot Glass Tango website. This chapter concludes your study of Dreamweaver CC. You should be proud of your accomplishments as you made the long journey through many of the twists and turns of working with multimedia. Come back to Part 6 any time to review areas that you don’t fully understand. Ultimately, you want to feel comfortable working with your own files in Dreamweaver.
In Part 7, you take a brief look at some other programs that you can use for web design besides Dreamweaver, but they are part of the Adobe Creative Cloud. Then you have a quiz to test your knowledge.