Table of Contents for
The Modern Web
 The Modern Web
Published by
No Starch Press, 2013
The Modern Web
Published by
No Starch Press, 2013
- The Modern Web
- Cover
- The Modern Web
- Advance Praise for
- Praise for Peter Gasston’s
- Dedication
- About the Author
- About the Technical Reviewer
- Acknowledgments
- Introduction
- The Device Landscape
- The Multi-screen World
- Context: What We Don’t Know
- What You’ll Learn
- A. Further Reading
- 1. The Web Platform
- A Quick Note About Terminology
- Who You Are and What You Need to Know
- Getting Our Terms Straight
- The Real HTML5
- CSS3 and Beyond
- Browser Support
- Test and Test and Test Some More
- Summary
- B. Further Reading
- 2. Structure and Semantics
- New Elements in HTML5
- WAI-ARIA
- The Importance of Semantic Markup
- Microformats
- RDFa
- Microdata
- Data Attributes
- Web Components: The Future of Markup?
- Summary
- C. Further Reading
- 3. Device-Responsive CSS
- Media Queries
- Media Queries in JavaScript
- Adaptive vs. Responsive Web Design
- Viewport-Relative Length Units
- Responsive Design and Replaced Objects
- Summary
- D. Further Reading
- 4. New Approaches to CSS Layouts
- Multi-columns
- Flexbox
- Grid Layout
- The Further Future
- Summary
- E. Further Reading
- 5. Modern JavaScript
- New in JavaScript
- JavaScript Libraries
- Polyfills and Shims
- Testing and Debugging
- Summary
- F. Further Reading
- 6. Device Apis
- Geolocation
- Orientation
- Fullscreen
- Vibration
- Battery Status
- Network Information
- Camera and Microphone
- Web Storage
- Drag and Drop
- Interacting with Files
- Mozilla’s Firefox OS and WebAPIs
- PhoneGap and Native Wrappers
- Summary
- G. Further Reading
- 7. Images and Graphics
- Comparing Vectors and Bitmaps
- Scalable Vector Graphics
- The canvas Element
- When to Choose SVG or Canvas
- Summary
- H. Further Reading
- 8. New Forms
- New Input Types
- New Attributes
- Datalists
- On-Screen Controls and Widgets
- Displaying Information to the User
- Client-side Form Validation
- The Constraint Validation API
- Forms and CSS
- Summary
- I. Further Reading
- 9. Multimedia
- The Media Elements
- Media Fragments
- The Media API
- Media Events
- Advanced Media Interaction
- Summary
- J. Further Reading
- 10. Web Apps
- Web Apps
- Hybrid Apps
- TV Apps
- Webinos
- Application Cache
- Summary
- K. Further Reading
- 11. The Future
- Web Components
- The Future of CSS
- Summary
- L. Further Reading
- M. Browser Support as of March 2013
- The Browsers in Question
- Enabling Experimental Features
- Chapter 1: The Web Platform
- Chapter 2: Structure and Semantics
- Chapter 3: Device-Responsive CSS
- Chapter 4: New Approaches to CSS Layouts
- Chapter 5: Modern JavaScript
- Chapter 6: Device APIs
- Chapter 7: Images and Graphics
- Chapter 8: New Forms
- Chapter 9: Multimedia
- Chapter 10: Web Apps
- Chapter 11: The Future
- N. Further Reading
- Introduction
- Chapter 1: The Web Platform
- Chapter 2: Structure and Semantics
- Chapter 3: Device-Responsive CSS
- Chapter 4: New Approaches to CSS Layouts
- Chapter 5: Modern JavaScript
- Chapter 6: Device APIs
- Chapter 7: Images and Graphics
- Chapter 8: New Forms
- Chapter 9: Multimedia
- Chapter 10: Web Apps
- Chapter 11: The Future
- Index
- About the Author
- Copyright
The Media API
One of the complaints about using plug-ins to display audio and video is that they are dumb elements on the page; you can’t interact unless the plug-in specifically makes itself available. The HTML5 media elements, however, have the big advantage of an extensive API that allows you access to information about the media file and makes interacting simple. You access the API through a set of interfaces: Each media element has shared properties and methods in the HTMLMediaElement interface; audio also has the unique HTMLAudioElement interface; and video has HTMLVideoElement.
The first two methods I’ll introduce have obvious functions: They are play() and pause(), and are simply applied to the media element. Given unique controls on a page, you might end up with a script like this to control them:
var pause = document.getElementById('pause'),
    play = document.getElementById('play'),
    video = document.getElementById('video');
pause.addEventListener('click', function () {
  video.pause();
}, false;
play.addEventListener('click', function () {
  video.play();
}, false;
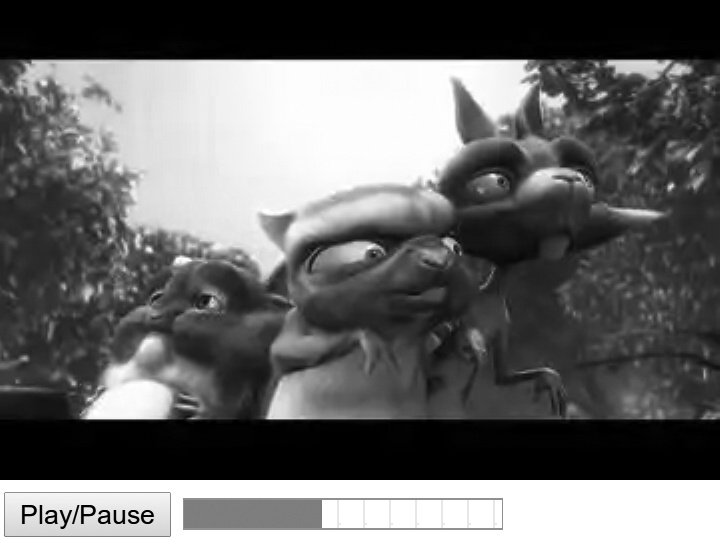
Separate buttons seem somewhat wasteful, so combining them into a Play/Pause button is more efficient. You can do this by adding an if…else statement to the code, checking to see whether the video is in a paused state using the paused property, which is Boolean. You can see this demoed in the file media-play-pause.html and shown in Figure 9-4.
var playPause = document.getElementById('play-pause'),
    video = document.getElementById('video');
playPause.addEventListener('click', function () {
  if (video.paused) {
    video.play();
  } else {
    video.pause();
  }
}, false);

The attributes of media elements are mirrored in the API so you can update them dynamically: preload can get or set the preload attribute and accepts the same values; autoplay, controls, loop, and muted set the relevant Boolean attributes; and src updates the path to a different media file. Note that if you do change the path to a new file, you have to use the load() method to load the new file into the cache:
video.src = 'bar.oga';
video.load();
Further information about the media file can be obtained through other properties. The currentSrc property returns the URL string of the file that’s currently being played; when you have multiple source elements, this lets you know which element the browser is currently using (depending on formats and media queries). The currentTime property returns a value, in seconds, of the current playback point; you can also use this property to set the time, handy if you want to build your own controls with a seek bar:
video.currentTime = 4.5;
If the user has interacted with the seek bar and the media is in the process of moving to a new position to resume playback, the seeking property returns true. You can get the duration of the media with the duration property and the time that playback begins with initialTime; both also return a value in seconds.
As an example of what you can use these timing properties for, take a look at the following code. In it, I’ve defined the video element and a progress element for measuring the progress through the video file. What I want to do is change the value of the progress bar to measure the progress through the video; this rate is determined by dividing the currentTime value by the duration.
To make this work, I rely on the new timeupdate event. I explain this more fully in Media Events; for now, you just need to know that the event is fired when the current time of the media file changes, such as when the file is being played. When it does fire, the progress bar is updated to show the current progression. You can try this for yourself in the file media-progress.html, shown in Figure 9-5.
var progress = document.querySelector('progress'),
    video = document.querySelector ('video');
video.addEventListener('timeupdate', function () {
  progress.value = video.currentTime / video.duration;;
}, false);
You can get or set the volume with the volume property, the value of which is a number between 0 and 1. This property is useful if combined with a range element to create a custom control, as in the following code example. When the range element changes value, the change event fires and updates the volume property with the current value divided by 100 (to match the scale of the volume). You can try this for yourself in the file media-volume.html and see it in Figure 9-6:
var video = document.querySelector('video'),
    volume = document.getElementById('range');
volume.addEventListener('change', function (e) {
  video.volume = e.currentTarget.value / 100;
}, false);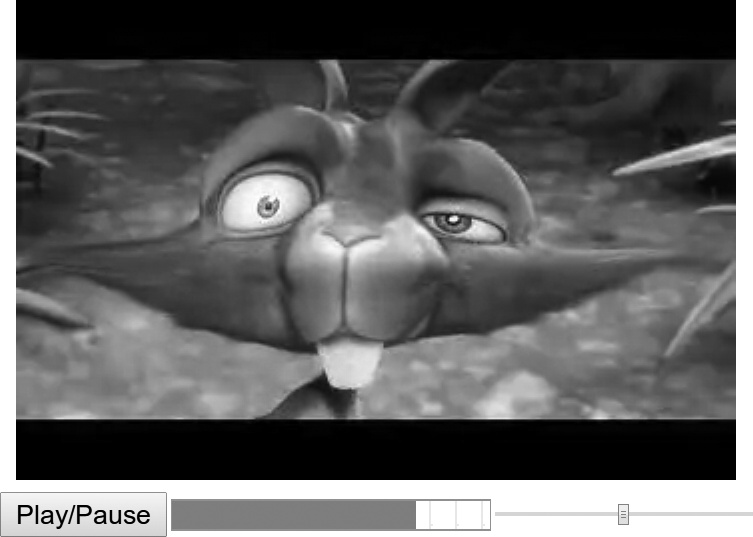
range element controls the video’s volume. With this, the video now has basic controls made using HTML elements and the Media Elements API.
The previous three code examples show how easily you can build custom media controls using HTML5 forms and UI elements; with a little extra work, you can replicate all of the basic media UI functionality and go even further to create completely tailor-made interfaces on your websites.
Network and Ready States
Media files tend to be quite large and don’t load all at once. Knowing a couple of things about them is useful: their current loading state and readiness to be played.
You can learn the first part using the networkState property, which has four value states: 0 means there is no data yet, 1 means the network is idle, 2 means the media is loading, and 3 means the media has loaded. You might use this property to add an on-screen indicator while the media is loading:
if (video.networkState === 2) { … }
Perhaps more useful though is the readyState property. This property is similar to the previous one in that it has value states, but these report on the readiness of the media to be played—whether it has loaded the metadata, loaded the file fully, and so on. The five states are:
-
0 when no information about the media is available
-
1 when the metadata of the media has loaded
-
2 when data is available about the current frame or playback position
-
3 when information about the current frame and at least the next one is available
-
4 when sufficient data and an acceptable download rate are available so the media can be played through to the end
For example, you might want to run a function only when metadata has loaded, say, to obtain a video’s duration. To do this, you need to check that the readyState is at least 1:
if (video.readyState > 0) { … }
Doing this requires constant polling (perhaps using setInterval()), so it’s not an optimal solution in all situations. A better solution is to get the browser to report this using an event, which I cover in “Media Events” below.
Extra Properties for Audio and Video
In addition to the shared properties and methods of all media types, both audio and video have a unique interface. The HTMLAudioElement interface has just a single extra method, audio(), which is a constructor used to create a new audio element. You can optionally add in a source URL as an argument:
var audio = new Audio('foo.oga');
The HTMLVideoElement interface contains a series of properties regarding the video’s appearance. You can use the poster property to get or set the poster attribute. The remaining four attributes regard dimensions: height and width are used for the dimensions of the element, whereas videoHeight and videoWidth are the dimensions of the video as it displays within the element.