Table of Contents for
Web Design Blueprints
 Web Design Blueprints
Published by
Packt Publishing, 2016
Web Design Blueprints
Published by
Packt Publishing, 2016
- Cover
- Table of Contents
- Web Design Blueprints
- Web Design Blueprints
- Credits
- About the Author
- About the Reviewer
- www.PacktPub.com
- Preface
- What you need for this book
- Who this book is for
- Conventions
- Reader feedback
- Customer support
- 1. Responsive Web Design
- Getting familiar with the basics
- Using media queries for responsive design
- Working with responsive media
- Building responsive layouts
- Summary
- 2. Flat UI
- Flat UI color
- Creating a flat UI layout
- Summary
- 3. Parallax Scrolling
- Color classes
- Using SVG font icons
- Getting the fonts
- That's no moon!
- OMG, it's full of stars!
- Clouds, birds, and airplanes
- The rocket
- Terra firma
- Next up, the CSS
- Styling the objects with CSS
- Styling the ground objects
- Writing the JavaScript effects
- Setting the row height
- Spreading the objects
- Spreading the clouds
- Loading the page functions
- Smoothening the scroll
- Updating elements on the scroller
- Collecting the moving elements
- Creating functions for the element types
- Setting the left positions
- Creating the rocket's movement function
- Finally, moving the earth
- Summary
- 4. Single Page Applications
- Getting to work
- Getting the old files
- Object and function conventions
- Creating utility functions
- Working with the home structure
- Setting up other sections
- Performing housekeeping
- Creating a callBack function for the API
- Summary
- 5. The Death Star Chapter
- Dropping in the parallax game
- Loading elements from JSON
- What can be done in the shared levels service
- Editing the home JavaScript
- Creating the other pages – credits and leaderboard
- Creating the second level
- Summary
- Index
The final piece in making this and the other local JavaScript work through the routing table is to wire it into the services.getPage function. This will be easy.
Before that, we first need to write a new callBack function to do something with the JavaScript that is in the content directories. And when it loads it, it loads into the header's SCRIPT element, where it runs. Create a new function as a method of the services.routing object called writeScript. It will receive the variables XHTTP, id, and hash.
services.routing.writeScript = function(xhttp,id,hash){
//Do Something
};
Inside it, first create a new variable called newScript equal to the document's createElement method, creating a SCRIPT element.
var newScript = document.createElement('script');The newScript variable has a property, text; set it equal to the string var id=" plus the hash variable plus ";. See the following example:
newScript.text = 'var id= "'+hash+'";';
Then add to that test property the XHTTP's responseText.
newScript.text += xhr.responseText;
Finally, for this callBack function, get from the document the element by tag name (variable) id, select its 0th item, and append to its child your newScript variable. This line of code is the magic. It will load the JavaScript into the document's HEAD SCRIPT element, and that will make it run asynchronously!
document.getElementsByTagName(id).item(0).appendChild(newScript);
Then, close the callBack function.
Now that we have written the callBack to execute the JavaScript, let's send it as a callBack to the services.getPage function. At the end of the services.routing.useArray function, create a new line of code. Call the services.getPage function, sending it the pageRoute's script property as the url variable, the head as the id variable, the services.routing.writeScript function as the callBack, and finally, add a fourth variable, hash. The hash will be sent to the local JavaScript files to use. In our framework, we are only setting them up to be used to console.log the id when the page loads.
See the following example to see the function call with the callBack.
services.getPage(pageRoute.script,'head',services.routing.writeScript,hash);
Almost there! We have to do something with the hash variable: add hash as the fourth variable received by the services.getPage function. See the following example:
services.getPage = function(url,id,callback,hash){
…
Next, in the services.getPage function, add hash to the callBack call as the third variable.
    xhttp.onreadystatechange = function () {
        if (xhttp.readyState == 4 && xhttp.status == 200) {
            callback(xhttp,id,hash)
        }
    };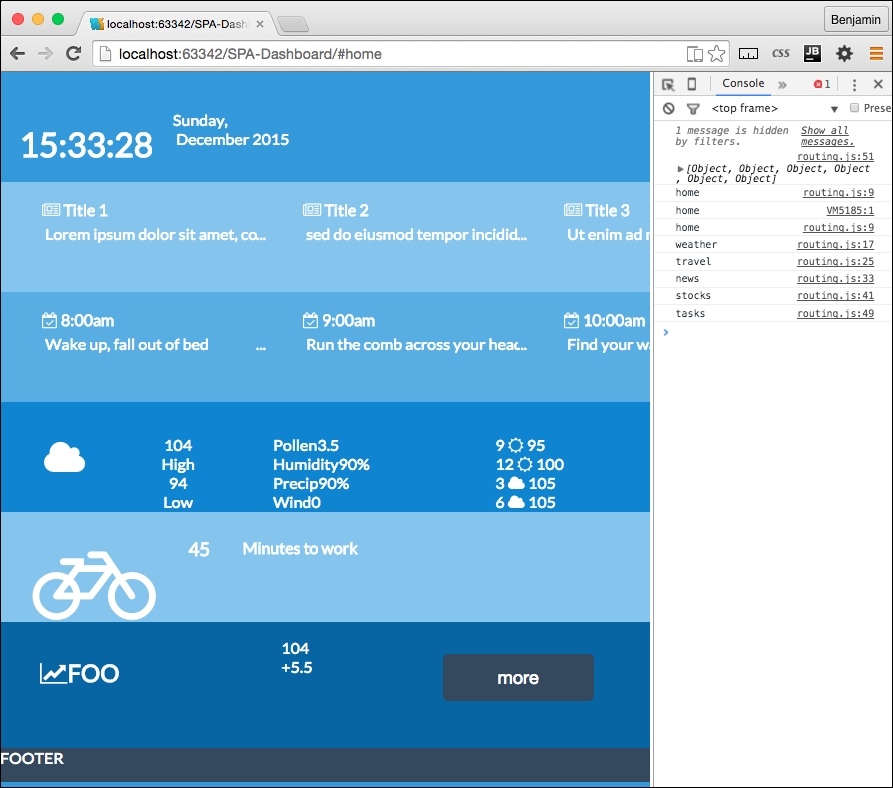
Now, refresh your page, and you can see it is loading all the home page sections. This is happening because you moved all the home page loading script into home.js, and the latest fix you crushed loads the local JavaScript files into the head script and runs them.
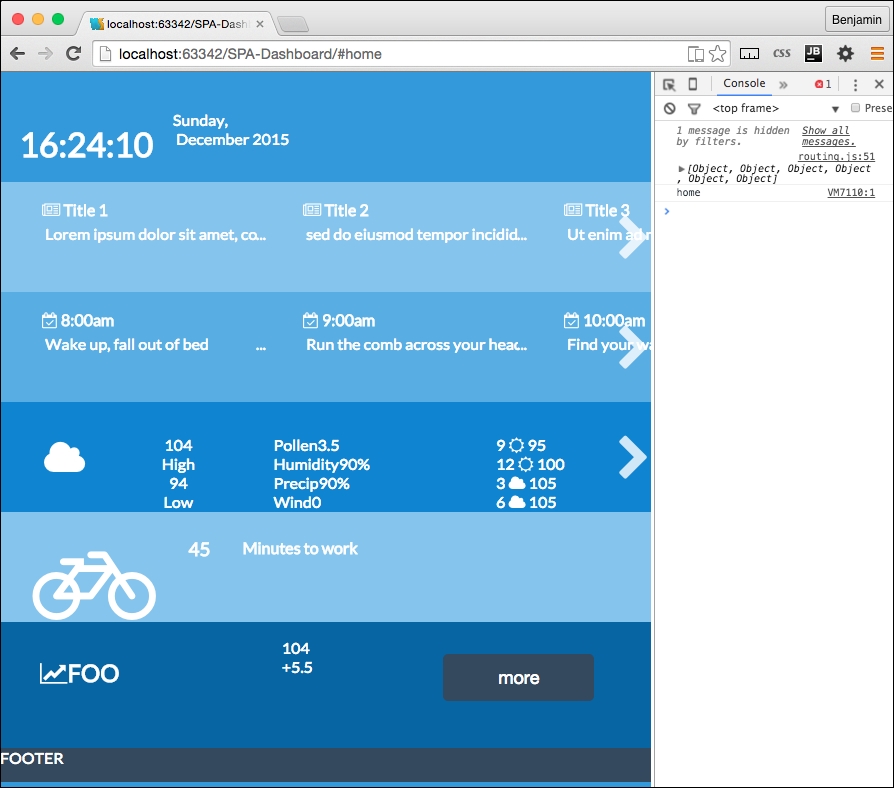
Now that the Single Page Application is working, let's add some navigation between the pages of the Single Page Application. You had previously created a link using the font awesome left chevron. Open up one of the local content pages (news.html, for example) and copy that link. Then paste it into home-new.html. Then, change the HREF attribute to point to #news and change the icon class to fa-chevron-right.
<a href="#news"><i class="fa fa-chevron-right fa-3x white"></i></a>
Do the same for tasks and weather. Refresh your screen, and you will see some broken layout. Here, yet again, is something we need to fix to keep our show on the road. This will be easily fixed with some additional CSS. Add a class to each of these I elements called right-link and then open your CSS file style.css. Here's the element with the new class added:
<a href="#news"><i class="fa fa-chevron-right fa-3x white right-link"></i></a>
In your style.css, add the right-link class selector before the media queries. Give it these properties: an absolute position, 0 to the right, a cursor for a pointer, 5% top margin, and 80% opacity. See the following example:
.right-link{
position:absolute;
right:0;
cursor:pointer;
margin-top:5%;
opacity:0.8
}
Now, refresh your screen and see the links are in a better place. Test them out and you will see the pages are loading up into the Single Page Application!
This is really great; it's a working framework. Let's get some real things going here. The remaining problem is that we have not fulfilled our goal, to make a working application; this is all just dummy data. I want you to have a real working Single Page Application. And besides, honestly, you have worked really hard to build a good foundation, and this is the fun part. You've earned some fun, so stick with me.
To get the application working, we need to get real data. There are numerous cool APIs you can play with. I did the homework for you and found ones that are a good fit for the needs of this app. You can replace them with your own if you like, and if you know of a better one, please contact me to let me know.
OK, let's get cracking on the fun stuff.
Let's just go down the list of our sections; the first one is the news section. There is some functional work you need to perform. Go to the New York Times Developer home page at http://developer.nytimes.com/docs and create an account to get an API key. The API key is a key string, much like a key for your home's door; you will need to use it to request news from their API. Once you have created the account and received a key, you can move forward. It won't take long.
Open up the /app/news/news.js file and create a new object, news. There it is, the same pattern again.
var news = {};Next, create a new method of the news object, called news.request. Inside this function, create new variables for your API key, base URL path, section, one for the response format, and then another variable for the request URL. The API documentation should supply you with expanded documentation. The value for the base URL is http://api.nytimes.com/svc/topstories/v1/, the section is world, and the response format is json. The URL variable is equal to the base URL plus the section, plus a period, plus the response format, plus the string ?api-key=, plus the API key variable. These variables are illustrated in the following example:
var apiKey = '1234567890qwerty';
var baseUrl = 'http://api.nytimes.com/svc/topstories/v1/';
var section = 'world';
var responseFormat = 'json';
var url = baseUrl + section + '.' + responseFormat + '?api-key=' + apiKey;
Next, call up the services.getPage function and send the variables it wants. It expects the url to load the content from, the id send to the callBack, the callBack, and the fourth variable, the hash, also to send to the callBack, if necessary, but not in this case. It will look like the following example:
services.getPage(url,'news-list',news.parseAjax);
Then, close the function. It will go through the same functional process as every other asynchronous call we sent through this way before, so I won't need to explain it. What we need to do one last time is write our final function to parse through the AJAX data returned through the function. So in the news.js file, create one more function called news.parseAjax. It will receive the variables XHTTP and the id. See the following example:
news.parseAjax = function(xhttp,id){
//Do Something
};
This function will parse the data and insert it into the list in the news partial template. So first, create a new variable called data equal to the result of parsing the JSON object in the response text of the XHTTP response.
var data = JSON.parse(xhttp.responseText);
Next, create an empty string variable called newsHTML as a placeholder. Then, create a for loop to go through the first four new stories returned in the JSON object. Each iteration inserts parts of the response object into a list item that we will insert into the template to replace the hardcoded fake news. The API returns a URL, a title, and a brief abstract of the article. Which is everything we need. We just cut the LI list items out of the UL list in the template and replace the content with the data received. See the following example:
var newsHtml = '';
for(i=0;i<4;i++){
newsHtml+='<li class="ellipsis"><a href="'+data.results[i].url+'"><h4 class="dark"><i class="fa fa-newspaper-o"></i> '+data.results[i].title+'</h4>'+'<p>'+data.results[i].abstract+'</p></a></li>';
}Insert this into the HTML identified by the id variable sent and then close the function. See the following example:
document.getElementById(id).innerHTML=newsHtml;
Finally, call the news.request function from the last line of the news.js code. This will execute the function when this JavaScript file is loaded asynchronously into the HEAD SCRIPT element.
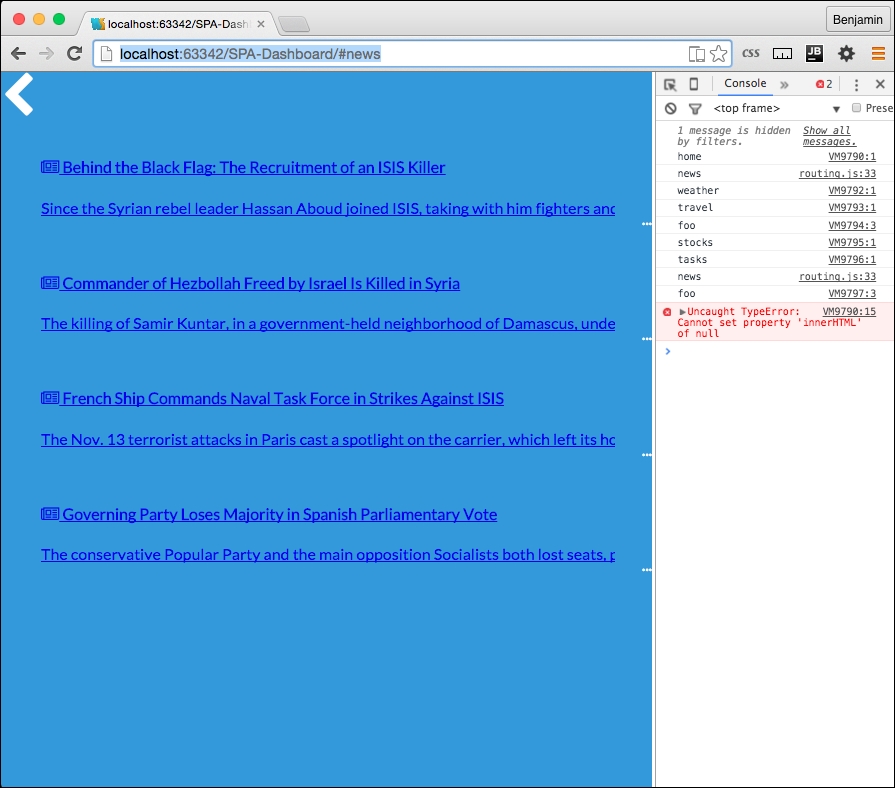
To make this work, we need to add the id to the HTML. So, add the id to the parent UL in the news.html and home-news.html files. You can delete the child list items too. This page now looks like this:
<a href="#home"><i class="fa fa-chevron-left fa-3x white left-link"></i></a>
<ul id="news-list">
</ul>
Now you can pull up the URL http://localhost:63342/SPA-Dashboard/#news and see that it has loaded up the content from the API; that's totally awesome. But wait! If you go back home, it does not load! Did I cheat you? Only a little. We still need one tiny piece of code left to finish it and make it load up in the home page.
Finally, finally, finally, we need to do one last thing to load up this JavaScript file and the others into the home page header script. So, go back to your home.js, and append a conditional if statement to the end of the home.loadsections function for loop. The conditional if checks the routesArray array's current value, or value in the current index, path property to not be equal to home. If the condition is true, or if the current loop in the routing table is not home, do something. That something is to call up the services.getPage function, sending the pageRoute's script, a string head, the callBack services.routing.writeScript, and finally for the hash value, routing.routesArray's current iteration's path value. This will load up each section's JavaScript, so whatever you have written in them will execute here and now. See the following example of the home.loadSections function in its entirety:
home.loadSections = function() {
for (i = 0; i < routing.routesArray.length; i++) {
routing.routesArray[i].callBack.call();
services.getPage(pageRoute.partial,routing.routesArray[i].path,services.routing.writeHTML);
if(routing.routesArray[i].path!='home'){ services.getPage(pageRoute.script,'head',services.routing.writeScript,routing.routesArray[i].path);
}
}
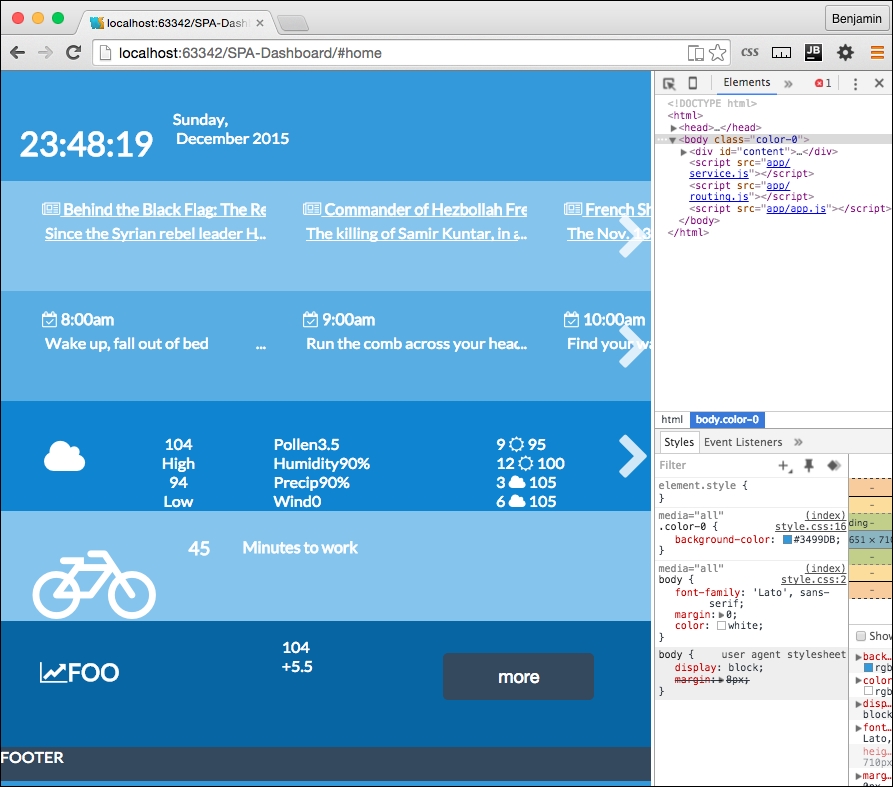
};Now, take a look, and you will see your AJAX news is loading into the page. This works really well.
There is still some more coding you can do if you want to finish the page. The rest of the local JavaScript will look very much like news.js. I believe that you are now knowledgeable enough to figure it out, or you can download the rest of the project from GitHub and look.
I will, however, lead you in the right direction to find some more suitable APIs for your data.
For stocks, the most reliable API I found was from Yahoo; here is a sample URL path for returning information on four stocks: http://query.yahooapis.com/v1/public/yql?q=select%20*%20from%20yahoo.finance.quotes%20where%20symbol%20in%20(%22YHOO%22%2C%22AAPL%22%2C%22GOOG%22%2C%22MSFT%22)%0A%09%09&env=http%3A%2F%2Fdatatables.org%2Falltables.env&format=json
For tasks, you can access Google Calendar as a JSON object, which will require some familiarity with their authentication model, or you could load it from a JSON file locally, like I have done in the sample project on GitHub.
Travel led me to some interesting places, no pun intended. My first instinct was to look at Google Maps, but the documentation implied that I need to show a map on the screen if I used their API, and then there is their authentication model again. The authentication is not extremely difficult, but it is out of the scope of this book. So I found instead a really cool API at Graphhopper. You need to register to get an API KEY, but it works pretty well, and you can request time to travel for different types of vehicles from two points, or multiple points.
Weather was a little more complicated. To get all the information on the screen, I needed to go through three different API services and mix the data. I used Open Weather Map, and two different Wunderground APIs.
Here are the examples I used:
http://api.openweathermap.org/data/2.5/weather?q=Houston,tx&APPID=1234567890qwerty
http://api.wunderground.com/api/1234567890qwerty/conditions/q/TX/Houston.json
http://api.wunderground.com/api/1234567890qwerty/forecast/q/TX/Houston.json
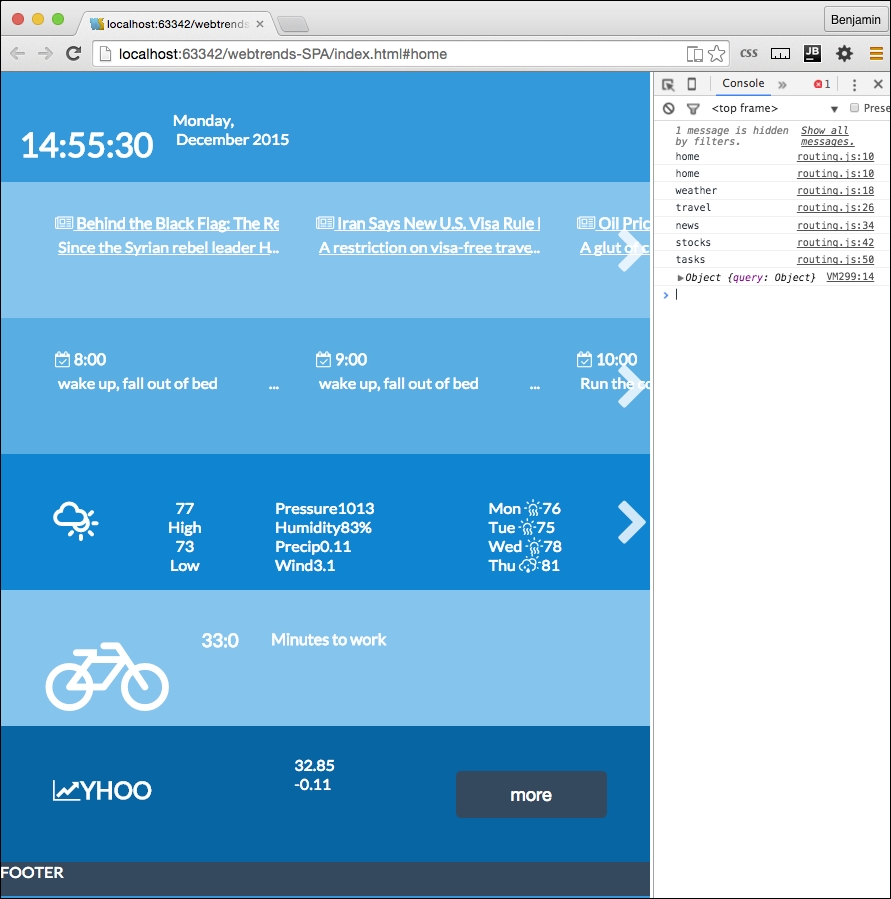
Here is a screenshot of what your Single Page Application will look like with all of the pages loading live data from the various APIs.
You are on your own from here, and I wish you good luck experimenting with APIs. This chapter has been tremendously fun for me to write, and I hope you have enjoyed it. There are many more cool things you can do with Single Page Applications and the asynchronous web. So live long and prosper!