In this section, we'll create a short new article to use for our example. Navigate to /node/create/article. For my title, I'll enter My Favorite Time. For the body, I've put Dawn is my favorite time of the day. Note that below the Body text field there is a language selector. Since it is defaulting to English, I'll leave it unchanged and save my article. If you still have Content moderation active, don't forget to save your article as Published rather than Draft.
In order to provide content translations, we need to enable Content translation. Let's navigate to Extend (/admin/modules) and do that.
With content translation enabled, we have two ways in which to begin a translation: the Translate tab, that will now be present beside the View, Edit, and Delete tabs when viewing the content, or, as a Translate option via the admin content page, /admin/content, on each Operations selection. Use either to proceed to the translations list for your article.
My translations list looks like this:
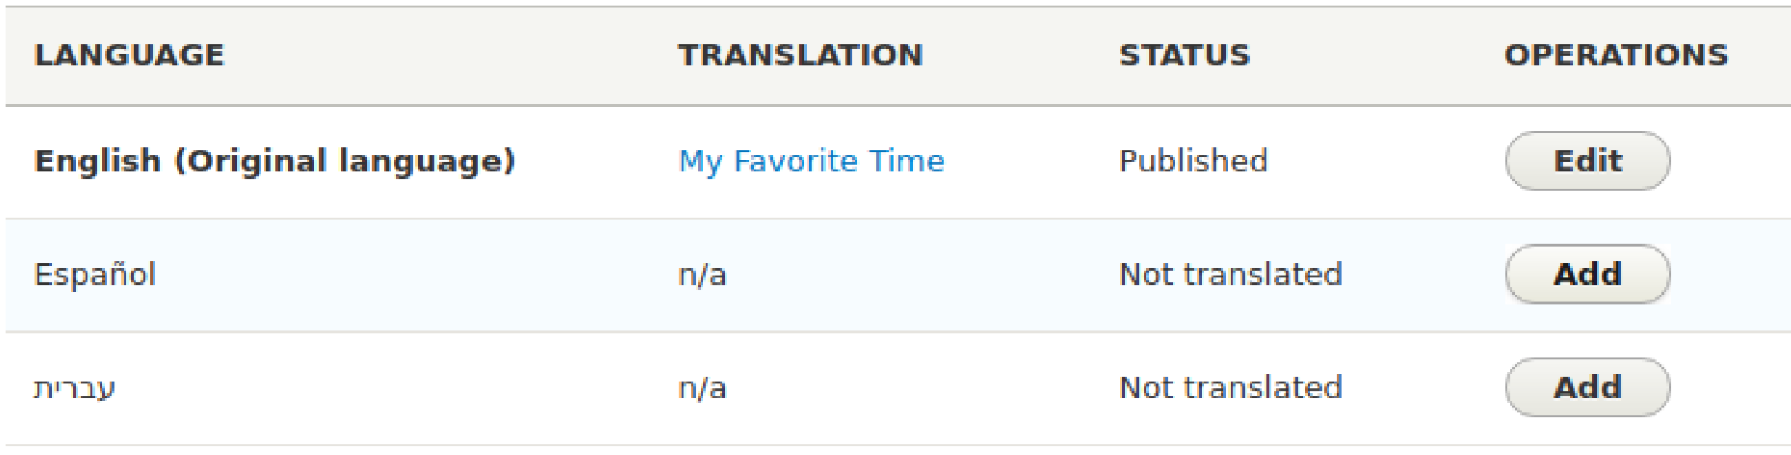
Each piece of content will have rows corresponding to each configured language. The status column identifies whether the content has been translated to that language. If it has, there will be an Edit button. If not, there will be an Add button. I'll click Add in the row for the Spanish translation.
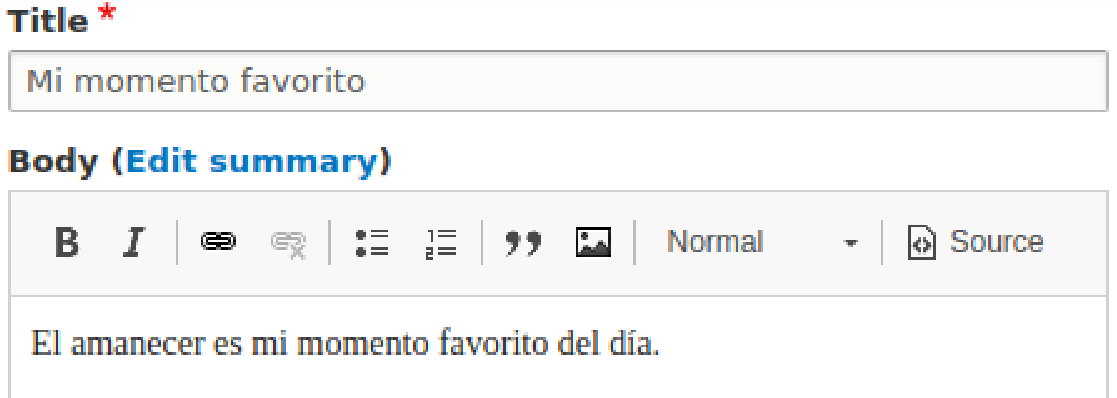
When clicked, the familiar form for editing a node appears. In fact, it appears with the content already filled in for each field. You might think that something is amiss, because there was not supposed to be a translation yet for this language, but there is content instead of empty fields, and it's not the correct language. Don't panic! The content is supposed to be present for you to see what actually needs to be translated, rather than trying to remember. It will appear in the default language. I'm going to translate the title and body text. My form will now look as it does in the following screenshot. Once your translated content seems ready, click the Save (all translations) button:
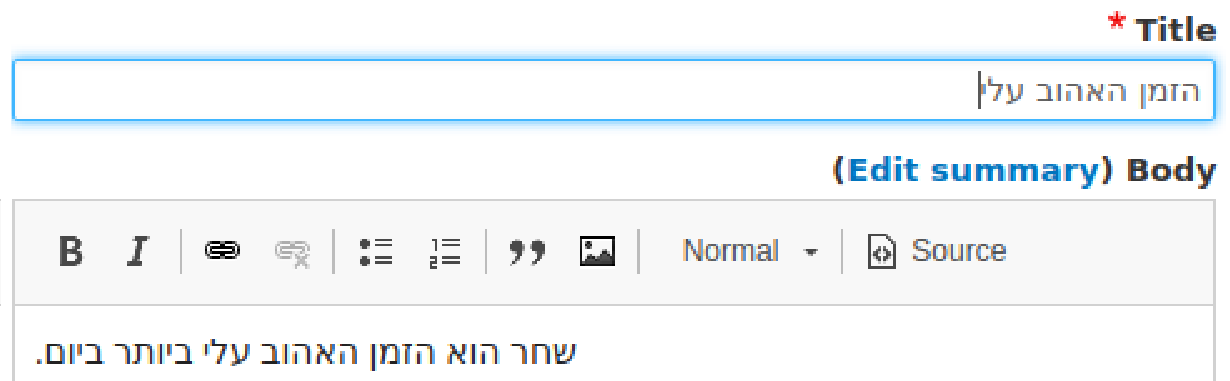
Having saved this translation, the translation list for my content now shows Español, with its translated title, as being published. Next, I'll create a Hebrew translation and save it. The content edit form looks different, because with a right-to-left language, the text fields appear on the right and the metadata fields on the left:
And that's it! The content is now available in three languages (in the next section, we will discuss how a user accesses them).
How does this work behind the scenes? When Drupal stores the field information in the database, part of the index used to find that information is code referring to the language. When you create the content, initially, a node ID—an integer value—is assigned to it. Regardless of how many language translations you create, the node ID remains the same. So, the index for the English version might include the code en for English, es for Spanish, and he for Hebrew.
You might be wondering, how does the user select the desired language? That's what we'll be covering next!