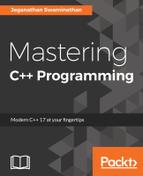
Learning the Google test framework is pretty easy. Let's create two folders: one for production code and the other for test code. The idea is to separate the production code from the test code. Once you have created both the folders, start with the Math.h header, as shown in Figure 7.6:
The Math class has just one function to demonstrate the usage of the unit test framework. To begin with, our Math class has a simple add function that is good enough to understand the basic usage of the Google test framework.
In the place of the Google test framework, you could use CppUnit as well and integrate mocking frameworks such as the Google mock framework, mockpp, or opmock.
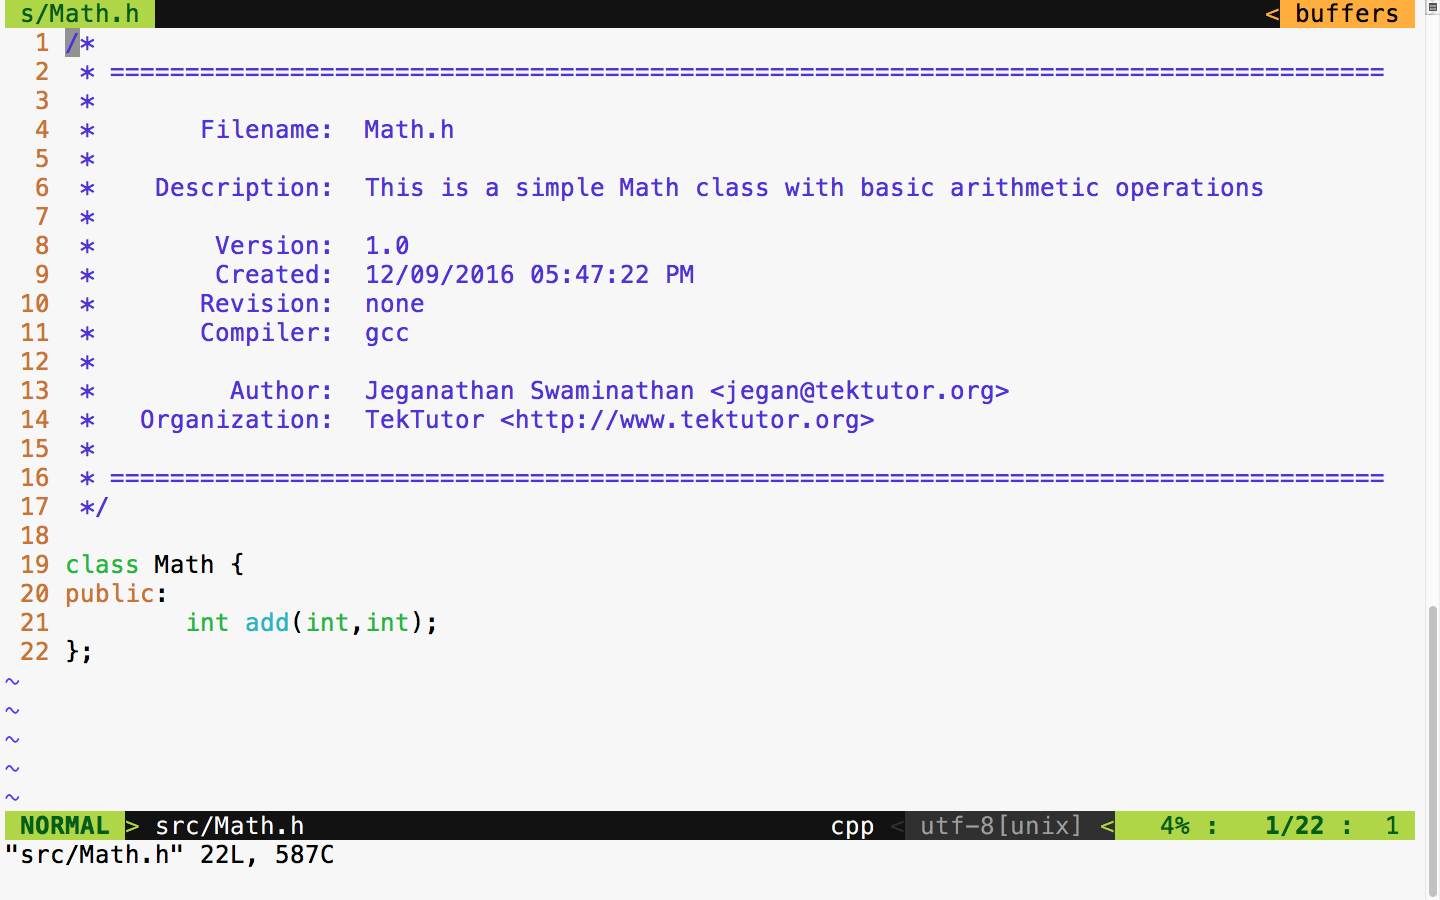
Let's implement our simple Math class in the following Math.cpp source file:
The preceding two files are supposed to be in the src folder, as shown in Figure 7.8. All of the production code gets into the src folder, and any number of files can be part of the src folder.

As we have written some production code, let's see how to write some basic test cases for the preceding production code. As a general best practice, it is recommended to name the test case file as either MobileTest or TestMobile so that it is easy for anyone to predict the purpose of the file. In C++ or in the Google test framework, it isn't mandatory to maintain the filename and class name as the same, but it is generally considered a best practice as it helps anyone locate a particular class just by looking at the filenames.
Both the Google test framework and Google mock framework go hand in hand as they are from the same team, hence this combination works pretty well in the majority of the platforms, including embedded platforms.
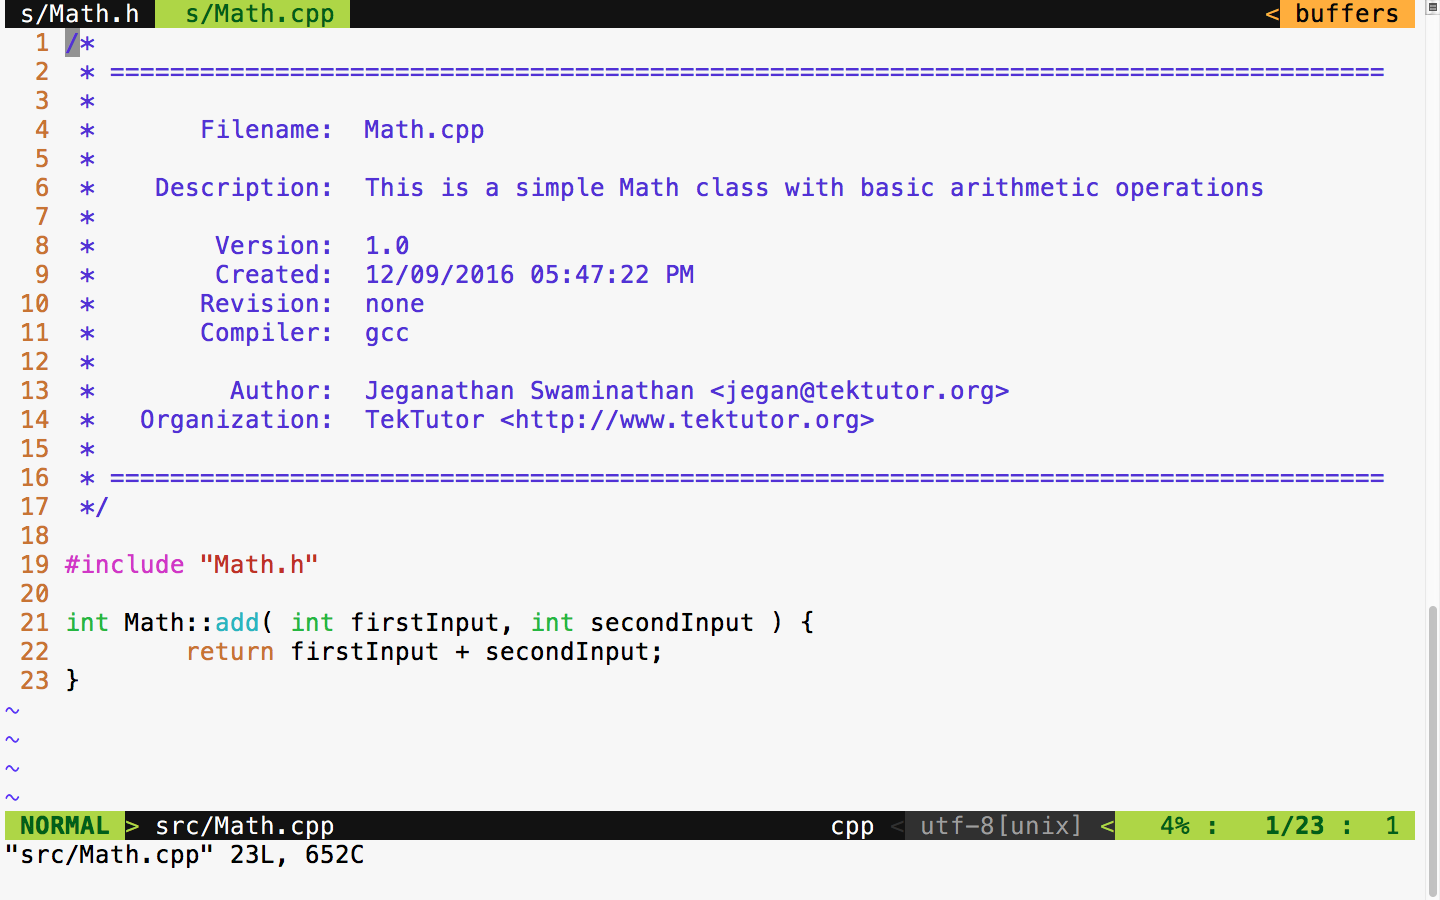
As we have already compiled our Google test framework as a static library, let's begin with the MathTest.cpp source file straight away:
In Figure 7.9, at line number 18, we included the gtest header file from the Google test framework. In the Google test framework, test cases are written using a TEST macro that takes two parameters. The first parameter, namely MathTest, represents the test module name and the second parameter is the name of the test case. Test modules help us group a bunch of related test cases under a module. Hence, it is very important to name the test module and test case aptly to improve the readability of the test report.
As you are aware, Math is the class we are intending to test; we have instantiated an object of the Math object at line 22. In line 25, we invoked the add function on the math object, which is supposed to return the actual result. Finally, at line 27, we checked whether the expected result matches the actual result. The Google test macro EXPECT_EQ will mark the test case as passed if the expected and actual result match; otherwise, the framework will mark the test case outcome as failed.
Cool, we are all set now. Let's see how to compile and run our test case now. The following command should help you compile the test case:
g++ -o tester.exe src/Math.cpp test/MathTest.cpp -I googletest/googletest
-I googletest/googletest/include -I googletest/googlemock
-I googletest/googlemock/include -I src libgtest.a -lpthread
Note that the compilation command includes the following include path:
-I googletest/googletest
-I googletest/googletest/include
-I googletest/googlemock
-I googletest/googlemock/include
-I src
Also, it is important to note that we also linked our Google test static library libgtest.a and the POSIX pthreads library as the Google test framework makes use of multiple .
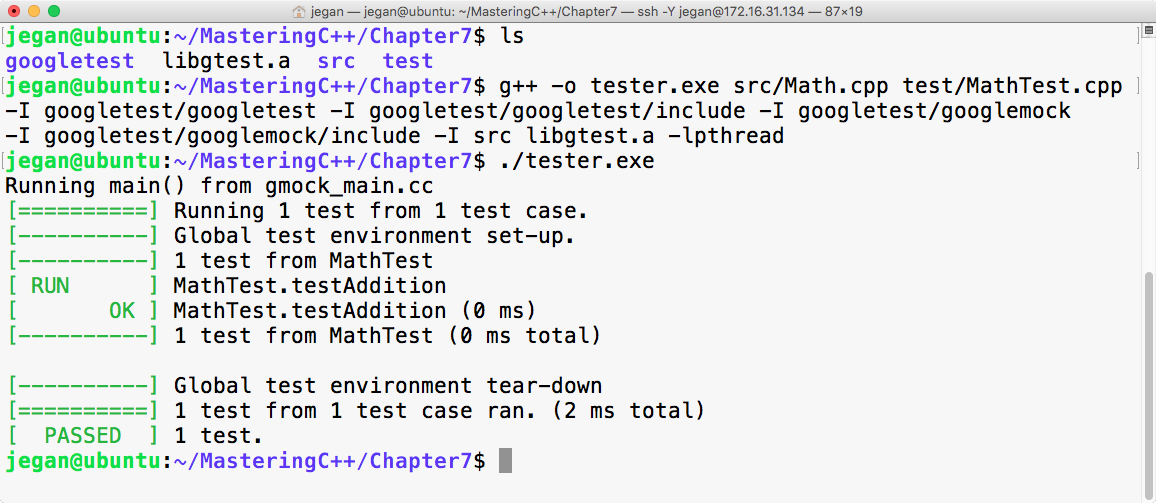
Congrats! We have compiled and executed our first test case successfully.