You can install PostGIS by installing PostgreSQL and then install PostGIS afterwards, or you can install PostgreSQL and then use Stack Builder, which comes with PostgreSQL, afterwards to add PostGIS. Using Stack Builder allows you to download the desired PostgreSQL version and with a single-click also get the correct PostGIS version.
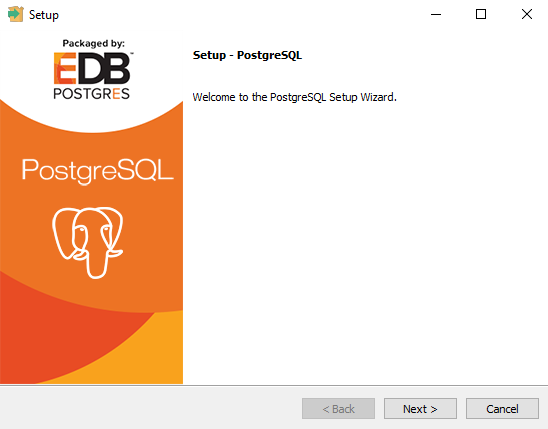
As we proceed, I will walk you through installing PostgreSQL and then using Stack Builder to add PostGIS and a database. After downloading the executable, run it by double-clicking it. You will see the wizard as follows:
You can choose where to install PostgreSQL, but it is probably best to leave it as the default unless you have a specific reason to locate it elsewhere:

Again, it is probably best to store the data in the default location, which is the same root folder as the PostgreSQL installation:

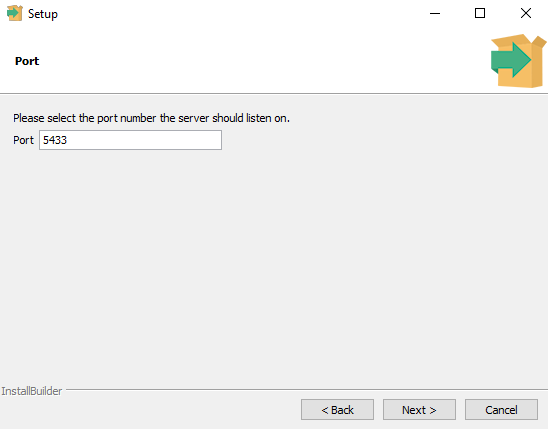
Select the port in which you would like to run PostgreSQL. Applications will expect to find PostgreSQL on this port, so change it at your own risk. More advanced users can reconfigure port channels in the .config file after installation:
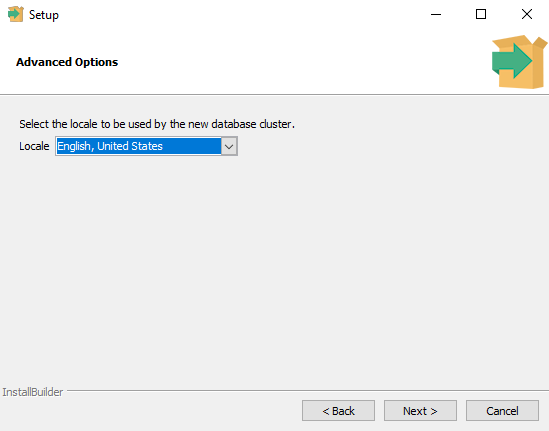
Choose your Locale, or select the default. I have selected English, United States:
This is where you are presented with the option to launch Stack Builder, and from there, you can install PostGIS. Check the box to begin the installation. The installation should only take a few minutes on a newer system:

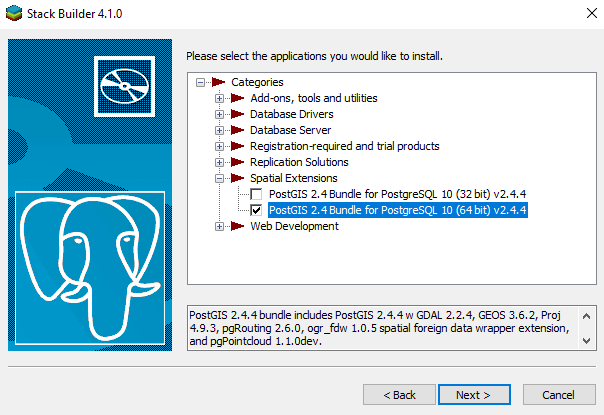
The PostgreSQL installation has been completed and Stack Builder should now be open. Under Spatial Extensions, select the proper version of PostGIS 32 or 64-bit. Notice that it is a bundle and includes other packages such as pgRouting:
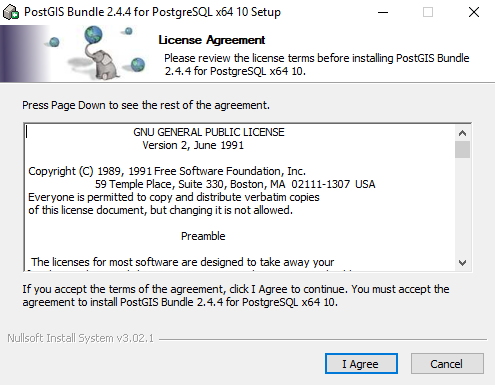
Now, the install wizard for PostGIS will launch. You have to agree to the terms of the license:
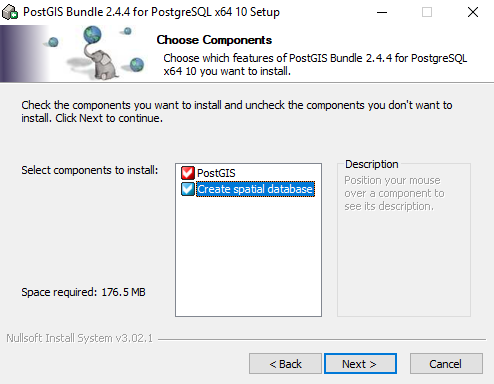
You can create a database at any time and this chapter will show you how to, however, it is best to check the Create spatial database box and take care of it now. If you do, your database will be set up and ready to use once PostGIS is installed:
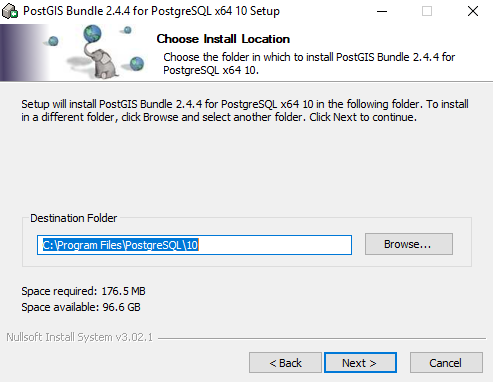
PostGIS will try to install where PostgreSQL was installed:
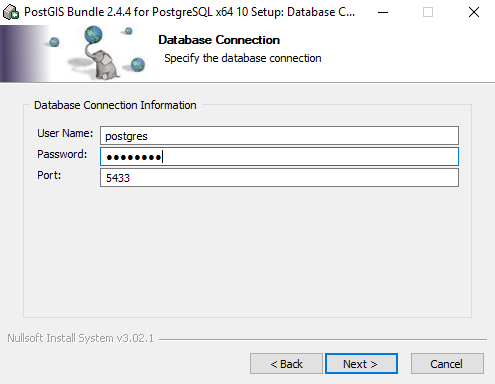
Enter the username, password, and port for the database. The examples in this chapter will use postgres (username) and postgres (password). If you select a different username and password combination, remember it. In production, it is best not to use default usernames and passwords as they are well-known and will make you an easy target for hackers:
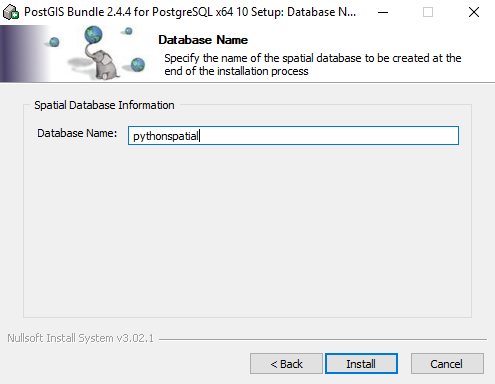
Enter the name for the database. The examples we will be looking at will use pythonspatial as the database name. You will only use the name for the initial connection. The SQL queries in the example will use the table name: