Table of Contents for
Mastering Responsive Web Design
 Mastering Responsive Web Design
Published by
Packt Publishing, 2015
Mastering Responsive Web Design
Published by
Packt Publishing, 2015
- Cover
- Table of Contents
- Mastering Responsive Web Design
- Mastering Responsive Web Design
- Credits
- About the Author
- Acknowledgment
- About the Reviewers
- www.PacktPub.com
- Preface
- What you need for this book
- Who this book is for
- Conventions
- Reader feedback
- Customer support
- 1. Harness the Power of Sass for Responsive Web Design
- The basic concepts of Sass for RWD
- Summary
- 2. Marking Our Content with HTML5
- The
element - The
element - The
- The
element - The
- The
- Using WAI-ARIA landmark roles to increase accessibility
- A full HTML5 example page with ARIA roles and meta tags
- Output screenshots for desktop and mobile
- Summary
- 3. Mobile-first or Desktop-first?
- Sass mixins for the mobile-first and desktop-first media queries
- Dealing with legacy browsers
- How to deal with high-density screens
- Sometimes RWD is not necessarily the right solution
- Retrofitting an old website with RWD
- Retrofitting with AWD
- Retrofitting with RWD
- Summary
- 4. CSS Grids, CSS Frameworks, UI Kits, and Flexbox for RWD
- CSS grids
- CSS frameworks
- UI kits
- The pros and cons of CSS frameworks for RWD
- Creating a custom CSS grid
- Building a sample page with the custom CSS grid
- Stop using CSS grids, use Flexbox!
- Summary
- 5. Designing Small UIs Driven by Large Finger
- The posture patterns and the touch zones
- The nav icon – basic guidelines to consider for RWD
- The navigation patterns for RWD
- Summary
- 6. Working with Images and Videos in Responsive Web Design
- Third-party image resizing services
- The
element and the srcset and sizes attributes - Replacing 1x images with 2x images on the fly with Retina.js
- Making videos responsive
- The Vector Formats
- Summary
- 7. Meaningful Typography for Responsive Web Design
- Calculating relative font sizes
- Creating a Modular Scale for a harmonious typography
- Using the Modular Scale for typography
- Web fonts and how they affect RWD
- Sass mixin for implementing web fonts
- Using FlowType.js for increased legibility
- Summary
- 8. Responsive E-mails
- Don't overlook your analytics
- Recommendations for building better responsive e-mails
- Responsive e-mail build
- Third-party services
- Summary
- Index
Before we dive into mastering responsive web design, we need to be on the same page as far as technologies go, in our case, CSS preprocessors and, specifically, Sass.
In this book, all CSS is going to be written in Sass in SCSS format. The way we write CSS has changed; it has improved tremendously.
CSS preprocessors such as Sass, LESS, and Stylus give the web/mobile designers and developers new superpowers. Yes, I used the word superpowers because that's exactly how I felt only a few hours after using Sass for the first time, and what I used was as basic as it gets:
.navigation-bar {
    display: flex;
    li {
        padding: 5px 10px;
    }
}
See the nested li selector? Yeah, that's Sass in action. When the preceding code is compiled, this is what it looks like:
.navigation-bar {
   display: flex;
}
.navigation-bar li {
   padding: 5px 10px;
}
Tip
Downloading the example code
You can download the example code files from your account at http://www.packtpub.com for all the Packt Publishing books you have purchased. If you purchased this book elsewhere, you can visit http://www.packtpub.com/support and register to have the files e-mailed directly to you.
Let's see what's in store for us in this chapter:
Knowing how Sass works is a matter of understanding several basic technological concepts:
- Sass can be based on two different technologies: Ruby or LibSass. In this book, we're going to use Sass based on Ruby.
- Sass is a Ruby gem. Gems are packages for use in Ruby. A Ruby gem is a software that runs only on Ruby. Ruby is a programming language, just like PHP, .NET, Java, and so on.
- We can make Sass run via the command line, but we can also run Sass with a third-party application, making the use of the command line unnecessary.
- Sass is a programming/scripting language used to create CSS.
- CSS is a very repetitive language. Sass allows authors to optimize those repetitive tasks and create CSS faster and more efficiently.
- Part of the Sass workflow is when Sass is watching an SCSS file, for example,
book-styles.scss. When it detects a change in that SCSS file, it then compiles it into a CSS filebook-styles.css.
Here are the steps we're going to follow:
- Download the Ruby installer
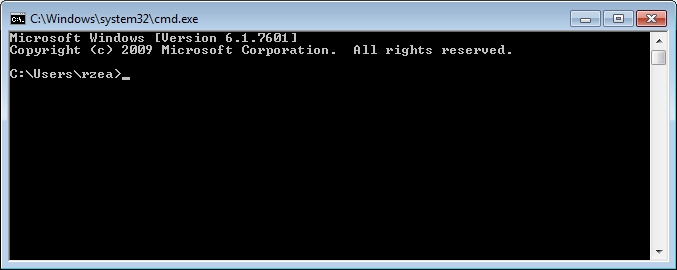
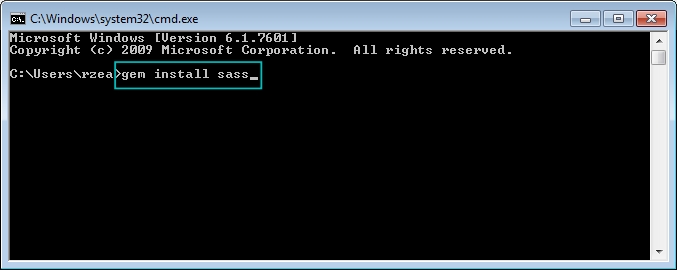
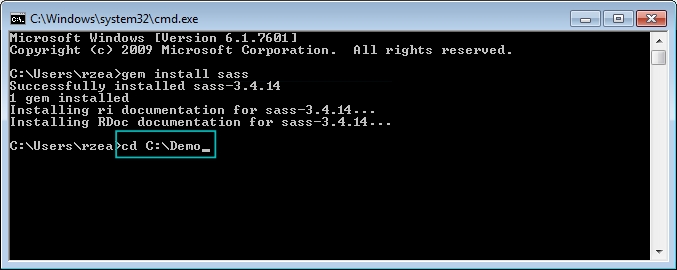
- Open the command line
- Install the Sass gem
Windows: Download the Ruby installer from the following link:
http://rubyinstaller.org/downloads/
Mac: Ruby comes preinstalled on all Macs, so there's no need to download anything.
What I'm about to show you is completely different to what any other Sass tutorial out there tells you to do. Most of those tutorials complicate things too much. This is the simplest way to use Sass you'll ever read.
The following screenshots are on Windows, but the process can be applied exactly the same regardless of platform.
In the following steps, you will see examples of how the necessary folders and files look after being created, not how to create them:
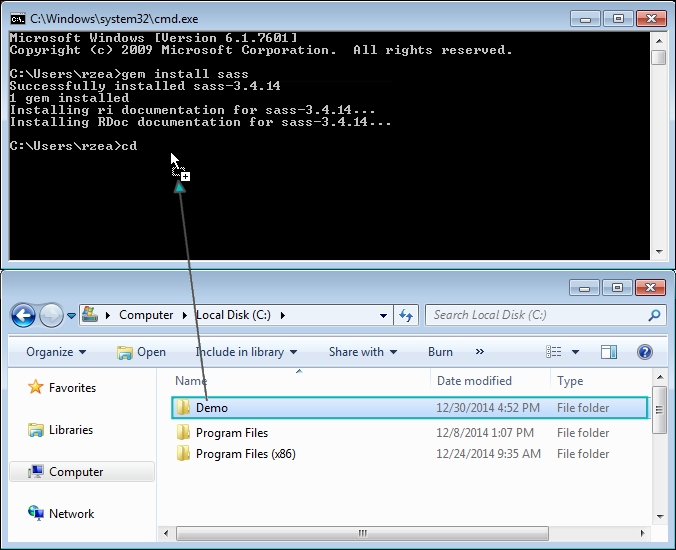
- Create a
/Demofolder anywhere on your drive: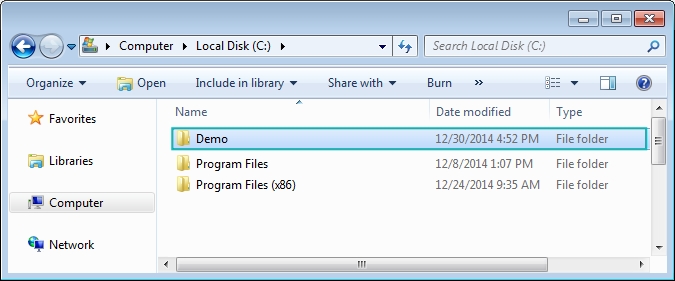
- Inside that folder, create two subfolders,
/cssand/scss: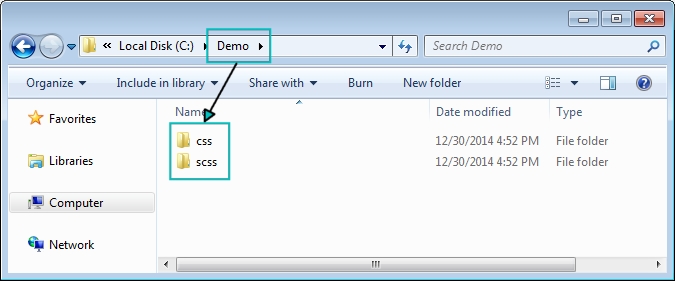
- Create a
.scssfile. Go into the/scssfolder and create a file calledstyles.scss: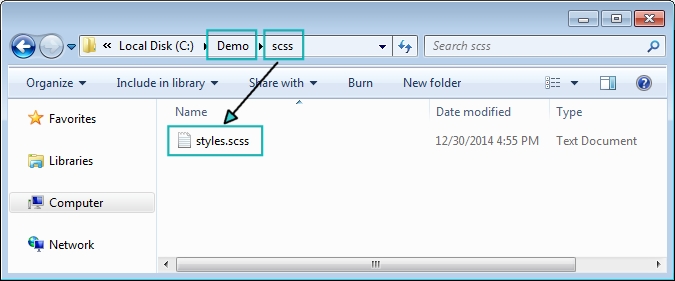
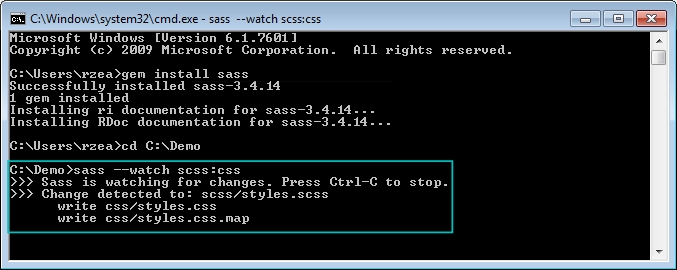
- Go back to the command line for a minute and follow these steps:
- Make Sass watch your
/scssand/cssfolders by typing this in the command line:sass --watch scss:css - Make Sass watch the
/scssand/cssfolders.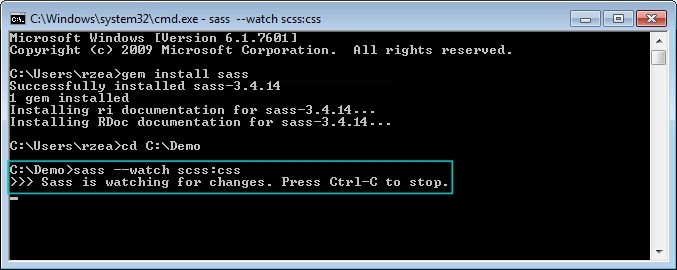
That's it! You are now using Sass!
- Edit the
.scssfile and watch Sass compile it into a.cssfile:- Open your text editor (I use Sublime Text).
- Open the
styles.scssfile. - Add some CSS to it.
- Save the
styles.scssfile. - From your command line/terminal, verify that the compiling was successful.
- Open your
styles.cssfile and enjoy your new creation.