Sometimes the amount of computation required to carry out a task can be enormous. This typically happens when there is a large dataset that has a size greater than the typical RAM size of a machine. It can also typically happen when the required processing on the data is huge.
In such cases, it is a good idea to switch to cloud-based analysis, which can help scale up a larger RAM size quickly. It can also avoid the need to purchase extended RAM to resolve an issue that might not occur very frequently. However, there is a cost to use cloud services, and certain configurations are more costly than others. You need to be careful when choosing a configuration and be disciplined so that you know when to stop using the cloud service.
Google Cloud Platform (GCP)
Microsoft Azure
Amazon Web Services (AWS)
In this chapter, we will work towards setting up a virtual machine in all the three cloud platforms. Once the instance is setup, we will learn about accessing Python and R on cloud.
Google Cloud Platform
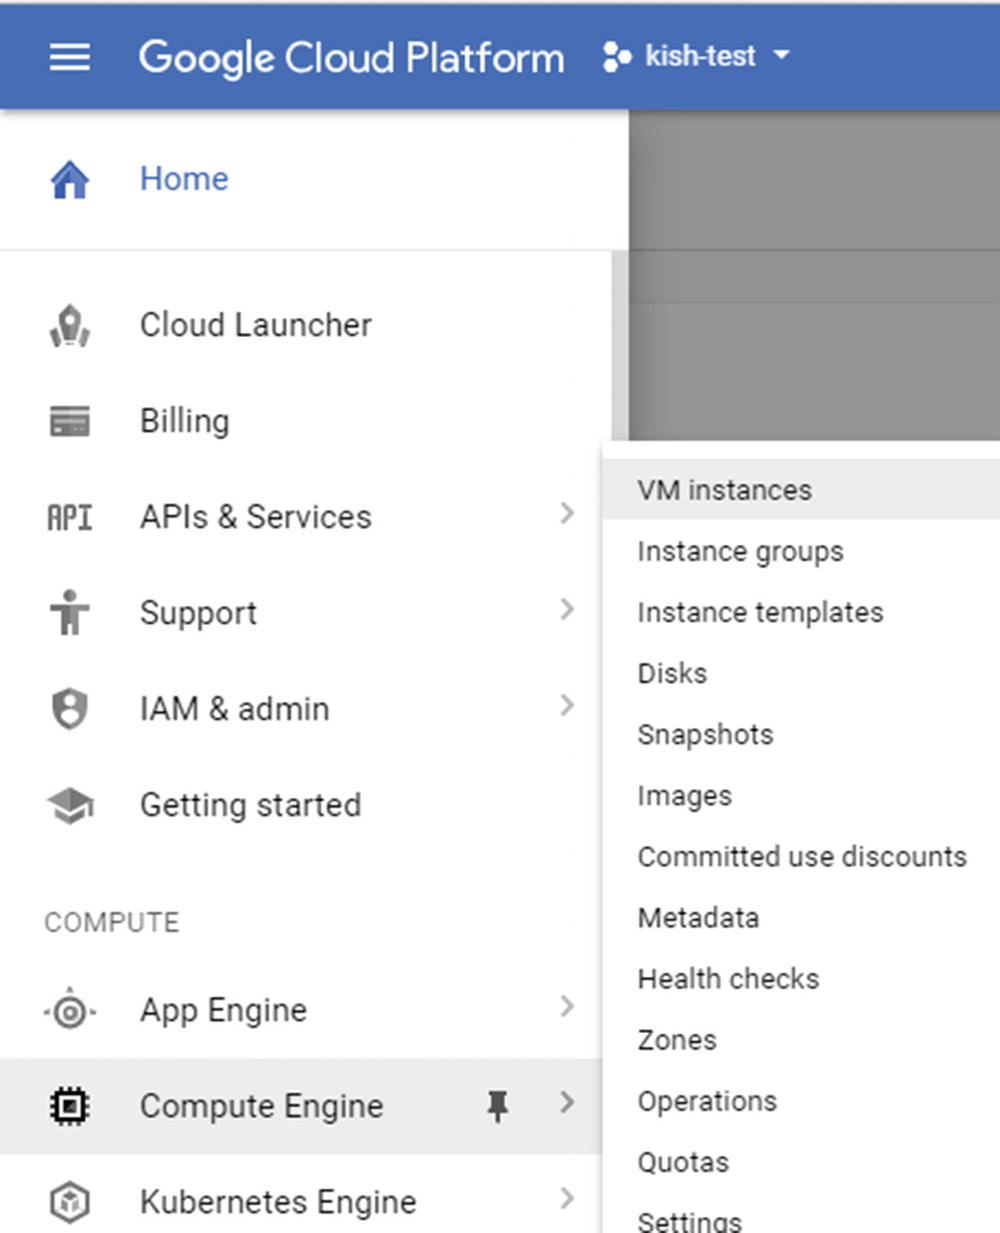
Selecting the VM option
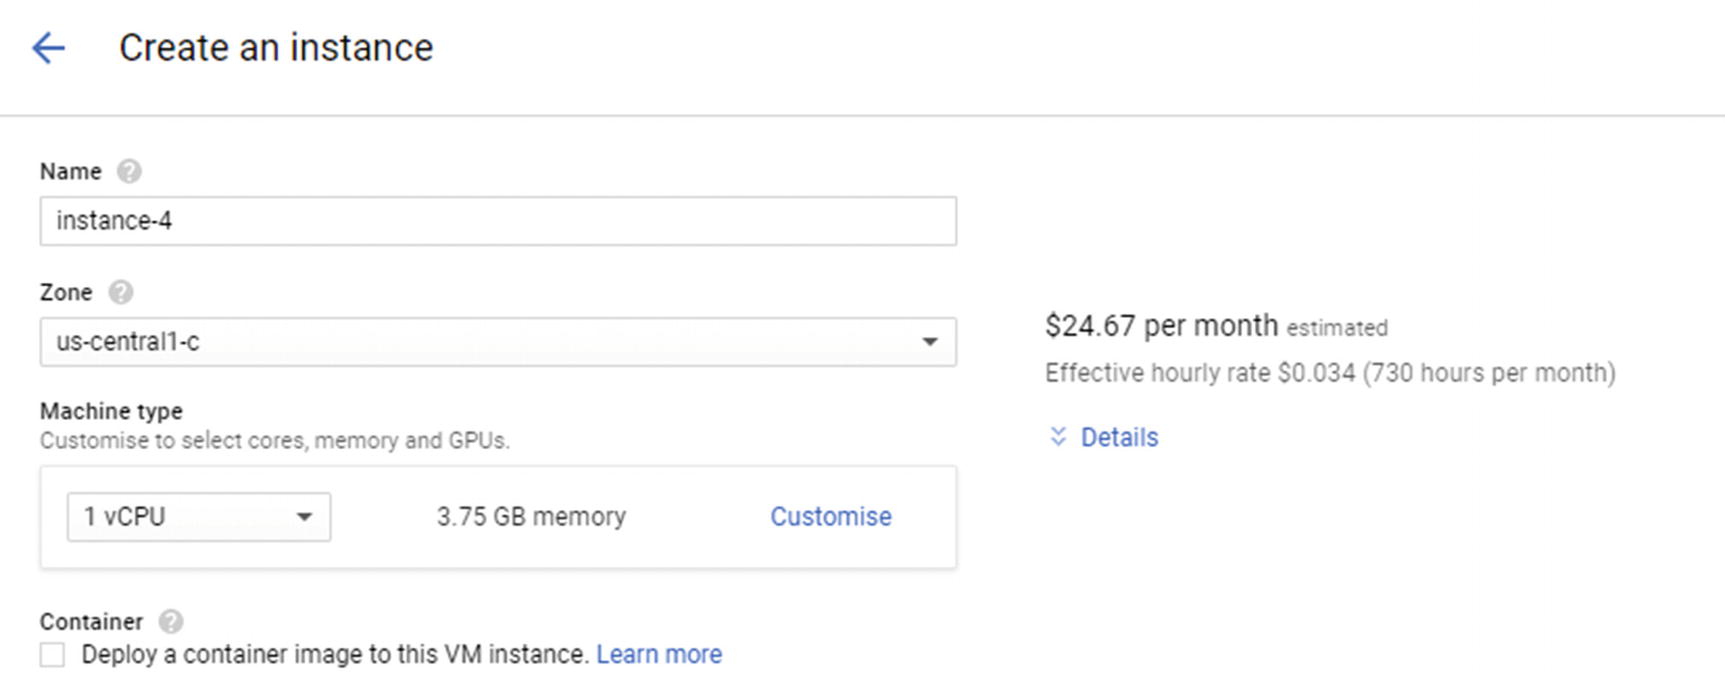
Options to create an instance
Depending on the dataset size, customize the machine type with the required cores, memory, and whether you need a GPU.
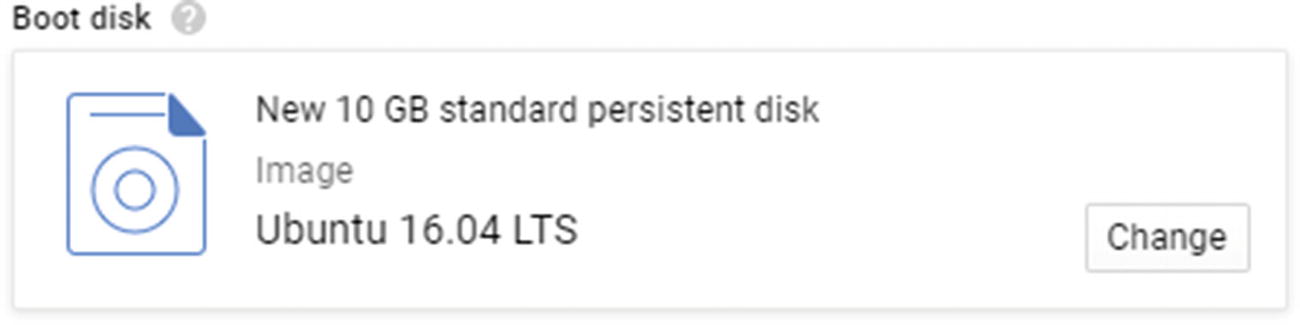
Selecting the OS
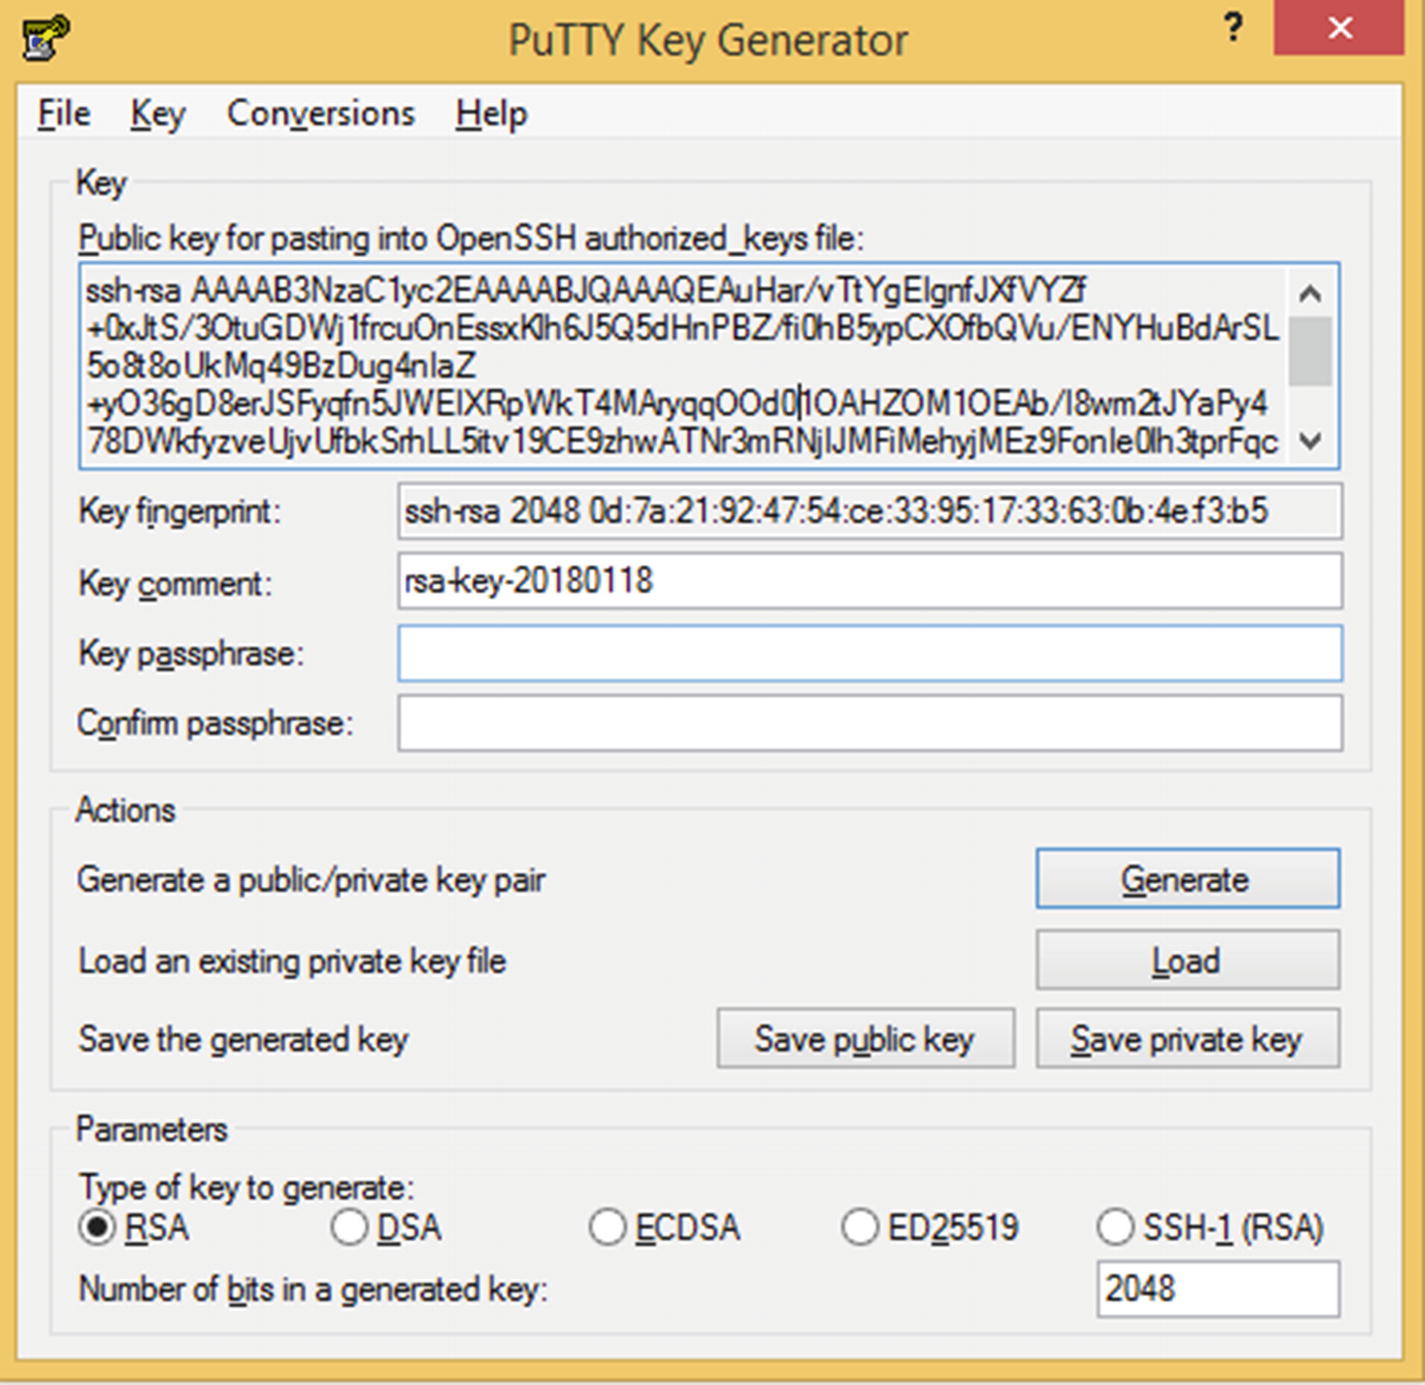
Generating a public/private key pair in PuTTYgen
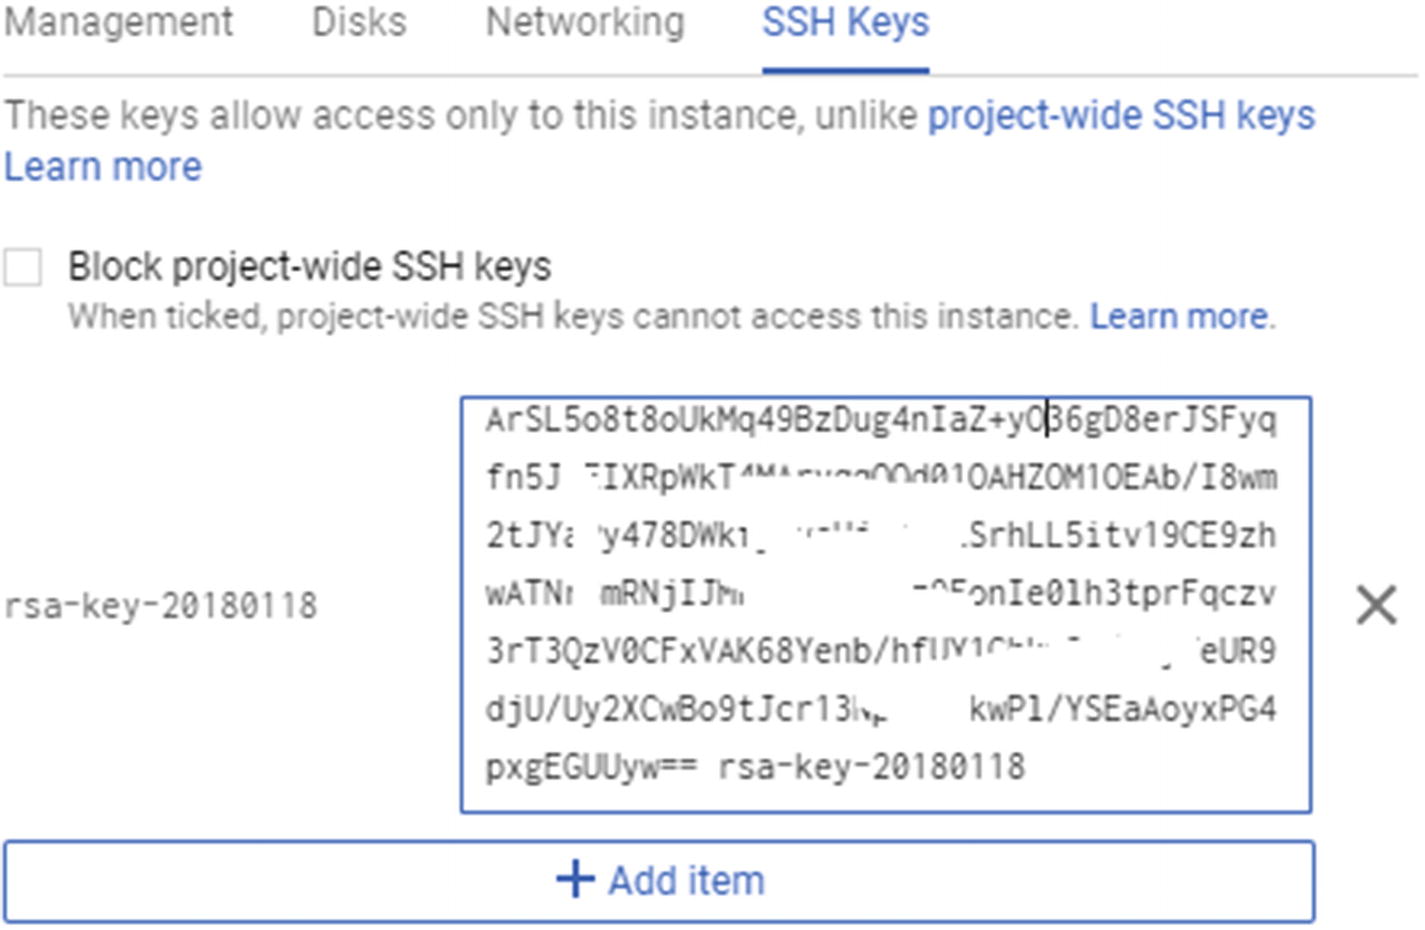
Pasting in the key
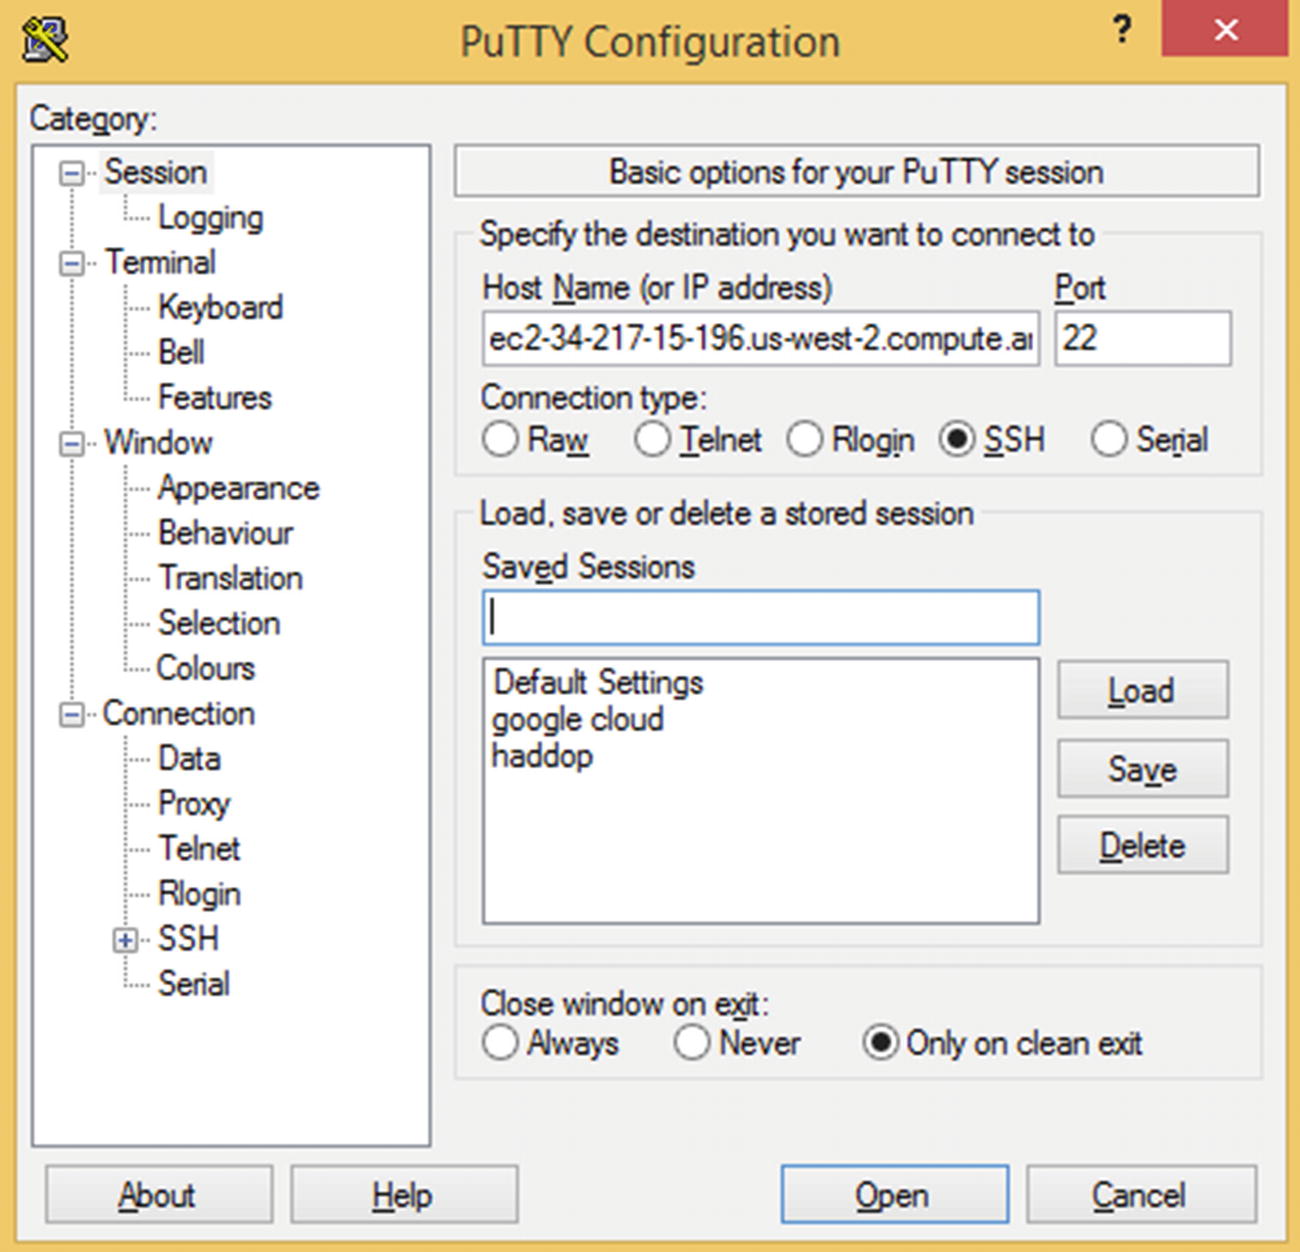
Click Create. That should create a new instance for you. It should also give you the IP address corresponding to the instance. Copy the IP address and paste it in PuTTY under Host Name.

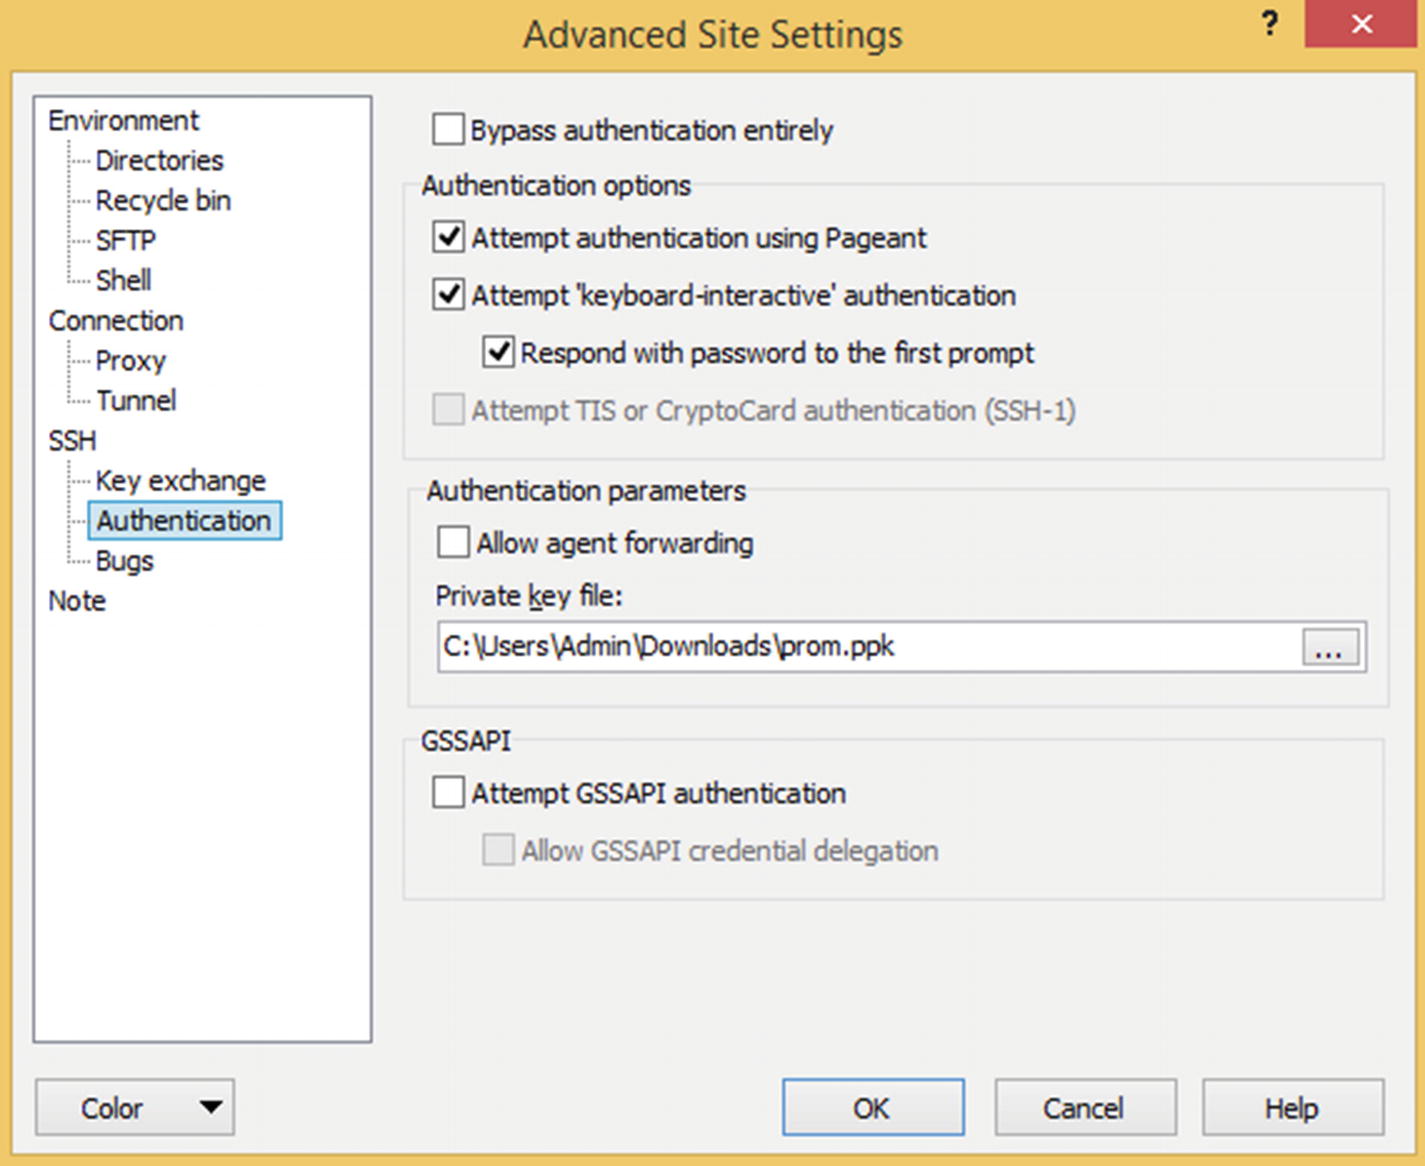
The Auth options
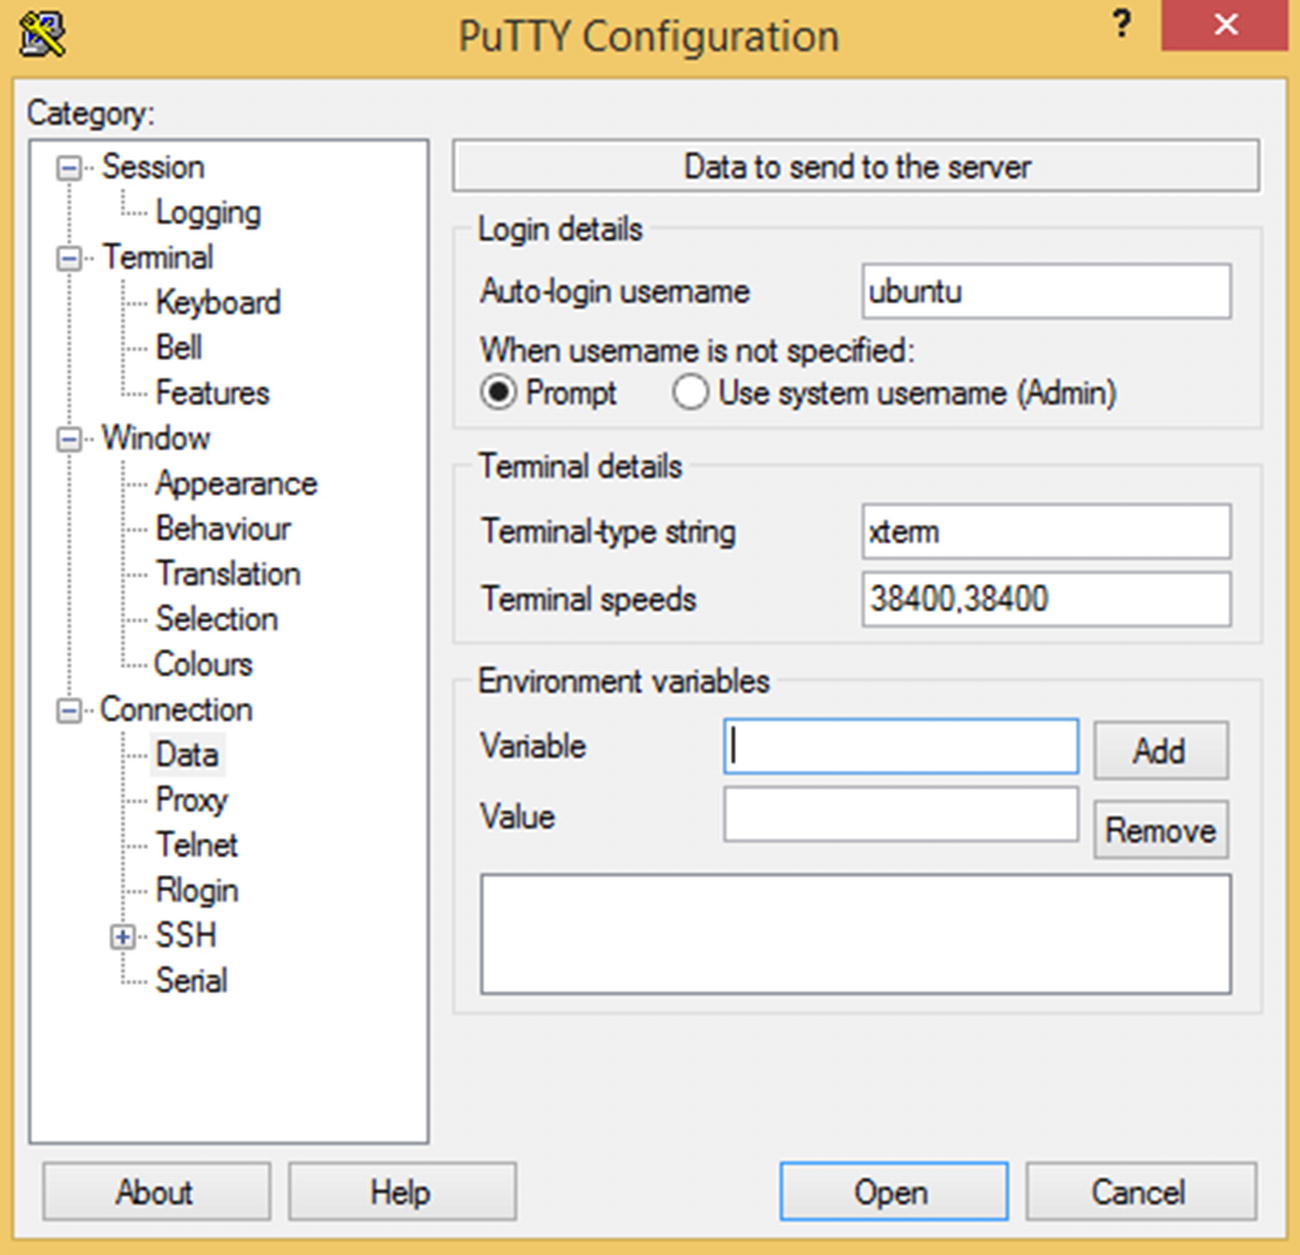
Enter the login name as the “Key comment” entry shown in PuTTYgen when you were generating public and private keys back in Figure 14-4. You should now be logged into the Google Cloud machine.
Type python, and you should be able to run Python scripts.
Be sure to delete the instance as soon as you are done with your work. Otherwise the service may still be billing you.
Microsoft Azure Cloud Platform
Creating a virtual machine instance in Microsoft Azure is very similar to the way it is done in GCP. Visit https://azure.microsoft.com and set up an account.
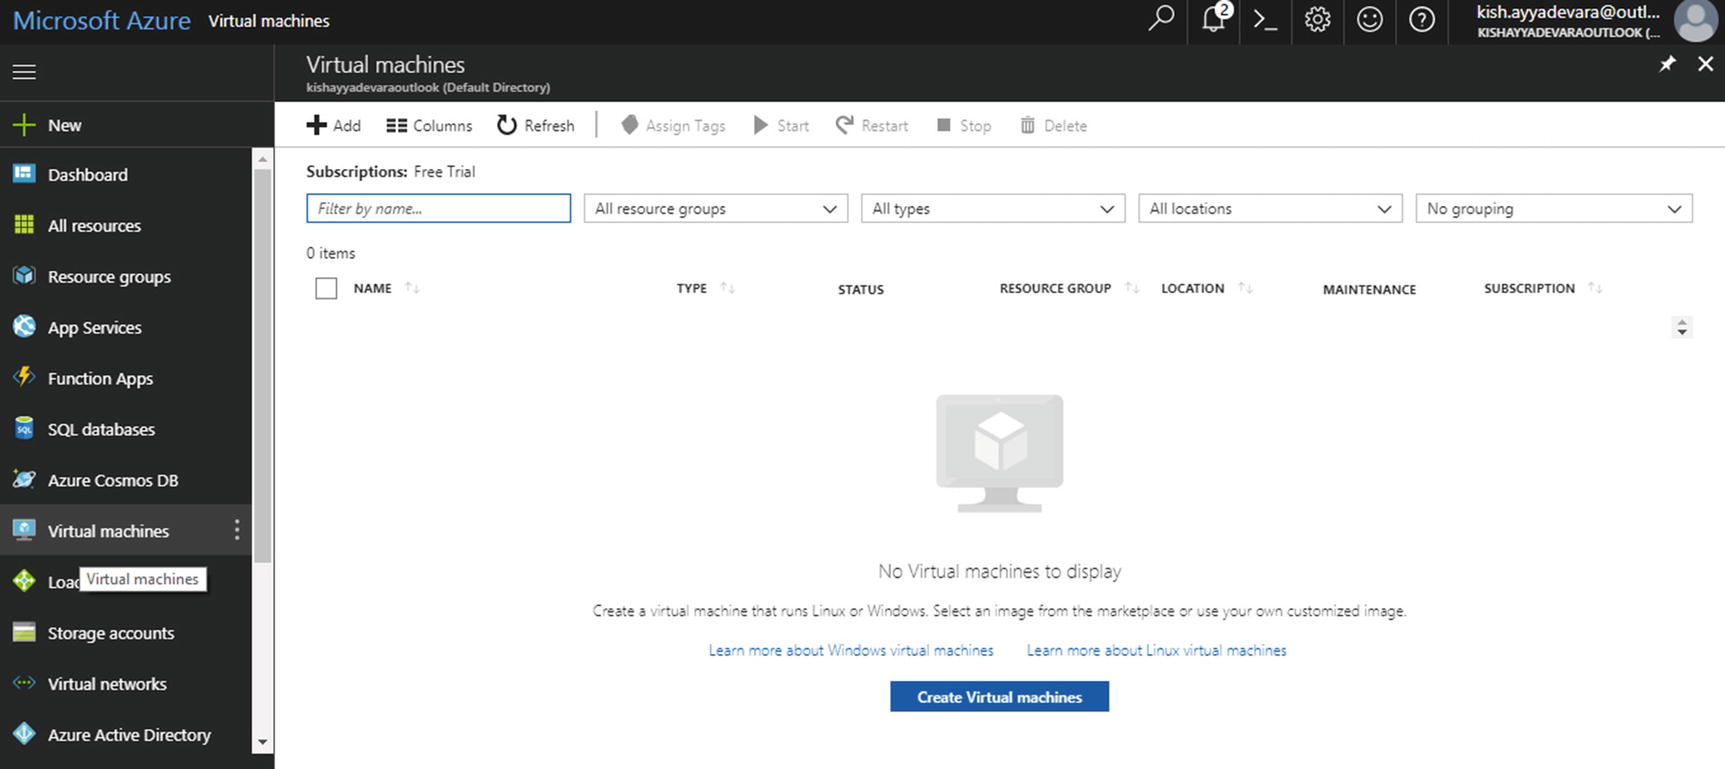
Microsoft’s Virtual machines page
- 1.
Select the machine needed—in our case, I’m selecting Ubuntu Server 16.04 LTS.
- 2.
Click the default Create button.
- 3.
Enter the machine-level details in basic configuration settings.
- 4.
Select the size of virtual machine needed.
- 5.
Configure the optional features.
- 6.
Finally, create the instance.
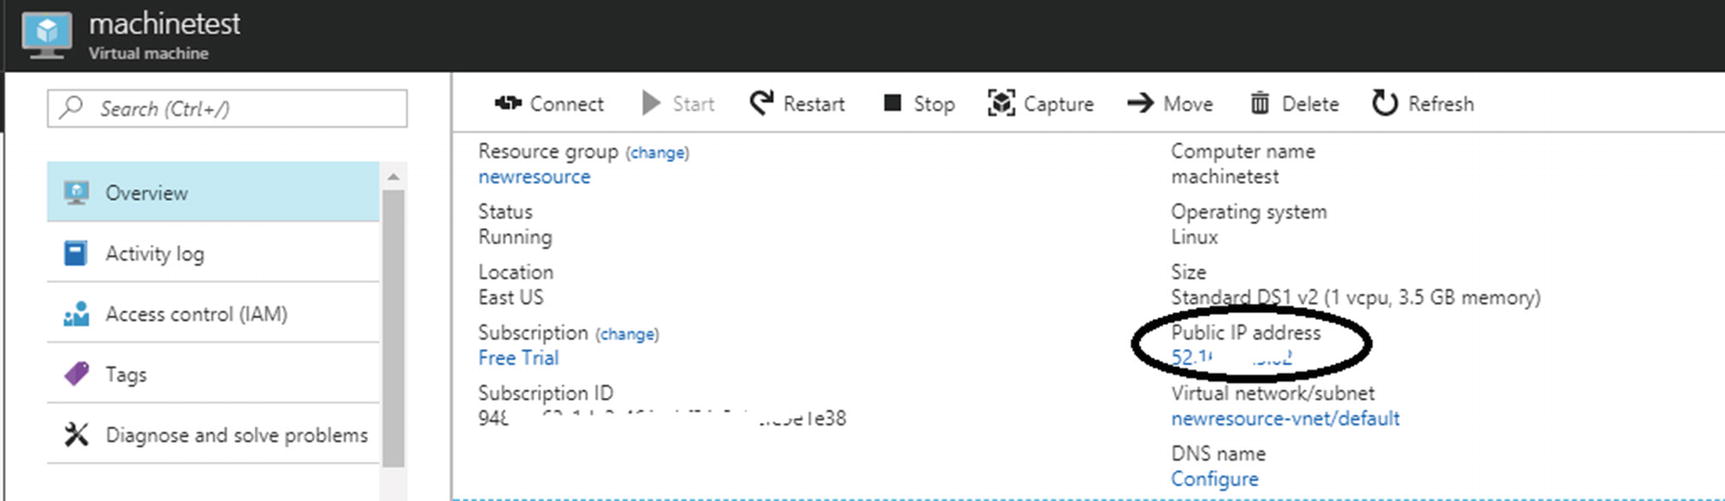
The IP address you need
Open PuTTY (see the previous section for more on downloading and launching it) and connect to the instance using the IP address, either by entering the password (if you selected the password option while creating the instance) or by using the private key.
You can connect to the instance and open Python using PuTTY in a similar way as we did in the previous section on GCP.
Amazon Web Services
In this section, we will sign up with Amazon Web Services. Got to https://aws.amazon.com and create an account.
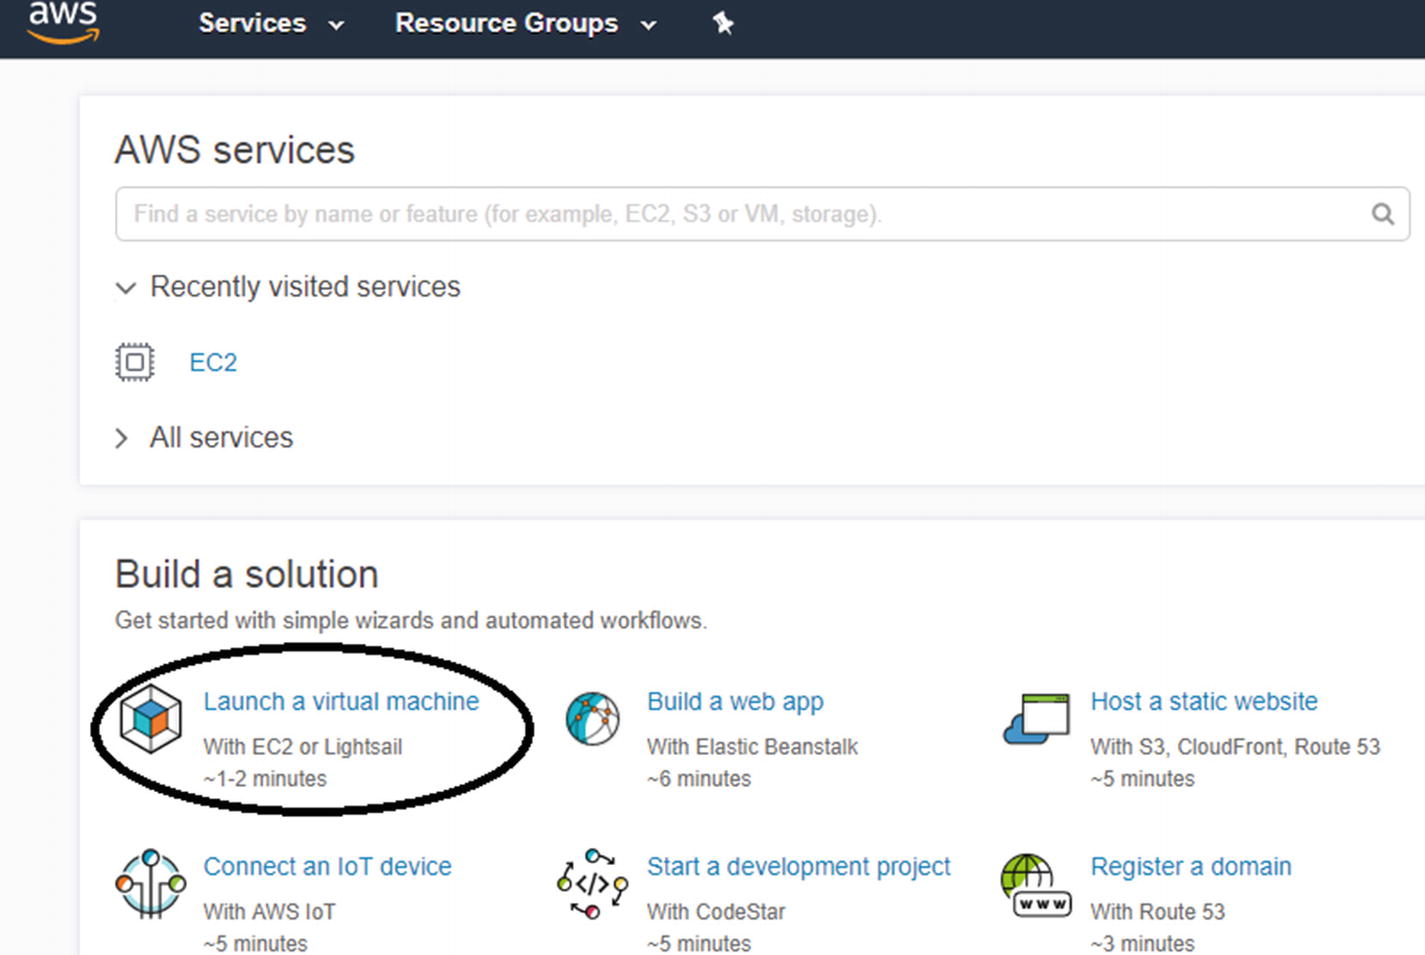
Launching a virtual machine in AWS
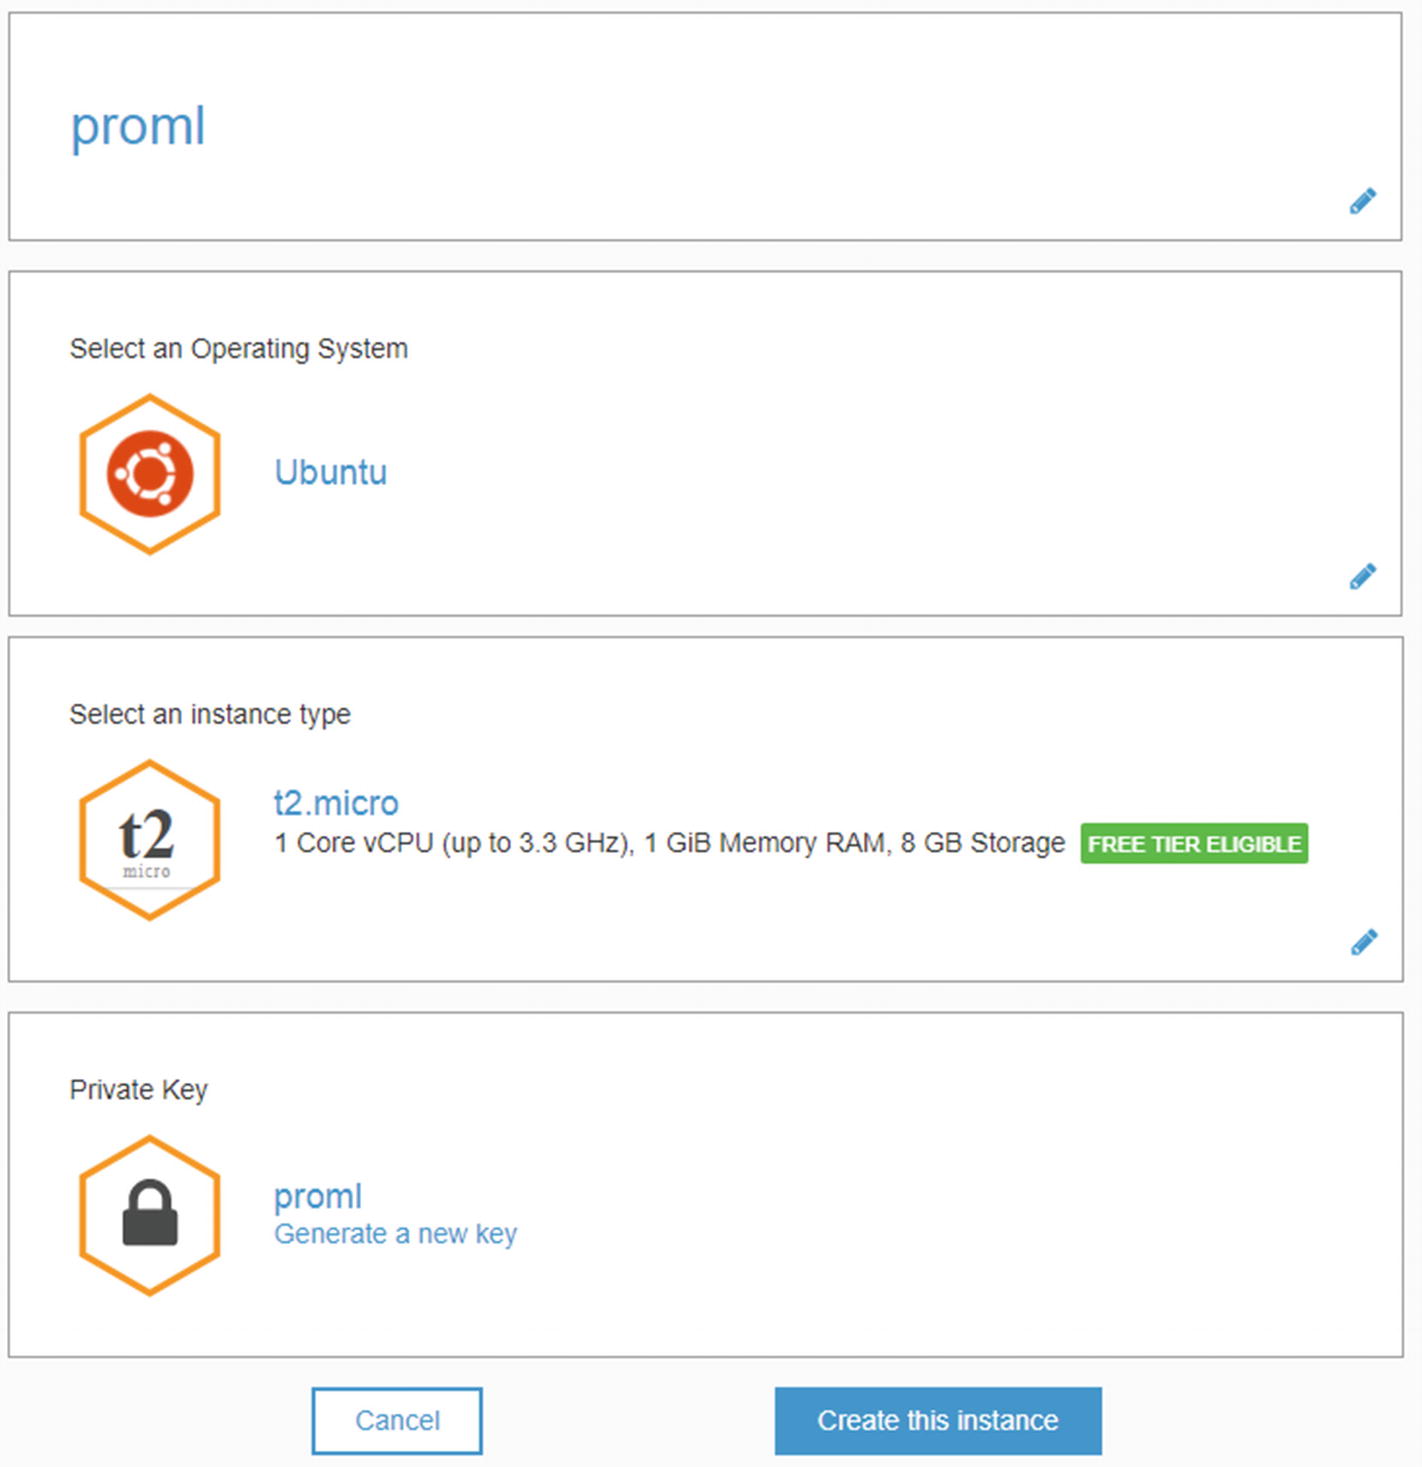
Setting up your instance
Download the .pem file and click “Create this instance.” Then click “Proceed to console.”
- 1.
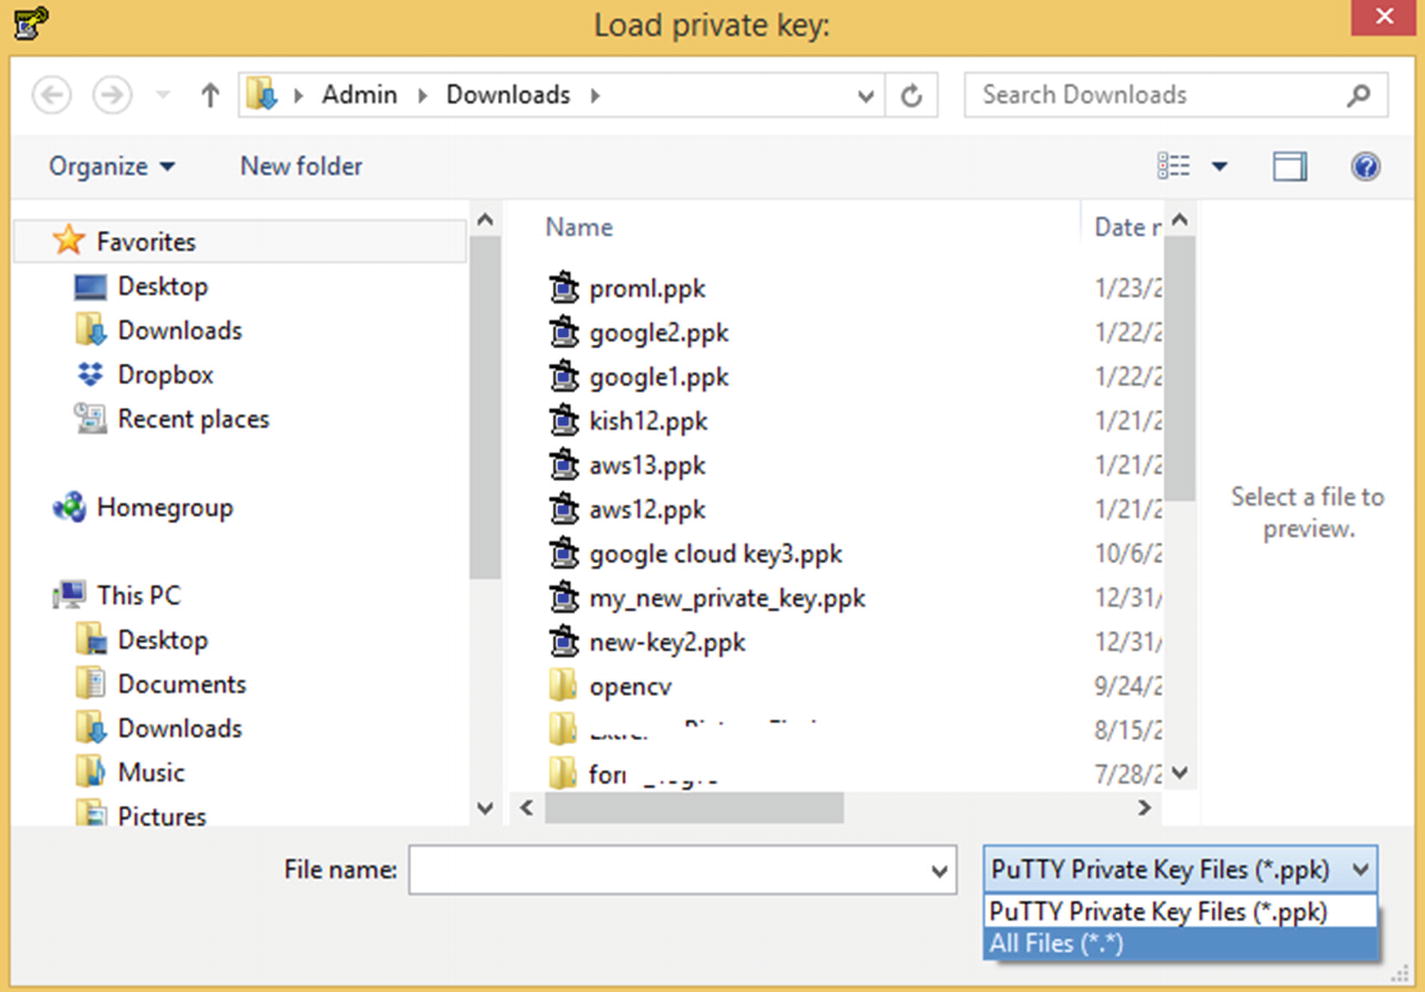
Open PuTTYgen.
- 2.
Load the .pem file.
- 3.
Convert it into a .ppk file.
- 4.
Save the private key, as shown in Figure 14-11.
Saving the private key

The AWS console
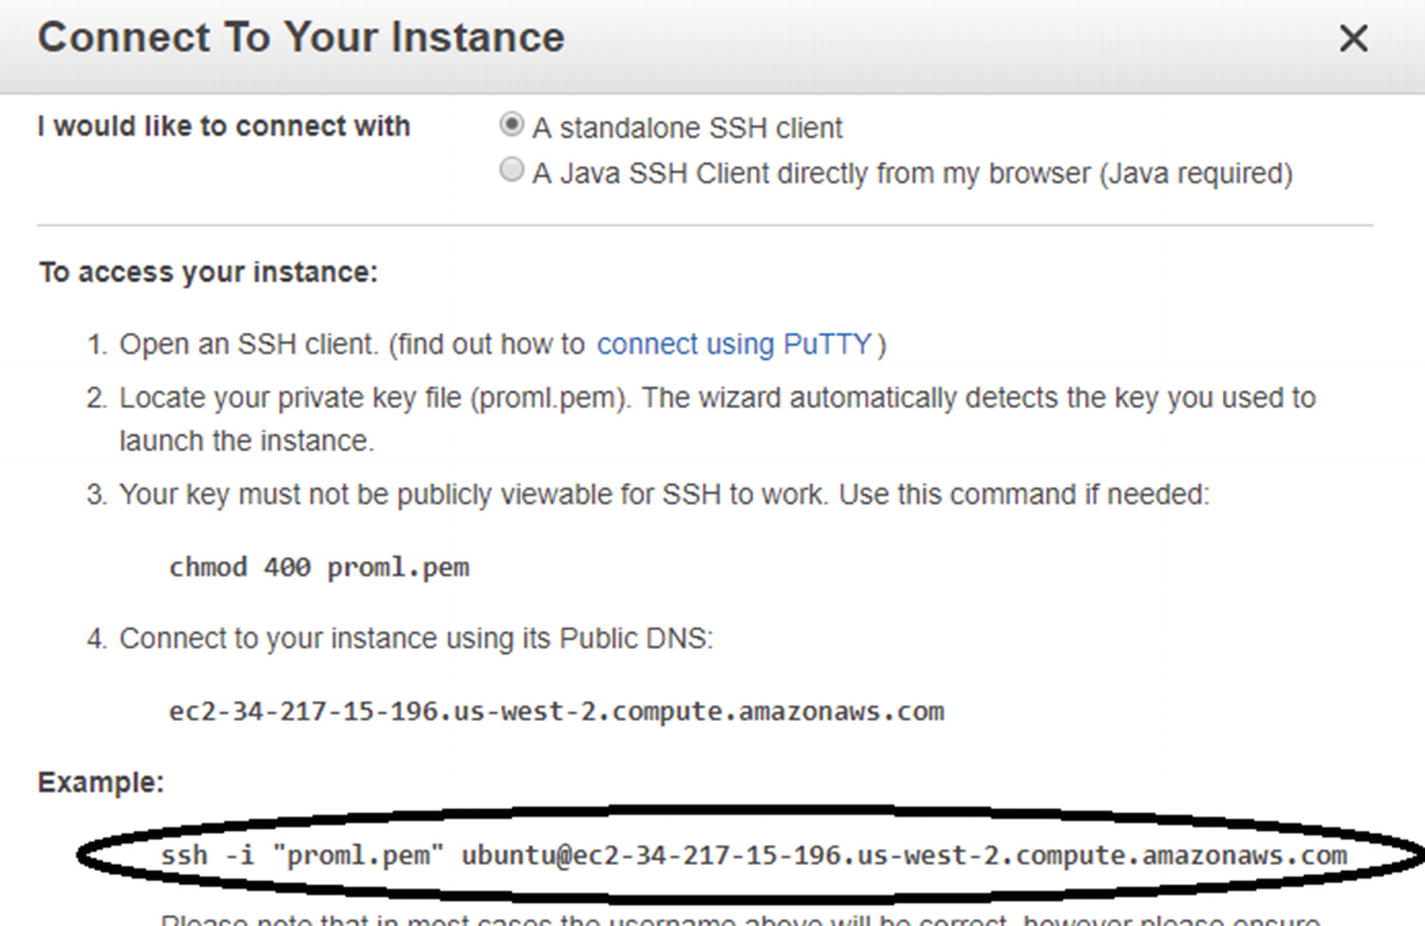
The example
Adding the host name
Adding the username
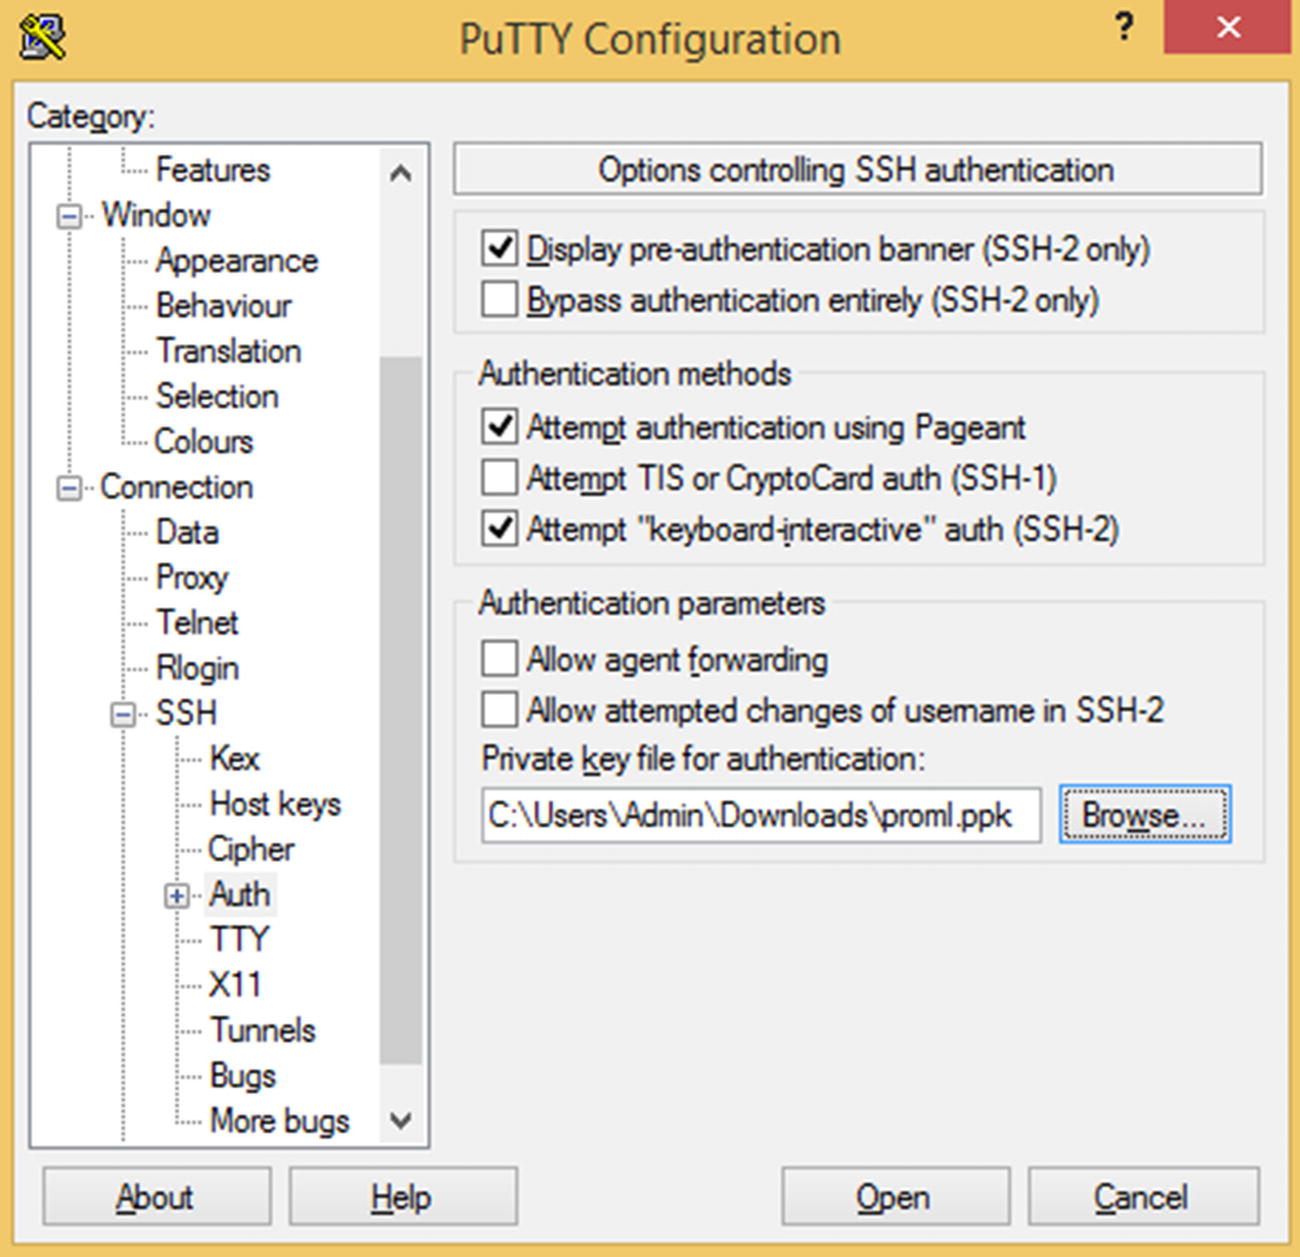
Setting the private key
Now you should be able to run Python on AWS.
Transferring Files to the Cloud Instance
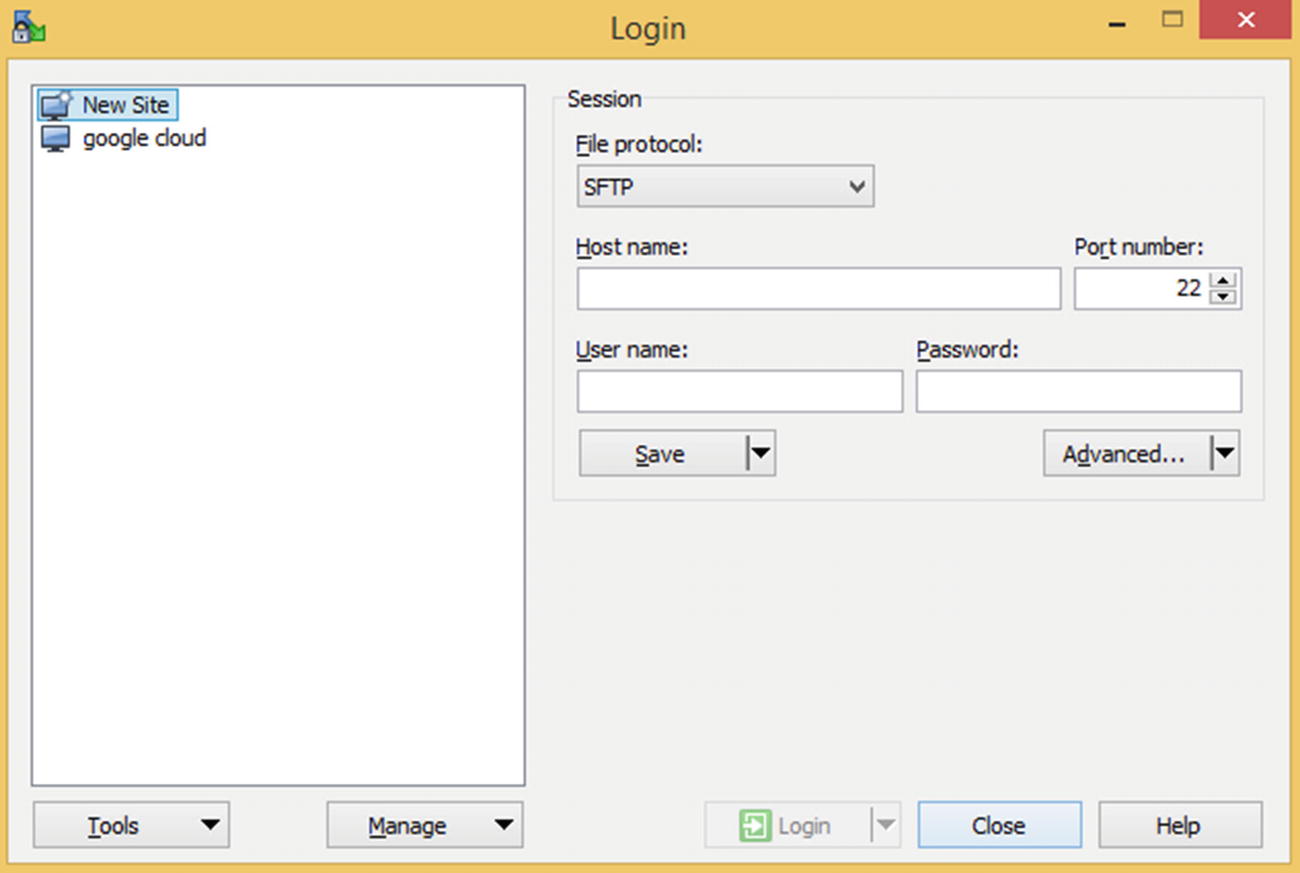
The WinSCP login screen
Enter the host name and username similar to how you entered them in PuTTY. In order to enter the .ppk file details, click the Advanced button.
Setting the private key
Click OK and then click Login.
Now you should be able to transfer files from your local machine to the virtual instance.
Another way to transfer files is to upload them into some other cloud storage (for example, Dropbox), obtain a link for the location of the file, and download it to the virtual instance.
Running Instance Jupyter Notebooks from Your Local Machine
You can run Jupyter Notebooks from your local machine by running the following code on Linux instances in any of GCP, AWS, or Azure:
Insert the following code by pressing the I key:
Press Escape, type :wq, and press Enter.
Type the following:
Once the Jupyter Notebook opens, go to a browser on the local machine and type the IP address of the virtual instance, along with the port number into the address bar (make sure that the firewall rules are configured to open port 5000). For example, if the IP address is http://35.188.168.71, then type http://35.188.168.71:5000 into the browser’s address bar at the top of the screen.
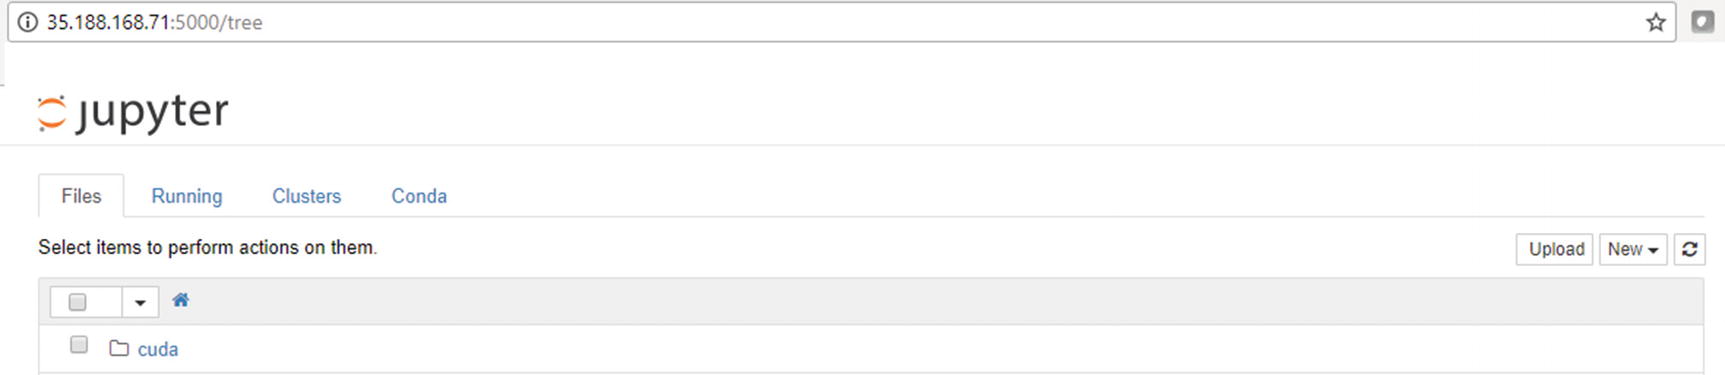
The Jupyter environment
Installing R on the Instance
R does not come installed by default on the instance. You can install R in Linux as follows:
Now type R in your terminal:
You should now be able to run R code in the virtual instance.
Summary
How to set up and open a virtual instance on the three major cloud platforms
How to run Python/R on the three platforms
How to transfer a file into the cloud environment