In this chapter, we’ll cover the following:
Creating an artistic image of a car using blending modes and patterns
Creating an urban grunge effect on an image of a brick wall
This is another chapter that I hope you’ll find fun and fairly easy to follow. Colorizing images can go to a new level by adding texture to your projects. The techniques described here were inspired by fellow GIMP user Deborah Carter, who was kind enough to supply some of the patterns that will be used in this chapter.
Tutorial 23: Adding a Pattern to a Vintage Car
In this tutorial, we’ll add some color by adding a splotchy pattern to the image of a vintage European car.
To do this tutorial, follow these steps:
1. Open the Ch09_Car.jpg file found in the Chapter 9 Practice Images folder.
2. Duplicate the background layer (Layer ➤ Duplicate Layer) and rename the duplicate layer Duplicate or Copy (or leave as is).
3. Open the Ch09_Splotchy Floral.jpg (Figure 9-1) file found in the Chapter 9 Practice Images folder (File ➤ Open as Layers). This is the pattern we’ll use to colorize the car.
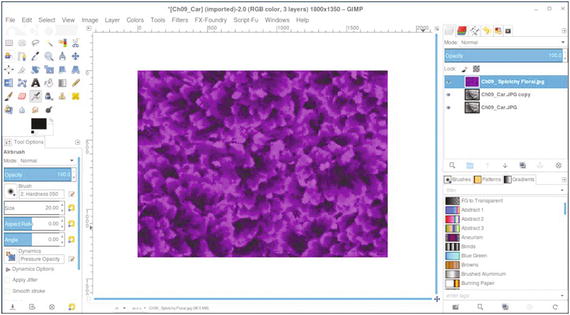
Figure 9-1. The pattern that will be used to create the effect
4. Copy the pattern to the clipboard (Edit ➤ Copy).
5. Go back to the car image by clicking the tab in the image navigation bar (Figure 9-2).
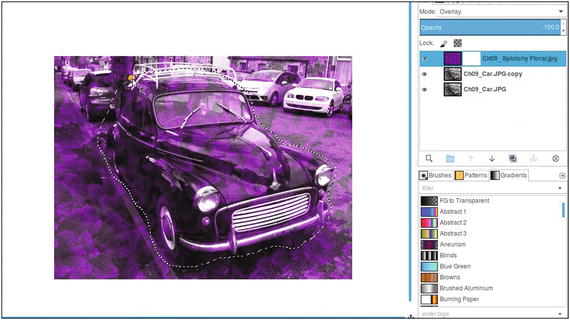
Figure 9-2. Make a selection using the Lasso tool
Note
Change the blending mode of the new layer to Overlay. The pattern is larger than the car to ensure complete coverage, so we’ll remove (actually, hide) the excess.
6. Add a layer mask to the pattern layer (Layer ➤ Mask ➤ Add Layer Mask) initialized to white. Click in the layer mask to make it active.
7. Using the Lasso tool with the “Anti-aliasing” box checked, draw a loose selection around the car (Figure 9-2).
8. Invert the selection (Select ➤ Invert). Now the area around the car is selected.
9. Use the Bucket Tool to fill in the inverted selection with black to make the pixels of the pattern transparent (Figure 9-3). Deactivate the selection (Select ➤ None).
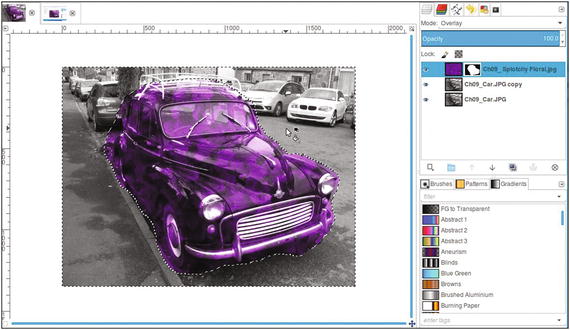
Figure 9-3. Fill the inverted selection with black to make the excess pixels transparent
10. Using a brush with the 2.Hardness 050 setting and black as the active color, paint around the car to clean up the edge (Figure 9-4). Paint in the headlights, wheels, bumper, and windows as well.
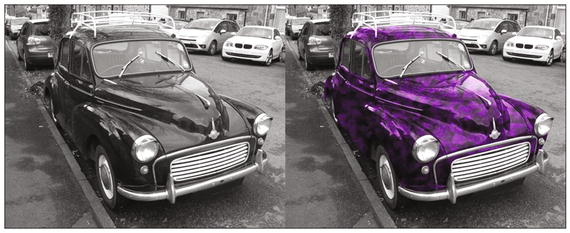
Figure 9-4. Paint around the car to clean up the edge
The end result is an image with an unusual artistic slant (Figure 9-5). If desired, save the image as an XCF file for future reference.

Figure 9-5. Before and after comparison
There are several additional patterns included in the Chapter 9 Practice Images folder if you feel inclined to experiment.
Figure 9-6 shows the result of following the same steps as in the previous tutorial, but using a different pattern (this pattern is called Ch09_Swirly Green.jpg and is included).
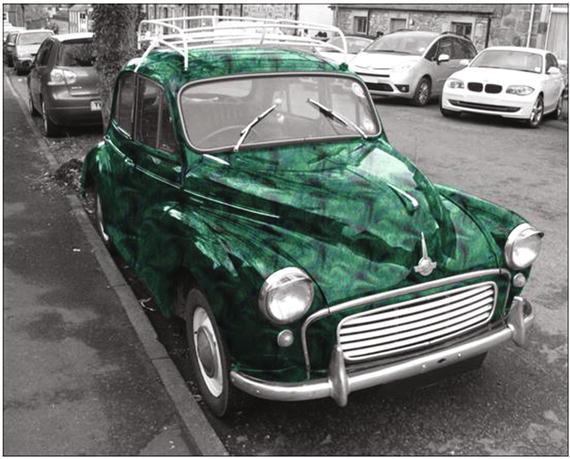
Figure 9-6. The same tutorial using a different pattern
Tutorial 24: Colorizing a Brick Wall Using Color Overlays
In this tutorial, we’ll combine two color overlays to add color to a black and white image of a brick wall.
To do this tutorial, follow these steps:
1. Open the Ch09_Brick Wall.jpg file found in the Chapter 9 Practice Images folder.
2. Duplicate the background layer (Layer ➤ Duplicate Layer) and rename the duplicate layer Duplicate or Copy (or leave as is).
3. Open the Ch09_Color Overlay 1.jpg file (File ➤ Open as Layers) found in the Chapter 9 Practice Images folder.
4. Change the blending mode of the new layer to Color. The Color blending mode will give it splashes of red and a little yellow and orange (Figure 9-7).

Figure 9-7. Splashes of red, yellow, and orange using the Color blending mode
5. Open the Ch09_Color Overlay 2.jpg file (File ➤ Open as Layers) found in the Chapter 9 Practice Images folder.
6. Change the blending mode of the new layer to Grain Extract (this blending mode affects the lightest and darkest values with an overlay of color).
The result is a brick wall with an urban grunge appearance (Figure 9-8). If desired, save the image as an XCF file for future reference.
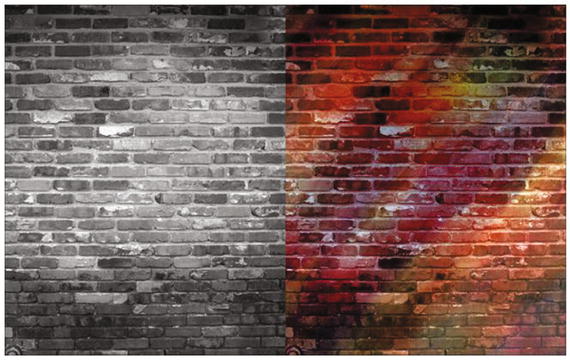
Figure 9-8. Before and after comparison
Since a layer blending mode interacts with the layer beneath it in a specific way, you might want to switch the order of the color overlays to create different effects (Figure 9-9).
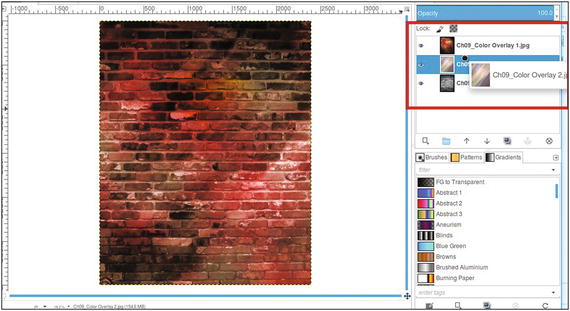
Figure 9-9. Switch the order of the color overlay layers to change the effect
For a more detailed explanation of layer blending modes, refer to the downloadable PDF Supplemental Beginner’s Guide.
Summary
This chapter covered a couple of ways to create images with an unusual effect by colorizing using patterns and overlays. The image of the vintage car was colorized by using a pattern as a layer in the Overlay blending mode, giving it a unique look.
In the next tutorial, two different color overlays were used on the image of a brick wall. One was set to the Color blending mode, and the other was set to Grain Extract. The result was an image with a grungy, urban appearance.
In the final chapter, we’ll look at several effective ways of converting color images to black and white.