
The concept behind a media server is to store all of your media files—music and movies—in one central location and then stream them from that location to whatever device in your house you choose. These days, almost every media device (and some non-media devices) can hook up to a network—if not the Internet, then at least your home network. This means that all of these machines, except for perhaps the refrigerator, can become clients, streaming media files from a central server. This is standard networking language; the computer that stores files—whether they be media files, spreadsheets, or web pages—is called a server, and computers that request those files are called clients .
As it happens, the Pi is perfect to act as a server. That’s because there’s very little computing power necessary (an Arduino can actually be a media server, too, and it’s thousands of times less powerful than the Pi), and storage space is not a problem, because you can stream media files from any connected storage device, such as an external hard drive. The Pi can stream files to any compatible device. “But it’s a Linux box!” I hear some of you screaming from the back row. “I need to stream to my Windows laptop!” Not a problem—the software we’ll use to act as the server allows Linux servers and Windows clients to play nicely together. In addition, after I walk you through the process of using the Pi as a bare server, I’ll introduce you to an after-market media-server solution called Kodi.
Regarding your media files, I’m going to assume you are an upstanding, law-abiding citizen who has paid for all of their movies and music and has amassed quite a collection the correct, legal way. Right? Right. Let’s begin with the parts you’ll need.
A Shopping List of Parts
This project requires almost no parts. All you’ll need is your Pi and an external USB hard drive large enough to store all of your files. The Pi should recognize most modern external drives, but I recommend that if you purchase a drive for this project, you plug it into the Pi and make sure everything works before you start transferring gigabytes of files to it to be streamed.
Using an NTFS Drive
The USB hard drive you use needs to be formatted as an NTFS (New Technology File System) drive. NTFS is a Windows format that often requires some special handling in order to be compatible with Linux. FAT32 was the format most often used prior to NTFS, and Linux and Unix had no problems reading from it or writing to it, but FAT32 cannot handle file sizes over 4GB, a limit easily exceeded by one high-definition movie file. Thus, we’ve moved to the NTFS format, which can handle file sizes up to 16TB without breaking a sweat. FAT32 also had issues with total drive sizes; depending on the size of file clusters, it could only format a drive up to around 127GB. NTFS formats, on the other hand, have a theoretical upper size limit of 256TB with a 64KB cluster—obviously much larger and more applicable to today’s larger file and drive sizes.
Common File Sizes
Type of File | File Type | Average Size |
|---|---|---|
Song | mp3 | 5MB |
Music video | mp4, avi, mpg | 150MB |
Standard-def movie | mp4, avi, mpg | 750MB |
High-def movie | mp4, avi, mkv, mpg | > 1.5GB |
Keep those sizes in mind as you look at your current music and video collection and shop around for a drive on which to store them. Also remember: 1024KB equals 1MB, 1024MB equals 1GB, 1024GB equals 1TB. (Yes, you can round to 1000 in most cases; it’s a binary thing: 210 = 1024.) Luckily, storage prices are dropping steadily, and you can most likely pick up a 2TB drive for under $150 US.
Because most drives purchased are preformatted with the NTFS format, let’s make sure your Pi can read and write to it by installing a program called NTFS-3g. Open a terminal and install it by typing
NTFS-3g is an open source, read–write NTFS driver program for Linux, Android, Mac OSX, and various other systems. It comes preinstalled on most Linux systems, but not the Pi (as of this writing), which is why you’ll need to add it.
Once NTFS-3g is installed, plug your drive into your Pi. You’ll probably be greeted with a popup window asking what to do; just select “Open in File Manager” and continue. Once you know you can read it (by viewing its files), make sure you can write to it by opening a terminal and creating a directory (which is only for testing), like this:
cd "My Book" (or whatever your drive is named—use ls to find the name)
If the test folder appears, you can move on. If it does not, make sure you installed NTFS-3g and reboot the Pi if necessary.
You may have noticed the fact that “My Book” is in quotes in the preceding command. That’s because while file names can contain spaces, you need to account for the spaces when you’re using the command line. If you need to change directories (cd) to a folder called My Book , just typing the following line will give you a File Not Found error because the OS looks for a folder named My and then stops looking:
The way to account for spaces in file names is to either use quotation marks around the name or escape the space with a backslash, like so:
We need to create a Media folder in the /media directory of the Pi; this is where we’ll be storing all of our music and movie files. We can create subdirectories in there later, but for now we just want to make sure that every time we boot up our Pi the external drive will get mounted to the same folder. This is because all of our other devices (clients) will be looking for that folder when we set them up, and we don’t want to have to reconfigure them to ask for a different folder every time we boot our Pi. To create that folder, do it as a root user:
To set the Media folder as a mount point, we need to edit a file called fstab and insert our drive’s information. First, we need our drive’s information. In your terminal, enter the following command:

blkid results
As you can see, the disk mounted as /dev/sda1: "My Book" is the one we’re interested in, and what we need is that disk’s UUID (Universally Unique Identifier).
Now, we open the fstab file by typing
There will probably be a few lines already in the file. They follow this format:
We need to add our external drive and mount point to the file, with the correct file system and options. So, as an example, for a fictitious NTFS-formatted drive, I would add the following (each group of text here is separated by one tab):
The first entry is your drive’s UUID, the second is the folder we created earlier (which will become the mount point), the third is the volume type, and the last three are the necessary permissions and default options.
Once you’ve added to and saved your fstab file, mount all of the drives in it by typing
(which should force-mount all drives listed in fstab if they’re not mounted already), and you should hear your external drive spin up. Then, see if it mounted correctly to the proper folder by typing the following, which lists all currently mounted drives:
If everything shows up correctly, you can move to the next step in the process—installing Samba. If your drive does not show up correctly, double-check your fstab file, as errors in the UUID or the format of the text will cause the automatic mount to fail. It’s a picky file.
Installing Samba
As Samba’s website explains, “Samba runs on Unix platforms, but speaks to Windows clients like a native. It allows a Unix system to move into a Windows ‘Network Neighborhood’ without causing a stir. Windows users can happily access file and print services without knowing or caring that those services are being offered by a Unix host.” The name Samba comes from the SMB (Server Message Block) protocol, which is a part of the CIFS (Common Internet File System) put out by Microsoft in its attempt to get along with other operating systems without causing an outright mutiny.
This program, then, is what we need to install on the Pi so that your collection of Windows boxes can receive media files as well, like your collection of Mac and Linux boxes does. It is preinstalled on many Linux distributions; the Pi, however, is not one of them. Installing it is as simple as typing
Samba As a Liason
Once upon a time, computers all played nicely together. Networking was uncomplicated, and computers communicated easily over phone lines, with low baud rates and small messages. If you needed to talk to another computer, chances are it was over a BBS (Bulletin Board System), and it didn’t matter what operating system you were using. If you weren’t using a BBS, it’s likely that you were running DOS as an operating system, as was the computer to which you were speaking. It was a simpler time. Then, as computers got more complex, different operating systems arose. On one side of the dividing wall was the Unix empire, with its smaller kingdoms of Linux, Mac, and BSD. On the other side of the wall was the great Microsoft empire, beginning with the great King DOS and followed by his heirs, the Windows models from Windows 1.01 to today’s Windows 10.
A relative peace existed between the kingdoms; in fact, the two sides rarely spoke, so there were no hostilities. As the Internet and other interconnected networks grew, however, it became necessary for the two sides to exchange files smoothly and without errors. The Unix empire, being the smaller of the two, adjusted all of its operating systems to easily become clients to a Windows server, as this was a common configuration in a network setup. The Windows side, however, refused to believe that it would ever stoop to receiving files from a Unix server and did nothing to make this easy—or even possible.
However, Unix and Linux servers have proliferated, even while the number of Windows desktop clients has increased, and thus it eventually became necessary for a Windows client to communicate and exchange files with a Unix-flavored server. While it could be done, it was not easy, and normally it required a super user with intimate knowledge of networking protocols and languages. Enter Samba—a program designed to allow these different computers to communicate easily with fewer headaches on the part of the user.
Configuring Samba
Once Samba is installed, we need to configure it. It’s a good idea to make a backup of the current configuration file before you edit it so that you can just restore it should you royally mess it up.
To do that, use Linux’s cp command:
This command copies the smb.conf file to the smb.conf.orig file in the same directory. It needs to be run as sudo because the /etc folder can be edited only by the root user. When that’s done, you can open the file for editing by typing
You’ll be greeted by a rather large configuration file—don’t let it scare you. We only need to change a few settings. The size of the configuration file is indicative of how adaptable Samba really is; because it’s used all over the Internet, as both a web server and a file server, it’s important that users can change it to suit their unique needs. Our needs are actually rather simple and thus don’t require us to change many things in the program’s default settings.
The first setting we may need to edit is the workgroup. The workgroup is simply the domain that the Samba server (your Pi) will be a part of. As a home media server, the domain is what Windows calls a “workgroup”—your home network. Under the Global Settings, change
to the name of your local workgroup, if you have one. If you don’t have one set up, leave the workgroup setting as it is.
Then, uncomment the following line (by removing the hash symbol):
and change it to read
Under the Networking secton, change the interfaces line to read
Leave the following line as it is:
The last part to change is the Share Definitions section. This section is where you list and configure the fields and folders you want Samba to share with others. Scroll down to the bottom of that section and add the following lines:
This creates the sharing portion of your Samba installation to match the drive and folder created earlier. It also makes the folder browsable and creates the correct sharing permission for that folder.
Setting Linux Permissions
Linux file permissions are an interesting beast, and they could use some illumination because you’re bound to come across them in some fashion in your travels through Raspberry Pi country in the land of Linux. Each file or folder has three permission groups associated with it: the owner, the group, and the all users group. Those permissions are either r, w, or x, for read, write, and execute.
When you list the files in a directory with
you can see that each item in the directory is preceded by a line like this:
or
The first character is either a – (hyphen) or a d, which tells you that it’s either a file or a directory. Next, the permissions are listed in groups of three, in the order of owner, group, and all users. A file listed as -rwxrwxrwx means that the owner of the file, users belonging to the group that has been assigned to that directory, and all users all have read, write, and execute permissions to that file. If the file is listed as -rwxr-xr-x, on the other hand, it means that only the owner has write permissions (can write and save to it). The other two groups may only read the file and execute it.
If you need to change a file’s permissions, you use the chmod command, which can be done either explicitly or with a binary representation of those permissions. If you want to do it explicitly, the flags used for each group are u (owner), g (group), and o (all users.) For instance, if you wanted to change the -rwxrwxrwx file to be read only for all users, you would enter
which would change its directory listing to -rwxrwxr--. To do the reverse, you would enter
to restore write and execute permissions for all users.
If you’d prefer to use binary permissions, you can do that as well. Basically, each permission has a value; r = 4, w = 2, and x = 1. You add the integers for each group’s permissions and set them that way. So, a group’s rwx permissions would be a 7, and an r-x permission would be a 5. You need to set each group’s permissions if you do it that way; if a file currently has -rwxrwxrwx permissions, and you want to take away write permissions for the group and all users, you would enter
It can get a little confusing, but once you’ve worked a bit with permissions, it will all make perfect sense. In our Samba configuration file, you’ve set the mask and directory permissions to -r-xr-xr-x and -rwxrwxrwx, respectively, which is what we need in order to stream all files in that directory to clients.
Restarting the Samba Service
When you’ve finished editing the configuration file, restart your Samba service by typing
When it’s up and running again, go to a Windows machine on your home network and open a command prompt. At the prompt, type
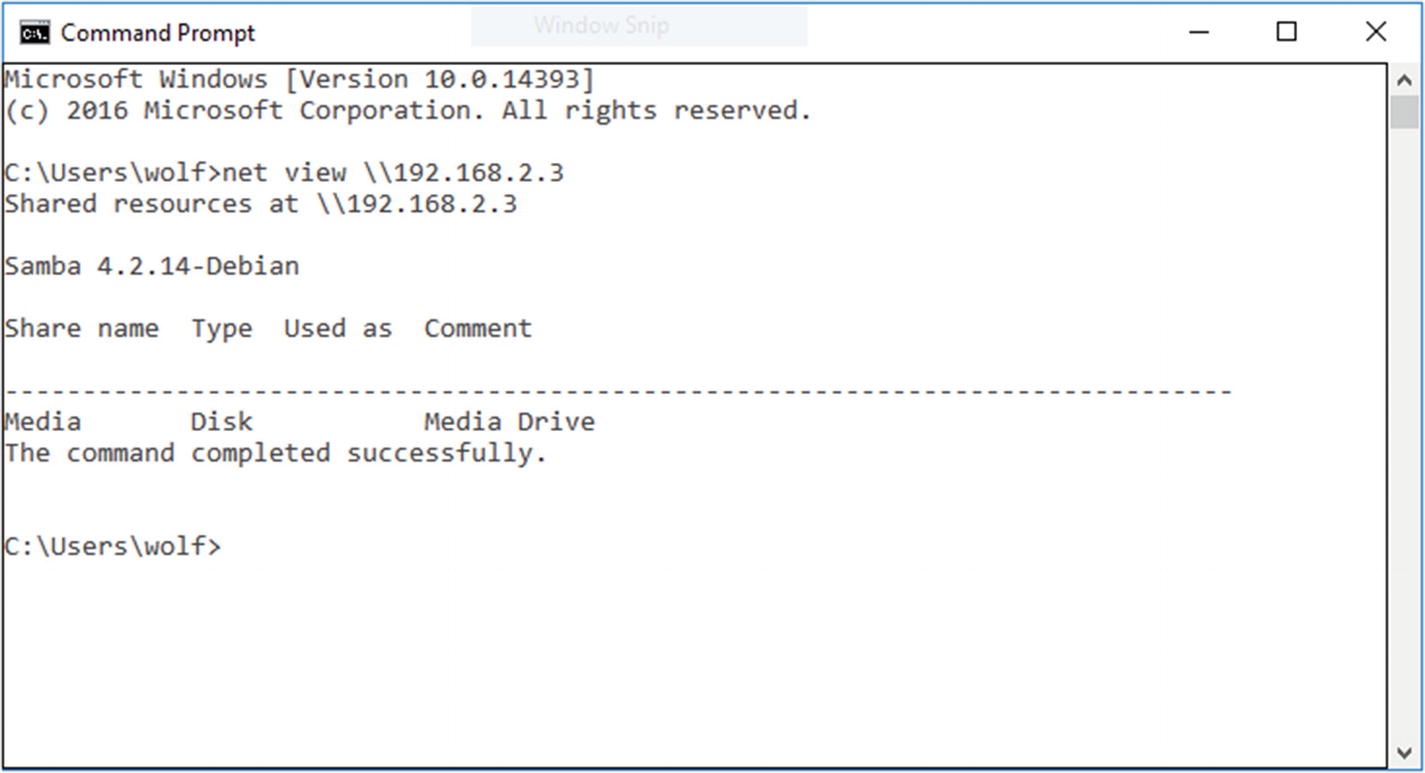
Net view of a working Samba share
Connecting to your Samba share as a shared (network) drive is, unfortunately, slightly different in every version of Windows. Because this book is about the Pi, not Windows, I can’t go into all of the specifics for each version using a graphical interface. However, if you don’t mind using a command-line interface, the command to mount the Media folder on a Samba share located at 192.168.2.3 on the same domain is actually very simple. It looks like this
If everything on the Pi is set correctly, you should see your Media folder mounted as a Z: drive. However, Windows 7 is notorious for not wanting to play nicely with Samba shared folders (though many bugs seem to have been fixed in Windows 10). If you’re confident you have everything configured correctly but still can’t see the contents of the folder (you’re getting an Access Denied error, for example), try it with a different OS. Your Windows OS may be the problem.
Connecting with Linux/OS X
“But wait!” I can hear some of you screaming weakly from the back of the room. “What if we want to connect to our server with a Linux or Mac box?”
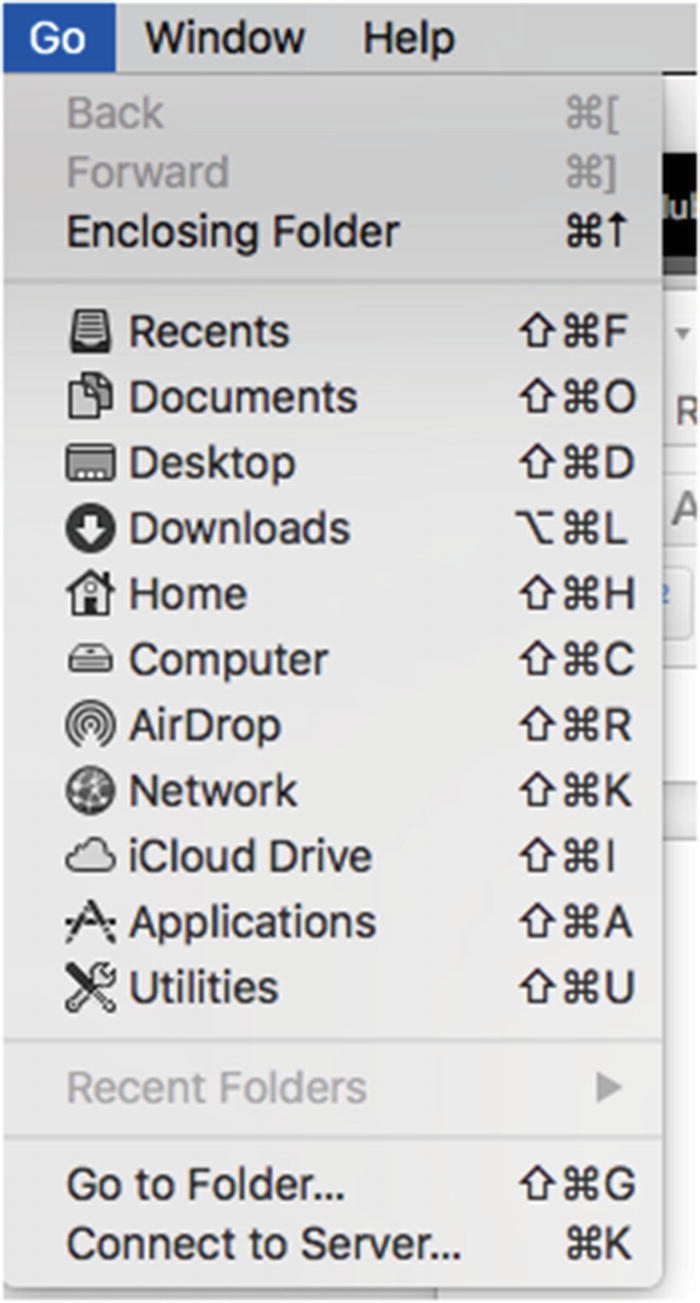
Connection menu (Mac OS 10.13.4)
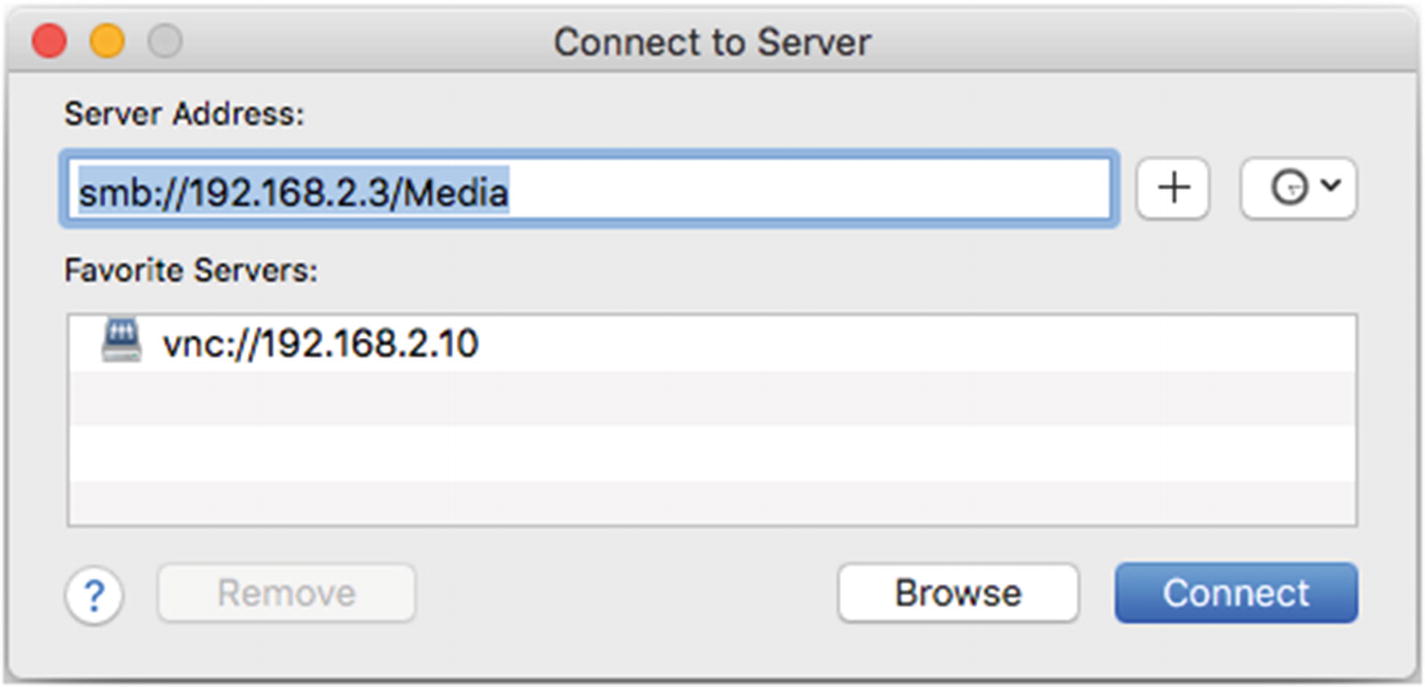
“Connect to Server” dialog window on a Mac
You now have a working Samba installation you can use to share anything you put into the folder, and because of the permissions you gave it, you don’t have to worry about accidentally deleting a file in your Media folder from another device on the network. The only way to add to or subtract from the shared folder is from the Pi itself—a little security for your music and movies .
Kodi and Plex
If all of this seems a bit too complex for you, there are some other options available when it comes to using your Pi as a media server. The two most popular and effective solutions, in my opinion, are Kodi and Plex.
Let’s start with the Plex server, which is relatively new to the Pi. You’ll need to start by installing the HTTPS transport package, which is installed on some versions of Raspbian but not on others. In your terminal, enter
and either install it or listen to the message that tells you that you have it.
Next, you’ll need to add the dev2day repository to your list of repositories. To do this, you’ll need a crypto key for the repo. In your terminal, enter
Once you’ve installed the key, you can add the repo with
and then update your repo list with
Now, you can download the Plex server with
Once it’s installed, you’ll need to edit the configuration document in order to allow the server to run with the user “pi” (our normal user/login name). Open the document for editing with
and change the last line to read
Save your changes and then restart the server with
Finally, add some files to your server by using the server’s graphic interface. Open a web browser and, in the address bar, type your Pi’s IP address followed by :32400/web/. In other words, if your Pi’s address is 192.168.2.3, put 192.168.2.3:32400/web/ in the address bar and press Enter.
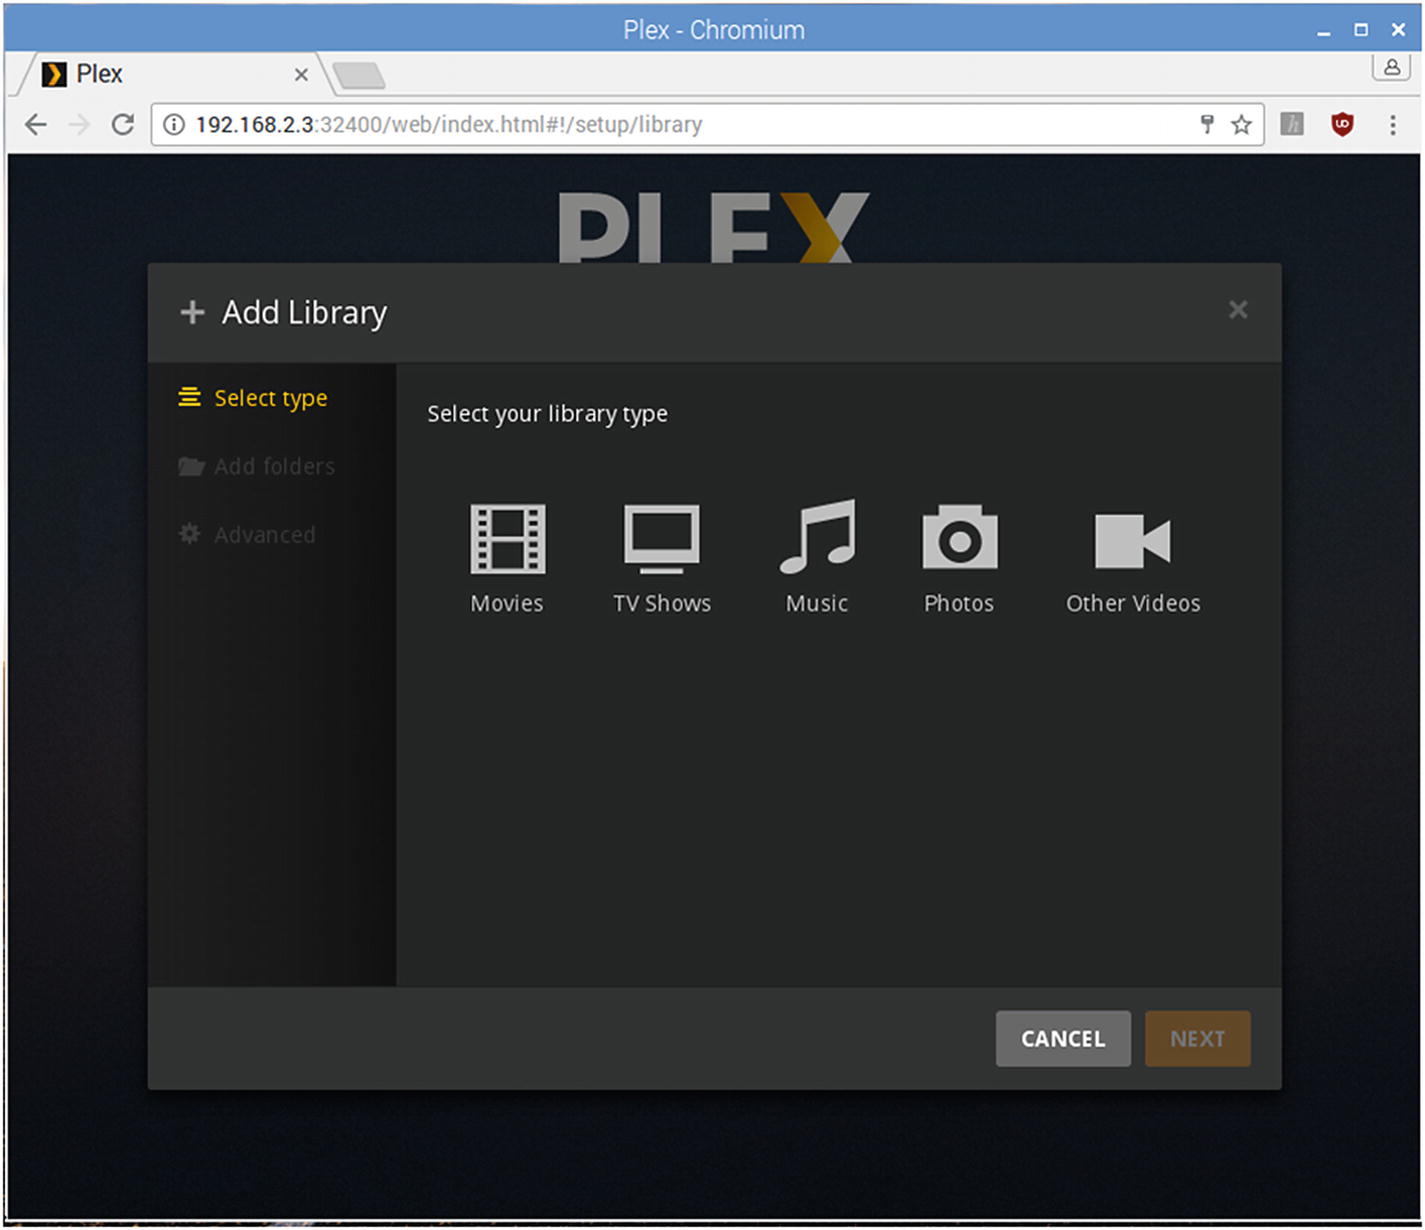
Adding a Plex media library
All you need to access your media files then is a client device, such as a smartphone, tablet, smart TV, or even a Kindle Fire or Firestick.
Another option you have is to install Kodi. Kodi used to be known as XBMC (Xbox Media Center), but has since been updated. It’s commonly used with Linux servers such as the Pi and Android TV setups. There are a few different operating systems that Kodi runs on top of, but I happen to prefer OpenELEC, which stands for Open Embedded Linux Entertainment Center.
To install OpenELEC, you’ll need to put it on a new SD card so you don’t destroy the copy of Raspbian you’re using for all of your Pi projects. On your desktop machine, go to http://openelec.tv/downloads and expand the Raspberry Pi section. Choose the right build for your model Pi and follow their instructions for installing the image onto your SD card.
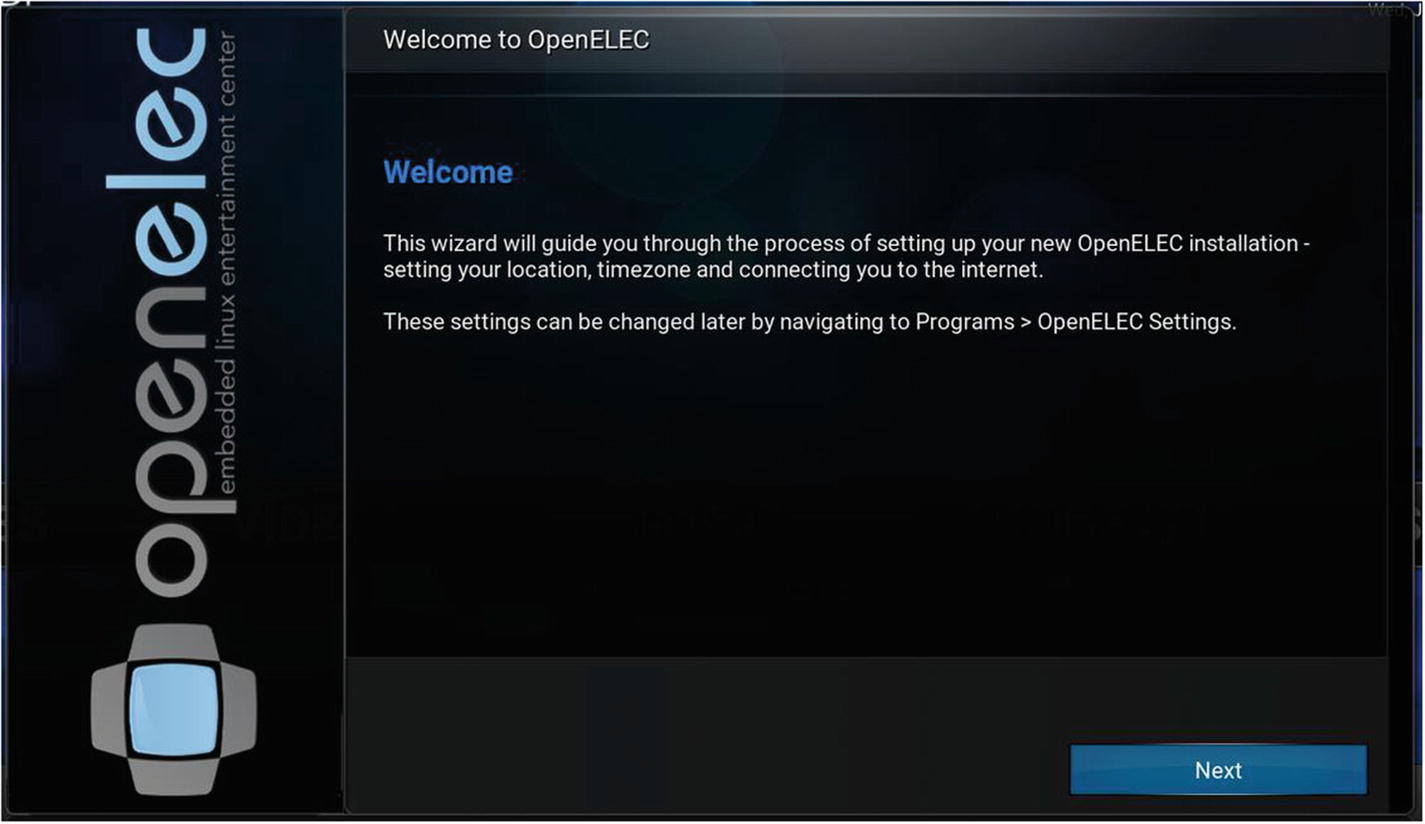
Setting up OpenELEC
Where’s Python?
But wait! Where’s the Python in this chapter? Well, there is no Python in this chapter. This is a good example of a situation where programming is not necessary; the tools that are available are good enough just as they are, and sometimes it’s just as valuable to know when not to program as it is to know when to program.
Summary
In this chapter, you learned a little bit about how servers and clients operate, both on the Internet and over your home network. You learned about getting the Pi and other computers (notably Windows) to play well together and how to share all of your media files across your home network, accessible by any connected device, using three different free file-sharing programs.
In the next chapter, you’ll learn how to use the Pi to protect your home network—not from hackers, but from physical intruders.