
People used to go to computer stores to buy video games. That tradition is mostly relegated to console gaming now, with most PC game and all mobile game purchases happening online. If you want to get your game into the hands of the gaming public, you need to know how to package it and where to post it.
Packaging
Game packaging, from the perspective of a programmer, has nothing to do with literal packaging and marketing. Packaging, in the coding business, refers to how you gather up all the libraries and assets your game depends on so you can effectively deliver it to the public. LÖVE makes it easy, but as every programmer knows, you never package software only once. Inevitably, your users are going to find bugs you never noticed, or request features you never imagined, and you’re going to have to release updates. That means packaging your game not once but several times over the course of its life, but since you’re a programmer now, you should already be asking how you can automate the process so you never have to do the actual work more than once.
As you know from the dice game early in this book, the simplest possible LÖVE game file is a ZIP file containing a valid main.lua file. So to package a LÖVE game, all you need to do is gather all of the game’s code files, assets, and libraries, and then compress them into a ZIP file.
Throughout this book, each game has been developed in a unique project directory. Even the external libraries you’ve installed from Luarocks or the Internet at large were placed in a local folder in your project directory. So that’s the first requirement sorted.
One of the most common methods of automating software releases is the make file. Not all software projects use a make file, but most use something like it: a script designed to perform routine tasks to save you from making a stupid mistake while packaging up your game.
Open Geany and create a new file called luamake in your Battlejack project directory.
The make file works as expected. Scripting this simple command ensures that you never accidentally package your game but forgetting to include the images, or the local libraries, or anything essential to the application.
Versioning
One problem with updating an application is that once you release an update, there are different versions of the same application. The last thing anyone wants is to run an old, buggy version of an application after a fix has been released, so it’s smart for you and smart for your users to use a versioning scheme.
There are many versioning schemes out there. Applications that develop rapidly and release often tend to use semantic versioning, as described on semver.org . Applications that only release once a year might just use a major version number, like 5 or the release year. Others use code names, or something entirely unique.
The date command syntax uses shorthand to request specific aspects of the current date. The final command in the example output displays the year, month, and date with no delimiter. Normally, a version string is separated with dots, but some file managers on Android have trouble opening .love files that contain any more dots but the final one, so for compatibility, avoid complex version strings for now.
The output of luamake would be, for example, battlejack-20190603.love. That’s better than just battlejack.love but it ignores the possibility that you might make two updates to your application in one day. Ideally, you would only actually publish the most recent update, but crazy things happen in software development.
In this example, readlink is the command, --canonicalize is the option, and luamake is the argument.
Lua is a command, and so it uses the same syntax, which means your luamake file can accept an optional version number chosen by you at run time.
The arg table for luamake contains luamake in arg[0], --foo in arg[1] and bar in arg[2].
By looking at the arg table in a Lua script, you can get extra parameters from the user (in this case, you).
If you provide no version, then it is assumed to be 0, producing a file like battlejack-20190603-0.love.
Help Message
Since your formerly simple one-line script now has an optional flag, you should document how to use it. It might seem obvious now, but you’ll thank yourself in a month when you go back to fix a bug and suddenly realize you don’t remember how to generate a release package.
Executable
On Linux, you’re encouraged to write your own commands. You’ve just written one, but it doesn’t feel like a command because you have to use Lua to run your script.
The lua command is what’s called a binary executable, meaning that it has been translated from code to a machine language. If you were to open lua in Geany, you wouldn’t see code, you’d see garble.
The Lua programs you have been writing are scripts that are interpreted by either LÖVE or Lua directly. Without LÖVE or Lua, your scripts are just plain text files.
This defines what application to use to run the text contained in the script.
Distribution
You can distribute your LÖVE games anywhere online. If you have a website, then you can post your game for download and you’re officially a game distributor. Posting something online and people knowing that your game exists, however, are two different things.
For better exposure, you can also post your game on established indie game distribution sites.
Online
Open source programming is everywhere, and several very large websites are eager to host your code. Popular code hosting sites include GitLab.com, GitHub.com, NotABug.org, Bitbucket.org, SourceForge.net, and many others. Most are based on Git, which you have been using during the course of this book to track your work.
These hosting services provide not only a no-cost online storage space for your game projects, they also provide the ability to open your code for others to see. Sometimes that means other people will learn from your hard work, and other times it means someone smarter than you will improve your code and teach you something new. It’s the open source model, and it’s popular for a good reason.
Some of the hosting services even provide basic homepages so you can design a simple page or two to advertise your game’s features.
Because GitLab itself is open source and can be installed on private servers, it’s become popular among both hobbyists and professional software houses, so its web interface is worth learning. All of them are practically the same, so learning GitLab teaches you the same principles you need to use the others.
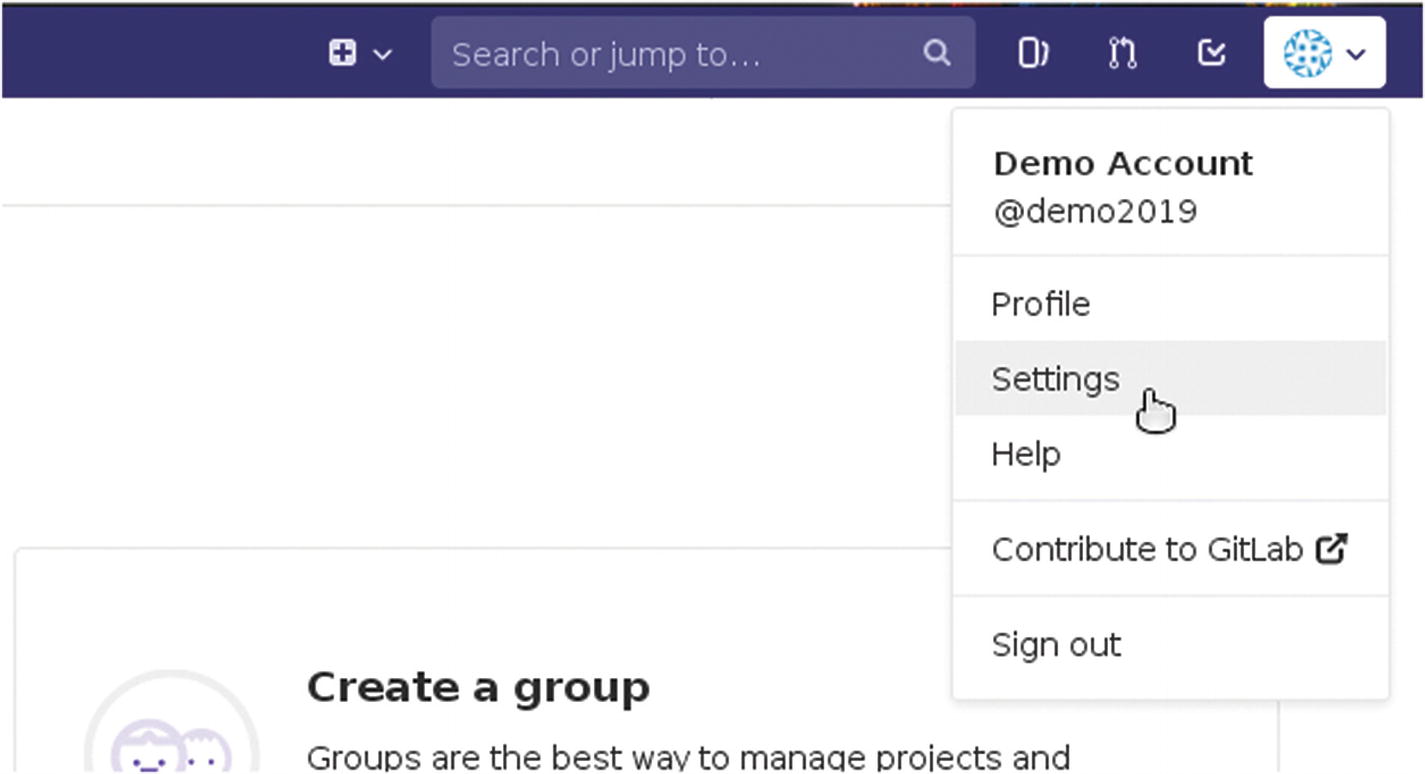
The Settings menu item in Gitlab
In User Settings Figure 13-1, click the SSH Keys link in the left panel. An SSH key is a pair of files used to authenticate one computer to another. This level of trust isn’t necessary when you’re just downloading a file from the Internet, but when you upload something to someone else’s servers, they want to make sure you’re always the same person you claim to be.
You are prompted for an optional password. This is a password for access to the key itself, in the event that your key should fall into the wrong hands. You don’t have to use a password, in which case anyone with your SSH key files would have access to your online Git account.
The result of the command are two files in a hidden directory called .ssh .
One file is a private key file, which you must never post anywhere. It’s like a password; you would never tell anyone your password, regardless how official they may appear or however nicely they may ask. Treat your private SSH key file the same. Your private SSH key is named git.key, because you named it that as part of your command.
The other file created by your command is git.key.pub, and it is meant specifically to be distributed publicly. If you place your public key on a server, then when you try to access that server using your private key, authentication is successful. You can think of these SSH keys as a “friendship necklace”, with two interlocking pieces that are relatively meaningless on their own but perfectly complete together. In more technical terms, the public file is like a padlock and the private file is the key that unlocks it.
Select the text of your key from ssh-ed25519 to the very end and select Edit ➤ Copy.
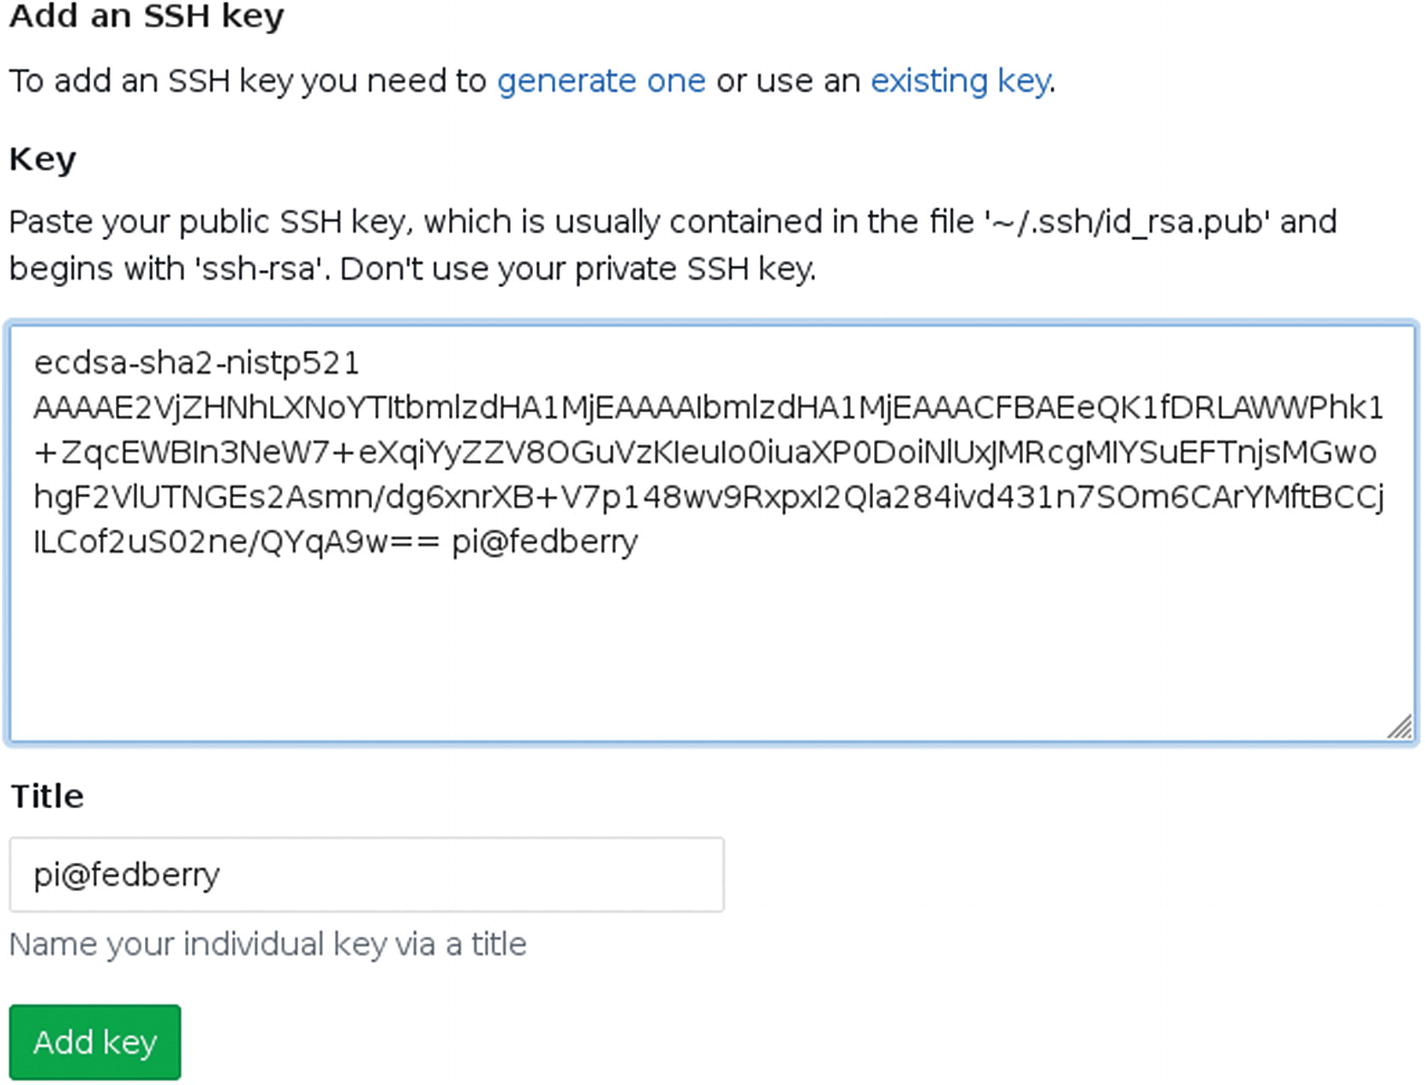
Adding an SSH key to Gitlab
Click the Projects menu in the top left of the GitLab interface and select Your Projects. This takes you back to your GitLab home screen. Since you haven’t created any projects yet, click the “Create a project” button.
On the New Project screen, provide a name for your project, such as battlejack. Optionally, you can provide a short description of the project. Set the project visibility, keeping in mind that public code increases your chances of getting useful feedback and also that others will be able to learn from you.
Click the “Create project” button to instantiate the project on GitLab’s servers.
After the project is created, you are brought to the project’s page, which provides instructions on how to post your code to the empty project. It assumes you know how to configure SSH, however, so there are some additional steps you must take before pushing your code to GitLab.
Configuring SSH for Git
You’ve configured your SSH keys on both your computer and on the Git server, but the git on your computer doesn’t know what SSH key to use (or even that you want to use SSH, since Git is capable of using many different protocols). If you provide the git command or git-cola an SSH address, then Git knows to use your SSH configuration. The problem is, you don’t have a SSH configuration yet.
The user value must be git. That’s not your username, but most online Git hosts use git as the generic username for all of their users, since they rely exclusively on SSH keys to actually identify each person.
The value of identityfile, however, may differ on your computer. For instance, this example assumes that your username is pi, which is often the default user on a Raspberry Pi Linux distribution. If you’ve created your own user, or changed your username, or aren’t using a Pi at all, then change pi for your actual username.
If you don’t know your username, use the whoami command to find it out.
Save the config file.
Pushing to Git
Now that SSH is fully configured for Git, you can add your remote Git project to your local project directory. This example uses the Battlejack, but this process is the same for any project you work on, as long as you have a local directory that is being tracked by Git and a remote Git server upon which you’ve created an empty project.
This command does exactly like it reads: Git is adding a remote (that is, not in the same location as you) destination called server, with the address of git@gitlab.com:demo2019/battlejack.git. The name server is arbitrary, and exclusively for your own use. It is the shortened term that refers to git@gitlab.com:demo2019/battlejack.git. Some users name it origin, others call it upstream, and so on.
If you prefer to use git-cola, open your project and select File ➤ Edit Remotes. In the Edit Remotes window, click the + button in the lower left corner.
In the git-cola dialogue box that appears, enter server for the name field, and the Git project location, such as git@gitlab.com:demo2019/battlejack.git, for the URL field.
This command is very specific; it tells Git to push your code and to set the remote location (called server) as an “upstream” location. That’s fancy software development terminology meaning that Git is not only pushing code to your server, but also should, in the future, pull changes from it.
If you prefer git-cola, go to the Actions menu and select Push. In the Push window that appears, set Remote, along the top of the window, to server. Select the Set upstream option along the bottom of the window (you only need to do that the first time you push to a project on your server), and then click the Push button.
git-cola warns you that the target server is devoid of any of your code, so a new branch is being created to mirror your local project directory. Click the Create Remote Branch to accept.
Itch.io
Itch is a leading indie game distribution site, offering video games for Linux, Windows, and Mac. Developers can post games and set either a fixed price, no price, or pay-what-you-want. Some games, like Mr. Rescue, are even programmed with LÖVE.
Itch is not curated or moderated. This means that you can post nearly anything to it. There’s no approval process. With this freedom comes great responsibility; don’t post the games that you’ve written haven’t had anyone else test, don’t post half-baked games that are bound to frustrate your users. Post your games after extensive testing and refinement. The Itch audience and your own reputation will thank you.
You can sign up for Itch for free and post your game. Tag your game with relevant information, such as the genre and game engine, to help people find your game, and set it as fully cross-platform, since LÖVE itself runs on Linux, Windows, and Mac.
Lutris
Lutris is not exactly a game distributor, but a game aggregator. For fans of retro, indie, and open source gaming, Lutris is a unified library for thousands of games. Unlike Itch, it is a curated collection, meaning that not just any game gets posted. However, you can write your own Lutris installer and distribute that independently, or you can wait until game is nearly perfect, well-tested, and ready to stand up to the scrutiny of serious gamers, and then post it.
Lutris is something of a hybrid system. Lutris.net is an online community, with a library filled with installer files. It does not distribute games, only scripts to make games already downloaded by a user appear in the user’s Lutris desktop application.
Lutris, the desktop application, is a game library that makes it easy for a user to browse through their personal collection and launch a game regardless of whether it was written for Linux, Windows, a web browser, LÖVE, and many other platforms.
A Lutris install file is a simple script written in YAML, a popular configuration format. A Lutris installer needs to communicate to Lutris where a game executable is located, and what application on the user’s computer must be used to launch it.
Using the Battlejack project as an example, create a file called battlejack.yml in your home directory. Open this file in Geany.
This configuration option tells Lutris that there is one file required for this game, but that the location is not yet known. When a user installs the game, Lutris prompts the user to select the .love file on their hard drive.
Regardless of how the game is acquired, the location of the game file is assigned to a new variable called lovefile.
This configuration block tells Lutris that the actual executable command is love, and the argument to pass to LÖVE is a variable containing the name of the game directory (which is defined by the user during install) and a variable containing the name of the game file.
Your installer is finished. Log in to lutris.net, add a new game, paste in your installer, and submit it for moderation. While you’re at it, add a screenshot of your game, a description, and other data so that people can see that it’s a legitimate, playable game.
Mobile Market
The mobile market, including phones and tablets, is a major game outlet, and LÖVE is perfectly suited for creating mobile games. LÖVE is available for both Android and, technically, iOS. Android is open source, so it’s easier for both users and developers to install LÖVE onto it than onto iOS.
Note
Even the Android version of LÖVE lacks a few important features at the time of this writing, although it’s being updated constantly and new features are appearing rapidly.
Apple places restrictions on what users and developers may do on Apple devices. Highly technical users can load LÖVE onto their Apple mobile device, but most will not. Until Apple decides to permit independent app usage and development, iOS is a difficult market for small app developers. However, now that you understand Lua and advanced programming concepts, you can explore Apple-sanctioned app development if that’s your primary target.
It is smart, however, to at least plan for both, even if you don’t guarantee full compatibility with the platform you cannot, for whatever reason, test. The more universal you make your game, the more people are able to play them.
Installing LÖVE on Android
To play a LÖVE game on your Android mobile device, you have to install LÖVE itself. You might find LÖVE in the Google Play store or in F-Droid.org , but it’s best to download the latest available version directly from love2d.org.
Installing LÖVE on Android
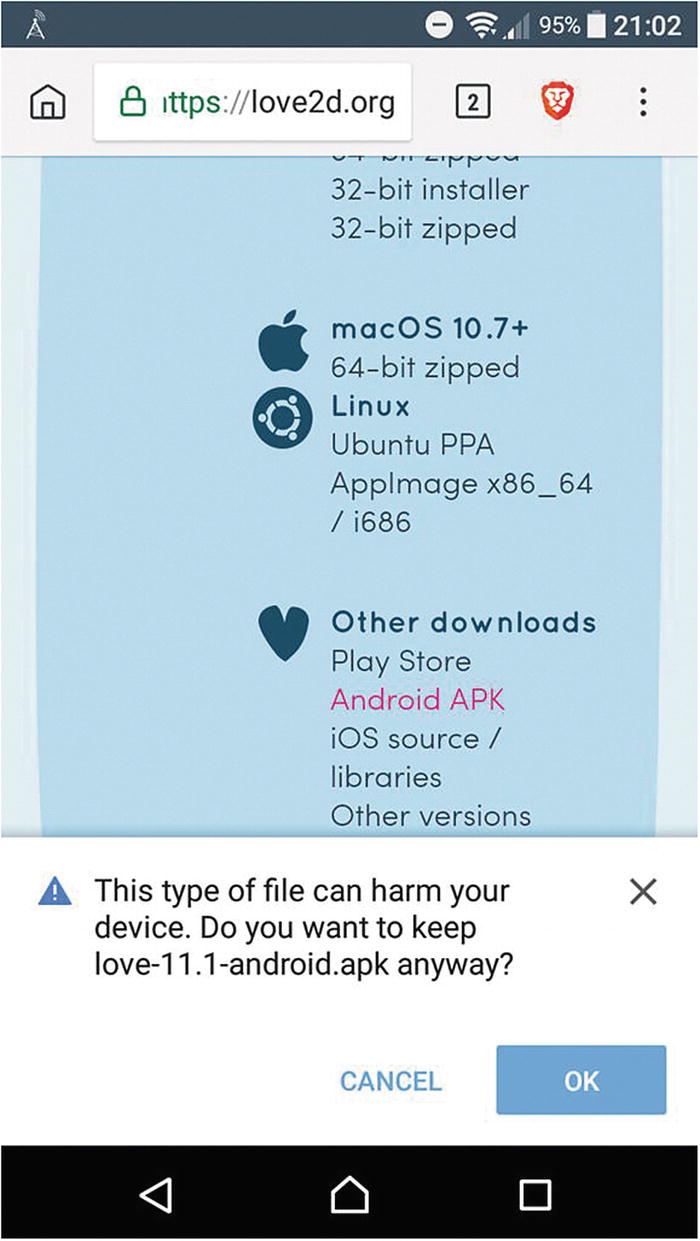
Your mobile may offer to install the APK file once it’s downloaded. If not, you must install a file manager so you can get to your files. Your mobile probably doesn’t have one, or else not a very good one, so download the open source Amaze file manager from https://play.google.com/store/apps/details?id=com.amaze.filemanager .
Once installed, launch Amaze, locate the .apk file you downloaded, and tap it to install.
You may be warned again that the APK installer is from an unknown source. It’s perfectly safe to ignore this error.
There’s no use in launching LÖVE directly once it’s installed. It’s just the game engine, so what the user actually launches is a .love file. The Amaze file manager, and many others, prompts the user to select which application to use.
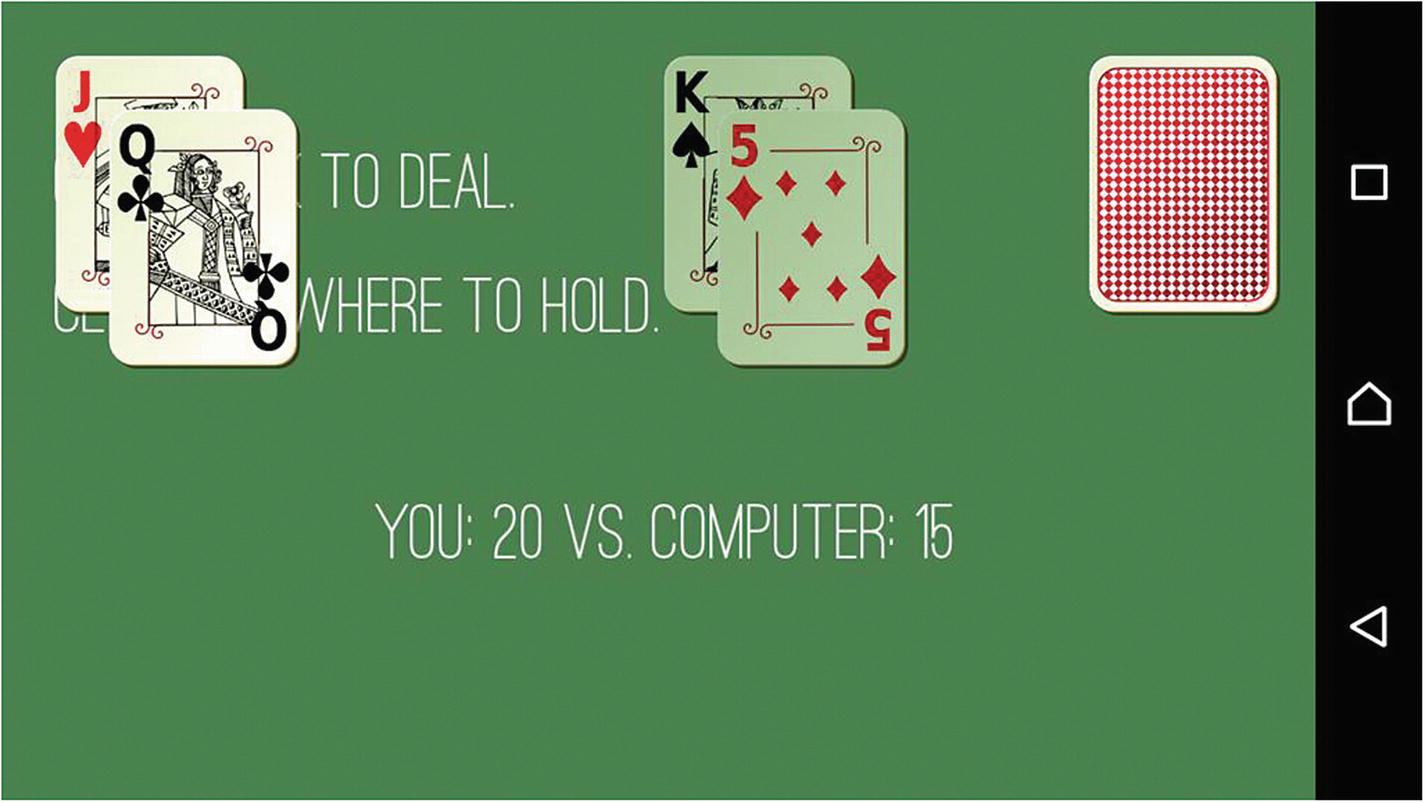
Blackjack on Android
Limitations of LÖVE on Mobiles
There’s no expectation that mobile devices have a keyboard, so mousereleased and mousepressed should be favored in a mobile game.
For menus, define buttons rather than text entries so it’s easier for a finger or stylus to trigger a click event.
Screen sizes on mobile devices vary wildly, and as the popularity of Android continues to grow, so will the range of resolutions. If you want your game to run on palm-sized phones, paper-sized tablets, and big-screen TVs, you must design your game to scale.
Furthermore, the aspect ratio and pixel density on some mobile devices won’t match your computer screen. If what you see on your screen isn’t matching what’s ending up on your device, try doubling a value or similarly adjusting your game dimensions (or better yet, make your game resolution independent with proper scaling). For example, the spec sheet of a phone with a high pixel density might report that its screen is 300 pixels wide, but your game only fills the screen if you design it with at 600 pixels wide instead.
At the time of this writing, LÖVE lacks permission to write data to the phone’s internal storage. That means you can’t get the os.getenv('HOME') location or create save files yet.
Watch love2d.org for updates.