In the previous chapter, the importance of securing an online store was discussed along with practical ways to implement security. When implementing security, it should always be a top priority because not only is it a legal obligation, but also consumers expect companies that they conduct business with to protect their personal and financial information. Companies who do not comply with the latest security measures can quickly lose customers as well as go out of business. Depending on the business’s size, the consequences can be devastating.
Before a company launches an online store, it is imperative that it is properly and thoroughly tested. Typically, testing is the last phase of a project that is done before an online store is launched. In an effort to launch a store by its deadline, some aspects of testing might be inadvertently overlooked. Depending on the severity of the issues discovered during testing, additional time and money could be required, which could delay the store’s launch.
Testing helps companies feel confident that consumers will have a positive shopping experience. It does not mean that customers will not experience any errors because customers might follow a shopping path that was not initially tested. Testing allows companies an opportunity to correct any errors before customers discover them as well as ensure that the store works as designed and expected. It also helps consumers not only have a good shopping experience but also build credibility and trust with a company’s brand. Nothing is more frustrating for consumers than to have a difficult time navigating an online store or an even difficult time checking out once they have placed items in their shopping cart.
A good first impression not only begins with the aesthetics of an online store but also the entire shopping experience from beginning to end. Putting in the initial time and work to test an online store can help companies ensure that the potential sales revenue can be achieved. By following some simple guidelines provided in this chapter, an online store can be tested to help provide a memorable customer experience.
Choosing a Testing Strategy
When it comes to testing an online store, many options are available. However, all options might not be a good fit for a particular online store in terms of complexity and ease of execution. Regardless of the strategy chosen, it is important to choose a strategy that not only works but is also flexible enough to address unanticipated areas of concern. Let’s take a look at some testing strategies that can work for validating most online stores.
Testers
Once all the product, shipping, payment, and order confirmation information has been set up in WooCommerce, it is important to test the online store. Testing can either be done by an individual or by a group of individuals. It is a good practice to use a group of individuals for testing as opposed to an individual. A group of individuals can discover issues that might be otherwise missed by an individual. Remember the saying, “Two sets of eyes are better than one”? It definitely applies to this situation. When choosing a group of individuals, it is good to select individuals who do not have a technical background because they can model how potential visitors would use the online store, which will provide additional insight. Family and friends can make good testers. Other testers can be found for a fee by using third-party websites such as www.usertesting.com , www.userlytics.com , and www.enroll.com .
Product Images
What good is a product or service if consumers cannot visualize it? With online stores, the ability to physically touch and see it are not available, so every effort must be made to duplicate it. Consumers want and need an idea of what they are potentially buying. When testing the online store, make sure that all product images are properly displayed. It is also good to make sure that the images are of good size and quality. When adding product images, it is a best practice to make sure that images are not too large in size, which can slow down the page load time speed and potentially hurt a store’s search engine optimization (SEO) efforts on sites such as Google. For example, as of July 9, 2018, Google’s Speed Update algorithm has been incorporated into mobile search results as a search ranking factor.1 No specifics were given as to how Google determines which websites are considered fast or slow or the percentage of websites that will be affected.
For products and services, verify that the full product or service image along with the small thumbnail image displays correctly. WooCommerce recommends a minimum width of 800 pixels and a height of 800 pixels for product (or service) images because they will display well for the main/featured image, catalog image, and thumbnail image.2 It also recommends larger-sized images for items that contain great detail, but keep in mind the larger the file size, the longer page load speed that affects search engine rankings. When adding products or services, these images can easily be omitted so it is always a good idea to verify that every product or service that needs an image has one associated with it. It is also a good practice to use white or light backgrounds for product or service images along with square or portrait orientation to make it easier for buyers to see products’ details. Likewise, it is a good idea to verify any copyrights associated with any images used for the online store.
Product Descriptions
In the same manner that product images are reviewed, products and services descriptions should be reviewed. Each sellable item should have a short and long description. Not only should the descriptions exist, but they should also be free from spelling and grammatical errors. Spelling and grammatical errors can make an online store appear unprofessional and sloppy. Like it or not, people tend to judge a website by the quality of its content. Misspelled words can convey a lack of attention to detail, which could cause concern for potential customers. To avoid this, product descriptions can be checked by either manually viewing them or copying them into a word processing program such as Microsoft Word and spell checking them.
Product Categories
To help consumers easily find the products that they want, categories should be used. When reviewing online store categories, make sure that they are descriptive and describe the products or services that are assigned to them. Consumers do not like to guess what products make up a category, so make it as simple as possible to locate products. Lastly, the product categories should be free from spelling errors.
SSL Implemented
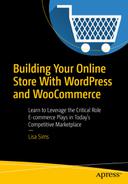
Testing the SSL in the checkout process
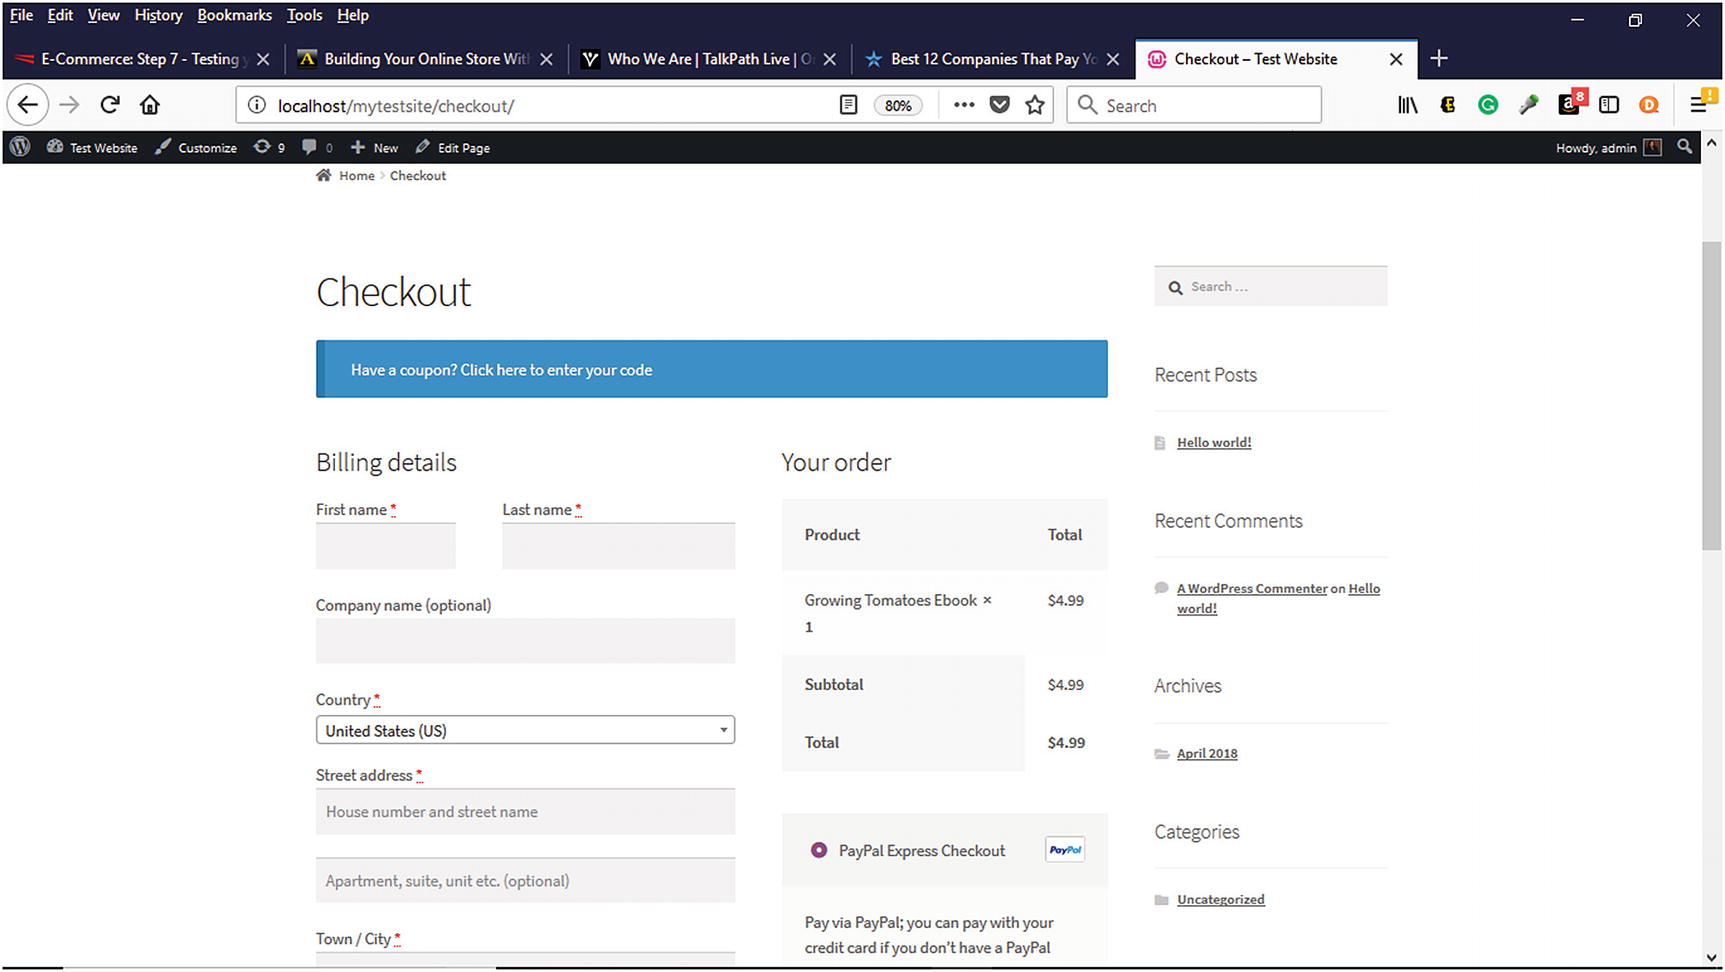
Forcing secure checkout on the Advanced Tab
Sample Data Deleted
If any of the sample products were added into WooCommerce during the initial store setup, they should be deleted. Since these products and services are not a part of a company’s inventory, potential customers should not see them and mistakenly try to order them. Likewise, any sample posts and images should also be deleted. By deleting unused items, it frees up storage space within the WordPress MySQL database, which can help reduce the database size and improve database performance.
Mobile Device Testing
Since more consumers are using their mobile devices to make online purchases, it is important to make sure that an online store not only displays correctly but also functions correctly. According to new research, consumers in the 18–29 age range are 84 percent more likely to use a mobile device when shopping online, followed by the 30–44 age range at 74 percent.3
Since iOS and Android mobile devices are the most prevalently used in the marketplace, testing an online store on one of these is a necessity. Consumers should be able to easily navigate and make purchases from the online store. The online store should also be responsive, meaning that it should be viewable on any screen size. A sample order should be placed to observe how the store responds on mobile devices.
Testing Payment Methods
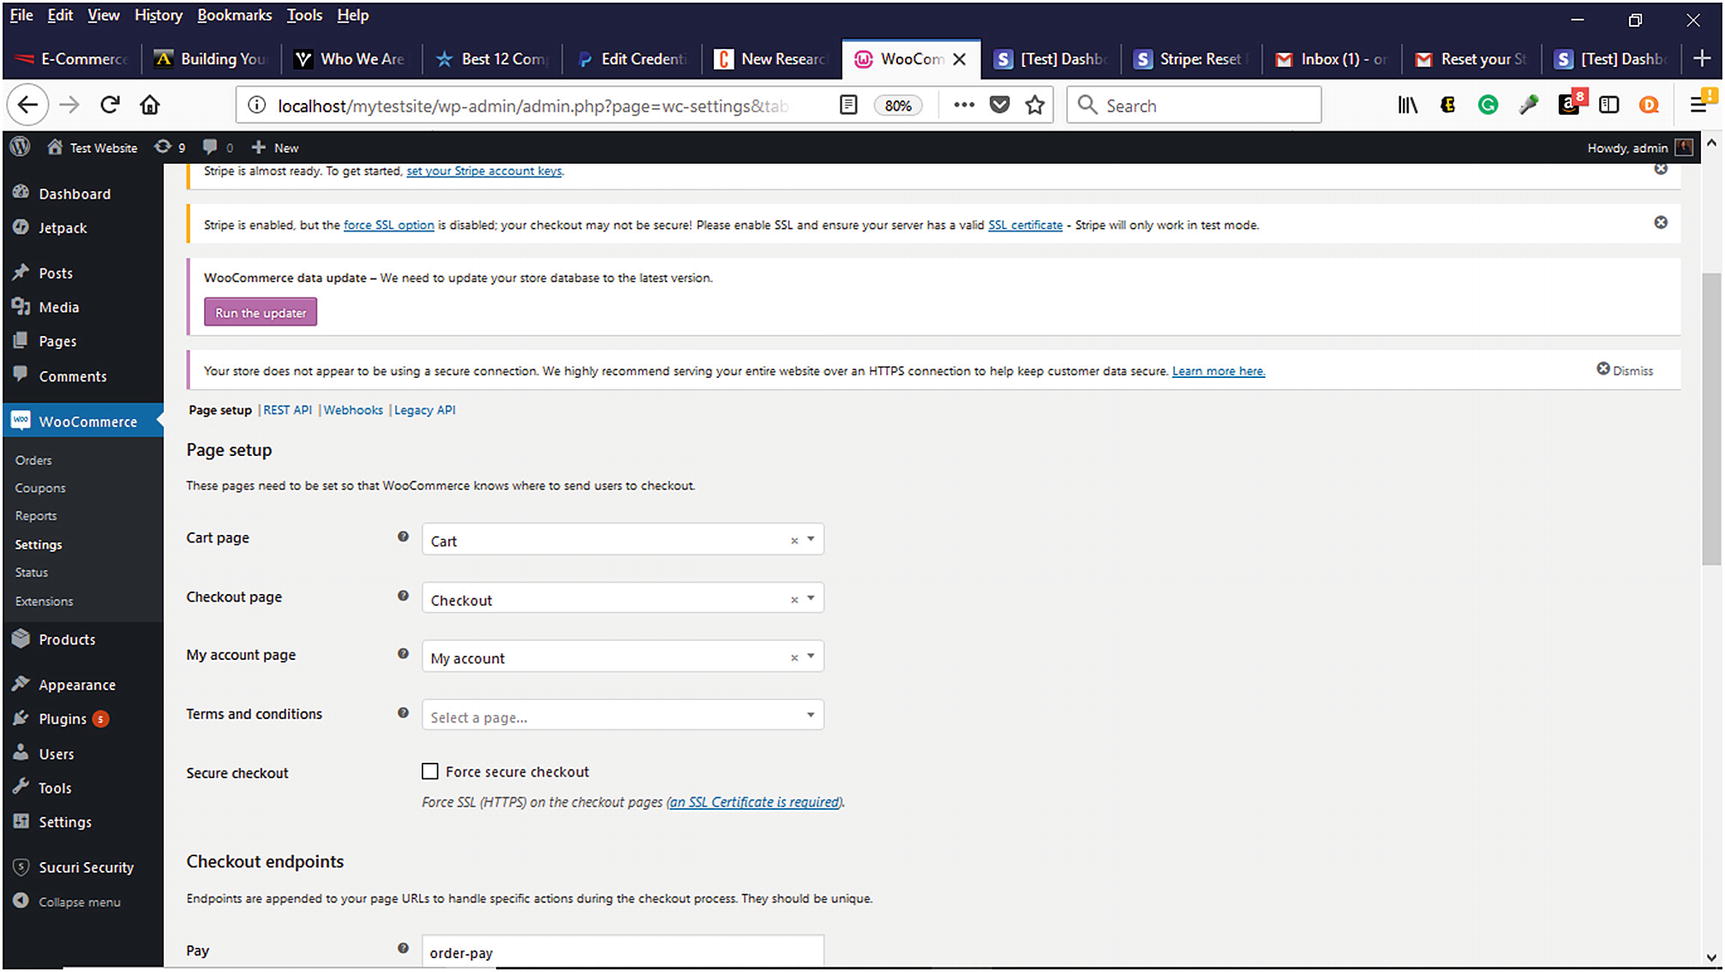
Enabling payment methods in WooCommerce
PayPal
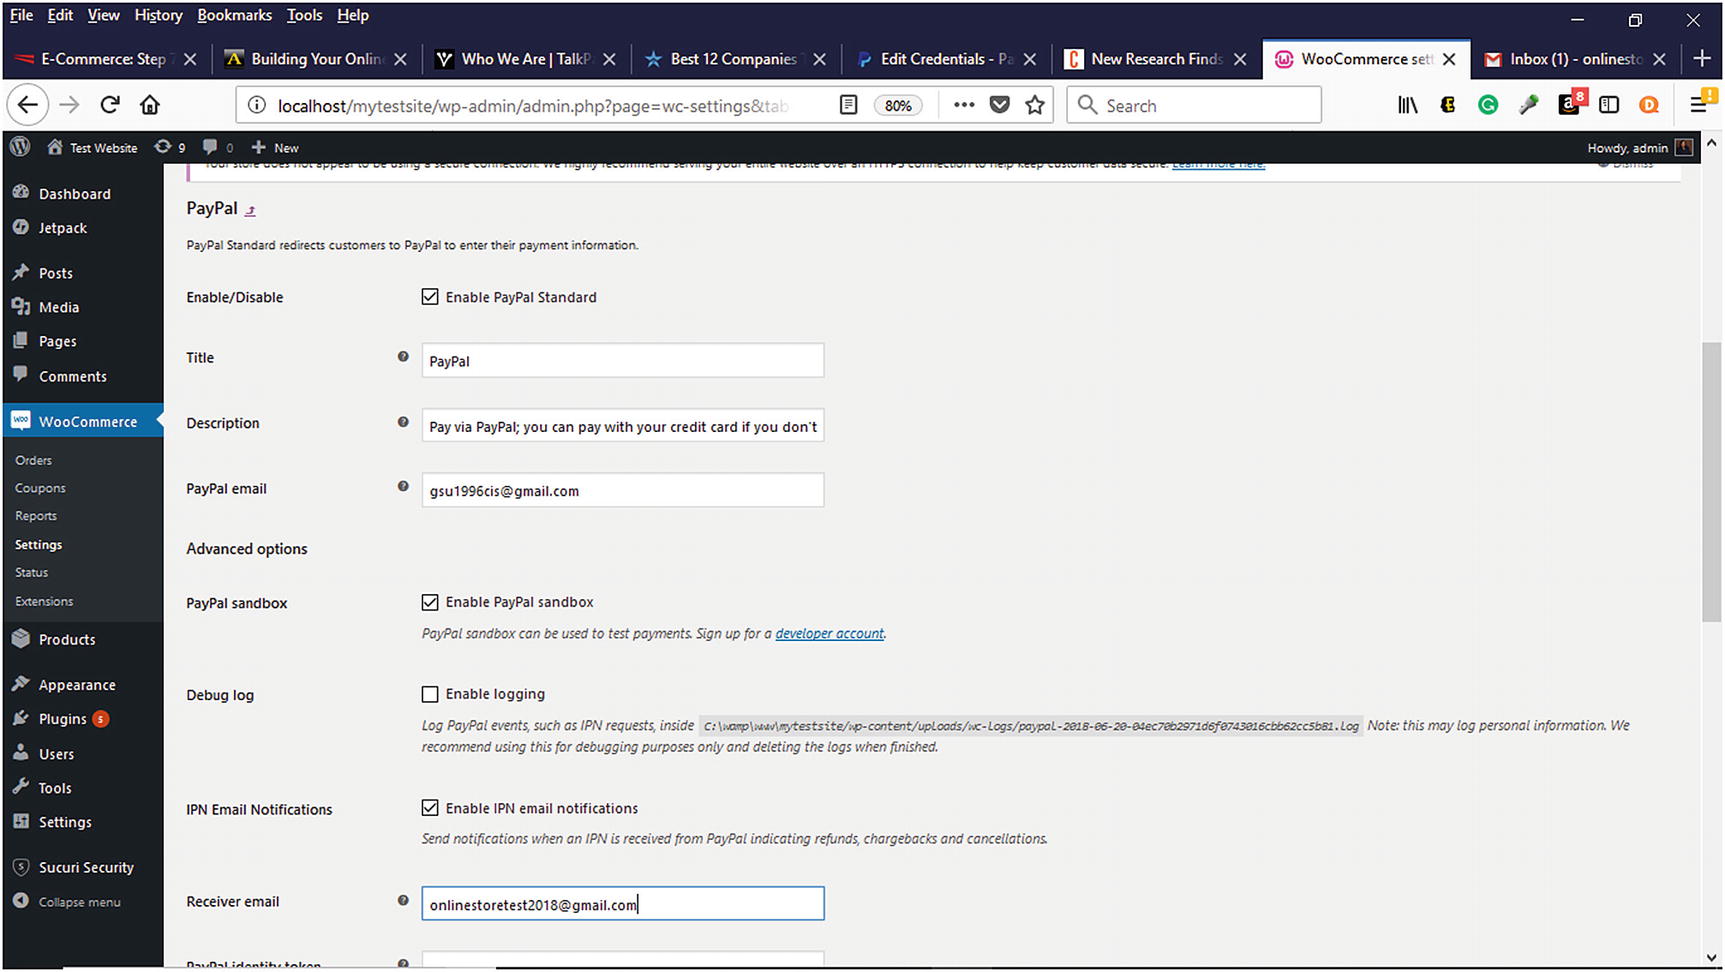
Testing PayPal For Payment Processing
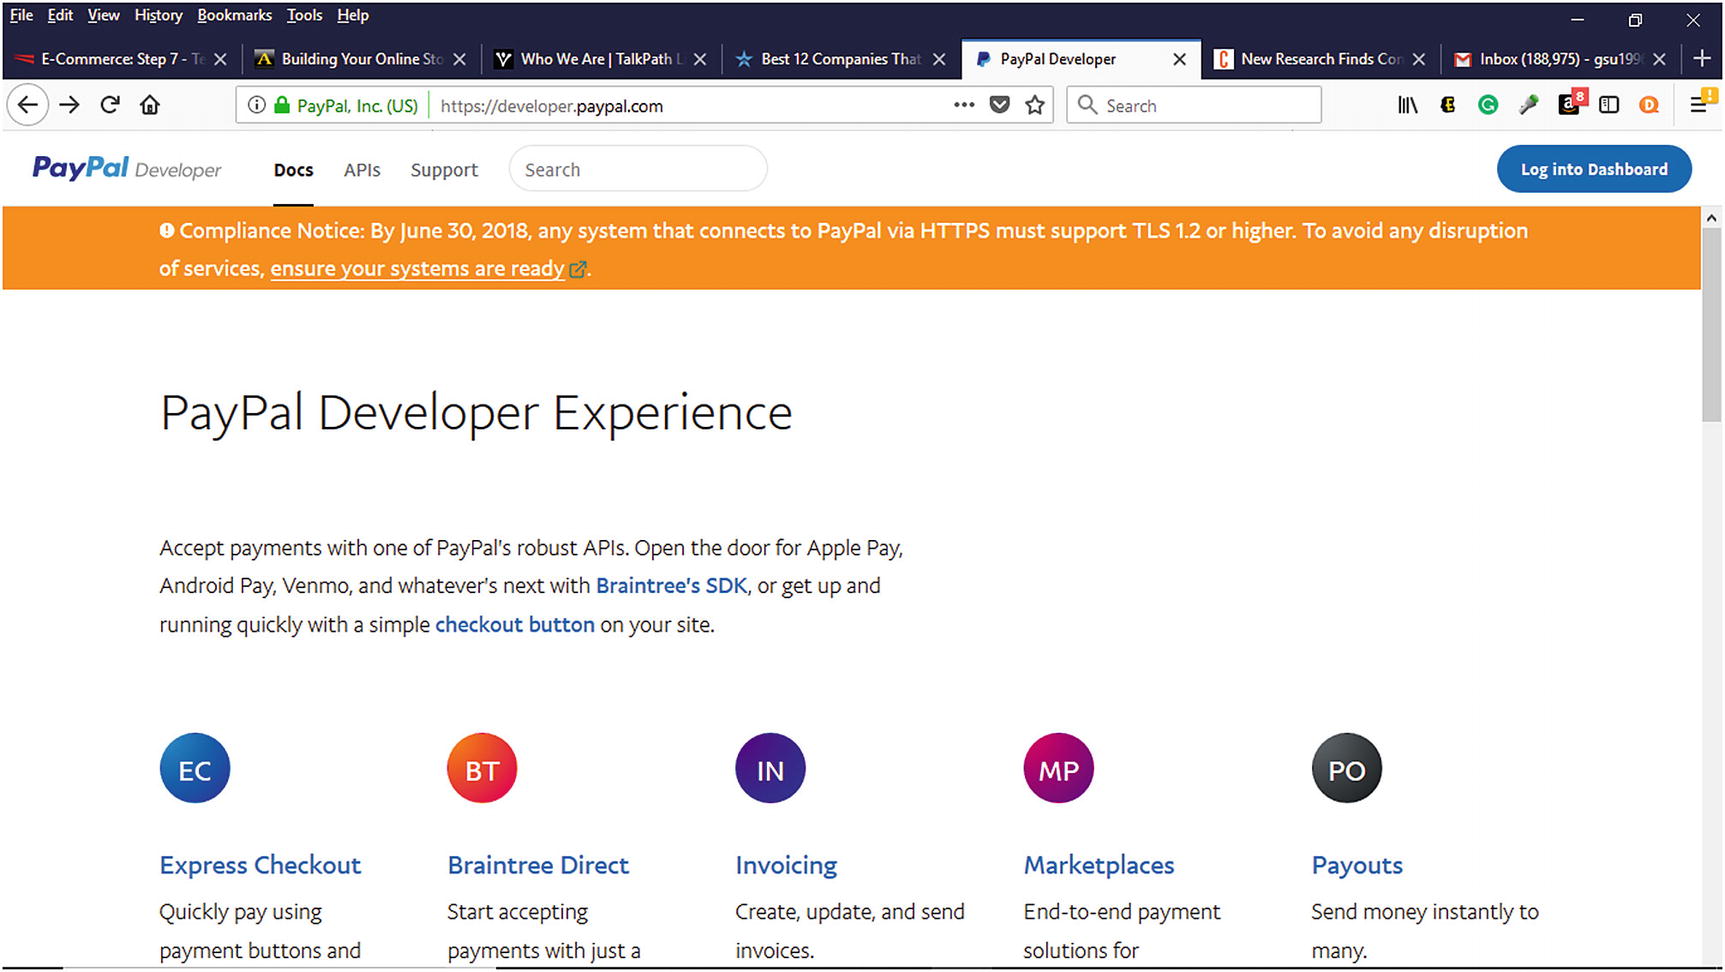
PayPal Developer Sandbox for testing PayPal payments
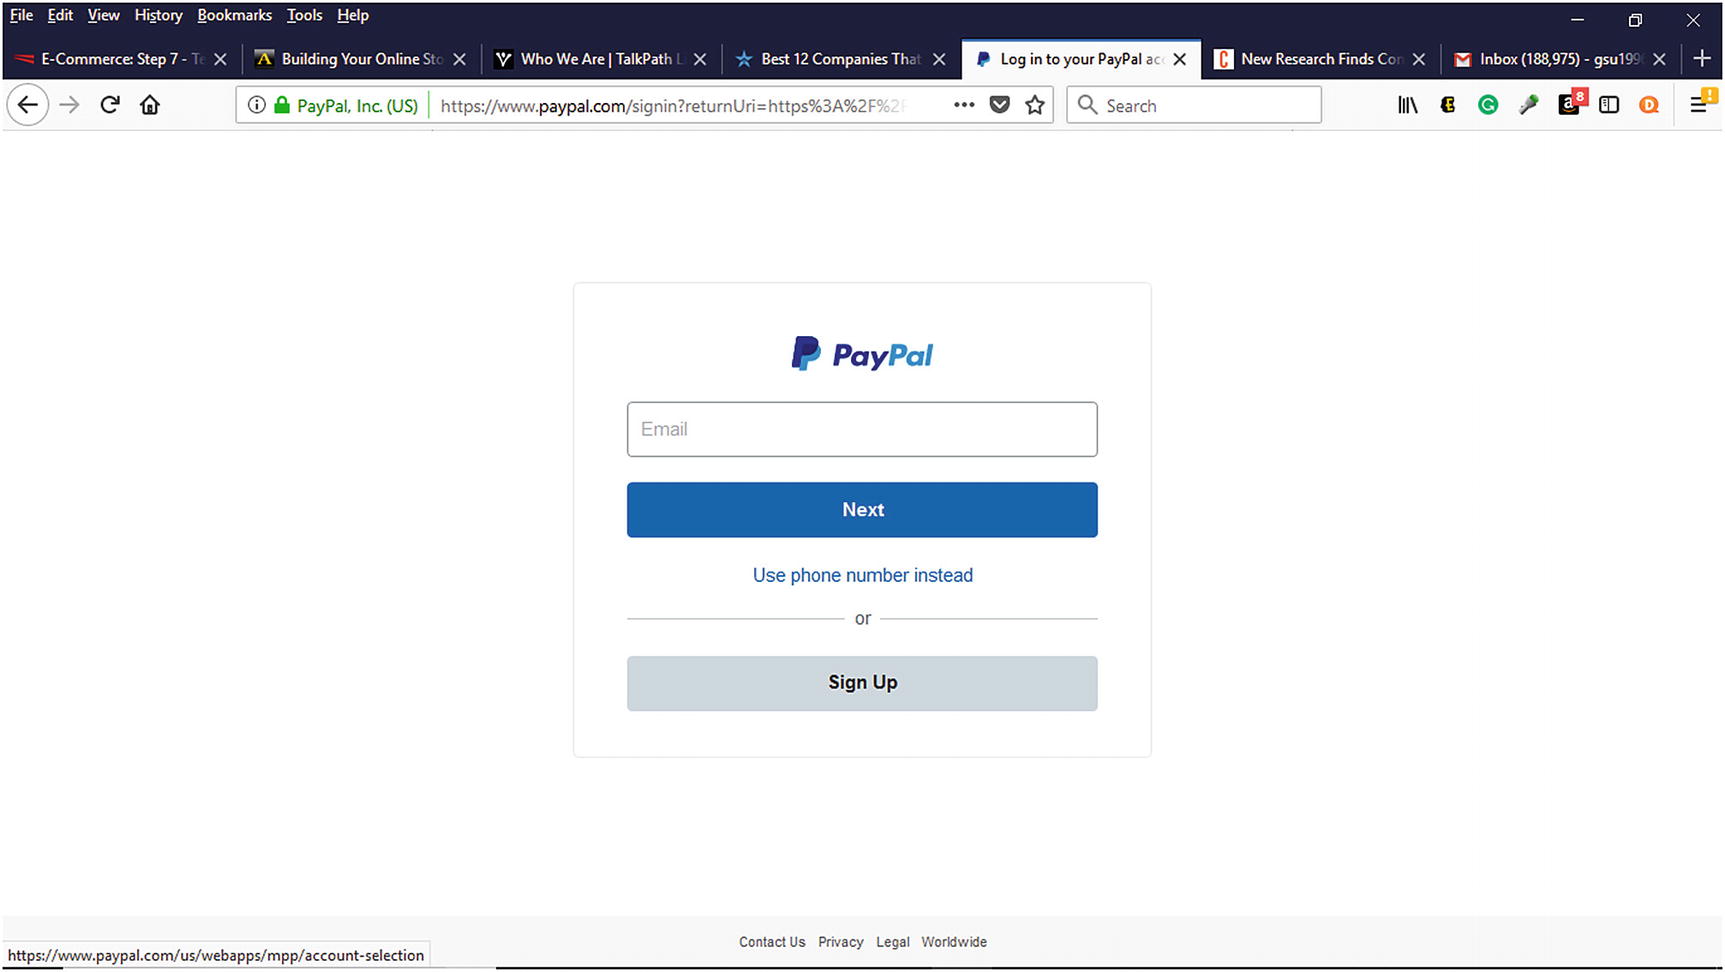
PayPal Developer Sandbox Sign-Up Page
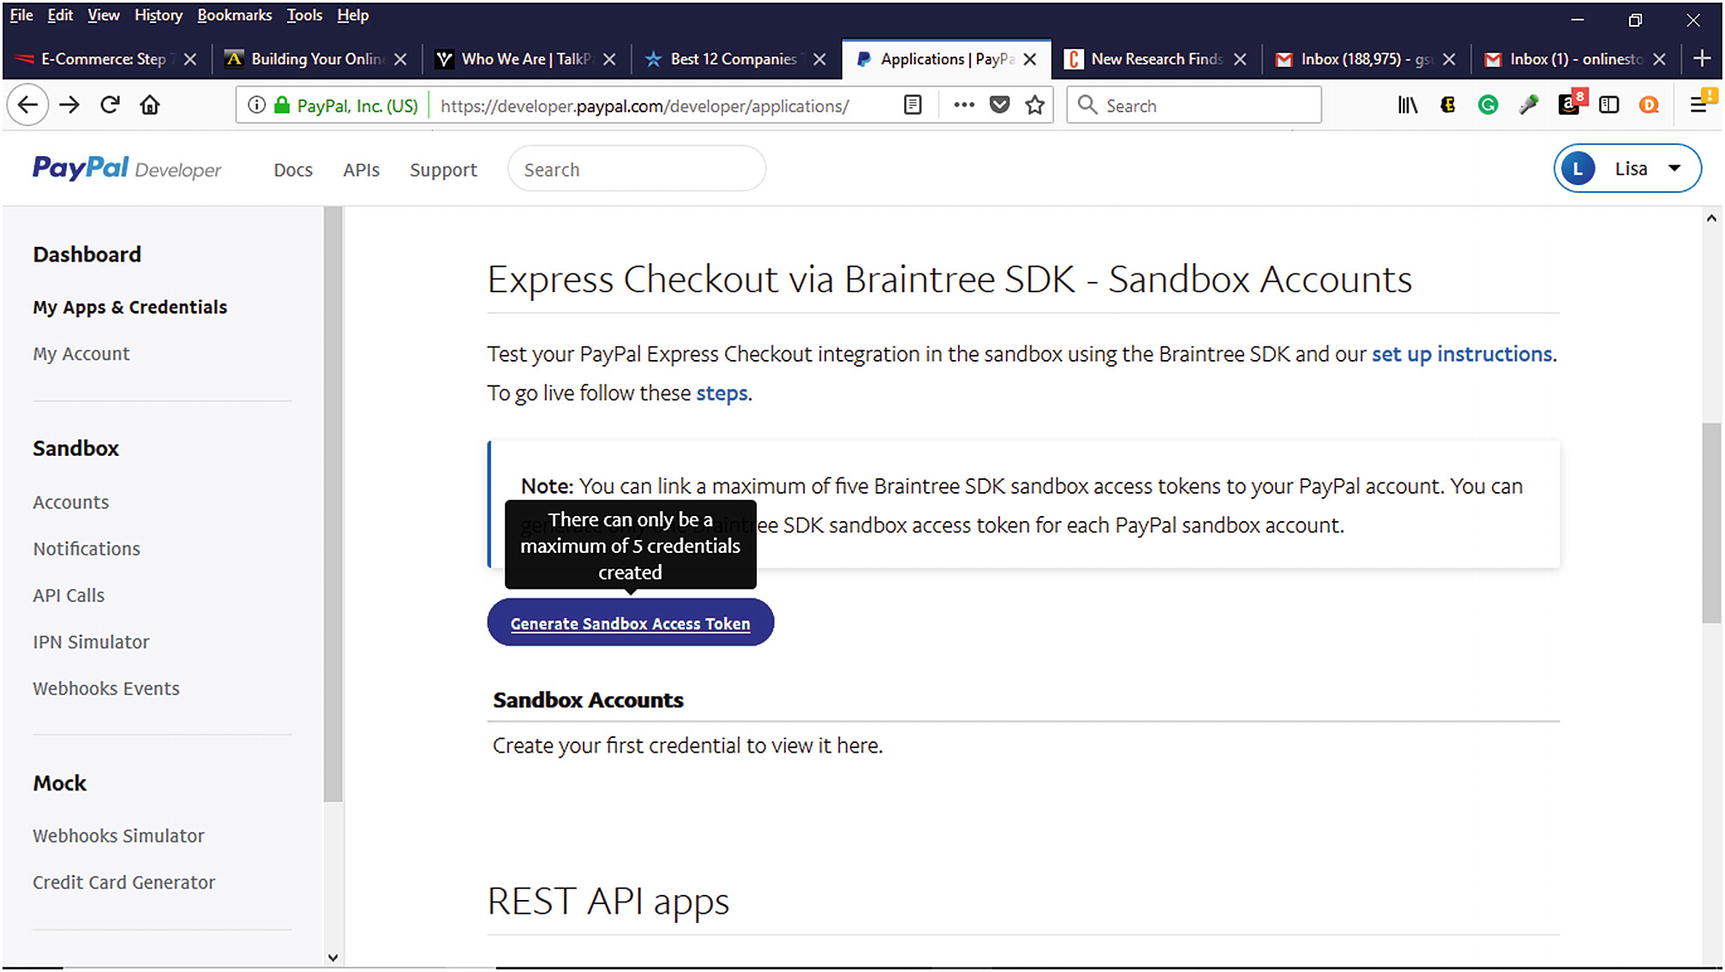
Generating Sandbox Access Tokens Within PayPal Sandbox
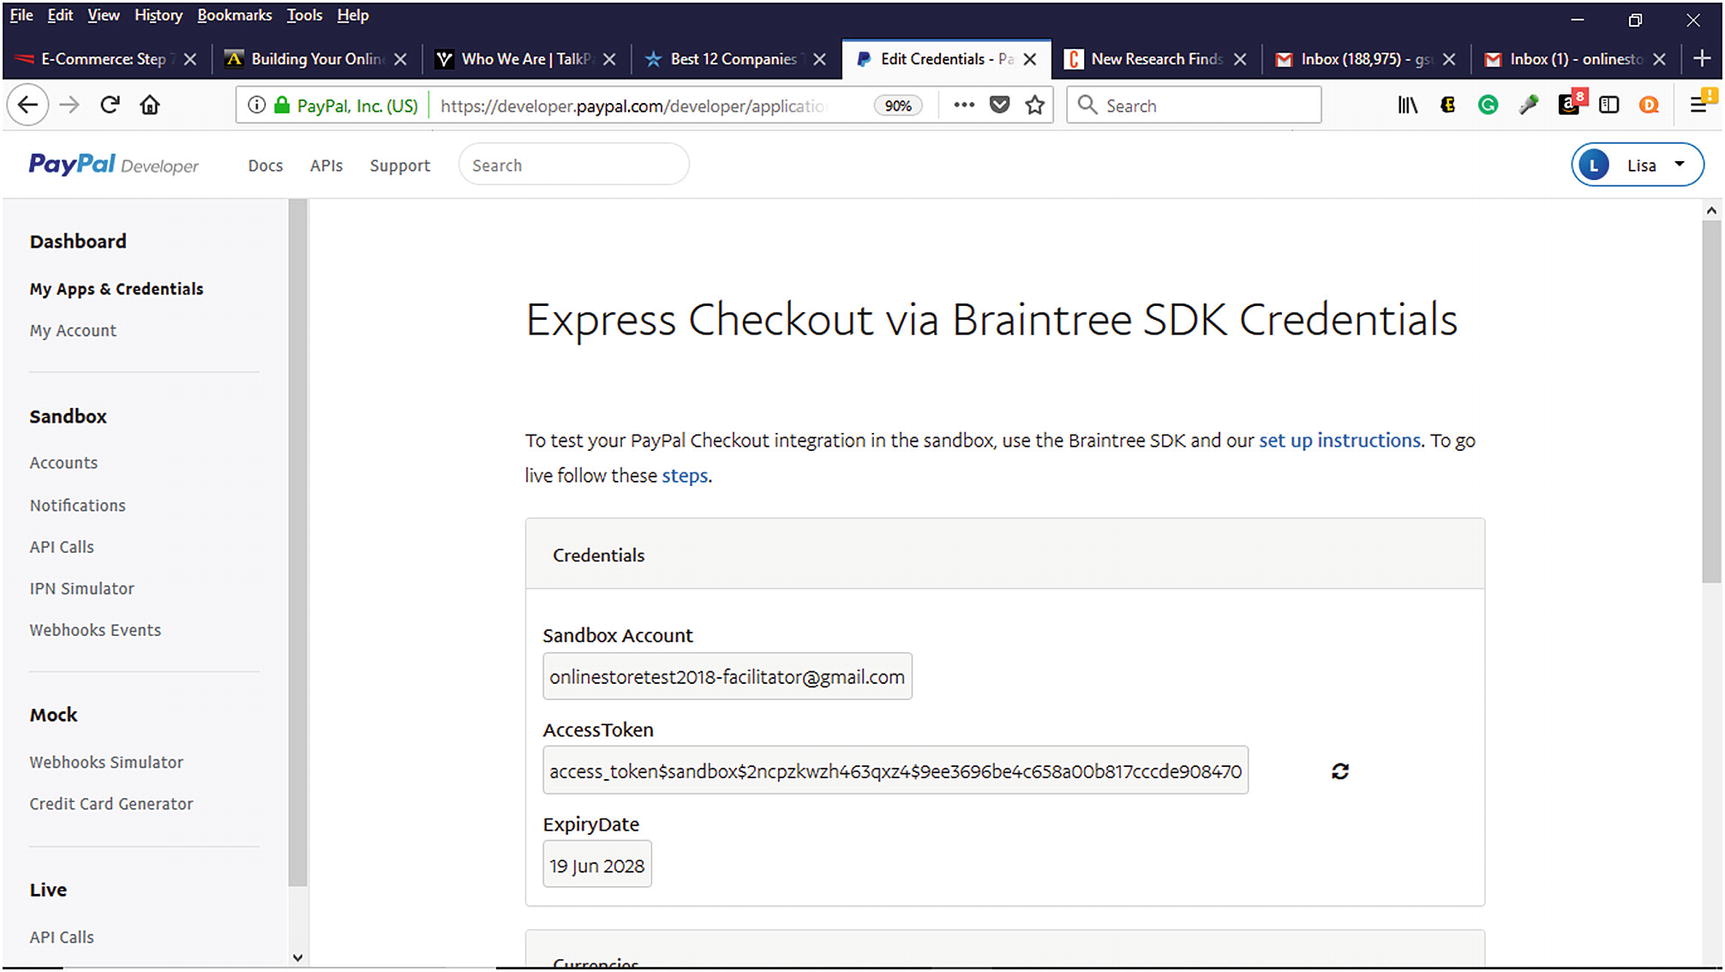
Sandbox Account Access Token
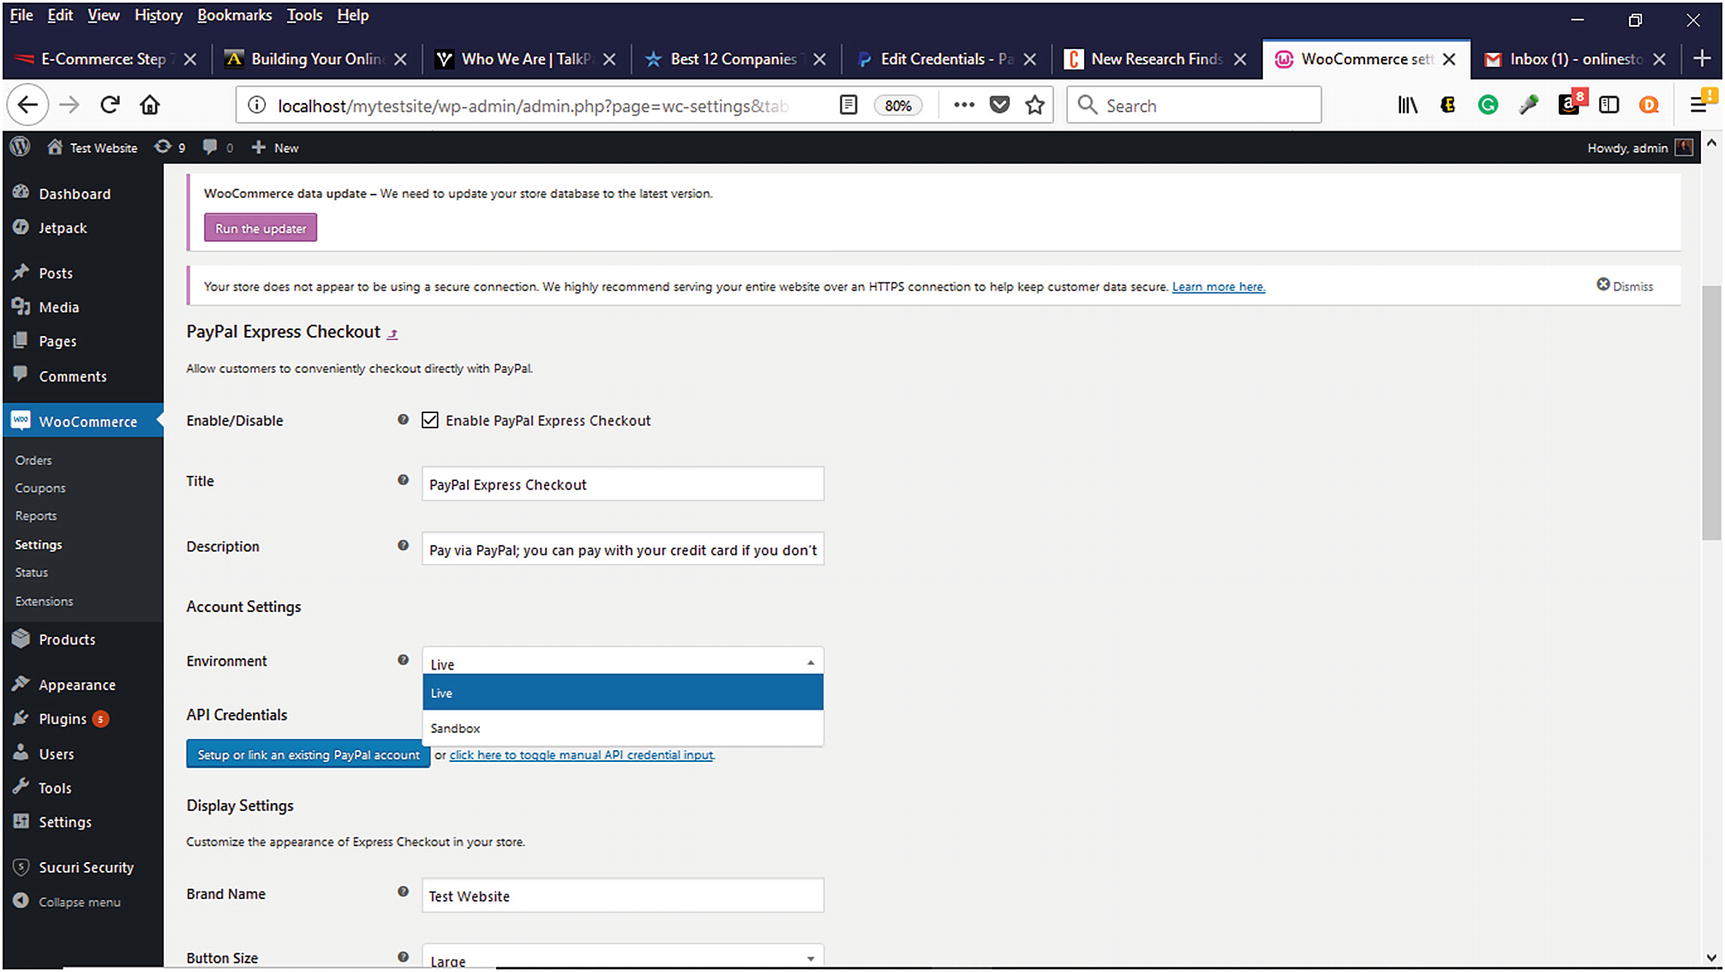
Selecting the Sandbox for testing
The PayPal Developer Sandbox account information can be entered in the Payment module on the Payment Tab. It is also important to verify that all the information is correctly listed. Documentation is also available within the Developer Sandbox to further assist with PayPal testing.
Stripe
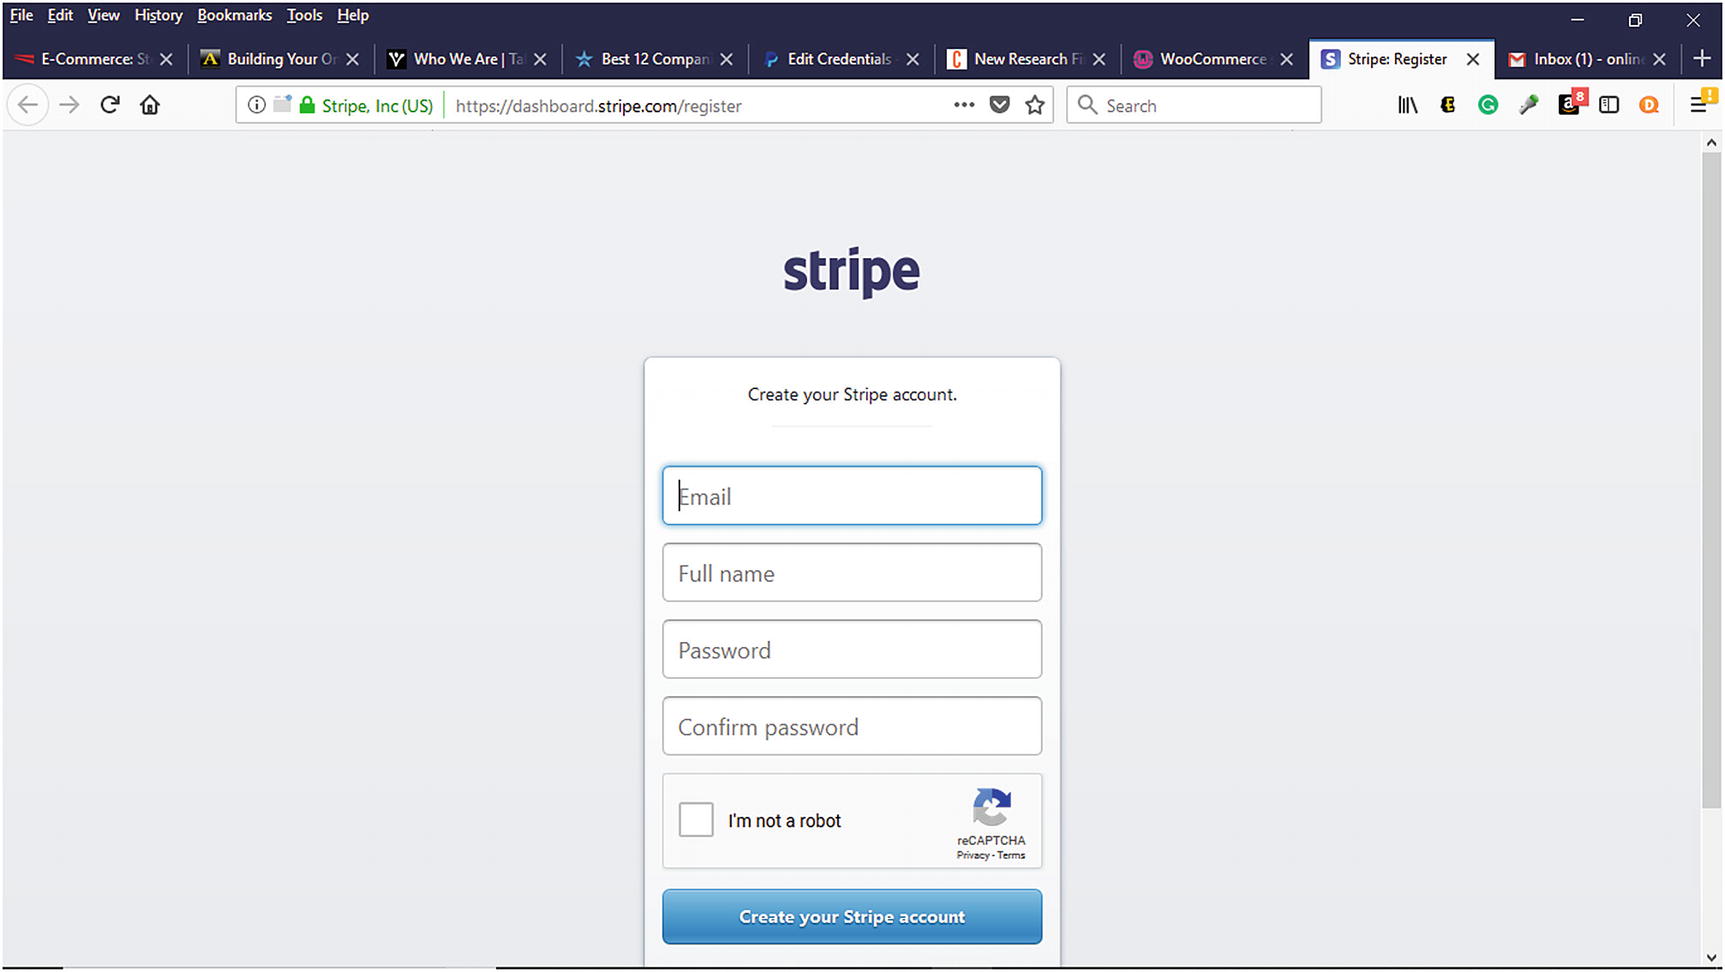
Registering for a Stripe account
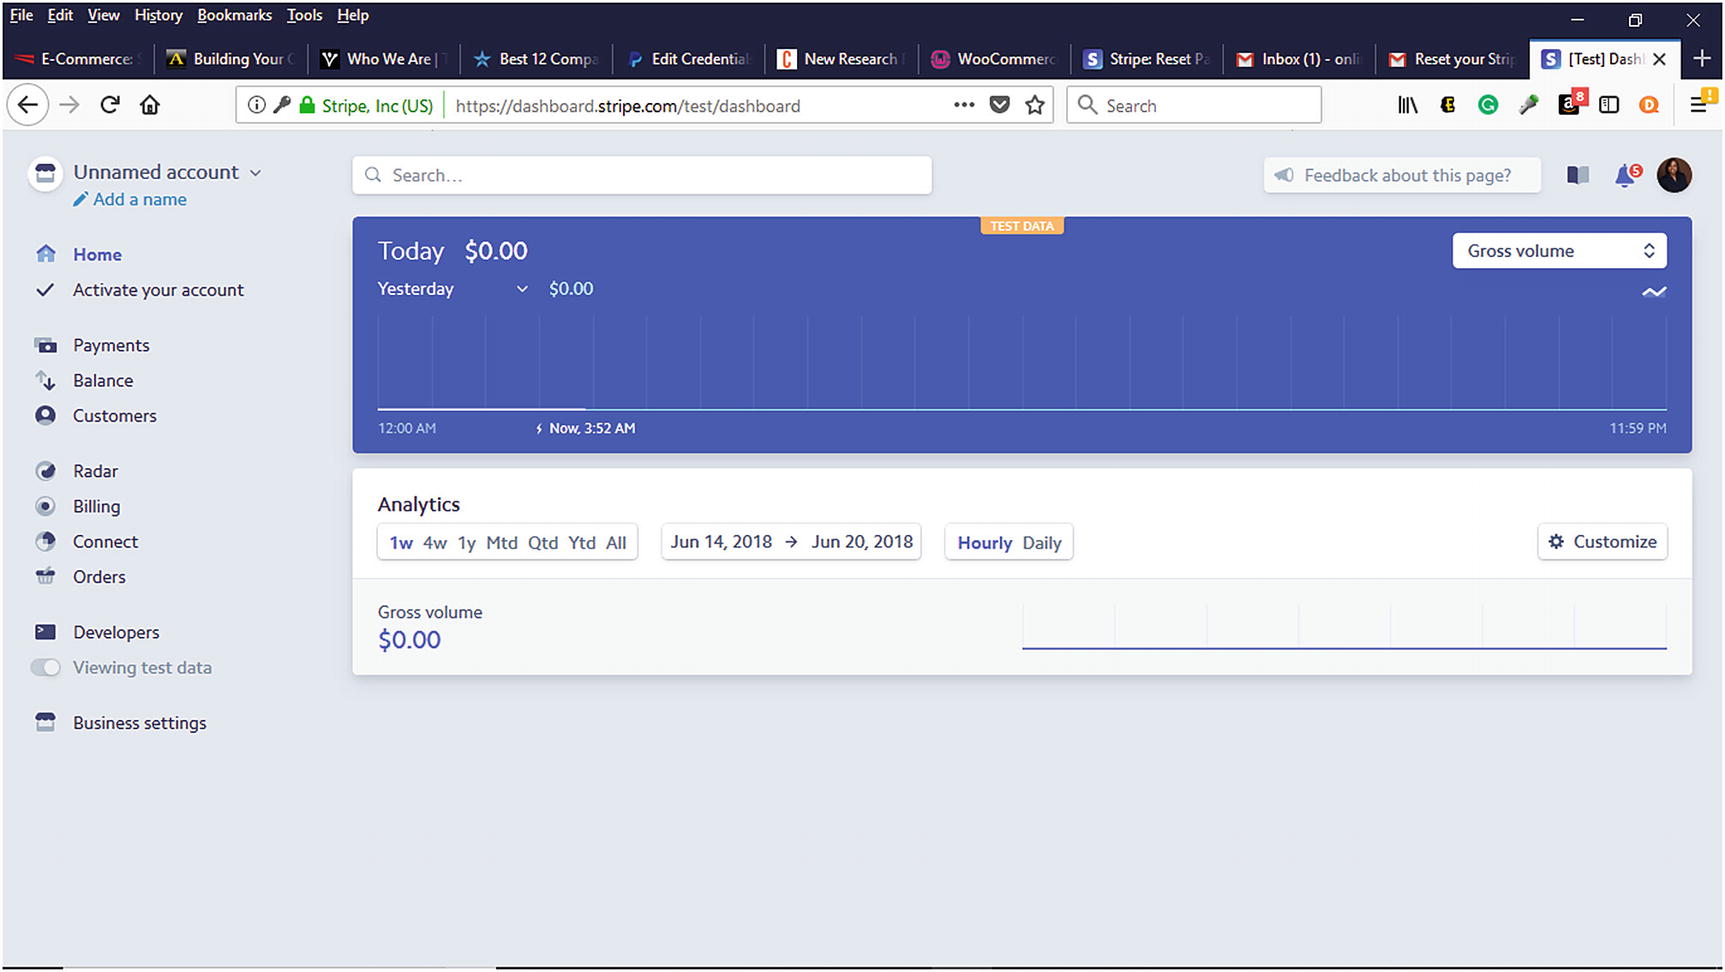
Stripe Dashboard

Generating Stripe API Keys
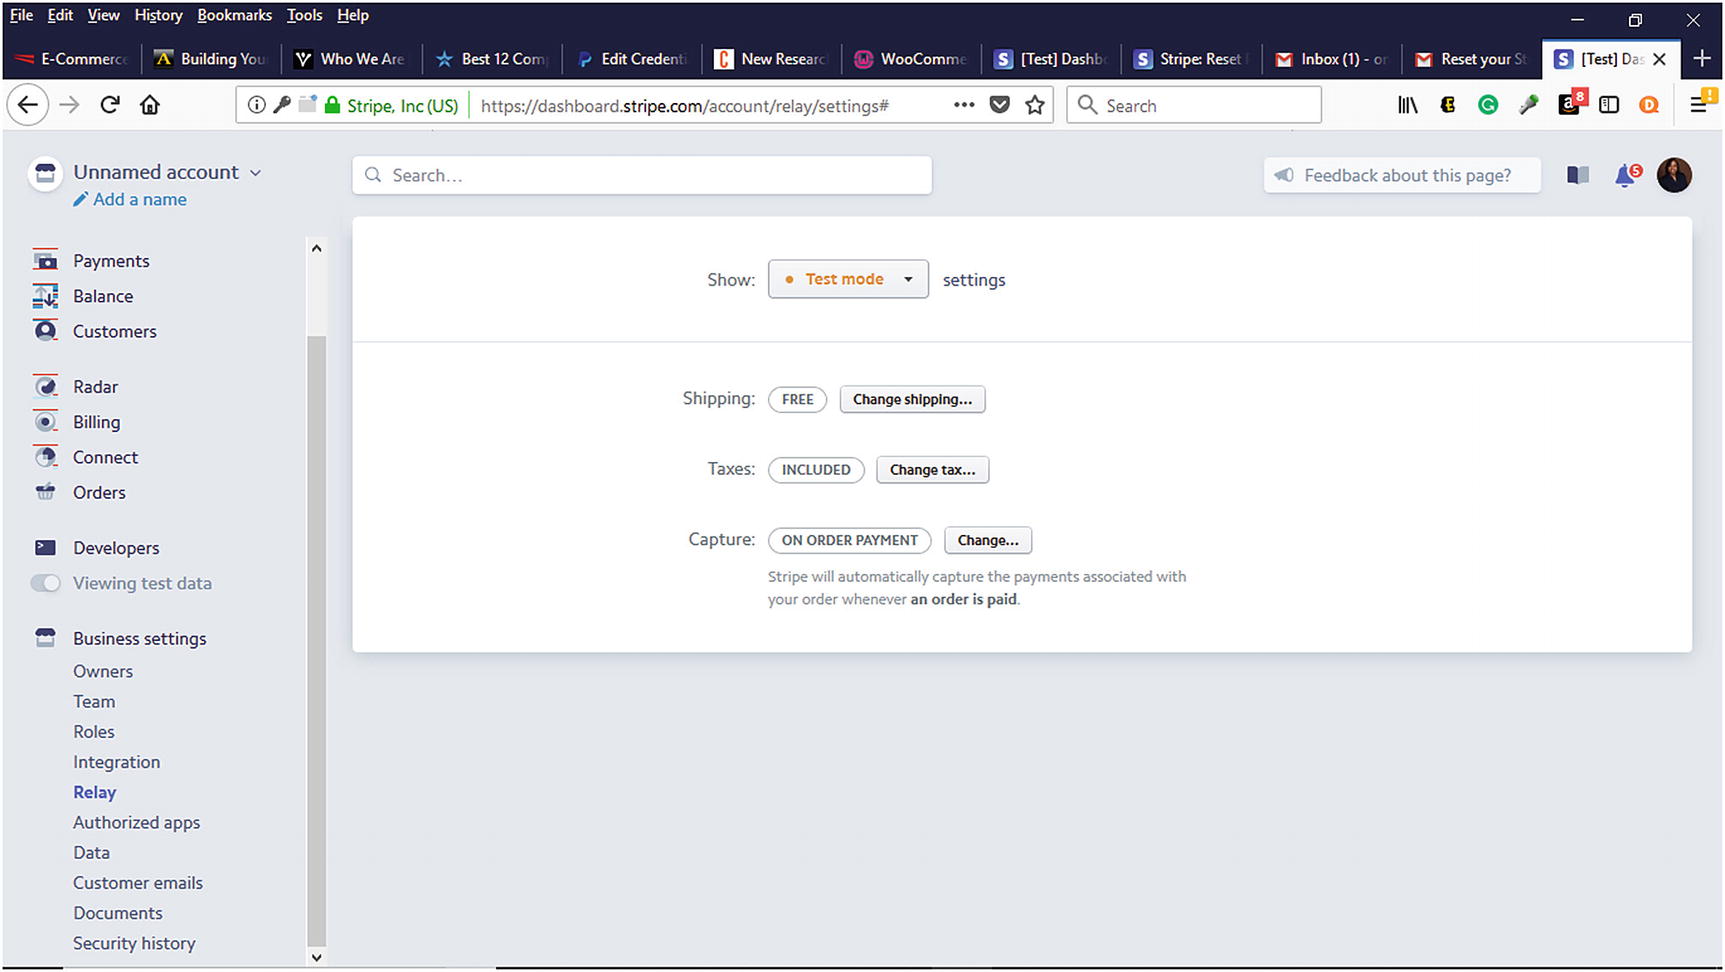
Selecting Test Mode in Relay section
Accounts & Privacy
Within the WooCommerce ➤ Settings ➤ Accounts & Privacy, verify that a privacy page is listed along with a registration privacy and checkout privacy policy. Consumers want to know how their information will be used on a website and expect to see this information listed. Also, review the Guest Checkout and Account Creation options to make certain that they are correct.
Emails
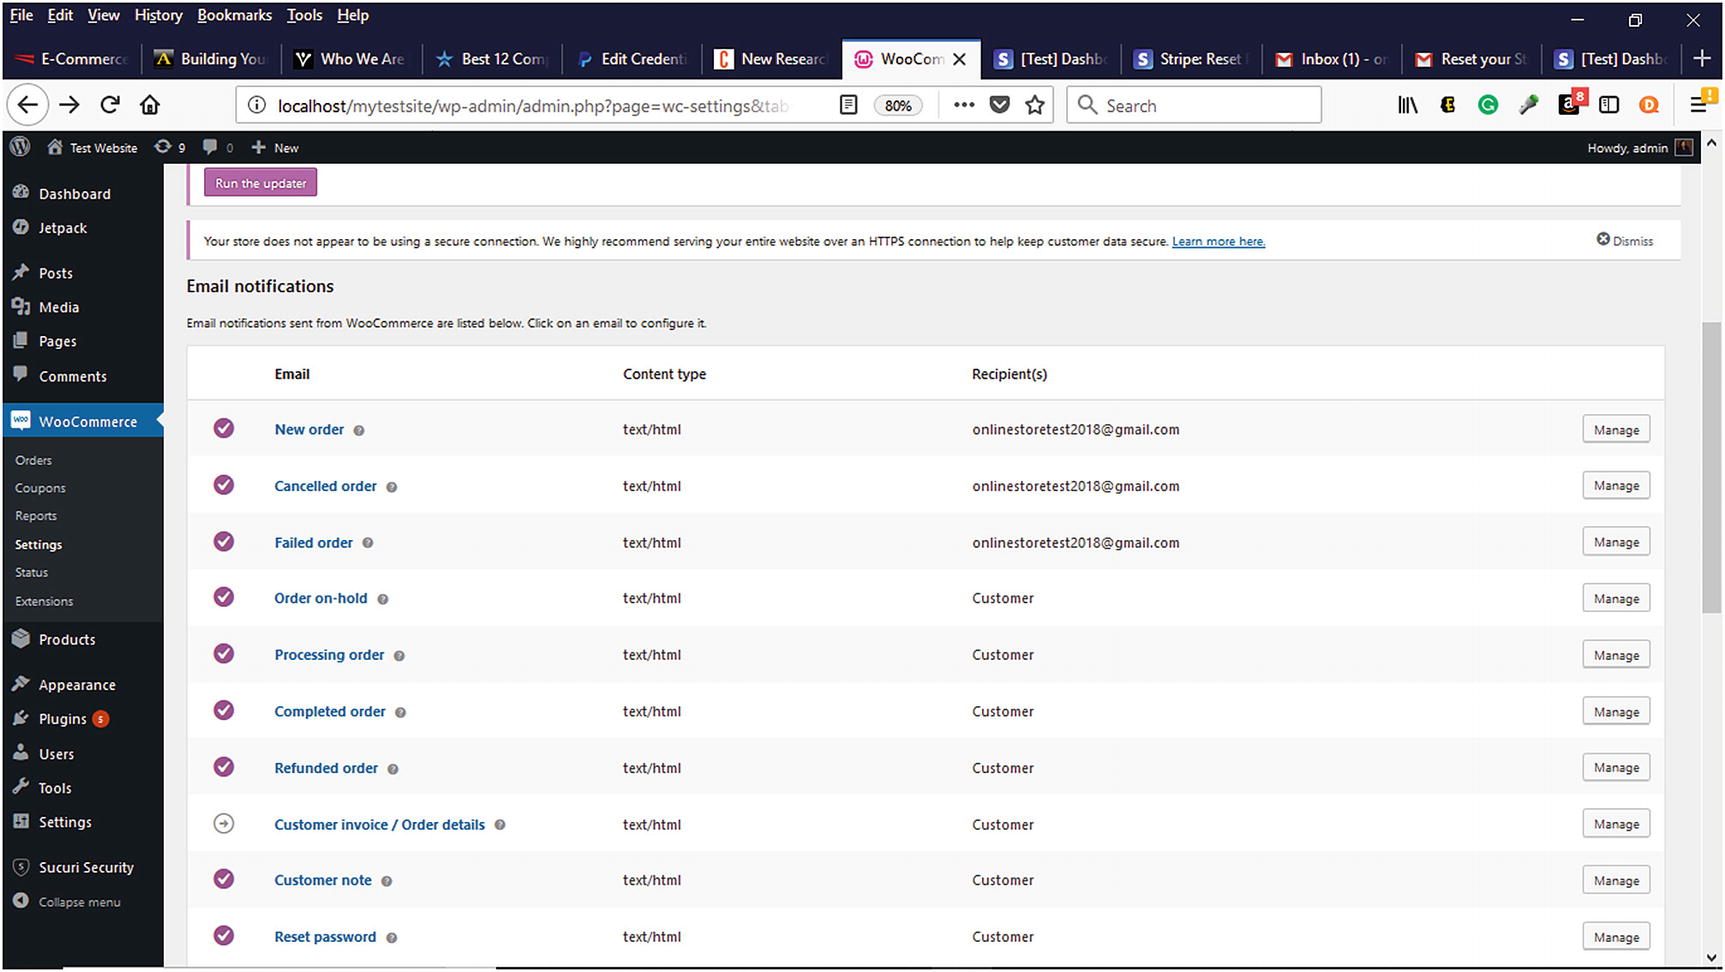
Email notification settings for the order process
Testing Virtual Products
For those products that are downloadable, the download process must be tested. The download link that is emailed to the customer needs to be tested to make sure that the product can be downloaded without error.
Logging Debugging Information
During testing, debugging information might be obtained to help pinpoint an error and added to the WooCommerce debug log. However, once the store launches, this information should be deleted because it can consume space on the web server needed for the store.
Launching Your Online Store
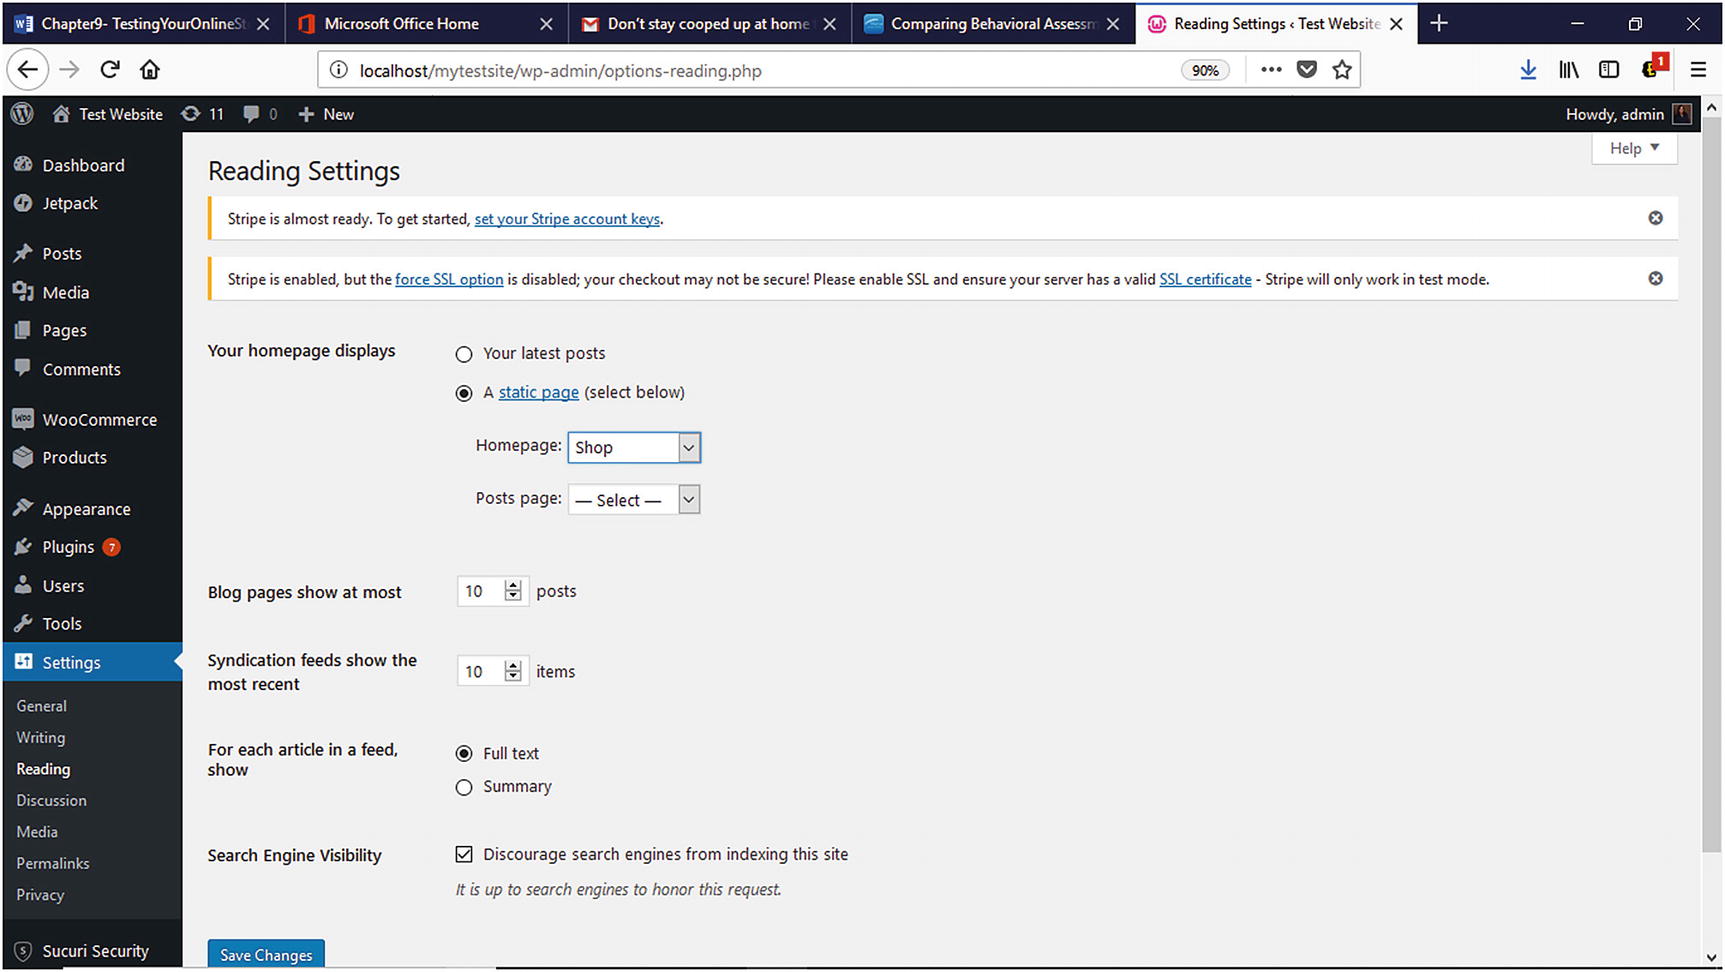
Selecting the homepage on the Reading Settings page
Summary
Testing an online store is imperative before it launches. It helps to prevent customers from experiencing errors during their shopping experience. Not all errors will be caught, but at least companies can rest assured that they did their due diligence before launching the store to the public. The next chapter will focus on how to market an online store once it’s launched.