$Returns a collection of matched elements either found in the DOM based on the passed argument(s) or created by passing an HTML string.
addAdds elements to the set of matched elements.
addBackAdds the previous set of elements on the stack to the current set, optionally filtered by a selector.
addClassAdds the specified class(es) to each of the set of matched elements.
afterInserts content, specified by the parameter, after each element in the set of matched elements.
ajaxCompleteRegisters a handler to be called when Ajax requests complete.
ajaxErrorRegisters a handler to be called when Ajax requests complete with an error.
ajaxSendAttaches a function to be executed before an Ajax request is sent.
ajaxStartRegisters a handler to be called when the first Ajax request begins.
ajaxStopRegisters a handler to be called when all Ajax requests have completed.
ajaxSuccessAttaches a function to be executed whenever an Ajax request completes successfully.
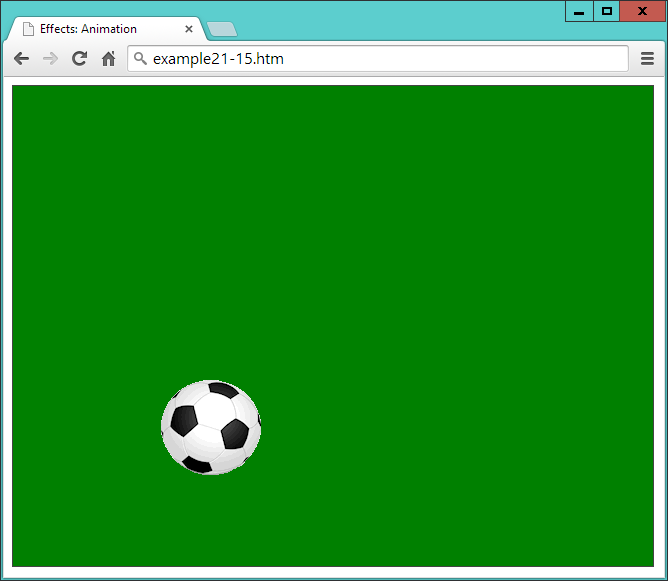
animatePerforms a custom animation of a set of CSS properties.
appendInserts content, specified by the parameter, to the end of each element in the set of matched elements.
appendToInserts every element in the set of matched elements to the end of the target.
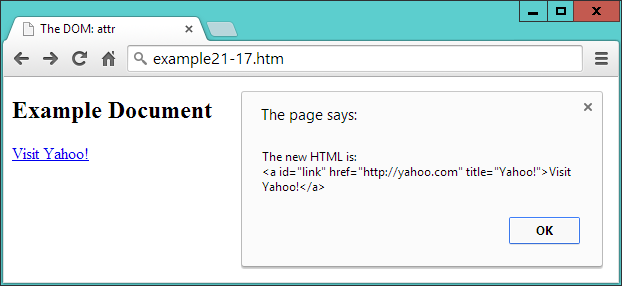
attrGets the value of an attribute for the first element in the set of matched elements or (when specified along with a value) sets one or more attributes for every matched element.
beforeInserts content, specified by the parameter, before each element in the set of matched elements.
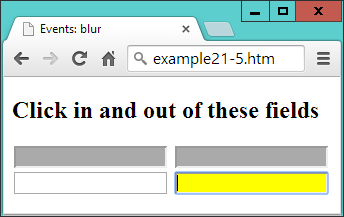
blurBinds an event handler to the blur JavaScript event, or triggers that event on an element.
callbacks.addAdds a callback or a collection of callbacks to a callback list.
callbacks.disableDisables a callback list from doing anything more.
callbacks.disabledDetermines whether the callback list has been disabled.
callbacks.emptyRemoves all of the callbacks from a list.
callbacks.fireCalls all of the callbacks with the given arguments.
callbacks.firedDetermines whether the callbacks have already been called at least once.
callbacks.fireWithCalls all the callbacks in a list with the given context and arguments.
callbacks.hasDetermines whether a list has any callbacks attached, or (if a callback is provided as an argument) whether the supplied callback is in the list.
callbacks.lockLocks a callback list in its current state.
callbacks.lockedDetermines whether the callback list has been locked.
callbacks.removeRemoves a callback or a collection of callbacks from a callback list.
changeBinds an event handler to the change JavaScript event, or (when issued without an argument) triggers that event on an element.
childrenGets the children of each element in the set of matched elements, optionally filtered by a selector.
clearQueueRemoves from the queue all items that have not yet been run.
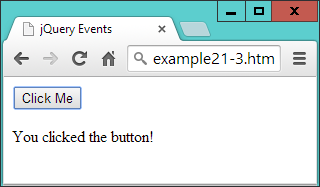
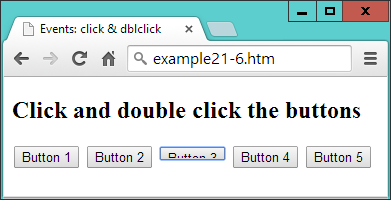
clickBinds an event handler to the click JavaScript event, or (when issued without an argument) triggers that event on an element.
cloneCreates a deep copy of the set of matched elements.
closestFor each element in the set, gets the first element that matches the selector by testing the element itself and traversing up through its ancestors in the DOM tree.
contentsGets the children of each element in the set of matched elements, including text and comment nodes.
contextmenuBinds an event handler to the contextmenu JavaScript event, or (when issued without an argument) triggers that event on an element.
cssGets the value of a style property for the first element in the set of matched elements, or (when issued with an additional argument) sets one or more CSS properties for every matched element.
dataStores arbitrary data associated with the matched elements, or (when issued without an argument) returns the value at the named data store for the first element in the set of matched elements.
dblclickBinds an event handler to the dblclick JavaScript event, or (when issued without an argument) triggers that event on an element.
deferred.alwaysAdds handlers to be called when the Deferred object is either resolved or rejected.
deferred.catchAdds handlers to be called when the Deferred object is rejected.
deferred.doneAdds handlers to be called when the Deferred object is resolved.
deferred.failAdds handlers to be called when the Deferred object is rejected.
deferred.notifyCalls progressCallbacks on a Deferred object with the given arguments.
deferred.notifyWithCalls the progressCallbacks on a Deferred object with the given context and arguments.
deferred.progressAdds handlers to be called when the Deferred object generates progress notifications.
deferred.promiseReturns a Deferred object’s Promise object.
deferred.rejectRejects a Deferred object and calls any failCallbacks with the given arguments.
deferred.rejectWithRejects a Deferred object and calls any failCallbacks with the given context and arguments.
deferred.resolveResolves a Deferred object and calls any doneCallbacks with the given arguments.
deferred.resolveWithResolves a Deferred object and calls any doneCallbacks with the given context and arguments.
deferred.stateDetermines the current state of a Deferred object.
deferred.thenAdds handlers to be called when the Deferred object is resolved, rejected, or still in progress.
delaySets a timer to delay execution of subsequent items in the queue.
dequeueExecutes the next function on the queue for the matched elements.
detachRemoves the set of matched elements from the DOM.
eachIterates over a jQuery object, executing a function for each matched element.
emptyRemoves all child nodes of the set of matched elements from the DOM.
endEnds the most recent filtering operation in the current chain and returns the set of matched elements to its previous state.
eqReduces the set of matched elements to the one at the specified index.
event.isDefaultPreventedDetermines whether preventDefault was ever called on this event object.
event.isImmediatePropagationStoppedDetermines whether stopImmediatePropagation was ever called on this event object.
event.isPropagationStoppedDetermines whether stopPropagation was ever called on this event object.
event.preventDefaultPrevents the default action of the event from being triggered.
event.stopImmediatePropagationKeeps the rest of the handlers from being executed and prevents the event from bubbling up the DOM tree.
event.stopPropagationStops the event from bubbling up the DOM tree, preventing any parent handlers from being notified of the event.
fadeInDisplays the matched elements by fading them to opaque.
fadeOutHides the matched elements by fading them to transparent.
fadeToAdjusts the opacity of the matched elements.
fadeToggleDisplays or hides the matched elements by animating their opacity.
filterReduces the set of matched elements to those that match the selector or pass the function’s test.
findGets the descendants of each element in the current set of matched elements, filtered by a selector, jQuery object, or element.
finishStops the currently running animation, removes all queued animations, and completes all animations for the matched elements.
firstReduces the set of matched elements to the first in the set.
focusBinds an event handler to the focus JavaScript event, or (when issued without an argument) triggers that event on an element.
focusinBinds an event handler to the focusin JavaScript event.
focusoutBinds an event handler to the focusout JavaScript event.
getRetrieves the DOM elements matched by the jQuery object.
hasReduces the set of matched elements to those that have a descendant that matches the selector or DOM element.
hasClassDetermines whether any matched elements are assigned the given class.
heightGets the current computed height for the first element in the set of matched elements, or (when issued with another argument) sets the height of every matched element.
hideHides the matched elements.
hoverBinds one or two handlers to the matched elements, to be executed when the mouse pointer enters and leaves the elements.
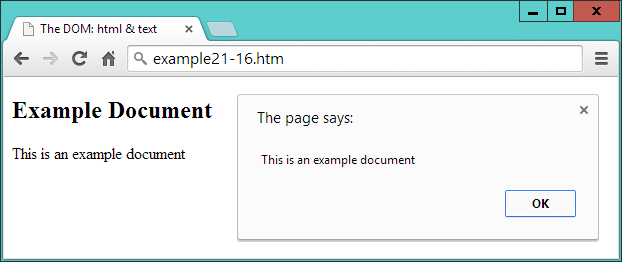
htmlGets the HTML contents of the first element in the set of matched elements, or (when issued with another argument) sets the HTML contents of every matched element.
indexSearches for a given element from among the matched elements.
innerHeightGets the current computed height for the first element in the set of matched elements (including padding but not border), or (when issued with another argument) sets the inner height of every matched element.
innerWidthGets the current computed inner width (including padding but not border) for the first element in the set of matched elements, or (when issued with another argument) sets the inner width of every matched element.
insertAfterInserts every element in the set of matched elements after the target.
insertBeforeInserts every element in the set of matched elements before the target.
isChecks the current matched set of elements against a selector, element, or jQuery object and returns true if at least one of these elements matches the given arguments.
jQueryReturns a collection of matched elements either found in the DOM based on passed argument(s) or created by passing an HTML string.
jQuery.ajaxPerforms an asynchronous HTTP (Ajax) request.
jQuery.ajaxPrefilterHandles custom Ajax options or modifies existing options before each request is sent and before they are processed by $.ajax.
jQuery.ajaxSetupSets default values for future Ajax requests. Its use is not recommended.
jQuery.ajaxTransportCreates an object that handles the actual transmission of Ajax data.
jQuery.CallbacksA multipurpose callback list object that provides a powerful way to manage callback lists.
jQuery.containsDetermines whether a DOM element is a descendant of another DOM element.
jQuery.dataStores arbitrary data associated with the specified element and/or returns the value that was set.
jQuery.DeferredA constructor function that returns a chainable utility object with methods to register multiple callbacks into callback queues, invoke callback queues, and relay the success or failure state of any synchronous or asynchronous function.
jQuery.dequeueExecutes the next function on the queue for the matched element.
jQuery.eachA generic iterator function that can be used to seamlessly iterate over both objects and arrays. Arrays and array-like objects with a length property (such as a function’s arguments object) are iterated by numeric index, from 0 to length – 1. Other objects are iterated via their named properties.
jQuery.errorTakes a string and throws an exception containing it.
jQuery.escapeSelectorEscapes any character that has a special meaning in a CSS selector.
jQuery.extendMerges the contents of two or more objects together into the first object.
jQuery.fn.extendMerges the contents of an object onto the jQuery prototype to provide new jQuery instance methods.
jQuery.getLoads data from the server using an HTTP GET request.
jQuery.getJSONLoads JSON-encoded data from the server using a GET HTTP request.
jQuery.getScriptLoads a JavaScript file from the server using a GET HTTP request, and then executes it.
jQuery.globalEvalExecutes some JavaScript code globally.
jQuery.grepFinds the elements of an array that satisfy a filter function. The original array is not affected.
jQuery.hasDataDetermines whether an element has jQuery data associated with it.
jQuery.holdReadyHolds or releases the execution of jQuery’s ready event.
jQuery.htmlPrefilterModifies and filters HTML strings passed through jQuery manipulation methods.
jQuery.inArraySearches for a specified value within an array and returns its index (or -1 if not found).
jQuery.isArrayDetermines whether the argument is an array.
jQuery.isEmptyObjectDetermines whether an object is empty (contains no enumerable properties).
jQuery.isFunctionDetermines whether the argument passed is a JavaScript function object.
jQuery.isNumericDetermines whether the argument passed is a JavaScript number.
jQuery.isPlainObjectDetermines whether an object is a plain object (created using {} or new Object).
jQuery.isWindowDetermines whether the argument is a window.
jQuery.isXMLDocDetermines whether a DOM node is within an XML document (or is an XML document).
jQuery.makeArrayConverts an array-like object into a true JavaScript array.
jQuery.mapTranslates all items in an array or object to a new array of items.
jQuery.mergeMerges the contents of two arrays together into the first array.
jQuery.noConflictRelinquishes jQuery’s control of the $ variable name.
jQuery.noopAn empty function.
jQuery.nowReturns a number representing the current time.
jQuery.paramCreates a serialized representation of an array or object, suitable for use in a URL query string or Ajax request.
jQuery.parseHTMLParses a string into an array of DOM nodes.
jQuery.parseJSONTakes a well-formed JSON string and returns the resulting JavaScript object.
jQuery.parseXMLParses a string into an XML document.
jQuery.postLoads data from the server using an HTTP POST request.
jQuery.proxyTakes a function and returns a new one that will always have a particular context.
jQuery.queueShows or (when issued with another argument) manipulates the queue of functions to be executed on the matched element.
jQuery.readyExceptionHandles errors thrown synchronously in functions wrapped in jQuery.
jQuery.removeDataRemoves a previously stored piece of data.
jQuery.speedCreates an object containing a set of properties ready to be used in the definition of custom animations.
jQuery.trimRemoves the whitespace from the beginning and end of a string.
jQuery.typeDetermines the internal JavaScript class of an object.
jQuery.uniqueSortSorts an array of DOM elements in place, with the duplicates removed. This works only on arrays of DOM elements, not strings or numbers.
jQuery.whenProvides a way to execute callback functions based on zero or more objects, usually Deferred objects that represent asynchronous events.
keydownBinds an event handler to the keydown JavaScript event, or (when issued without an argument) triggers that event on an element.
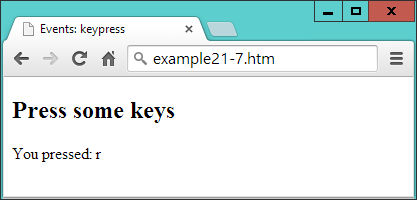
keypressBinds an event handler to the keypress JavaScript event, or (when issued without an argument) triggers that event on an element.
keyupBinds an event handler to the keyup JavaScript event, or (when issued without an argument) triggers that event on an element.
lastReduces the set of matched elements to the final one in the set.
loadLoads data from the server and places the returned HTML into the matched element.
mapPasses each element in the current matched set through a function, producing a new jQuery object containing the return values.
mousedownBinds an event handler to the mousedown JavaScript event, or (when issued without an argument) triggers that event on an element.
mouseenterBinds an event handler to be fired when the mouse enters an element, or (when issued without an argument) triggers that handler on an element.
mouseleaveBinds an event handler to be fired when the mouse leaves an element, or (when issued without an argument) triggers that handler on an element.
mousemoveBinds an event handler to the mousemove JavaScript event, or (when issued without an argument) triggers that event on an element.
mouseoutBinds an event handler to the mouseout JavaScript event, or (when issued without an argument) triggers that event on an element.
mouseoverBinds an event handler to the mouseover JavaScript event, or (when issued without an argument) triggers that event on an element.
mouseupBinds an event handler to the mouseup JavaScript event, or (when issued without an argument) triggers that event on an element.
nextGets the immediately following sibling of each element in the set of matched elements. If a selector is provided, it retrieves the next sibling only if it matches that selector.
nextAllGets all following siblings of each element in the set of matched elements, optionally filtered by a selector.
nextUntilGets all following siblings of each element up to but not including the element matched by the selector, DOM node, or jQuery object passed.
notRemoves elements from the set of matched elements.
offRemoves an event handler.
offsetGets the current coordinates of the first element, or (when issued with an argument) sets the coordinates of every element in the set of matched elements, relative to the document.
offsetParentGets the closest ancestor element that is positioned.
onAttaches an event handler function for one or more events to the selected elements.
oneAttaches a handler to an event for the elements. The handler is executed at most once per element per event type.
outerHeightGets the current computed height for the first element in the set of matched elements, including padding, border, and optionally margin.
outerWidthGets the current computed width for the first element in the set of matched elements, including padding, border, and optionally margin.
parentGets the parent of each element in the current set of matched elements, optionally filtered by a selector.
parentsGets the ancestors of each element in the current set of matched elements, optionally filtered by a selector.
parentsUntilGets the ancestors of each element in the current set of matched elements, up to but not including the element matched by the selector, DOM node, or jQuery object.
positionGets the current coordinates of the first element in the set of matched elements, relative to the offset parent.
prependAdds content, specified by the parameter, to the beginning of each element in the set of matched elements.
prependToInserts every element in the set of matched elements to the beginning of the target.
prevGets the immediately preceding sibling of each element in the set of matched elements, optionally filtered by a selector.
prevAllGets all preceding siblings of each element in the set of matched elements, optionally filtered by a selector.
prevUntilGets all preceding siblings of each element up to but not including the element matched by the selector, DOM node, or jQuery object.
promiseReturns a Promise object to observe when all actions of a certain type bound to the collection, queued or not, have finished.
propGets the value of a property for the first element in the set of matched elements, or (when issued with another argument) sets one or more properties for every matched element.
pushStackAdds a collection of DOM elements onto the jQuery stack.
queueShows or (when issued with another argument) manipulates the queue of functions to be executed on the matched elements.
readySpecifies a function to execute when the DOM is fully loaded.
removeRemoves the set of matched elements from the DOM.
removeAttrRemoves an attribute from each element in the set of matched elements.
removeClassRemoves a single class, multiple classes, or all classes from each element in the set of matched elements.
removeDataRemoves a previously stored piece of data.
removePropRemoves a property for the set of matched elements.
replaceAllReplaces each target element with the set of matched elements.
replaceWithReplaces each element in the set of matched elements with the provided new content and returns the set of elements that was removed.
resizeBinds an event handler to the resize JavaScript event, or (when issued without an argument) triggers that event on an element.
scrollBinds an event handler to the scroll JavaScript event, or (when issued without an argument) triggers that event on an element.
scrollLeftGets the current horizontal position of the scroll bar for the first element in the set of matched elements, or (when issued with an argument) sets the horizontal position of the scroll bar for every matched element.
scrollTopGets the current vertical position of the scroll bar for the first element in the set of matched elements, or (when issued with an argument) sets the vertical position of the scroll bar for every matched element.
selectBinds an event handler to the select JavaScript event, or (when issued without an argument) triggers that event on an element.
serializeEncodes a set of form elements as a string for submission.
serializeArrayEncodes a set of form elements as an array of names and values.
showDisplays the matched elements.
siblingsGets the siblings of each element in the set of matched elements, optionally filtered by a selector.
sliceReduces the set of matched elements to a subset specified by a range of indices.
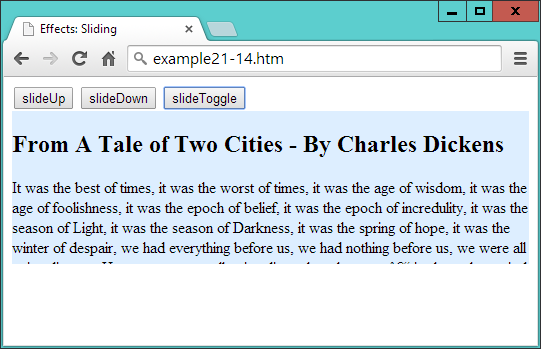
slideDownDisplays the matched elements with a sliding motion.
slideToggleDisplays or hides the matched elements with a sliding motion.
slideUpHides the matched elements with a sliding motion.
stopStops the currently running animation on the matched elements.
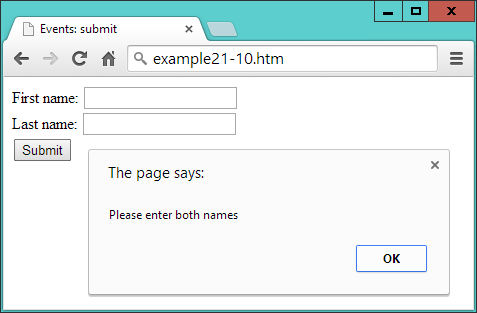
submitBinds an event handler to the submit JavaScript event, or (when issued without an argument) triggers that event on an element.
textGets the combined text contents of each element in the set of matched elements, including their descendants, or (when issued with an argument) sets the text contents of the matched elements.
toArrayRetrieves all the elements contained in the jQuery set, as an array.
toggleDisplays or hides the matched elements.
toggleClassAdds or removes one or more classes from each element in the set of matched elements, depending on either the class’s presence or the value of the state argument.
triggerExecutes all handlers and behaviors attached to the matched elements for the given event type.
triggerHandlerExecutes all handlers attached to an element for an event.
unwrapRemoves the parents of the set of matched elements from the DOM, leaving the matched elements in their place.
valGets the current value of the first element in the set of matched elements, or (when issued with an argument) sets the value of every matched element.
widthGets the current computed width for the first element in the set of matched elements, or (when issued with an argument) sets the width of every matched element.
wrapWraps an HTML structure around each element in the set of matched elements.
wrapAllWraps an HTML structure around all elements in the set of matched elements.
wrapInnerWraps an HTML structure around the content of each element in the set of matched elements.