While it is assumed that you’ve already started with the Raspberry Pi, there may be a few more things that you want to do before working through the rest of this book. For example, if you normally use a laptop or desktop computer, you may prefer to access your Pi from there.
If you plan to do most or all of the projects in this book, I highly recommend using something like the Adafruit Pi T-Cobbler (covered later in this chapter). This hardware breaks out the GPIO lines in a way that you can access on a breadboard.
Static IP Address
The standard Raspbian image provides a capable Linux system, which when plugged into a network, uses DHCP (dynamic host configuration protocol) to automatically assign an IP address to it. If you’d like to connect to it remotely from a desktop or laptop, then the dynamic IP address that DHCP assigns is problematic.
In this example, the Raspberry Pi is identified on 192.168.1.77, complete with its MAC address (these appear above the line where “Raspberry Pi Foundation” is reported). While this discovery approach works, it does takes time and is inconvenient.
If you’d prefer to change your Raspberry Pi to use a static IP address, see the “Wired Ethernet” section in Chapter 8 for instructions.
Using SSH
Files can also be copied to and from the Raspberry Pi, using the scp command. Do a man scp on the Raspberry Pi for usage information.
Here, I’ve specified the Devuan Linux address (alternatively, an /etc/hosts name could be used) and pointed the Raspberry Pi to use Linux’s display number :0. We run the xpdf command in the background so that we can continue to issue commands in the current SSH session. In the meantime, the xpdf window will open on the Linux screen, while the xpdf program runs on the Raspberry Pi.
This doesn’t give you graphical access to the Pi’s desktop, but for developers, SSH is often adequate. If you want remote graphical access to the Raspberry’s desktop, one option is to use VNC.
VNC
If you’re already using a laptop or your favorite desktop computer, you can conveniently access your Raspberry Pi’s graphical desktop over the network. Once the Raspberry Pi’s VNC server is configured, all you need is a VNC client on your accessing computer. This eliminates the need for a keyboard, mouse, and HDMI display device connected to the Raspberry Pi. In other words, you can run the Pi “headless.”
Getting VNC working requires a bit of setup. Raspbian Linux has taken measures to make it easy. If not set up correctly, the VNC viewer will just provide a black screen when you try to log in.
To use VNC, you must have the desktop software installed (GUI). This will also make it easier for you to get it configured. If you have a Raspbian Lite distribution installed, it will not include the necessary desktop server software.
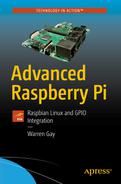
Raspberry Pi Configuration dialog. Note how the Boot: selection has the radio button “To Desktop” checked.
You may already have the “Boot” option set to “To Desktop” but otherwise click that now. This will cause the desktop software to start after a boot so that you can connect to it through VNC.
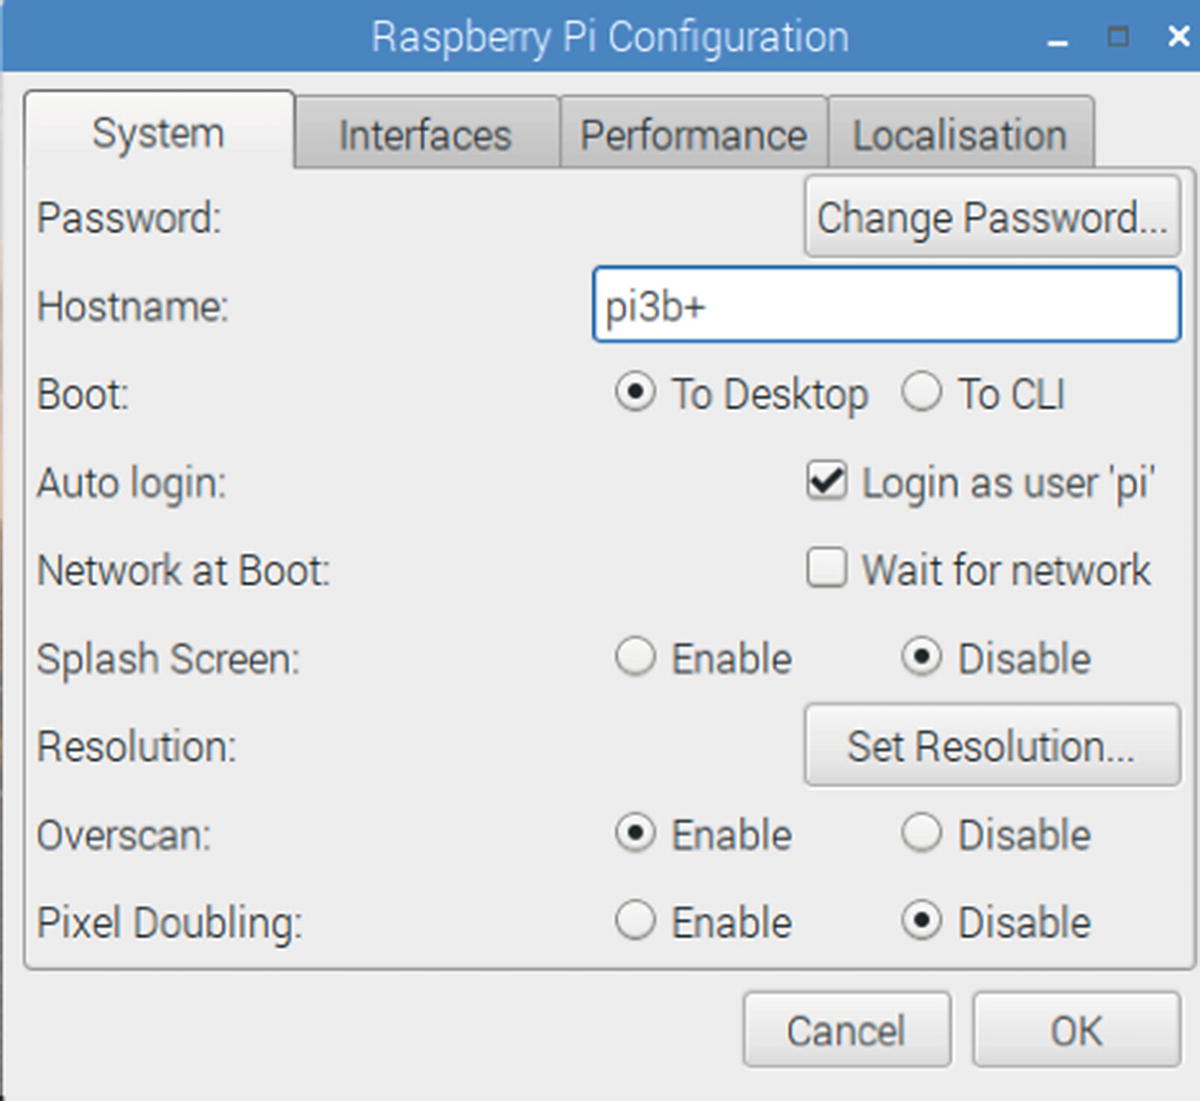
VNC is enabled in the Interfaces tab of the dialog box
In the Interfaces dialog, click the VNC radio button labeled “Enable.” Click OK at the bottom right to save your settings. Then reboot your Pi. Allow time for a reboot and for the graphic desktop to start.
VNC Viewers
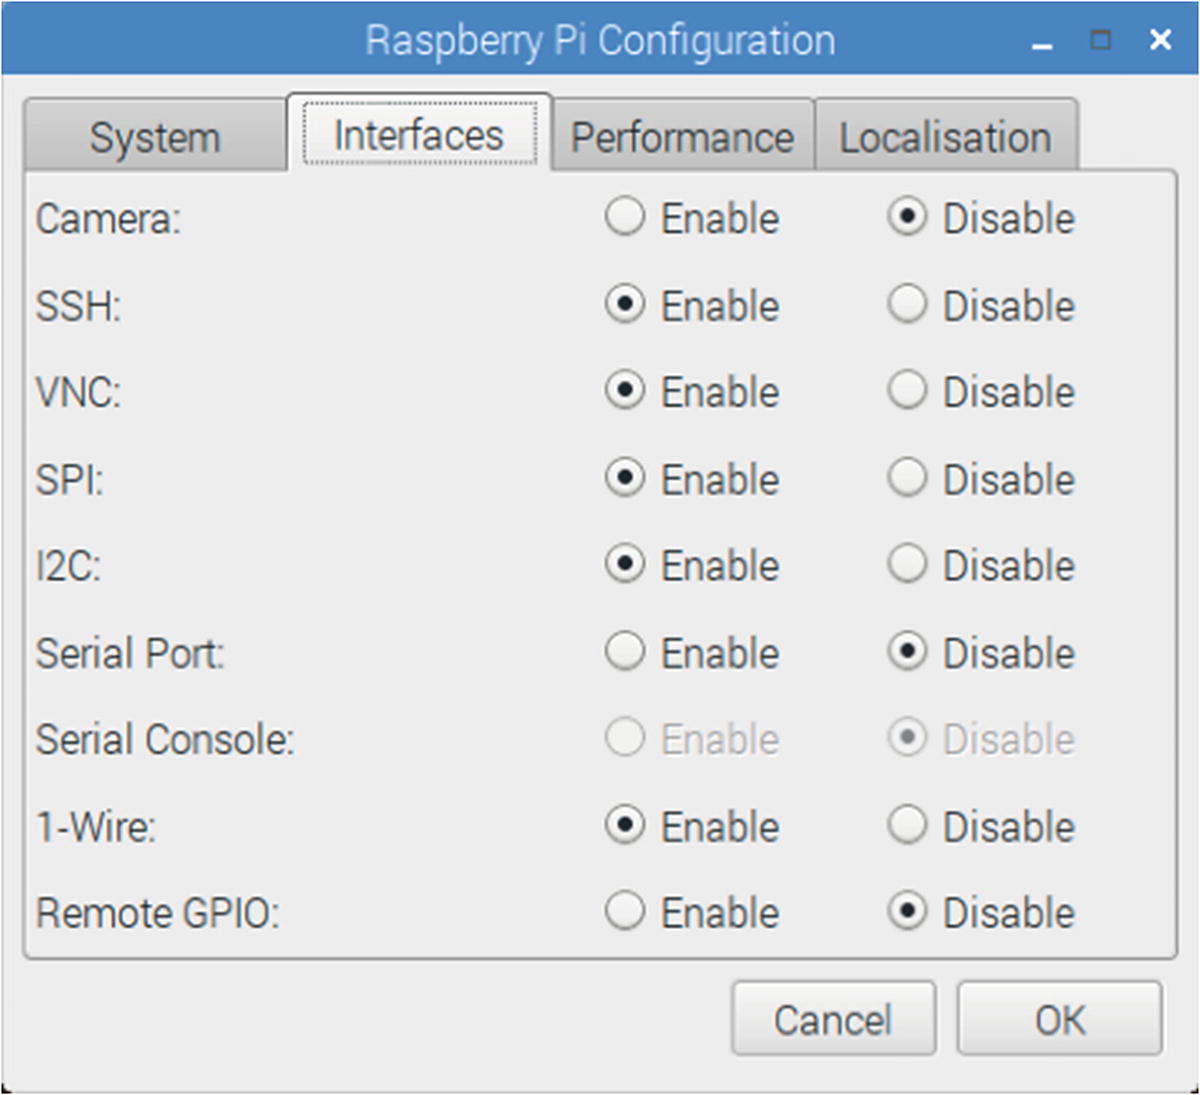
To access the VNC server, a corresponding VNC viewer is needed on the client side. One solution is to use the free realvnc viewer from:
https://www.realvnc.com/en/connect/download/viewer/
The various download options for the VNC Viewer. Disregard the “VNC Connect” message on this page.
Download and install as appropriate for your desktop platform.
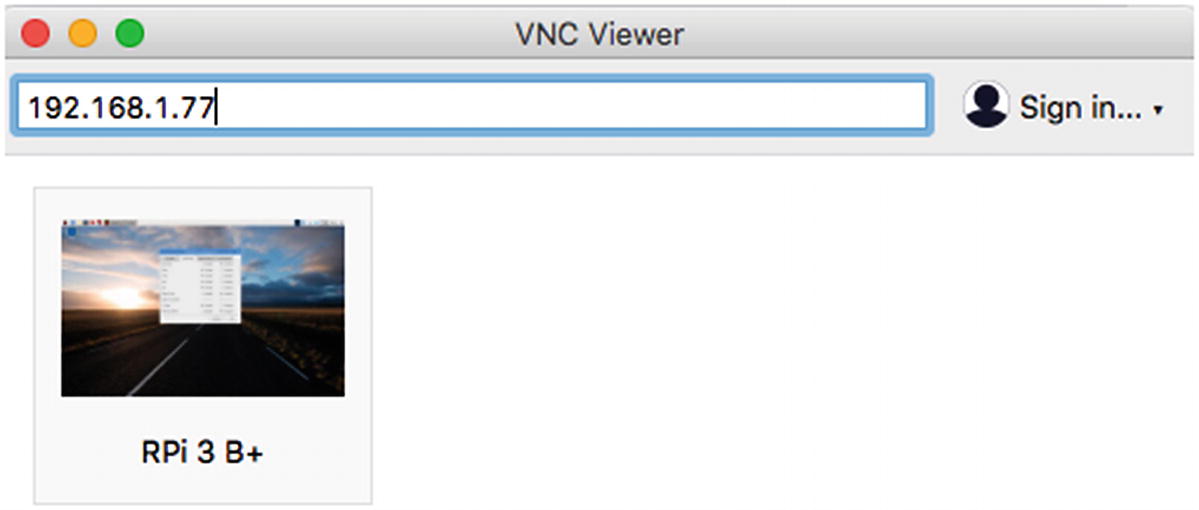
The inital VNC Viewer dialog and one previously used icon for login
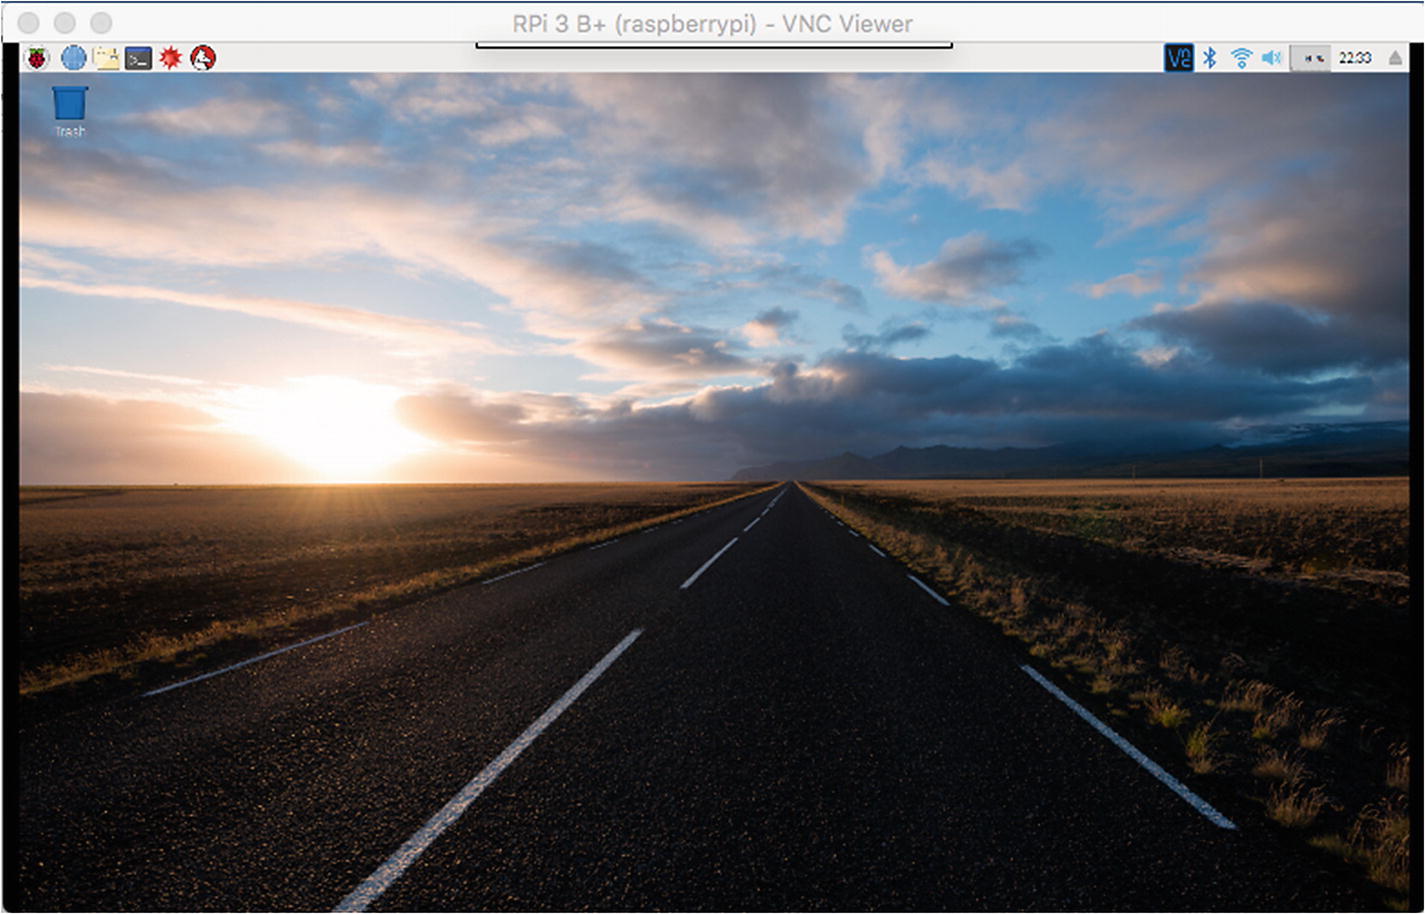
A connected Raspberry Pi VNC session on a Mac
If your VNC viewer connects and seems to hang, be patient. The rate of your VNC screen updates will depend upon the ability of your network to transfer that graphic data. I found that I was able to use VNC with the Pi 3 B+ using a WIFI connection, without too much delay.
While the VNC facility is great for providing remote graphical desktop access, it probably goes without saying that the performance won’t be suitable for viewing video or fast action games.
Black VNC Screen
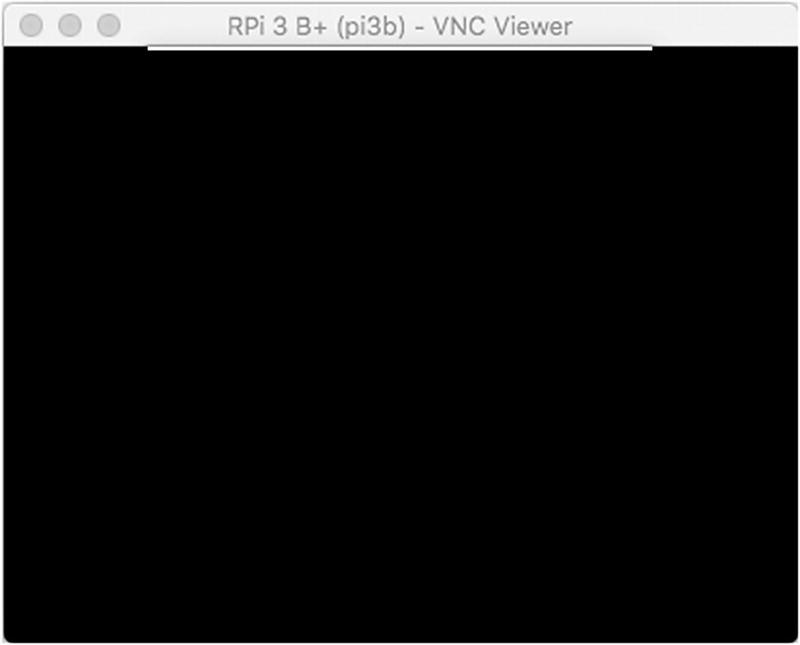
A black VNC Viewer screen indicates that the desktop software is not running
After giving the server software time to start up, the VNC Viewer should be able to attach to your desktop. Of course, if you log that ssh session out, the server will also exit and terminate desktop access.
Breadboard Setup
It is possible to work without a breadboard and Pi T-Cobbler adapter, but you will find that experiments are much more fun with a quality breadboard and adapter. A recommended T-Cobbler can be purchased from Adafruit ® and is illustrated in Figure 2-7 alongside a cheap copy.
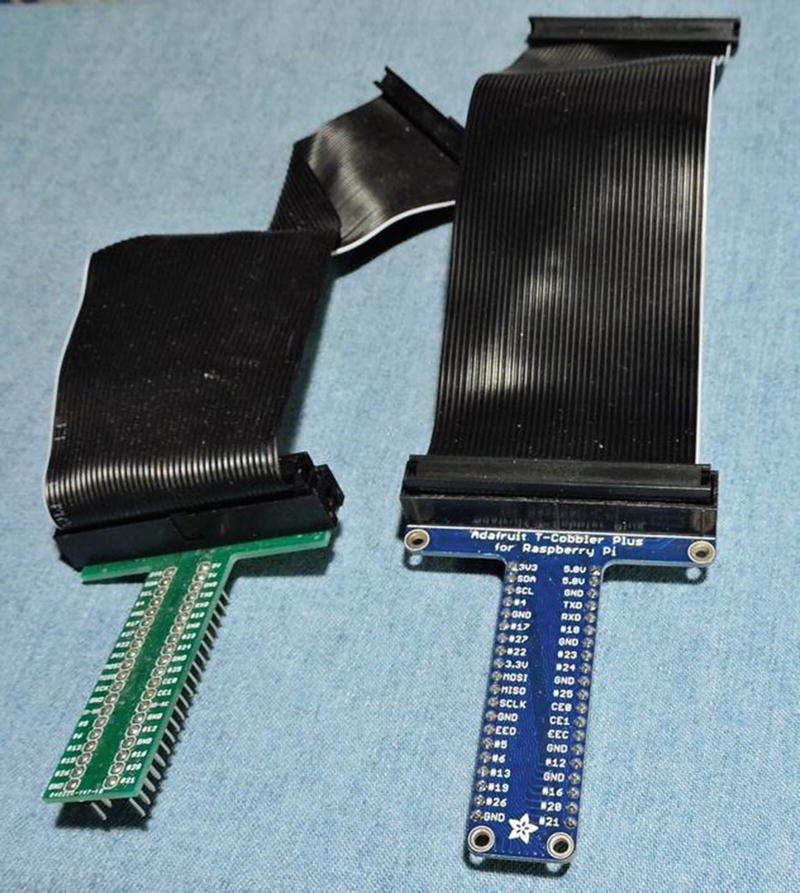
Two Pi T-Cobbler breadboard adapters. Notice how the unit from China (left) requires a cable twist. The Adafruit unit (right) is recommended.
Summary
With these details out of the way, the remainder of the book can focus on the various resources that the Raspberry Pi has to offer. The Pi has much to offer, so let’s get started.