Chapter Summary
Problem | Solution | Listing |
|---|---|---|
Start Angular development | Use the ng new command to create a project and use the ng serve command to start the development tools | 1, 2 |
Check the project source code for common errors and formatting issues | Use the ng lint command | 3–5 |
Create a simple Angular application | Create a data model and a root component, which can then be used to update the root module | 6–15 |
Creating a New Angular Project
The angular-cli package you installed in Chapter 2 contains all the functionality required to create a new Angular project that contains some placeholder content to jump-start development and a set of tightly integrated tools that are used to build, test, and prepare Angular applications for deployment.
Useful ng new Options
Argument | Description |
|---|---|
--directory | This option is used to specify the name of the directory for the project. It defaults to the project name. |
--dry-run | This option is used to simulate the project creation process without actually performing it. |
--inline-style | This option specifies that the project will be configured with styles that are defined in the component and not in a separate CSS file. |
--inline-template | This option specifies that the project will be configured with templates that are defined in the component and not in a separate HTML file. |
--prefix | This option applies a prefix to all of the component selectors, as described in the “Understanding How an Angular Application Works” section. |
--routing | This option is used to create a routing module in the project. I explain how the routing feature works in detail in Chapters 25 and 26. |
--skip-git | Using this option prevents a Git repository from being created in the project. |
--skip-commit | Using this option prevents the initial commit to the Git repository that is added to the project by default. |
--skip-install | This option prevents the initial npm install operation that downloads and installs the NPM packages required by Angular applications and the project’s development tools. |
--skip-tests | This option prevents the addition of the initial configuration for testing tools. |
--verbose | This option enables additional messages during the project initialization process. |
Tip
Don’t worry if the purpose of these options doesn’t make sense at the moment. You will understand all of these options by the time you have finished this book, and running the ng new command without any arguments provides a good starting point for most projects.
The project initialization process performed by the ng new command can take some time to complete because there are a large number of packages required by the project, both to run the Angular application and for the development and testing tools that I describe in this chapter.
Tip
You can download the example project for this chapter—and for all the other chapters in this book—from https://github.com/Apress/pro-angular-6 .
Understanding the Project Structure
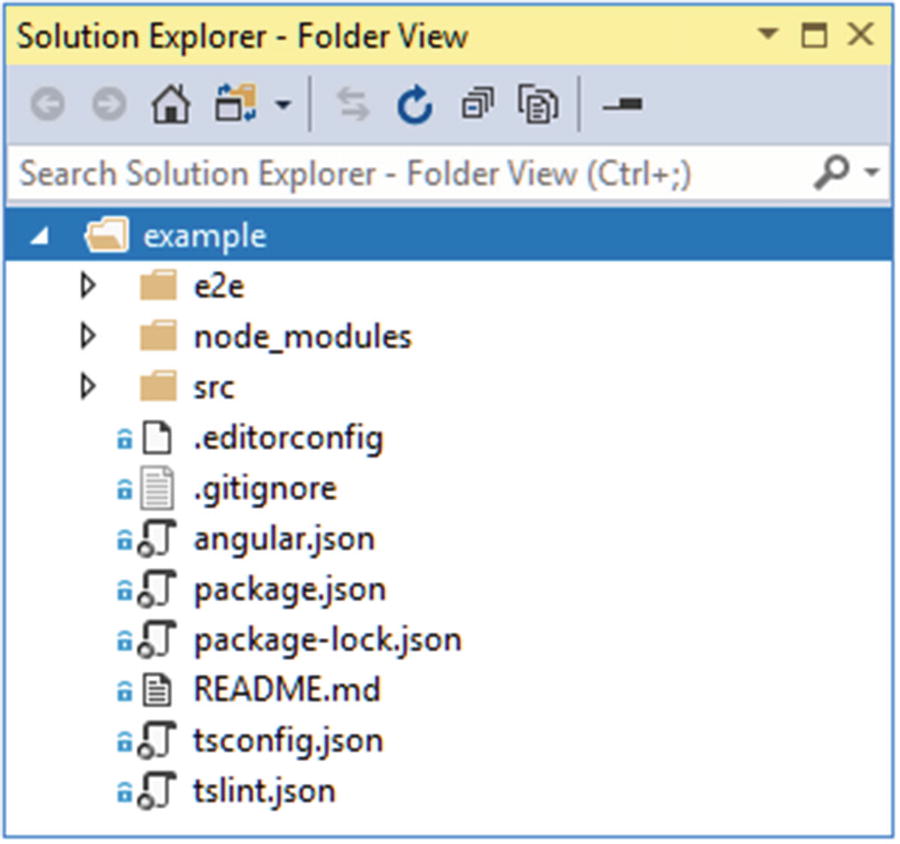
The structure of a new Angular project
The Files and Folders in a New Angular Project
Name | Description |
|---|---|
e2e | This folder contains the files for end-to-end testing, which is set up to use the Protractor package. I don’t describe end-to-end testing in this book because it requires additional infrastructure, but you can learn more at www.protractortest.org . |
node_modules | This folder contains the NPM packages that are required for the application and for the Angular development tools, as described in the “Understanding the Packages Folder” section. |
src | This folder contains the application’s source code, resources, and configuration files, as described in the “Understanding the Source Code Folder” section. |
.editorconfig | This file contains settings that configure text editors. Not all editors respond to this file, but it may override the preferences you have defined. You can learn more about the editor settings that can be set in this file at http://editorconfig.org . |
.gitignore | This file contains a list of files and folders that are excluded from version control when using Git. |
angular.json | This file contains the configuration for the Angular development tools. |
package.json | This file contains details of the NPM packages required by the application and the development tools and defines the commands that run the development tools, as described in the “Understanding the Packages Folder” section. |
package-lock.json | This file contains version information for all the packages that are installed in the node_modules folder, as described in the “Understanding the Packages Folder” section. |
README.md | This is a readme file that contains the list of commands for the development tools, which are described in the “Using the Development Tools” section. |
tsconfig.json | This file contains the configuration settings for the TypeScript compiler. |
tstlint.json | This file contains the settings for the TypeScript linter, as described in the “Using the Linter” section. |
You won’t always need all these files in every project, and you can remove the ones you don’t require. I tend to remove the README.md, .editorconfig, and .gitignore files, for example, because I am already familiar with the tool commands, I prefer not to override my editor settings, and I don’t use Git for version control, tending to create my projects with the --skip-git option described in Table 11-2.
Understanding the Source Code Folder
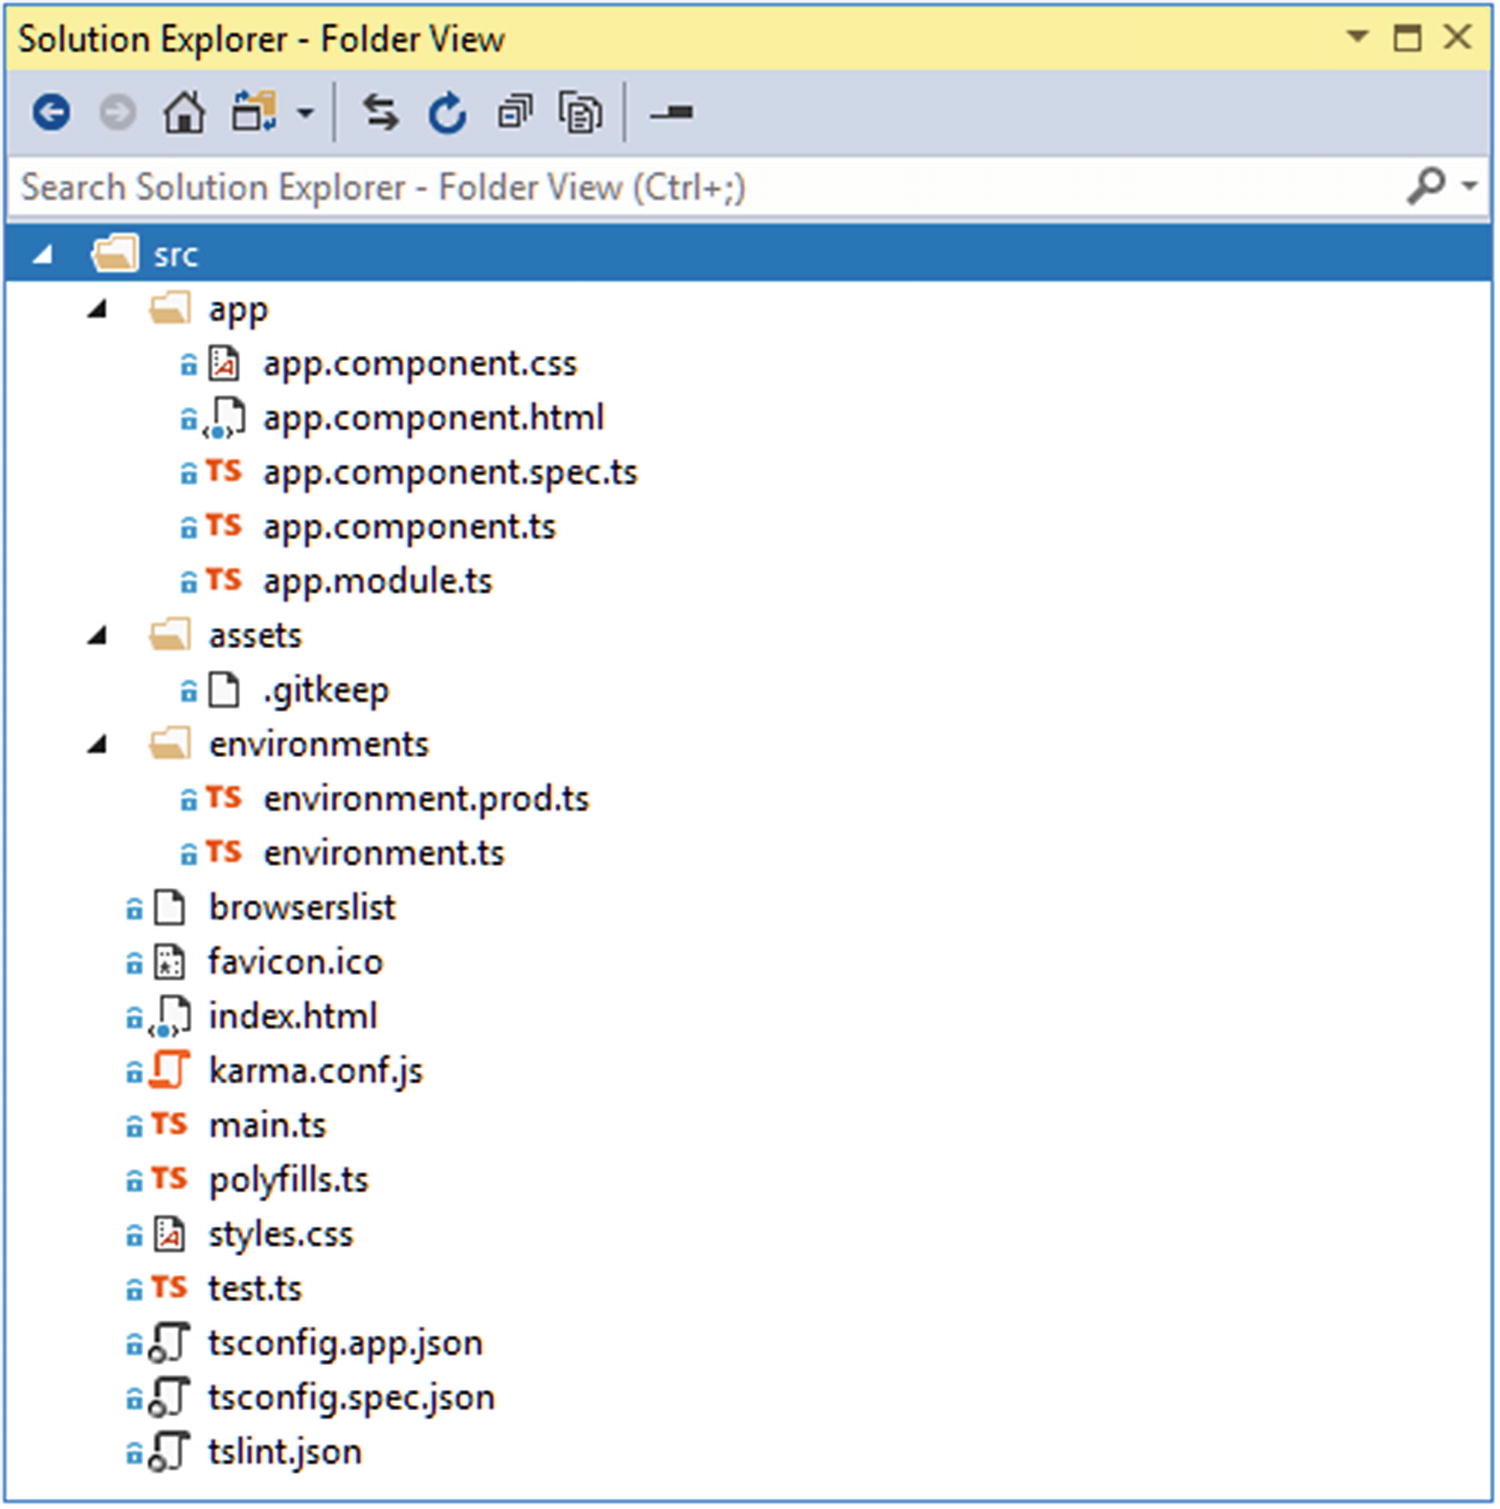
The contents of the src folder
The Files and Folders in the src Folder
Name | Description |
|---|---|
app | This folder contains an application’s source code and content. The contents of this folder are the topic of the “Understanding How an Angular Application Works” section and other chapters in this part of the book. |
assets | This folder is used for the static resources required by the application, such as images. |
environments | This folder contains configuration files that define settings for different environments. By default, the only configuration setting is the production flag, which is set to true when the application is built for deployment, as explained in the “Understanding the Application Bootstrap” section. |
browserlist | This file is used to support the CSS processing packages that are used by the development tools. |
favicon.ico | This file contains an icon that browsers will display in the tab for the application. The default image is the Angular logo. |
index.html | This is the HTML file that is sent to the browser during development, as explained in the “Understanding the HTML Document” section. |
karma.conf.js | This file contains the configuration for the Karma testing tool, which I describe in Chapter 29. |
main.ts | This file contains the TypeScript statements that start the application when they are executed, as described in the “Understanding the Application Bootstrap” section. |
polyfills.ts | This file is used to include polyfills in the project to provide support for features that are not available natively in some browsers, especially Internet Explorer. |
styles.css | This file is used to define CSS styles that are applied throughout the application. |
tests.ts | This is the configuration file for the Karma test package, which I describe in Chapter 29. |
tsconfig.app.json | This is the configuration file for the TypeScript compiler that is used during development. |
tsconfig.spec.json | This is the configuration file for the TypeScript compiler that is used during testing. |
Understanding the Packages Folder
The world of JavaScript application development depends on a rich ecosystem of packages, some of which contain the Angular framework that will be sent to the browser through to small packages that are used behind the scenes during development. A lot of packages are required for an Angular project: the example project created at the start of this chapter, for example, requires almost 900 packages.
Many of these packages are just a few lines of code, but there is a complex hierarchy of dependencies between them that is too large to manage manually, so a package manager is used. The package manager is given an initial list of packages required for the project. Each of these packages is then inspected for its dependencies, and the process continues until the complete set of packages has been created. All of the required packages are downloaded and installed in the node_modules folder.
The Package Version Numbering System
Format | Description |
|---|---|
6.0.3 | Expressing a version number directly will accept only the package with the exact matching version number, e.g., 6.0.3. |
* | Using an asterisk accepts any version of the package to be installed. |
>6.0.3 >=6.0.3 | Prefixing a version number with > or >= accepts any version of the package that is greater than or greater than or equal to a given version. |
<6.0.3 <=6.0.3 | Prefixing a version number with < or <= accepts any version of the package that is less than or less than or equal to a given version. |
~6.0.3 | Prefixing a version number with a tilde (the ~ character) accepts versions to be installed even if the patch level number (the last of the three version numbers) doesn’t match. For example, specifying ~6.0.3 will accept version 6.0.4 or 6.0.5 (which would contain patches to version 6.0.3) but not version 6.1.0 (which would be a new minor release). |
^6.0.3 | Prefixing a version number with a caret (the ^ character) will accept versions even if the minor release number (the second of the three version numbers) or the patch number doesn’t match. For example, specifying ^6.0.3 will allow versions 6.1.0, and 6.2.0, for example, but not version 7.0.0. |
Once again, you may see different details, but the key point is that the management of dependencies between packages is too complex to do manually and is delegated to a package manager. The most widely used package manager is NPM, which is installed alongside Node.js and was part of the preparations for this book in Chapter 2.
Useful NPM Commands
Command | Description |
|---|---|
npm install | This command performs a local install of the packages specified in the package.json file. |
npm install package@version | This command performs a local install of a specific version of a package and updates the package.json file to add the package to the dependencies section. |
npm install package@version --save-dev | This command performs a local install of a specific version of a package and updates the package.json file to add the package to the devDependencies section. |
npm install --global package@version | This command will perform a global install of a specific version of a package. |
npm list | This command will list all of the local packages and their dependencies. |
npm run <script name> | This command will execute one of the scripts defined in the package.json file, as described next. |
Understanding Global and Local Packages
NPM can install packages so they are specific to a single project (known as a local install ) or so they can be accessed from anywhere (known as a global install). Few packages require global installs, but one exception is the @angular/cli package installed in Chapter 2 as part of the preparations for this book. The @angular-cli package requires a global install because it is used to create new projects. The individual packages required for the project are installed locally, into the node_modules folder.
The Commands in the Scripts Section of the package.json File
Name | Description |
|---|---|
ng | This command runs the ng command, which provides access to the Angular development tools. |
start | This command starts the development tools, as described in the next section, and is equivalent to the ng serve command. |
build | This command performs the production build process, as demonstrated in Chapter 10, and is equivalent to running the ng build command with the --prod argument. |
test | This command starts the unit testing tools, which are described in Chapter 29, and is equivalent to the ng test command. |
lint | This command starts the TypeScript linter, as described in the “Using the Linter” section, and is equivalent to the ng list command. |
e2e | This command starts the end-to-end testing tools and is equivalent to the ng e2e command. |
The commands in Table 11-7 are run by using npm run followed by the name of the command that you require, and this must be done in the folder that contains the package.json file. So, if you want to run the lint command in the example project, you would navigate to the example folder and type npm run lint. You can also get the same result by using the command ng lint.
Using Yarn for Package Management
Yarn is a recent alternative to NPM. Yarn was introduced as a response to limitations in NPM, but some of the features that differentiated Yarn have since made their way into NPM, such as a file that keeps track of the exact version of all packages that are installed by the npm install command, which avoids inconsistencies when different developers work on the same project. NPM has since added many of the features that were unique to Yarn, and the choice of package manager is one of personal preference.
Once you have configured Yarn as your package manager, it will be used to download and install the packages required by new projects created with the ng new command.
Using the Development Tools
Starting the Development Tools
The key package for Angular development is called webpack, and it is installed automatically by ng new when the project is created. Webpack is a module bundler, which means that it packages JavaScript modules for use in a browser. That’s a bland description for an important function, and it is one of the key tools that you will rely on while developing an Angular application, albeit one that you won’t deal with directly since it is managed for you by the Angular development tools.
When you run the commands in Listing 11-1, you will see a series of messages as webpack prepares the bundles required to run the example application. Webpack starts with the code in the main.ts file and loads all of the modules for which there are import statements to create a set of dependencies. This process is repeated for each of the modules that main.ts depends on, and webpack keeps working its way through the application until it has a complete set of dependencies for the entire application, which is then combined into a file known as a bundle.
Understanding the Development HTTP Server
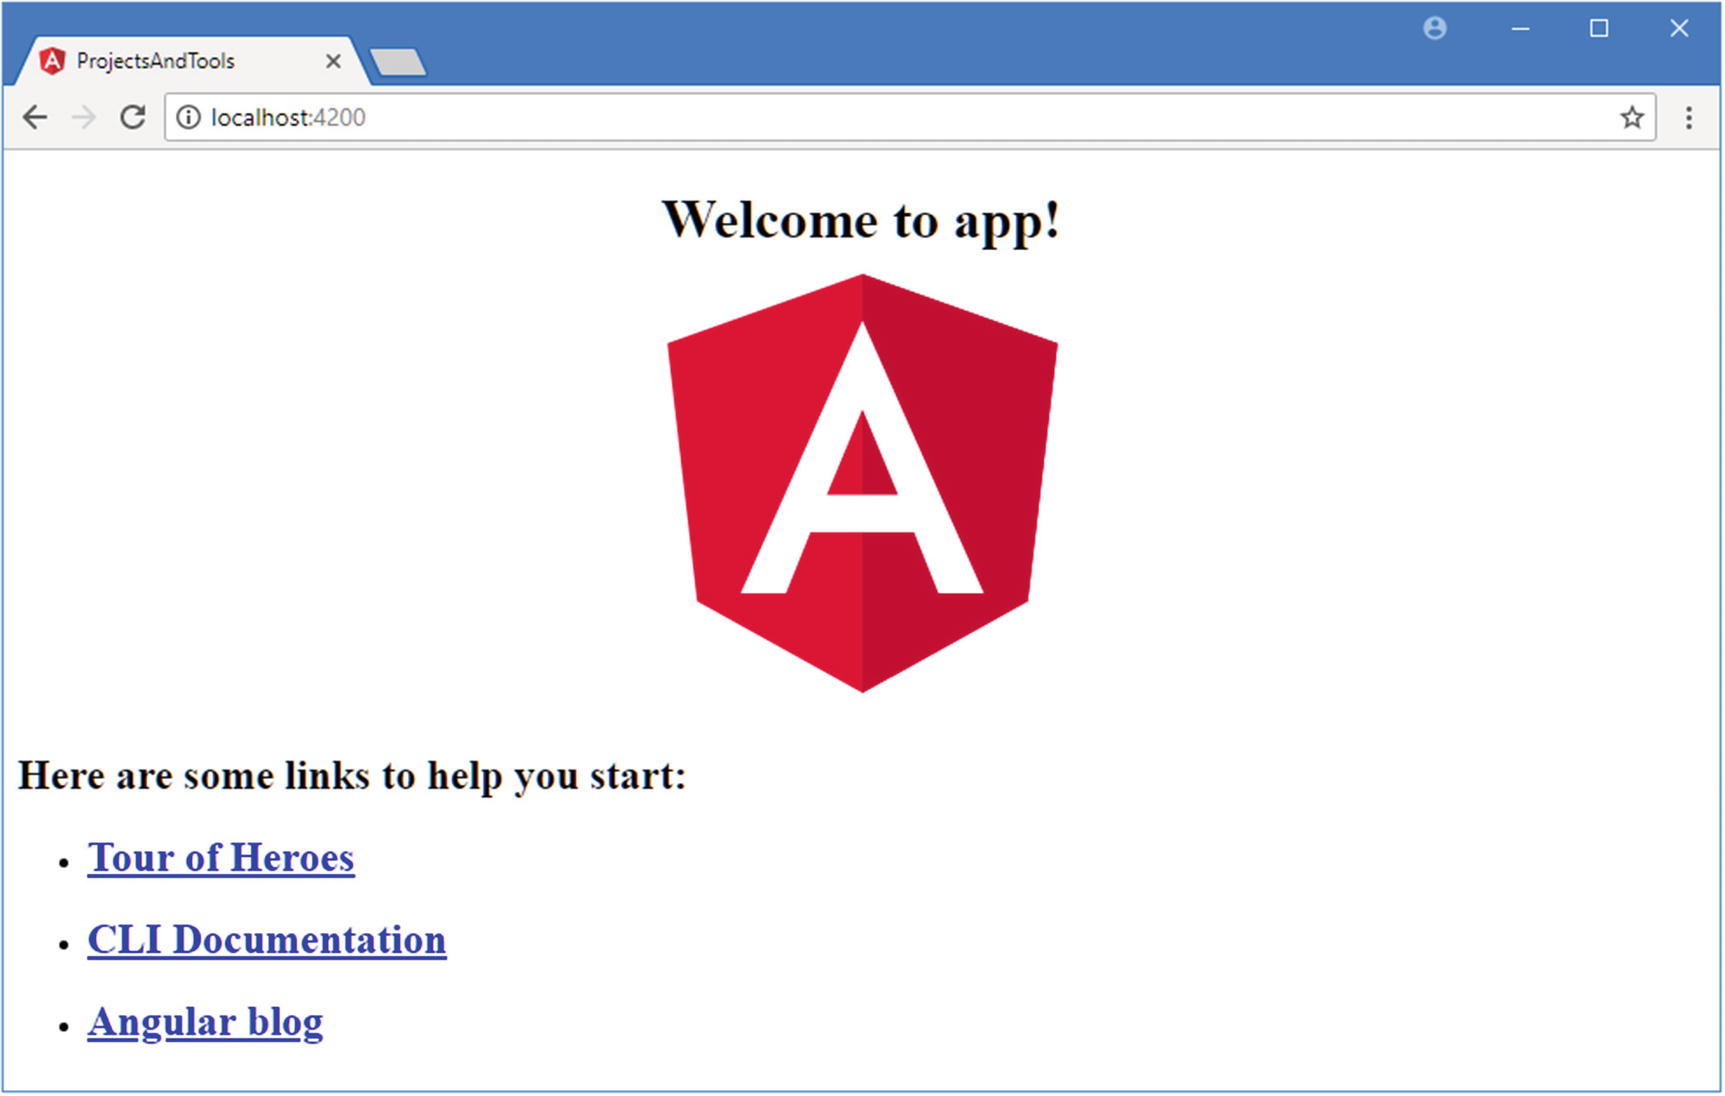
Running the example application
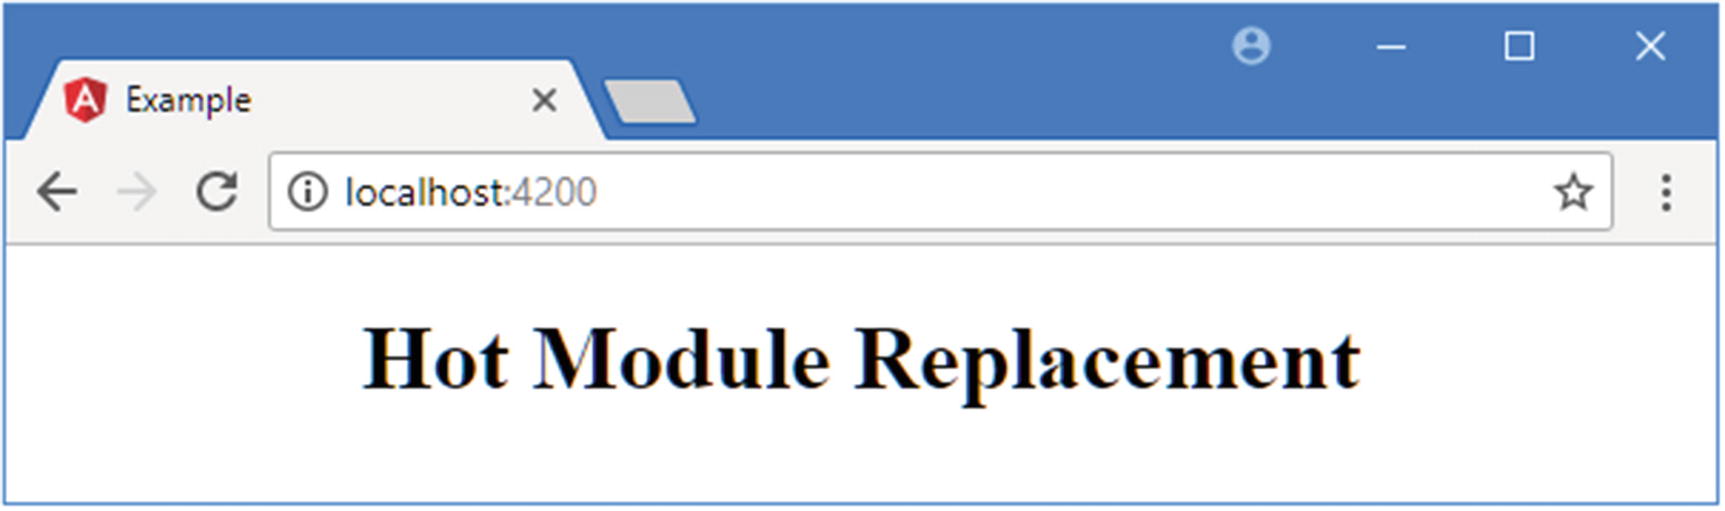
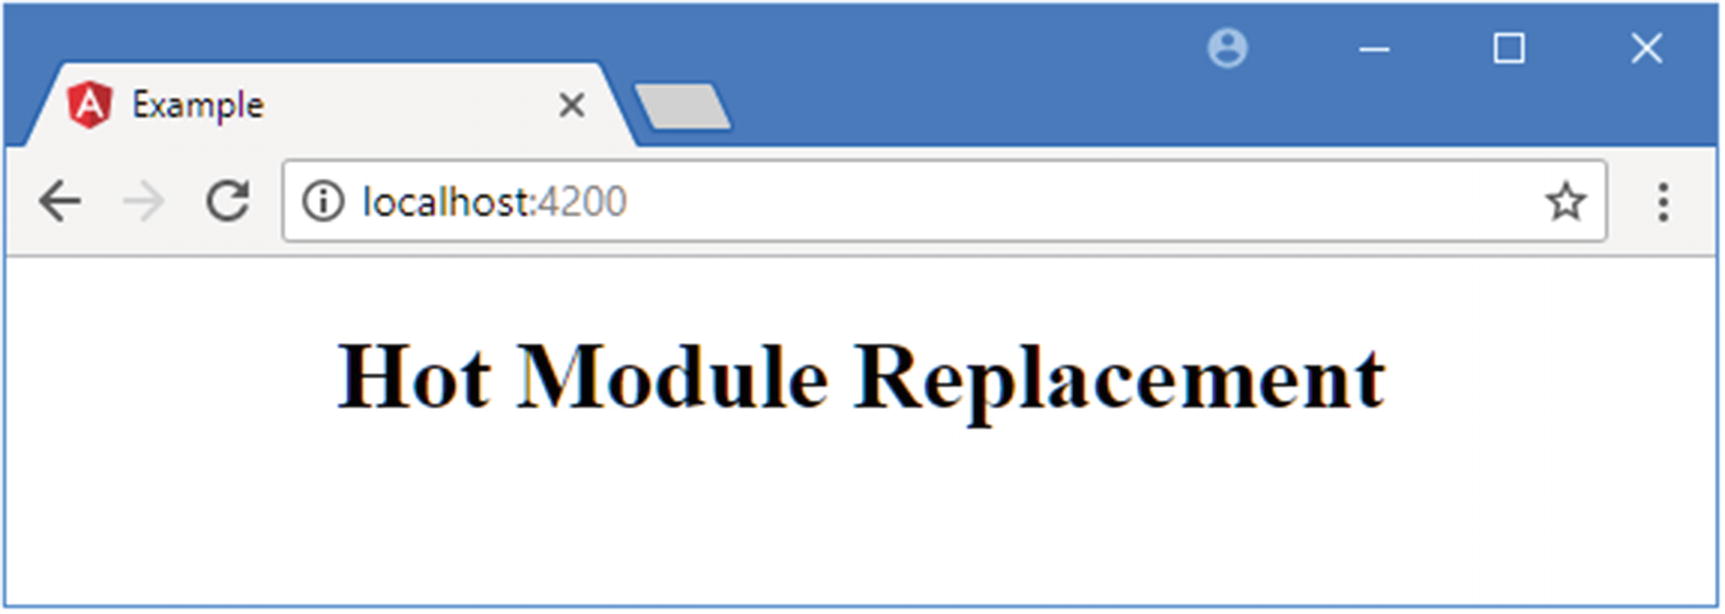
Understanding Hot Model Replacement
The bundles that webpack creates include support for a feature called hot module replacement (HMR). When you make a change to the application’s source or content files, the altered file is compiled, put into a bundle by webpack, and sent to the browser. In most cases, only a small change is sent to the browser, and the application is updated on the fly.
Replacing the Contents of the app.component.html File in the src/app Folder
Using the hot module replacement feature
Tip
The hot module replacement feature tries to preserve the state of the application where possible, but doesn’t always get it right, in which case reloading the browser will refresh the application.
Using the Linter
A linter is a tool that inspects source code to ensure that it conforms to a set of coding conventions and rules. Projects created with the ng new command include a TypeScript linter called TSLint, and the rules it supports are described at https://github.com/palantir/tslint , covering everything from common errors that are likely to cause unexpected results through to issues of style.
Making Changes in the app.component.ts File in the src/app Folder
Running the TypeScript Linter
Linting isn’t integrated into the regular build process and can be performed only manually. The most common use for linting is to check for potential problems before committing changes to a version control system, although some project teams make broader use of the linting facility by integrating it into other processes.
These comments allow you to ignore code that doesn’t conform to the rules but that cannot be changed, while still linting the rest of the project.
Addressing Linting Warnings in the app.component.ts File in the src/app Folder
The Joy and Misery of Linting
Linters can be a powerful tool for good, especially in a development team with mixed levels of skill and experience. Linters can detect common problems and subtle errors that lead to unexpected behavior or long-term maintenance issues. A good example is the difference between the JavaScript == and === operators, where a linter can warn when the wrong type of comparison has been performed. I like this kind of linting, and I like to run my code through the linting process after I have completed a major application feature or before I commit my code into version control.
But linters can also be a tool of division and strife. In addition to detecting coding errors, linters can also be used to enforce rules about indentation, brace placement, the use of semicolons and spaces, and dozens of other style issues. Most developers have style preferences—I certainly do: I like four spaces for indentation, and I like opening braces to be on the same line and the expression they relate to. I know that some programmers have different preferences, just as I know those people are plain wrong and will one day see the light and start formatting their code correctly.
Linters allow people with strong views about formatting to enforce them on others, generally under the banner of being “opinionated,” which can tend toward “obnoxious.” The logic is that developers waste time arguing about different coding styles and everyone is better off being forced to write in the same way, which is typically the way preferred by the person with the strong views and ignores the fact that developers will just argue about something else because arguing is fun.
I especially dislike linting of formatting, which I see as divisive and unnecessary. I often help readers when they can’t get book examples working (my e-mail address is adam@adam-freeman.com if you need help), and I see all sorts of coding style every week. But rather than forcing readers to code my way, I just get my code editor to reformat the code to the format that I prefer, which is a feature that every capable editor provides.
My advice is to use linting sparingly and focus on the issues that will cause real problems. Leave formatting decisions to the individuals and rely on code editor reformatting when you need to read code written by a team member who has different preferences.
Understanding How an Angular Application Works
Angular can seem like magic when you first start using it, and it is easy to become wary of making changes to the project files for fear of breaking something. Although there are a lot of files in an Angular application, they all have a specific purpose, and they work together to do something that far from magic: display HTML content to the user. In this section, I explain how the example Angular application works and how each part works toward the end result.
Understanding the HTML Document
Understanding the Application Bootstrap
Angular has a production mode that disables some useful checks that are performed during development and that are described in later chapters. Enabling production mode means provides a performance increase and means that the results of the checks are not reported in the browser’s JavaScript console where they can be seen by the user. Production mode is enabled by calling the enableProdMode function, which is imported from the @angular/core module.
To work out whether production mode should be enabled, a check is performed to see whether environment.production is true. This check corresponds to the contents of the envirionment.prod.ts file in the src/envirionments folder, which sets this value and is applied when the application is built in preparation for deployment. The result is that production mode will be enabled if the application has been built for production but disabled the rest of the time.
The platformBrowserDynamic function initializes the Angular platform for use in a web browser and is imported from the @angular/platform-browser-dynamic module. Angular has been designed to run in a range of different environments, and calling the platformBrowserDynamic function is the first step in starting an application in a browser. The next step is to call the bootstrapModule method, which accepts the Angular root module for the application, which is AppModule by default and which is imported from the app.module.ts file in the src/app folder and described in the next section. The bootstrapModule method provides Angular with the entry point into the application and represents the bridge between the functionality provided by the @angular modules and the custom code and content in the project. The final part of this statement uses the catch keyword to handle any bootstrapping errors by writing them to the browser’s JavaScript console.
Tip
Notice that the argument to the bootstrapModule method is the name of the class and not a new instance of that class. Put another way, you call bootstrapModule(AppModule) and not bootstrapModule(new AppModule()) or bootstrapModule("AppModule").
Understanding the Root Angular Module
The term module does double duty in an Angular application and refers to both a JavaScript module and an Angular module. JavaScript modules are used to track dependencies in the application and ensure that the browser receives only the code it requires. Angular modules are used to configure a part of the Angular application.
The AppModule class doesn’t define any members, but it provides Angular with essential information through the configuration properties of its @NgModule decorator. I describe the different properties that are used to configure an Angular module in later chapters, but the one that is of interest now is the bootstrap property, which tells Angular that it should load a component called AppComponent as part of the application startup process. Components are the main building block in Angular applications, and the content provided by the component called AppComponent will be displayed to the user.
Understanding the Angular Component
The properties for the @Component decorator configure its behavior. The selector property tells Angular that this component will be used to replace an HTML element called app-root. The templateUrl and styleUrls properties tell Angular that the HTML content that the component wants to present to the user can be found in a file called app.component.html and that the CSS styles to apply to the HTML content are defined in a file called app.component.css (although the CSS file is empty in new projects).
This file contains regular HTML elements, but, as you will learn, Angular features are applied by using custom HTML elements or by adding attributes to regular HTML elements.
Understanding Content Display
Displaying a component’s content
Starting Development in an Angular Project
You have seen how the initial building blocks of an Angular application fit together and how the bootstrap process results in content being displayed to the user. In this section, I add a simple data model to the project, which is the typical starting point for most developers, and replace placeholder content created by the ng new command with a new component and HTML template.
Adding the Bootstrap CSS Framework
Installing the Bootstrap Package
Configuring a CSS File in the angular.json File in the example Folder
This tells the Angular development tools to include the Bootstrap CSS styles in the content that is sent to the browser.
Tip
There are two style sections in the angular.json file. The Bootstrap CSS file should be added to the one closest to the top of the file.
Starting the Development Tools
Creating the Data Model
Of all the building blocks in an application, the data model is the one for which Angular is the least prescriptive. Elsewhere in the application, Angular requires specific decorators to be applied or parts of the API to be used, but the only requirement for the model is that it provides access to the data that the application requires; the details of how this is done and what that data looks like is left to the developer.
A class that describes the data in the model
A data source that loads and saves data, typically to a server
A repository that allows the data in the model to be manipulated
In the following sections, I create a simple model, which provides the functionality that I need to describe Angular features in the chapters that follow.
Creating the Descriptive Model Class
The Contents of the product.model.ts File in the src/app Folder
The Product class defines properties for a product identifier, the name of the product, its category, and the price. The properties are defined as optional constructor arguments, which is a useful approach if you are creating objects using an HTML form, which I demonstrate in Chapter 14.
Creating the Data Source
The Contents of the datasource.model.ts File in the src/app Folder
The data in this class is hardwired, which means that any changes that are made in the application will be lost when the browser is reloaded. This is far from useful in a real application, but it is ideal for book examples.
Creating the Model Repository
The Contents of the repository.model.ts File in the src/app Folder
The Types of Web Forms Code Nuggets
Name | Description |
|---|---|
getProducts | This method returns an array containing all the Product objects in the model. |
getProduct | This method returns a single Product object based on its ID. |
saveProduct | This method updates an existing Product object or adds a new one to the model. |
deleteProduct | This method removes a Product object from the model based on its ID. |
The implementation of the repository may seem odd because the data objects are stored in a standard JavaScript array, but the methods defined by the Model class present the data as though it were a collection of Product objects indexed by the id property. There are two main considerations when writing a repository for model data. The first is that it should present the data that will be displayed as efficiently as possible. For the example application, this means presenting all the data in the model in a form that can be iterated, such as an array. This is important because the iteration can happen often, as I explain in Chapter 16. The other operations of the Model class are inefficient, but they will be used less often.
The second consideration is being able to present unchanged data for Angular to work with. I explain why this is important in Chapter 13, but in terms of implementing the repository, it means that the getProducts method should return the same object when it is called multiple times, unless one of the other methods or another part of the application has made a change to the data that the getProducts method provides. If a method returns a different object each time it is returned, even if they are different arrays containing the same objects, then Angular will report an error. Taking both of these points into account means that the best way to implement the repository is to store the data in an array and accept the inefficiencies.
Creating a Component and Template
Templates contain the HTML content that a component wants to present to the user. Templates can range from a single HTML element through to a complex block of content.
The Contents of the template.html File in the src/app Folder
Most of this template is standard HTML, but the part between the double brace characters (the {{ and }} in the div element) is an example of a data binding. When the template is displayed, Angular will process its content, discover the binding, and evaluate the expression that it contains to produce the content that will be displayed by the data binding.
The Contents of the component.ts File in the src/app Folder
The @Component decorator configures the component. The selector property specifies the HTML element that the directive will be applied to, which is app. The templateUrl property in the @Component directive specifies the content that will be used as the contents of the app element, and, for this example, this property specifies the template.html file.
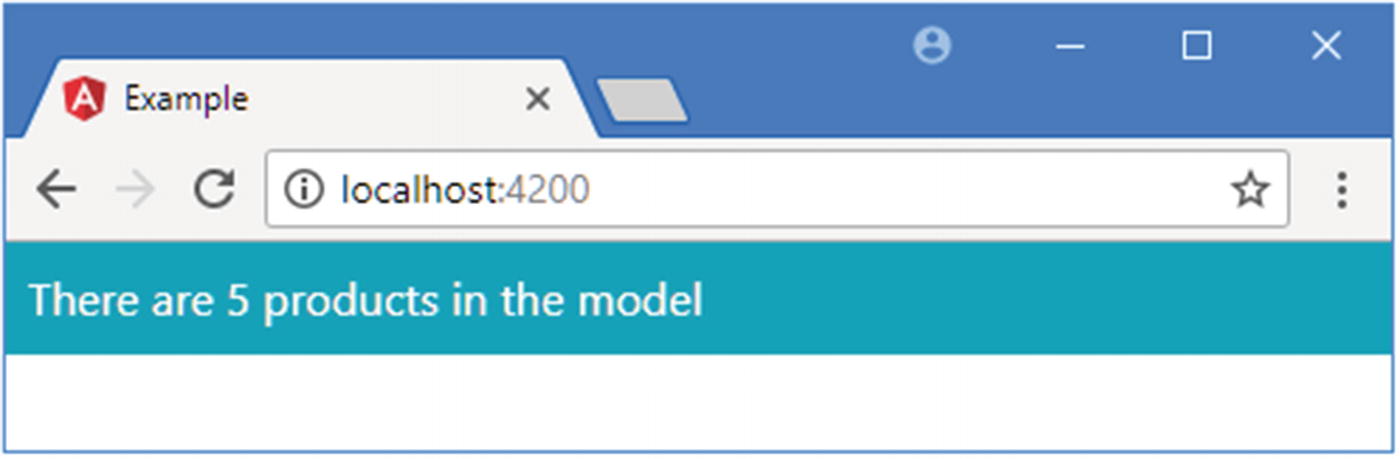
The component class, which is ProductComponent for this example, is responsible for providing the template with the data and logic that is needed for its bindings. The ProductComponent class defines a single property, called model, which provides access to a Model object.
Changing the Custom Element in the index.html File in the app Folder
This isn’t something you need to do in a real project, but it further demonstrates that Angular applications fit together in simple and predictable ways and that you can change any part that you need to or want to.
Configuring the Root Angular Module
Registering a Component in the app.module.ts File in the app/src Folder
The effect of a new component and template
The standard Angular bootstrap sequence is performed, but the custom component and template that I created in the previous section are used, rather than the ones set up when the project was created.
Summary
In this chapter, I created an Angular project and used it to introduce the tools that it contains and explained how a simple Angular application works. In the next chapter, I start digging into the detail, starting with data bindings.