Table of Contents for
Server Side development with Node.js and Koa.js Quick Start Guide

Version ebook / Retour

Cover image for bash Cookbook, 2nd Edition Server Side development with Node.js and Koa.js Quick Start Guide by Olayinka Omole Published by Packt Publishing, 2018
  1. Server Side Development with Node.js and Koa.js Quick Start Guide
  2. Title Page
  3. Copyright and Credits
  4. Server Side Development with Node.js and Koa.js Quick Start Guide
  5. About Packt
  6. Why subscribe?
  7. Packt.com
  8. Contributors
  9. About the author
  10. About the reviewer
  11. Packt is searching for authors like you
  12. Table of Contents
  13. Preface
  14. Who this book is for
  15. What this book covers
  16. To get the most out of this book
  17. Download the example code files
  18. Download the color images
  19. Code in action
  20. Conventions used
  21. Get in touch
  22. Reviews
  23. Introducing Koa
  24. Technical requirements
  25. What is Koa?
  26. What can you do with Koa?
  27. Why choose Koa?
  28. When you should not use Koa
  29. Koa versus Express
  30. How can this book help you understand Koa better?
  31. Summary
  32. Getting Started with Koa
  33. Technical requirements
  34. Modern JavaScript
  35. A primer on Node
  36. What is async… await?
  37. The promise class
  38. Introducing async
  39. Introducing await
  40. Installing Koa
  41. Using Babel
  42. Starting a server in Koa
  43. Summary
  44. Koa Core Concepts
  45. Technical requirements
  46. The application object
  47. Useful application methods
  48. Settings
  49. The context object
  50. Context object API
  51. Aliases
  52. The request object
  53. Content negotiation
  54. The response object
  55. Middleware
  56. Cascading in Koa
  57. Defining middleware
  58. Registering middleware
  59. Common middleware
  60. Summary
  61. Handling Errors in Koa
  62. Technical requirements
  63. Catching errors in Koa
  64. Koa's default error handler
  65. Emitting errors
  66. Error event listener
  67. Throwing HTTP errors
  68. Writing error handlers
  69. Summary
  70. Building an API in Koa
  71. Technical requirements
  72. Project setup
  73. Initialization
  74. Installing dependencies
  75. Structure
  76. Building the application
  77. Starting the server
  78. Using Nodemon
  79. Connecting to a database
  80. Creating data models
  81. Setting up the router
  82. Setting up a logger
  83. Creating contact endpoints and controller actions
  84. Retrieving all contacts
  85. Storing new contacts
  86. Retrieving a single contact
  87. Updating a contact
  88. Deleting a contact
  89. Validating requests
  90. Useful notes
  91. Summary
  92. Building an Application in Koa
  93. Technical requirements
  94. About the application
  95. Setting up a project
  96. Installing dependencies
  97. Project structure
  98. Building the application
  99. Starting the server
  100. Connecting to the database
  101. Creating data models
  102. The user model
  103. The post model
  104. Setting up the router
  105. Setting up the views
  106. Using partials
  107. Setting up sessions
  108. Handling authentication
  109. User registration and login
  110. Authentication middleware
  111. Creating controller functions
  112. Summary
  113. Other Books You May Enjoy
  114. Leave a review - let other readers know what you think

Setting up the router

In order to be able to visit different endpoints, we need to set up some form of a router, to route different URL oath visits to different actions. Koa does not come bundled with an out-of-the-box router like Express does; hence, we will be making use of koa-router, which is an open source RESTful router for use with Koa.

Let's start off by creating a router.js file in the middleware folder, and inserting the following contents:

// ./middleware/router.js

const KoaRouter = require('koa-router');
const router = new KoaRouter();

router
.get('/', async ctx => (ctx.body = 'Welcome to the contacts API!'));

module.exports = router;

In the preceding code block, we require the koa-router dependency, and we initialize it. After that, we register an index route, which sends the Welcome to the contacts API! text response. Then, we export it to be registered as a middleware in our index file.

To define a route, we call the HTTP verb method of the router, which takes the route path as the first parameter, and a callback function as the second. For example, for a GET route, we use router.get(); for a POST route, we use router.post(); and so on.

Update the index.js file, as follows:

// ./index.js

// ...
const router = require('./middleware/router');

// router
app.use(router.routes());
app.use(router.allowedMethods());

// ...

After requiring the router middleware, we register it with the router.routes() and router.allowedMethods() methods. The .routes() method registers the routes that we define via the router, and the .allowedMethods() method returns a separate middleware for responding to the OPTIONS requests, with the Allow header containing the allowed methods.

Our complete index.js file will now look as follows:

const Koa = require('koa');
const router = require('./middleware/router');
const app = new Koa();

const mongoose = require('mongoose');
mongoose.connect(
'mongodb://localhost:27017/koa-contact',
{ useNewUrlParser: true }
);

const db = mongoose.connection;
db.on('error', error => {
throw new Error(`error connecting to db: ${error}`);
});
db.once('open', () => console.log('database connected'));

// router
app.use(router.routes());
app.use(router.allowedMethods());

const port = process.env.PORT || 3000;
app.listen(port, () =>
console.log(`Server running on http://localhost:${port}`)
);

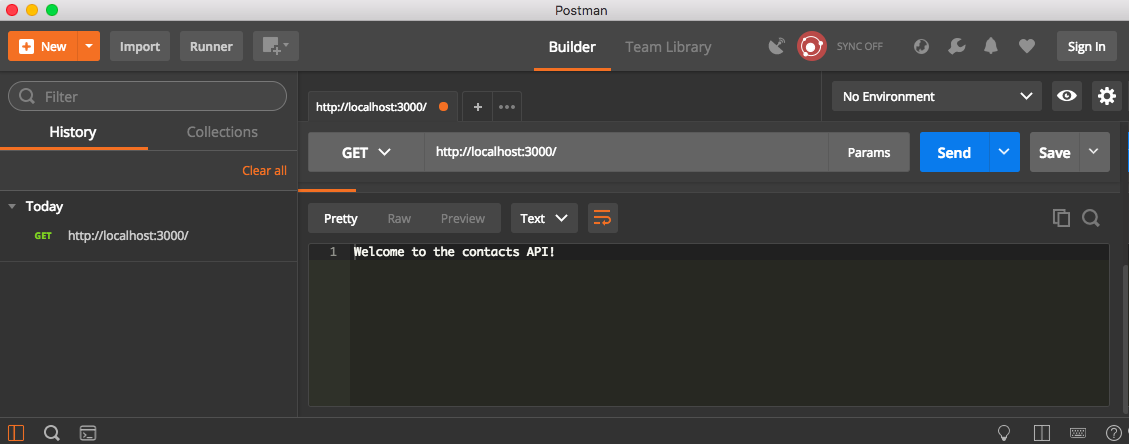
With the router middleware and the routes registered, we can test the GET / route with Postman or a browser; we should see the Welcome to the contacts API! response, as shown in the following screenshot: