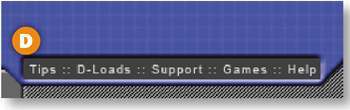
Fresh Ideas, cool techniques, and sound advice—if that's what you're after, you've picked up the right book. How to Wow: Photoshop for the Web will inspire you to create the best Web graphics on the planet and teach you everything you need to know to get that job done in Photoshop and its companion program, ImageReady.
The answer is simple. There are very few resources that address how to make content for the Web in Photoshop and ImageReady and that offer step-by-step, inspirational recipes for real-world Web graphics projects. Whether you design sites for a living or work on personal Web projects, these are things you need to know. That's where we come in. Both of us, Jan and Colin, have been teaching, writing about, and making Web graphics for most of our careers. Jan has taught Photoshop for the Web for all the major national training companies, including Adobe. Colin has won multiple Photoshop Guru awards for his remarkably lifelike Photoshop illustrations. We're experts in hands-on training, and between us we've written over a dozen Photoshop books. All this is not to blow our own horns, but to let you know that we really can help you.
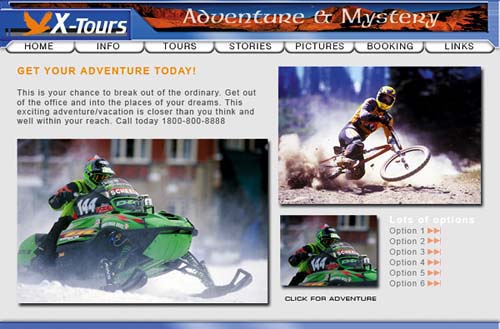
In these pages you'll find a collection of practical recipes that teach you what you can make with Photoshop and ImageReady and show you exactly how to make each item. Our goal is to help you master a Photoshop–ImageReady workflow for creating real graphic components—everything from page layouts to navigation to animations—for real personal and business Web sites. You'll get ideas for how to incorporate graphics in your own sites, and you'll learn efficient production techniques that will save you time and effort.
Getting the most out of this book is a collaborative process. Work through the projects with us, paying particular attention to those things you need to know for your Web work or play. When you find a project that piques your interest, go beyond what we show you, applying our techniques to your own sites.
The CD-ROM at the back of the book contains all the files you need to follow along with the projects. There are also end files for each project to give you a sense of where you're going.
The CD-ROM also has some Photoshop presets—styles, actions, and patterns-—that you'll need to complete some of the projects in the book. Please take the time to install the HTW Presets now, following the instructions on the next page. Thanks to How to Wow series editor Jack Davis, you'll also find a collection of Wow Button Style presets in the One-Click Wow Styles folder. These are some of the more than 1000 presets from the second edition of Jack Davis' book Adobe Photoshop One-Click Wow! Thanks, Jack. In addition, there are some third-party offers and trial software on the CD-ROM. Check them out.
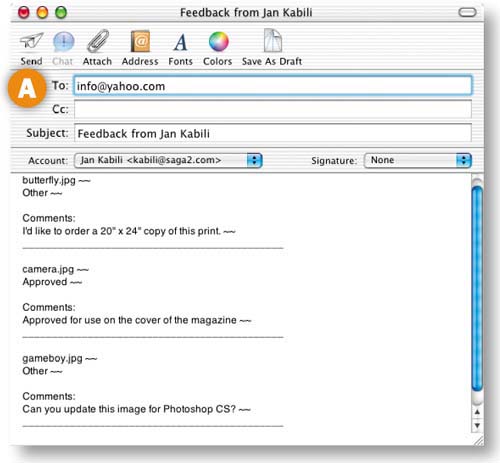
If you have any questions about projects in the book feel free to contact us by email. Jan's address is kabili@mac.com. Colin's is csmith@photoshopcafe.com. If you have any problems with the CD-ROM, contact Peachpit Press at ask@peachpit.com". ![]()
The CD-ROM at the back of the book contains two important folders—the HTW Project Files folder and the HTW Presets folder. Both are essential for working through the projects in this book. Before going any further, please follow these instructions for installing them on your computer.
The Wow Button Style presets in the One-Click Wow Styles folder are a gift to you from our colleague Jack Davis. Install and enjoy them at your leisure.
Before you begin working through the projects in the book, copy the HTW Project Files folder and the HTW Presets folder to your computer. Although you can work with these files from the CD-ROM, it will be faster and more efficient to have them on your hard drive.
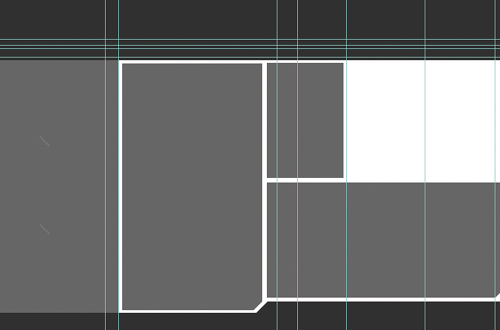
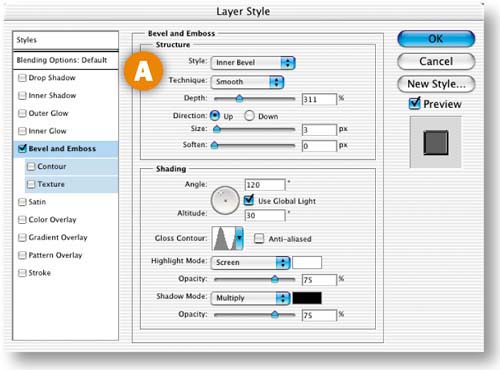
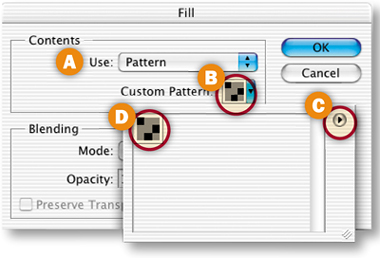
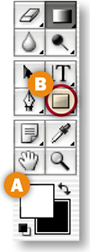
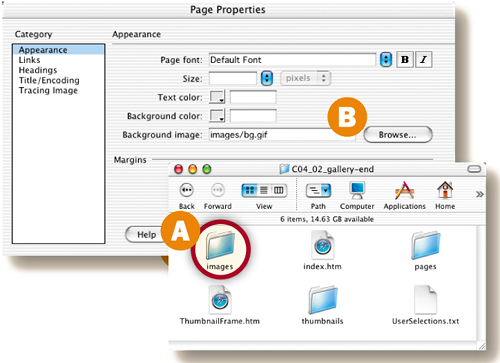
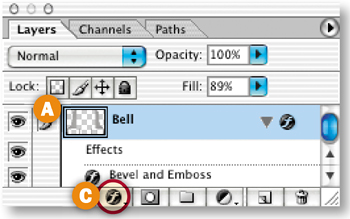
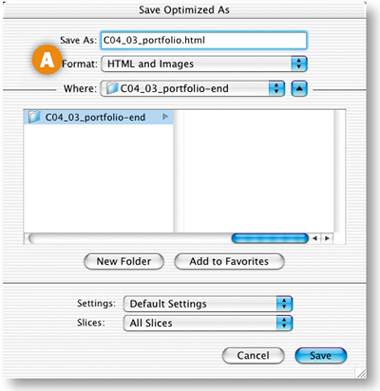
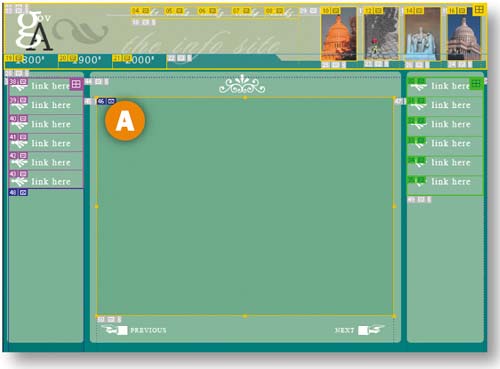
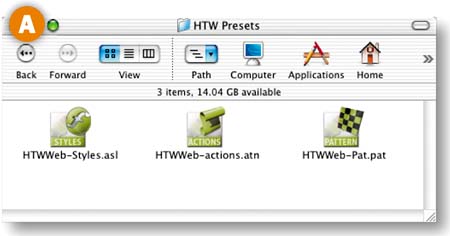
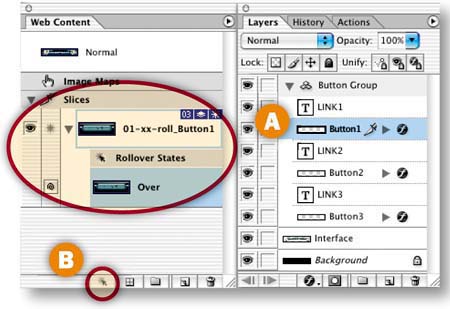
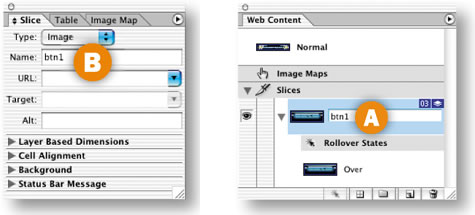
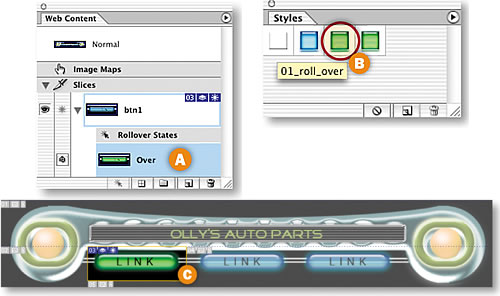
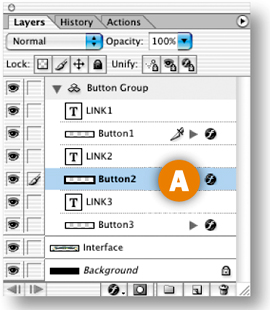
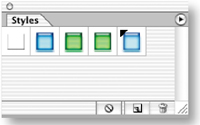
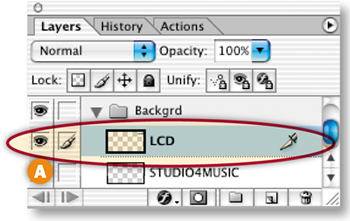
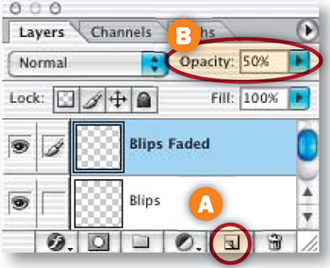
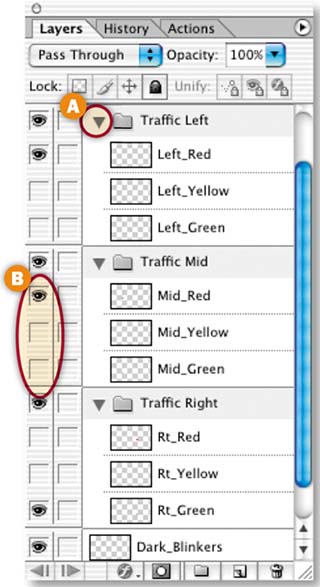
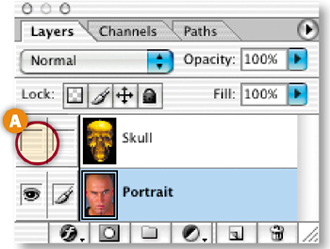
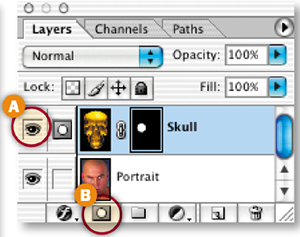
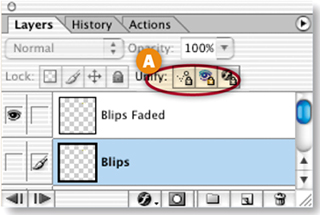
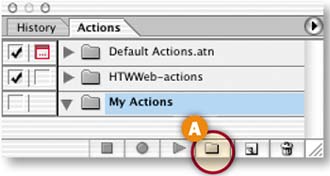
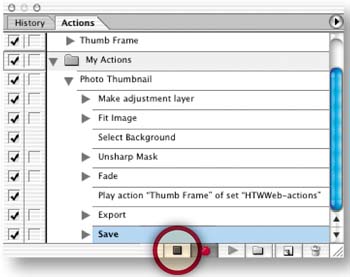
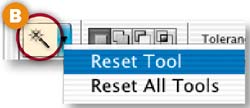
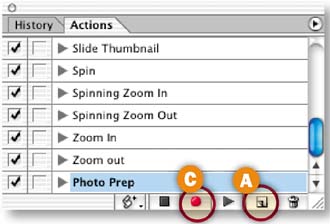
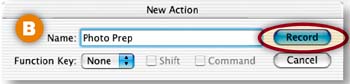
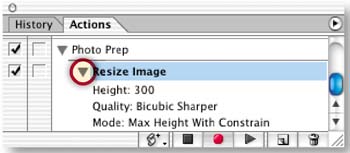
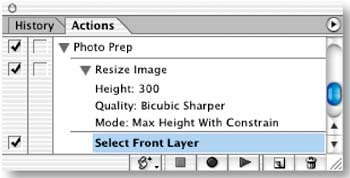
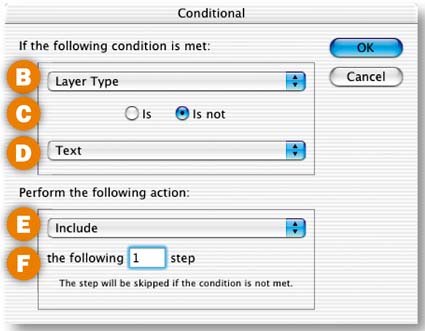
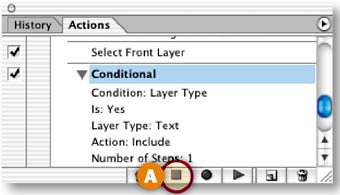
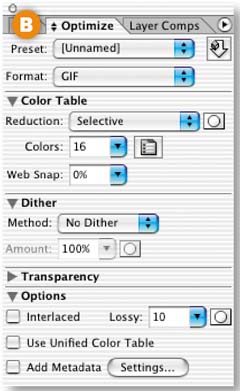
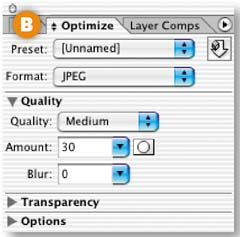
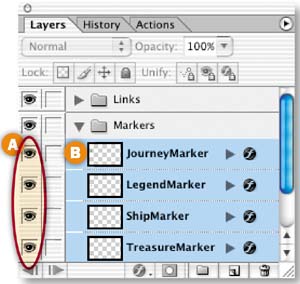
The HTW Presets folder A contains styles, actions, and patterns for use in Photoshop and ImageReady. Copy the whole folder into the Presets folder inside the Photoshop application folder on your hard drive B. Then restart Photoshop and ImageReady. This will allow you to quickly load any of the presets from Photoshop's and ImageReady's palettes. Install the One-Click Wow Styles folder the same way to make the Wow Button Styles available from the side menu of your Photoshop and ImageReady Styles palettes.
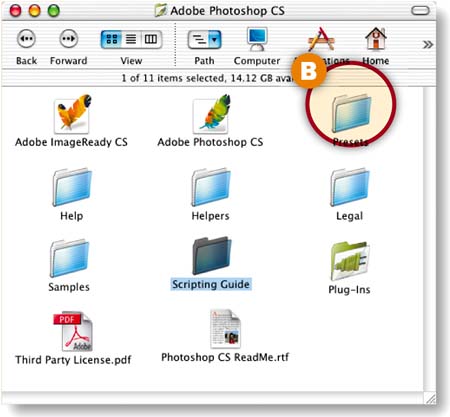
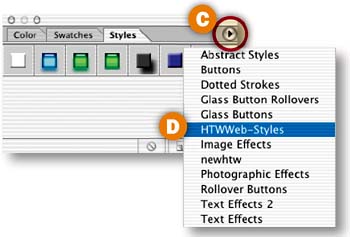
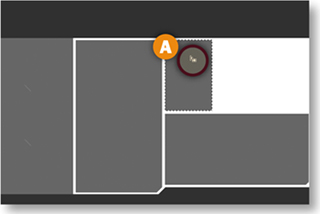
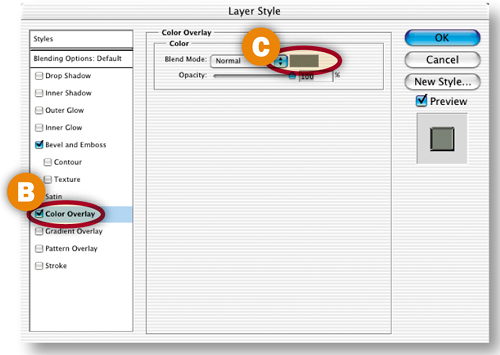
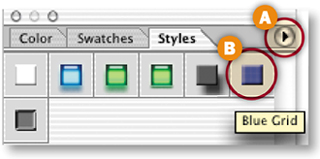
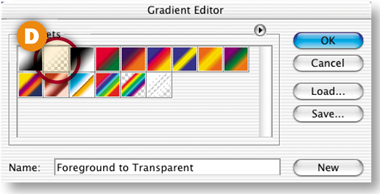
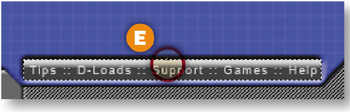
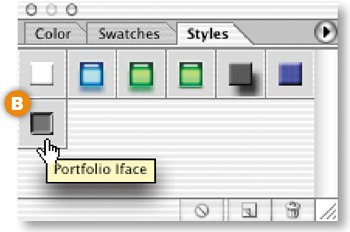
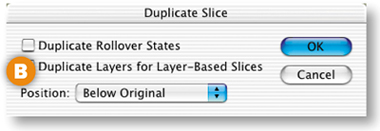
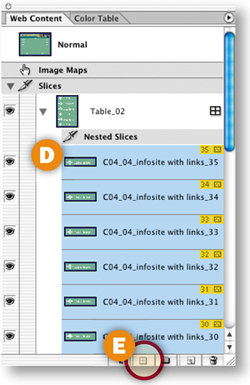
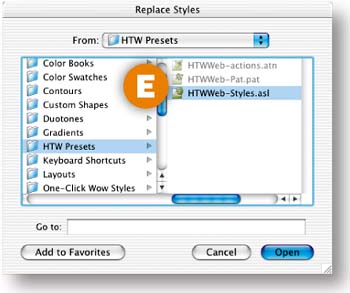
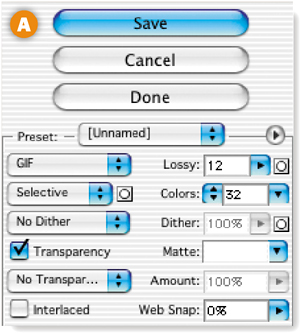
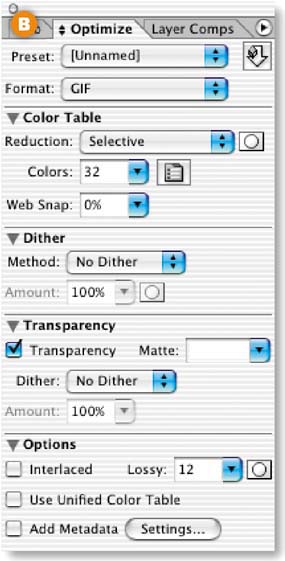
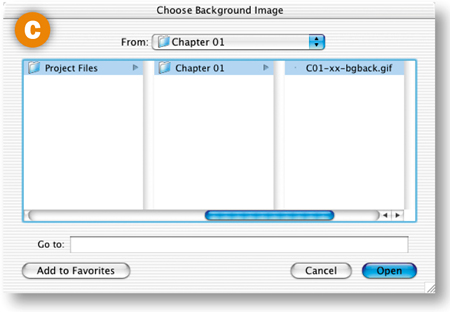
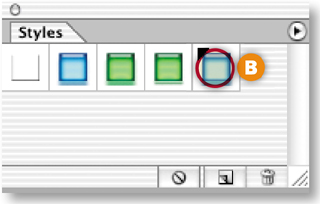
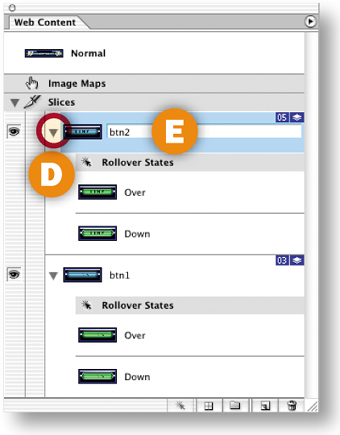
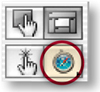
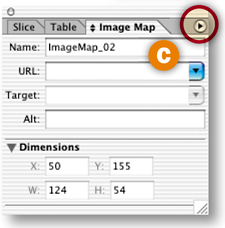
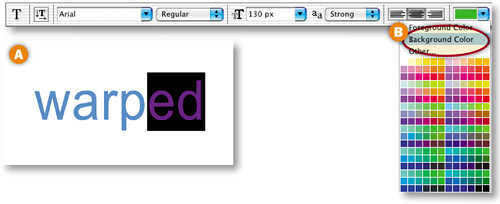
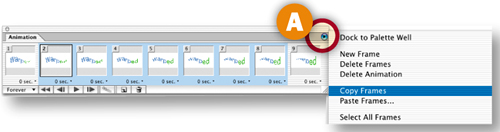
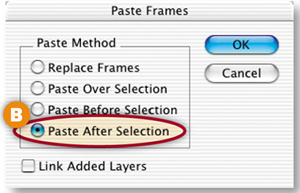
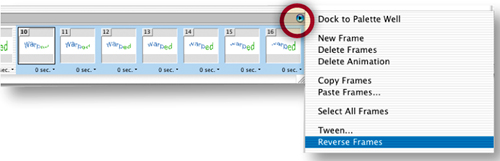
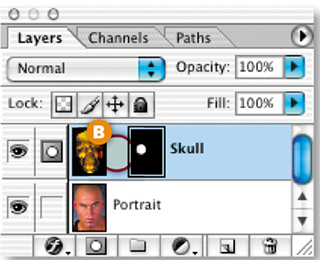
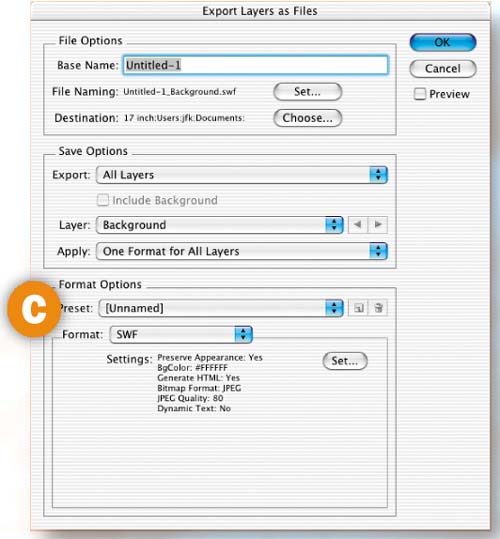
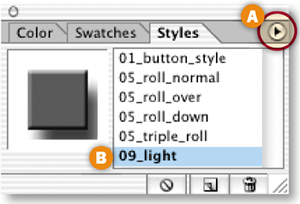
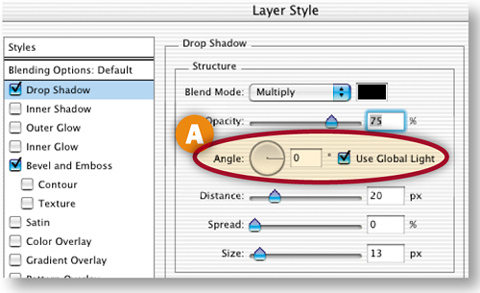
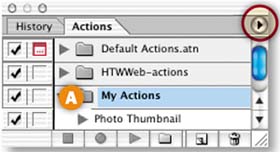
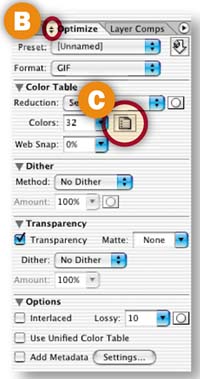
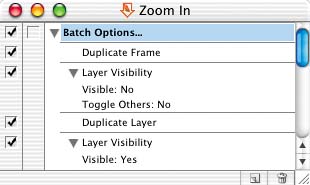
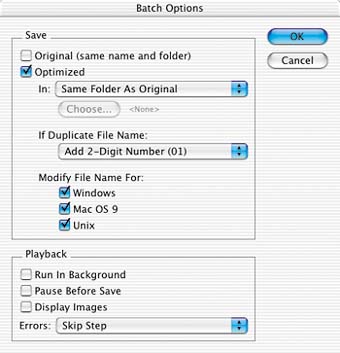
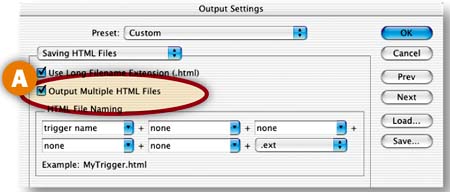
After you copy the HTW Presets folder, and the One-Click Wow Styles folder if you wish, to the Photoshop application Presets folder on your hard drive, the new presets can be accessed from your Styles and Actions palettes and in various dialog boxes that use styles and patterns. To access the HTWWeb-Styles presets, which are used in some of our projects, in Photoshop, click the side arrow on Photoshop's Styles palette C and choose HTWWeb-Styles D. Click OK when you're asked if you want to replace current styles with HTWWeb-Styles.asl. To access these styles in ImageReady, click the side arrow on ImageReady's Styles palette and choose Replace Styles. The Replace Styles dialog box opens to the Styles presets in the application folder. Scroll up and click on HTW Presets E. Then select HTWWeb-Styles.asl and click Open. Optionally, to add the HTWWeb-Styles to ImageReady's Styles palette side menu, choose Save Styles from that menu, navigate to the Styles folder in the application presets, and click Save. ![]()


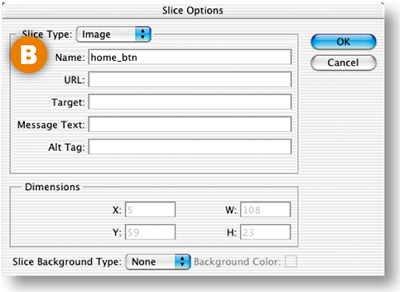


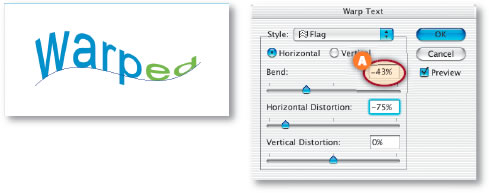
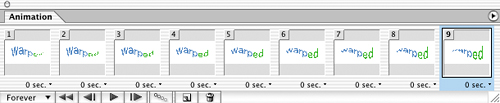
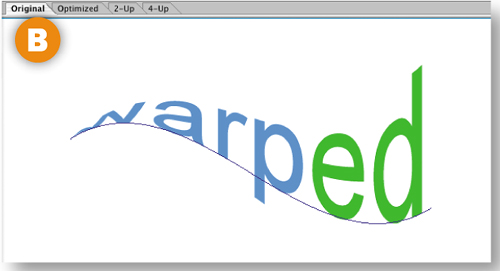
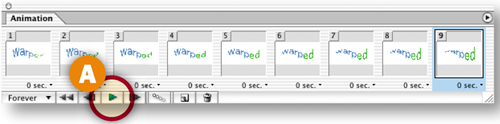
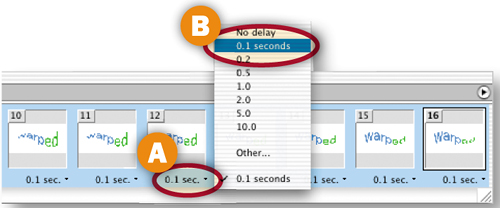
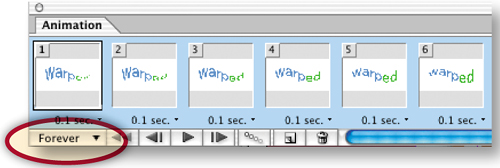
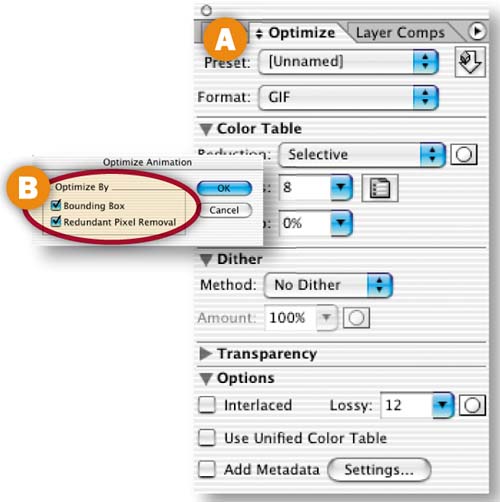


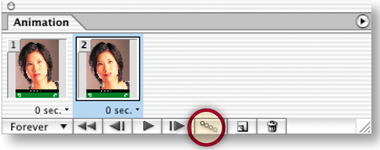


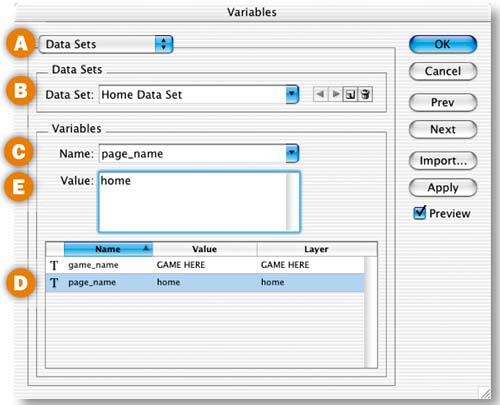


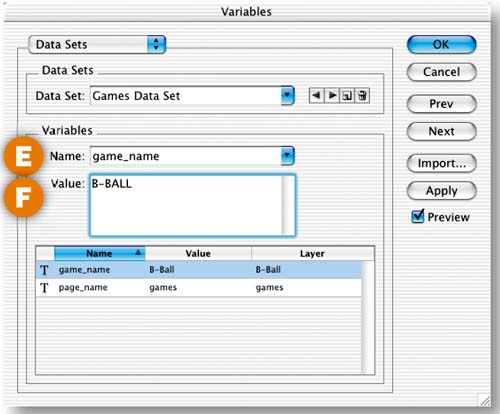
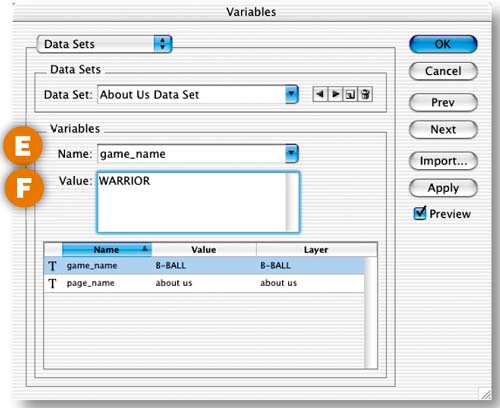
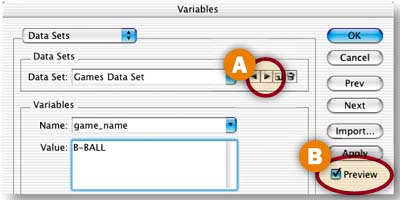


![Import a Data Set]](graphics/03inf219.jpg)
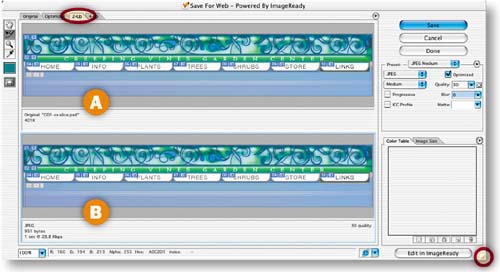
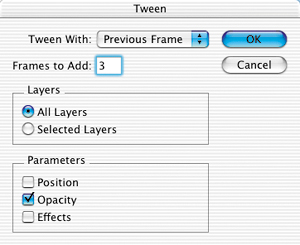
![Import a Data Set]](graphics/03inf220.jpg)
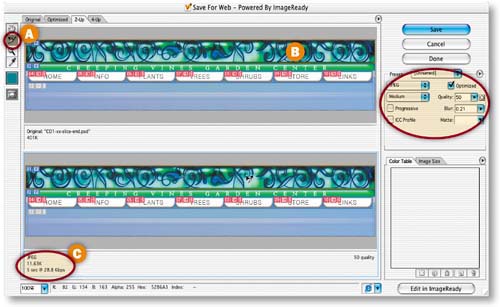
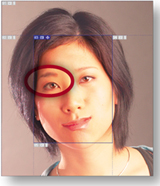
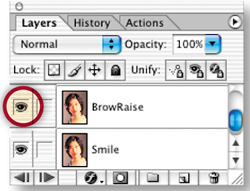
![Import a Data Set]](graphics/03inf214.jpg)