Table of Contents for
Modern PHP
 Modern PHP
Published by
O'Reilly Media, Inc., 2015
Modern PHP
Published by
O'Reilly Media, Inc., 2015
- Cover
- nav
- Modern PHP
- Modern PHP
- Preface
- I. Language Features
- 1. The New PHP
- 2. Features
- II. Good Practices
- 3. Standards
- 4. Components
- 5. Good Practices
- III. Deployment, Testing, and Tuning
- 6. Hosting
- 7. Provisioning
- 8. Tuning
- 9. Deployment
- 10. Testing
- 11. Profiling
- 12. HHVM and Hack
- 13. Community
- A. Installing PHP
- B. Local Development Environments
- Index
- About the Author
- Colophon
Appendix B. Local Development Environments
We’ve talked a lot about production server provisioning and application deployment. However, we haven’t discussed how to develop applications on your local computer. What tools do you use? How do you reconcile your development environment with your production environment? This chapter has answers.
Many beginner PHP developers rely on their operating system’s default software stack—typically older versions of Apache and PHP. I strongly encourage you not to use your operating system’s default software. Many OS X users (including me) have been devastated when an OS X upgrade vaporized our heavily customized Apache configuration files. Steer clear of built-in software; it’s often out of date, and it may be overwritten by operating system upgrades. Instead, build a local development environment in a virtual machine that is safely isolated from your local operating system. A virtual machine is a software-emulated operating system. For example, you can create a virtual machine on OS X that runs Ubuntu or CentOS. The virtual machine behaves exactly like a separate computer.
Tip
Make sure your virtual machine runs the same operating system as your production server (I prefer Ubuntu Server). It’s important that your local development and production server environments use the same operating system to prevent unexpected deployment and runtime errors caused by operating system software discrepancies.
VirtualBox
There are many software programs that create and manage virtual machines. Some are commercial products (e.g., VMWare Fusion or Parallels), and others are open source products (e.g., VirtualBox). To be honest, VirtualBox is a solid product. It works as advertised, and it’s free. VirtualBox is not pretty like its commercial alternatives, but it gets the job done. You can download VirtualBox for OS X or Windows at https://www.virtualbox.org. It uses a traditional GUI installer appropriate for your operating system (Figure B-1).
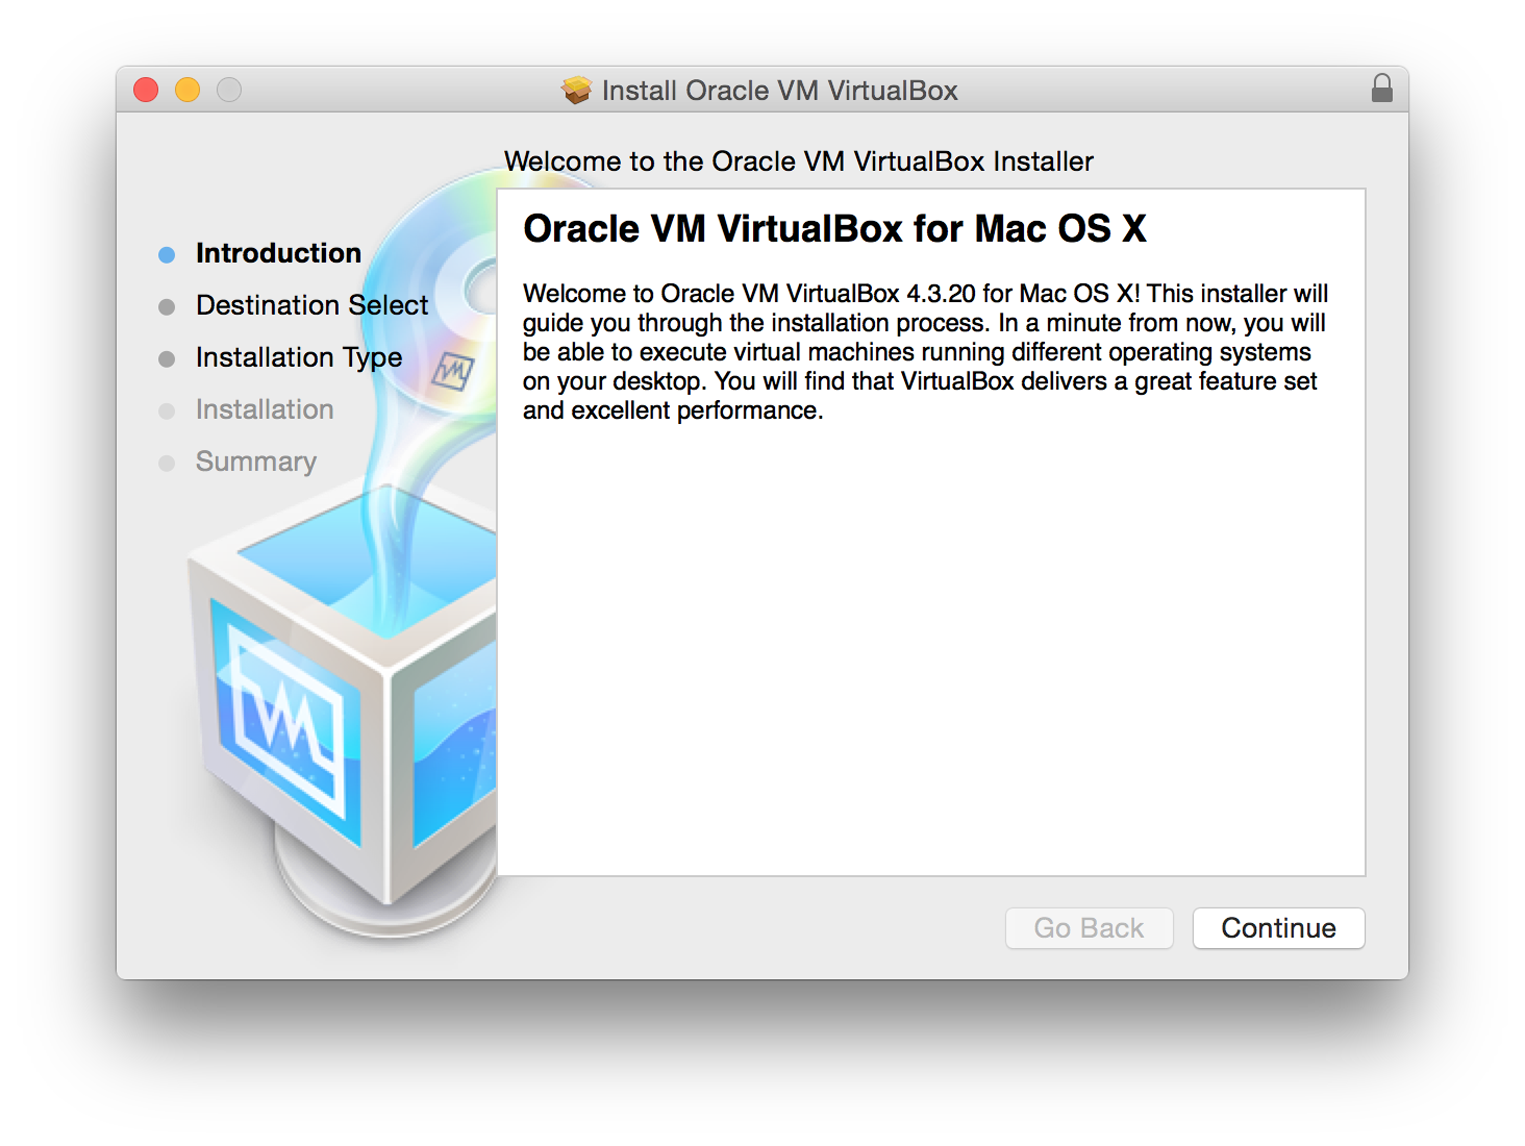
Figure B-1. VirtualBox installer
Vagrant
Although VirtualBox lets us create virtual machines, it does not provide a user-friendly interface to start, provision, stop, and destroy virtual machines. Instead, we use Vagrant—a virtualization tool that helps you create, start, stop, and destroy VirtualBox virtual machines with a single command. It complements (and abstracts) VirtualBox with a user-friendly, command-line interface. You can download Vagrant for OS X and Windows at https://www.vagrantup.com. It also uses a traditional GUI installer appropriate for your operating system.
Commands
After installation, you can use the vagrant command in your terminal application to
create, provision, start, stop, and destroy VirtualBox virtual machines. These are the
Vagrant commands you’ll use most often:
vagrant init-
This creates a new
Vagrantfileconfigurations script in the current working directory. We use this script to configure a virtual machine’s properties and provisioning details. vagrant up-
This creates and/or starts a virtual machine.
vagrant provision-
This provisions a virtual machine using the specified provisioning scripts. We’ll discuss provisioning later in this chapter.
vagrant ssh-
This logs you into a virtual machine via SSH.
vagrant halt-
This stops a virtual machine.
vagrant destroy-
This destroys a virtual machine.
Tip
I recommend you create command-line aliases for these Vagrant commands
because you’ll type them a lot. Drop these into your ~/.bash_profile
file and restart your terminal application:
aliasvi="vagrant init"aliasvu="sudo echo 'Starting VM' && vagrant up"aliasvup="sudo echo 'Starting VM' && vagrant up --provision"aliasvp="vagrant provision"aliasvh="vagrant halt"aliasvs="vagrant ssh"
Boxes
We have VirtualBox and Vagrant installed. Now what? We need to choose a Vagrant box as a starting point for our virtual machine. A Vagrant box is a preconfigured virtual machine that provides a foundation on which we provision our server and build our PHP application. Some boxes are spartan shells used as a blank canvas. Other boxes include complete software stacks that cater to certain types of applications. You can browse available boxes at https://vagrantcloud.com.
I usually choose the spartan ubuntu/trusty64 box, and then I use Puppet to provision the box with a specific software stack required by my application. If you find another Vagrant box that already includes the tools you need, by all means use that box to save time.
Initialize
After you find a Vagrant box, navigate into the appropriate working directory
with your terminal application. Initialize a new Vagrantfile with this command:
vagrant init
Open the new Vagrantfile file in your preferred text editor. This file
is written with Ruby, but it’s easy to read. Find the config.vm.box
setting, and change its value to the name of your Vagrant box. For example,
if I prefer the Ubuntu box I change this setting to ubuntu/trusty64.
The updated Vagrantfile line should read:
config.vm.box="ubuntu/trusty64"
Next, uncomment this line so we can access our virtual machine in a web browser
on our local network at IP address 192.168.33.10:
config.vm.network"private_network",ip:"192.168.33.10"
Finally, create the virtual machine with this command:
vagrant up
This command downloads the remote Vagrant box (if necessary), and it creates a new VirtualBox virtual machine based on the Vagrant box.
Provision
Unless you use a Vagrant box that provides a preconfigured software stack,
your virtual machine doesn’t do anything. You need to provision the virtual
machine with the software to run your PHP application. At the very least,
you want a web server, PHP, and possibly a database. Provisioning a virtual
machine is a topic far too large for this book. I can, however, point
you in the right direction. You can provision a virtual machine
with Vagrant and either Puppet or Chef. Both Puppet and Chef can be
enabled and configured in the the Vagrantfile configuration file.
Tip
Erika Heidi gave a great NomadPHP presentation on Vagrant and provisioning tools like Puppet and Chef. She also wrote the Vagrant Cookbook, now available on LeanPub.
Puppet
If you scroll down the Vagrantfile file, you’ll see a section
that looks like this. It may be commented out by default:
config.vm.provision"puppet"do|puppet|puppet.manifests_path="manifests"puppet.manifest_file="default.pp"end
If you uncomment this section, Vagrant will provision the virtual machine with Puppet using your Puppet manifests. You can learn more about Puppet at http://puppetlabs.com.
Chef
If you prefer Chef’s provisioning tools, you can instead uncomment this section
of the Vagrantfile file:
config.vm.provision"chef_solo"do|chef|chef.cookbooks_path="../my-recipes/cookbooks"chef.roles_path="../my-recipes/roles"chef.data_bags_path="../my-recipes/data_bags"chef.add_recipe"mysql"chef.add_role"web"# You may also specify custom JSON attributes:chef.json={mysql_password:"foo"}end
Provide your own cookbooks, roles, and recipes. Vagrant will provision your virtual machine accordingly. You can learn more about Chef at https://www.chef.io/chef/.
Synced folders
In either case, it’s often useful to map your local machine’s project directory to
a directory in the virtual machine. For example, you can map your local project directory
to the virtual machine’s /var/www directory. If the virtual machine’s web server
virtual host is /var/www/public, your local project’s public/ directory is now
served by the virtual machine’s web server. Any local changes are reflected immediately
in the virtual machine. You can uncomment this line in your Vagrantfile file to
enable synced directories between your local and virtual machines:
config.vm.synced_folder".","/vagrant_data"
The first argument (.) is your local path relative to the Vagrantfile configuration
file. The second argument (/vagrant_data) is the absolute path on the virtual machine
to which the local directory is mapped. The virtual machine directory largely depends on
your virtual machine’s web server virtual host configuration. OS X users should enable
NFS synced folders. Change the config.vm.synced_folder line to this:
config.vm.synced_folder".","/vagrant_data",type:"nfs"
Then uncomment these lines and boost the VirtualBox machine’s memory to 1024MB:
config.vm.provider"virtualbox"do|vb|# Don't boot with headless mode# vb.gui = true# Use VBoxManage to customize the VM. For example to change memory:vb.customize["modifyvm",:id,"--memory","1024"]end
Get started
Puppet and Chef are not easy to learn, especially for Vagrant newcomers. There are tools available to help you get started with Vagrant that don’t require you to write your own Puppet and Chef manifests.
Laravel Homestead
Homestead is an abstraction on top of Vagrant. It is also a Vagrant box that is preconfigured with a complete software stack including:
-
Ubuntu 14.04
-
PHP 5.6
-
HHVM
-
Nginx
-
MySQL
-
Postgres
-
Node (With Bower, Grunt, and Gulp)
-
Redis
-
Memcached
-
Beanstalkd
-
Laravel Envoy
Homestead works great for any PHP application, too. I use Homestead on my local machine to develop Slim and Symfony applications. Learn more about Homestead at http://laravel.com/docs/4.2/homestead.
PuPHPet
PuPHPet is ideal for those who don’t know how to write Puppet
manifests. This is a point-and-click website that creates a Puppet configuration
automatically (Figure B-2). You download the resultant Puppet configuration and run vagrant up.
It really is that simple.
Figure B-2. PuPHPet
Vaprobash
Vaprobash is similar to PuPHPet. It doesn’t
provide a point-and-click website, but it’s almost as easy. You download
the Vaprobash Vagrantfile, and you uncomment the lines for the tools you need.
Do you want nginx? Uncomment the nginx line. Do you want MySQL? Uncomment the
MySQL line. Do you want Elasticsearch? Uncomment the Elasticsearch line.
When ready, run vagrant up in your terminal application and Vagrant will
provision your virtual machine.