
Essential foundations, starting points, and fundamentals
In this chapter, we will look into the Docker terminology that has been used in the previous chapters of this book and which I will continue to use in future chapters.
You’ll see the different components of the Docker architecture, including the Docker Engine, Docker Hub, Docker clients, Docker host, and Docker registries. You’ll see how different Docker objects are created by the Docker daemon and how Docker Hub can be used to pull existing Docker images and buy, sell, or distribute images for free.
Additionally, you will learn how to install Docker on the Mac operating system (OS) platform.
I will examine more closely some of the basic Docker commands, providing an example of the use of each command, so that you can play around with it and then follow it with your own example.
Terminology
Image: A Docker image is a bundle of all the dependencies and configurations that an application depends on to run successfully. An image is this package that runs inside a container. Once an image is created, it cannot be changed. In other words, a Docker image is immutable.
Container: A Docker container is a lightweight instance of a Docker image. It is a running process that has been isolated using namespaces and uses the image for its root file system.
Dockerfile: A Dockerfile is a text file that contains instructions to build a Docker image.
Building a Dockerfile: This refers to building the instructions in the Dockerfile, in order to create a Docker image that can then run inside a Docker container.
Compose: This refers to a command-line tool that operates on one or more files that are a composition of multiple Dockerfiles of different applications/services, in a sense. With the Compose tool, you can run a single YAML file and get the images build to create and have them all running together.
Architecture
Before mastering Docker, let’s get into how it all works behind the scenes, to get a solid understanding of how it really works and how its different components interact with one another.
Docker platform
Docker Engine
- Docker architecture
Docker client
Docker daemon
Docker registries
- Docker objects
Images
Containers
Services
Docker Hub
As you have seen in the previous chapters, some of the advantages of Docker are process- and application-level isolation, portability, and ease of deployment and testing. Many different components come into play to support these scenarios. So, let’s delve into the components one at a time.
Docker Platform
Docker provides a platform to bundle dependencies and other information, such as environment variables, configurations, settings, etc., into a single isolated environment. Owing to this isolation, dependencies across applications do not interfere with each other, and, hence, multiple applications can run inside their own containers. These containers can all run simultaneously on a single host machine. Because containers are different than virtual machines (VMs), in that they don’t need a hypervisor later and can run directly on the host machine’s kernel, a lot more containers can run on a single hardware machine than if you were to use VMs.
The Docker platform also provides the ability to manage your containers, allowing you to develop and test your applications using containers. When ready, you can also deploy your application in its production environment, using containers.
Docker Engine
- 1.
A server process, also known as a daemon process. This is a background process that is continuously running and constantly listening to the REST API interface for any commands to process.
- 2.
A REST API interface that programs can talk to, in order to communicate with the Docker daemon. This can be accessed by an HTTP client.
- 3.
A client that is a command-line interface (CLI).
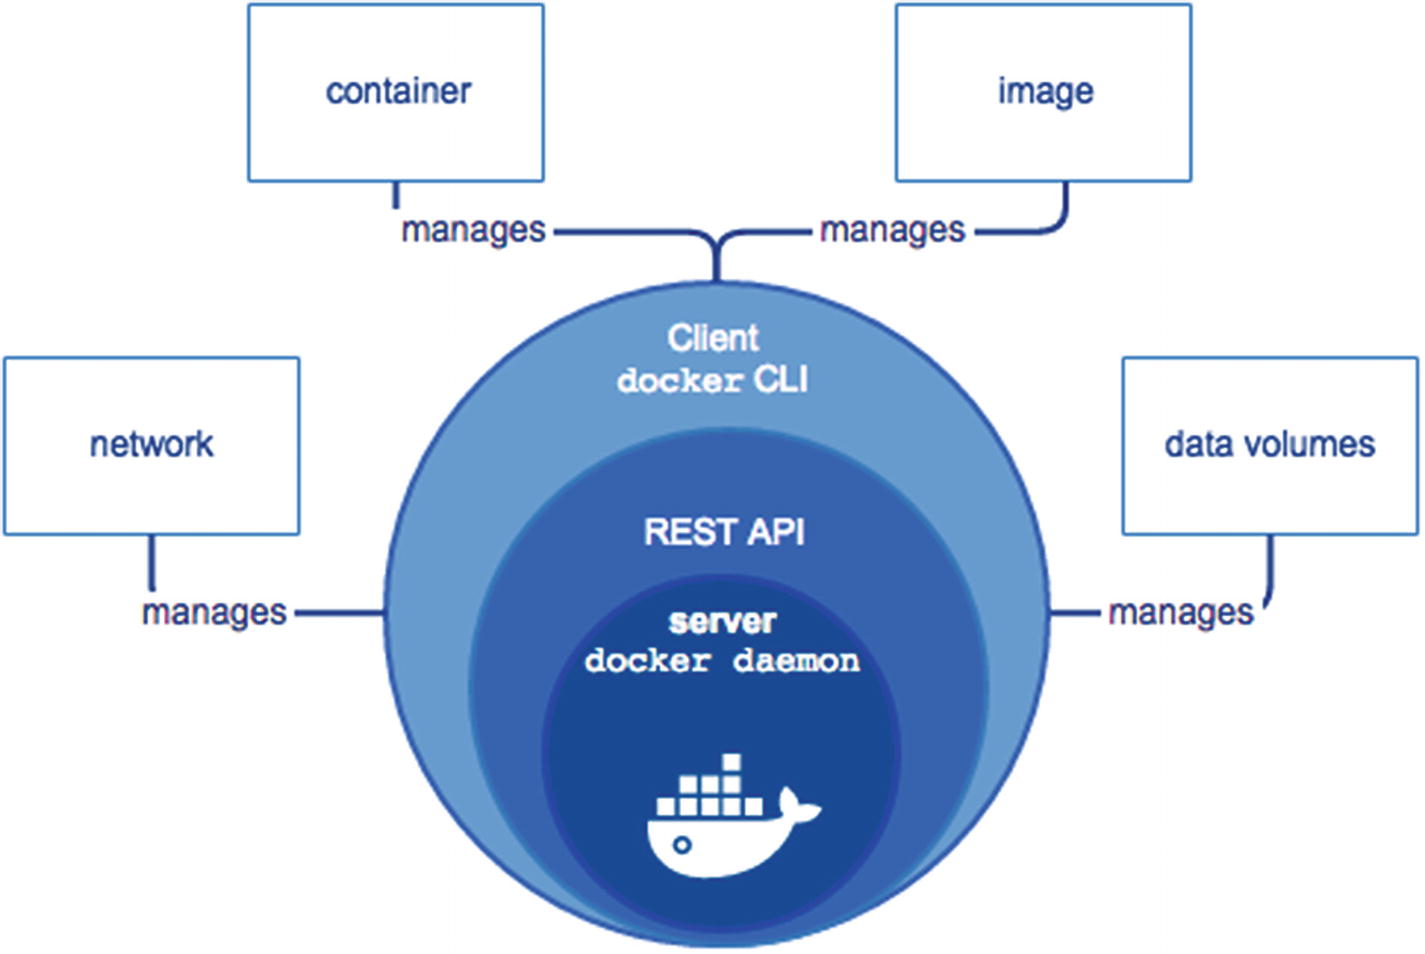
Docker Engine architecture
The way to get anything done using Docker is through the Docker client, via the CLI or a script composed of commands. The client then communicates these commands, via the REST API, to the Docker daemon, which is the server. The Docker daemon then gets the job done. It creates such Docker objects as images, containers, volumes, etc.
Let’s look more extensively into Docker’s client-server architecture.
Docker Architecture
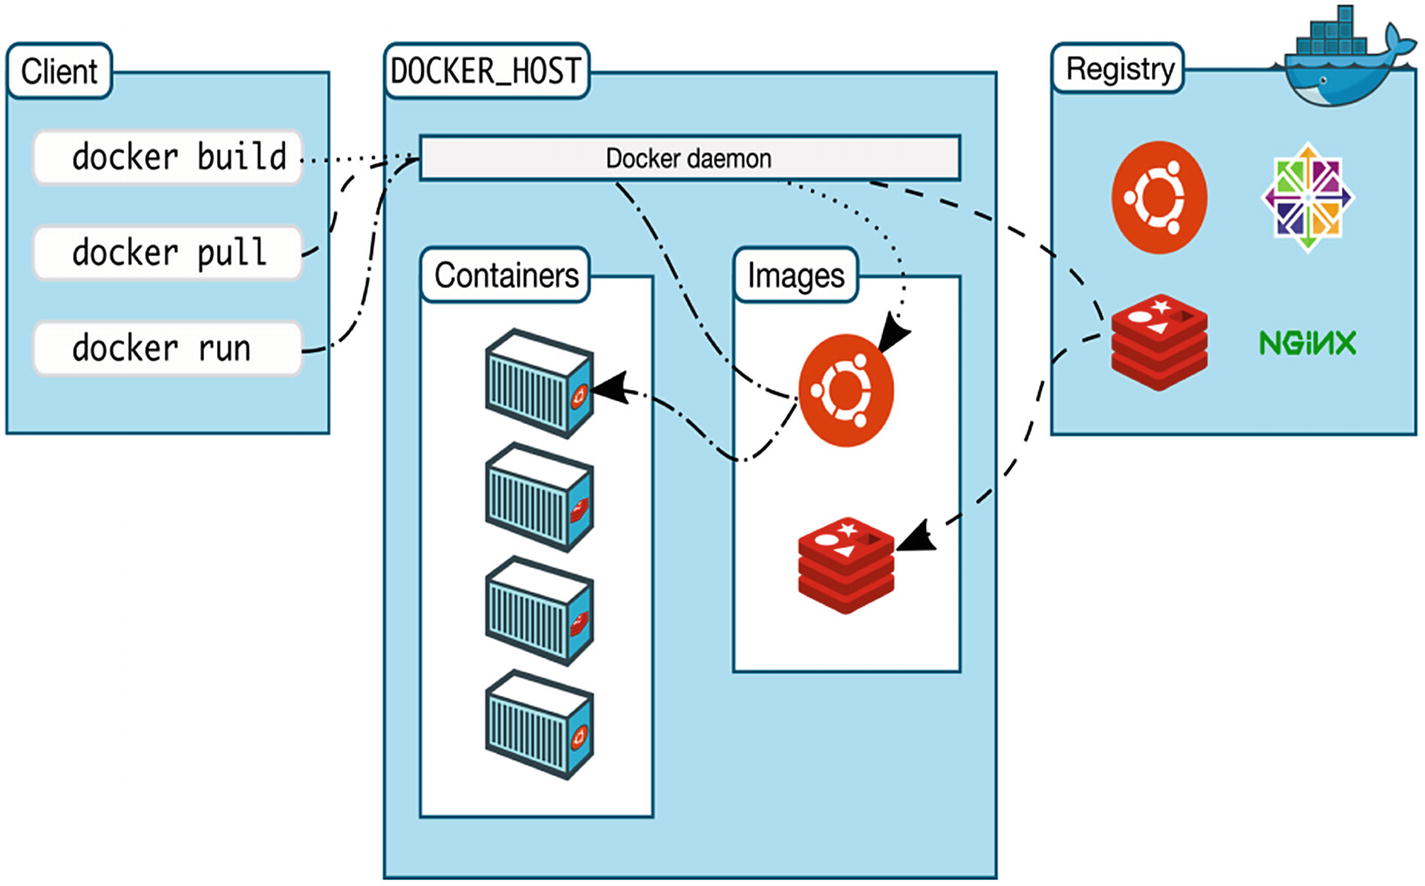
Docker client-server architecture
Docker Client
The Docker Client is the primary way in which most users interact with Docker. When you run commands using the CLI, these commands are then sent to the Docker daemon, using the Docker API interface. The Docker daemon or the dockerd then executes these commands and creates relevant Docker objects. The Docker client has the ability to communicate with multiple Docker daemons.
Docker Daemon
The Docker daemon is a server process that is persistent in nature and runs in the background. It continuously listens to the REST API interface and looks for any incoming requests to process commands. The daemon can listen to the API interface using different socket types, such as Unix, TCP (transmission control protocol), and FD (file descriptor) .
Docker Registries
The images created by the Docker daemon must be stored at a certain location, for ease of access. The Docker registry is this location. There are public registries, such as the Docker Hub, that can be used by anyone. By default, Docker looks for images on the Docker Hub, but this can be configured to use your private registry as well.
Commands such as Docker pull retrieve the required images from your configured registry and Docker push pushes the image to this same configured registry.
From a Docker store, you can buy, sell, or distribute images for free. You can then use these images to deploy an application in your test or production environment.
Let’s move forward a bit and look at the different objects of Docker that have been referenced multiple times in this book so far.
Docker Objects
With the use of Docker, different objects are generated, mostly by the Docker daemon. Some of these objects are images, containers, services, and storage.
Images
A Docker image is a read-only file system that contains instructions to create a container that can run an application. Most of the time, a Docker image is based on another image and is customized. You could either use existing images published in public registries, such as the Docker Hub, or create your own image.
A Dockerfile is used to build a Docker image. A Dockerfile contains simple instructions that can be understood by the Docker daemon, to create the image and run it.
Docker images are layers that correspond to each instruction in the Dockerfile. A part of what makes a Docker image super lightweight is that when you modify a part of the Dockerfile, only that layer is modified, rather than the entire image.
Containers
A Docker container is an instance of an image. An image runs inside a container. You can manage a container using stop, start, and delete commands. Multiple containers can be connected to one another through a network. They can be connected to storage, and they can also talk to one another.
As you have seen in Chapter 1, containers are much more lightweight than VMs, owing to their startup times being very fast.
In order to create a container, an image, in addition to the container’s configuration and settings, is provided. When a container is deleted, everything related to the container is also deleted, including state and storage.
- 1.
The Docker image is pulled from the configured registry.
- 2.
A new Docker container is created.
- 3.
A local file system is allocated to that container, to enable creation and modification of files and directories in its local file system.
- 4.
The container is connected to the default network, unless you configure a networking option. A container is assigned an IP address.
- 5.
Docker starts running the container and attaches it to your local terminal. This allows you to interact with this container.
- 6.
You can stop or remove the container, using your terminal input, at any time.
Services
In a distributed application, different functionalities of the app constitute different services. For example, if you are building an application for suggestions based on keywords entered by the user, you might want a front-end service that takes the word and sends it to the service that verifies the legitimacy of the word. This might, in turn, go to another service that might execute an algorithm, in order to generate the suggestions, etc., which are then returned to the service.
These are all different services on different Docker containers that sit behind different Docker daemons. These Docker daemons are all connected through the network and interact with each other. To the user, this might look like a single application that runs, but behind the scenes, these are multiple services that make the entire application function.
All these services work together as a swarm, managed by different managers and workers. Each swarm contains a Docker daemon. These daemons communicate with each other using the Docker API.
A Docker Compose YAML file is used to get all these services up and running together. Later, in Chapter 6, you will see how to use the Docker Compose tool in detail.
Docker Hub
Docker Hub is the primary location for storage of Docker images. It is a cloud-based public registry from which you can pull images or push images to. It also links to Docker Cloud. It is a centralized store for image discovery and distribution. By default, Docker is configured to use this public registry.
Now that we have looked behind the scenes at how Docker actually operates, let’s see how to install it.
Installing Docker
Docker Community Edition (CE) : This works for small communities or individual developers looking to get started and experiment with Docker.
Docker Enterprise Edition (EE) : This is meant for enterprises that use Docker to ship business-critical applications that need to scale.
For the purposes of this book, let’s look at how to install the Docker CE.
Docker CE is available for both the Mac and Windows OSs. It is also available to Amazon Web Services and Microsoft Azure.
- 1.Go to the Docker store at https://store.docker.com/editions/community/docker-ce-desktop-mac and click Get Docker, from the right-side pane, as seen in Figure 4-3.
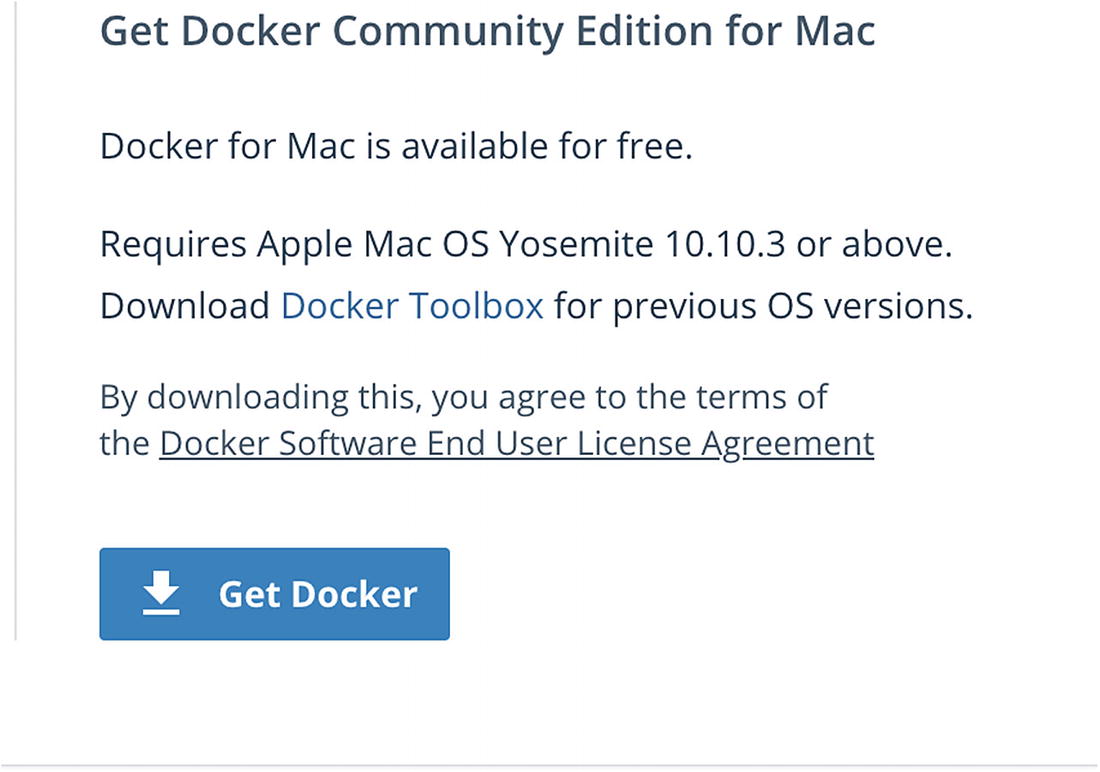 Figure 4-3
Getting the Docker Community Edition for Mac
- 2.Once you have the dmg file on your machine, double-click it and drag Moby the whale to the Applications folder, as shown in Figure 4-4.
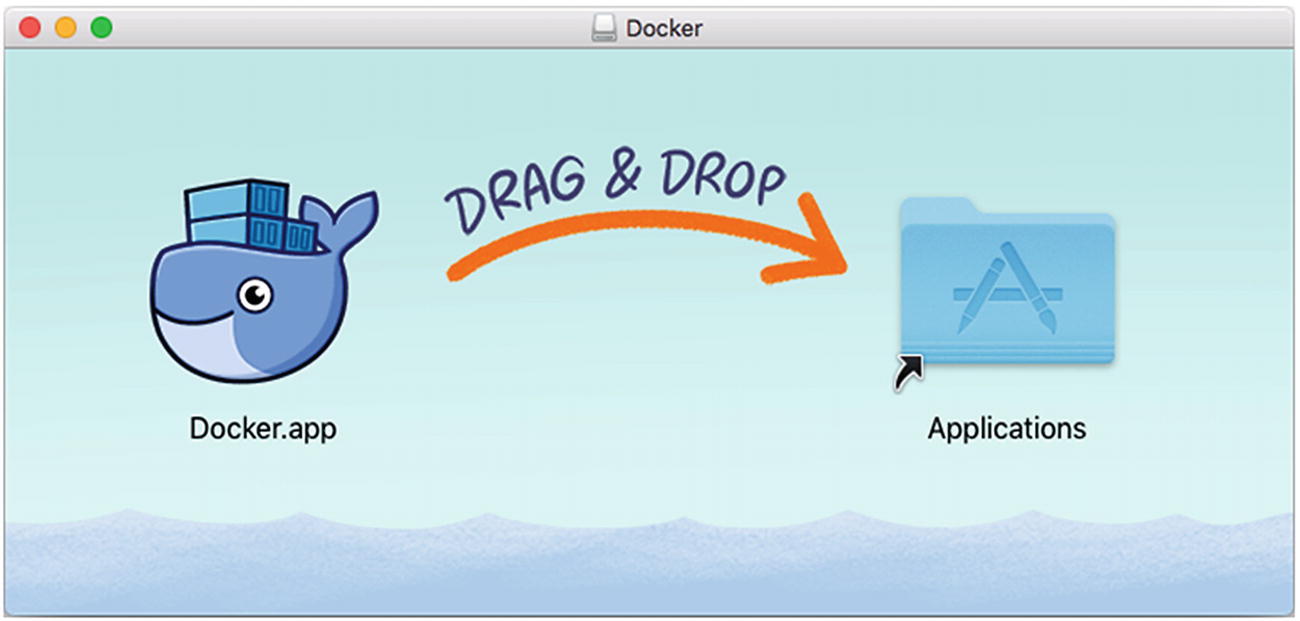 Figure 4-4
Drag Moby to your Applications folder
- 3.
In the Applications folder, double-click the Docker app, as seen in Figure 4-5.
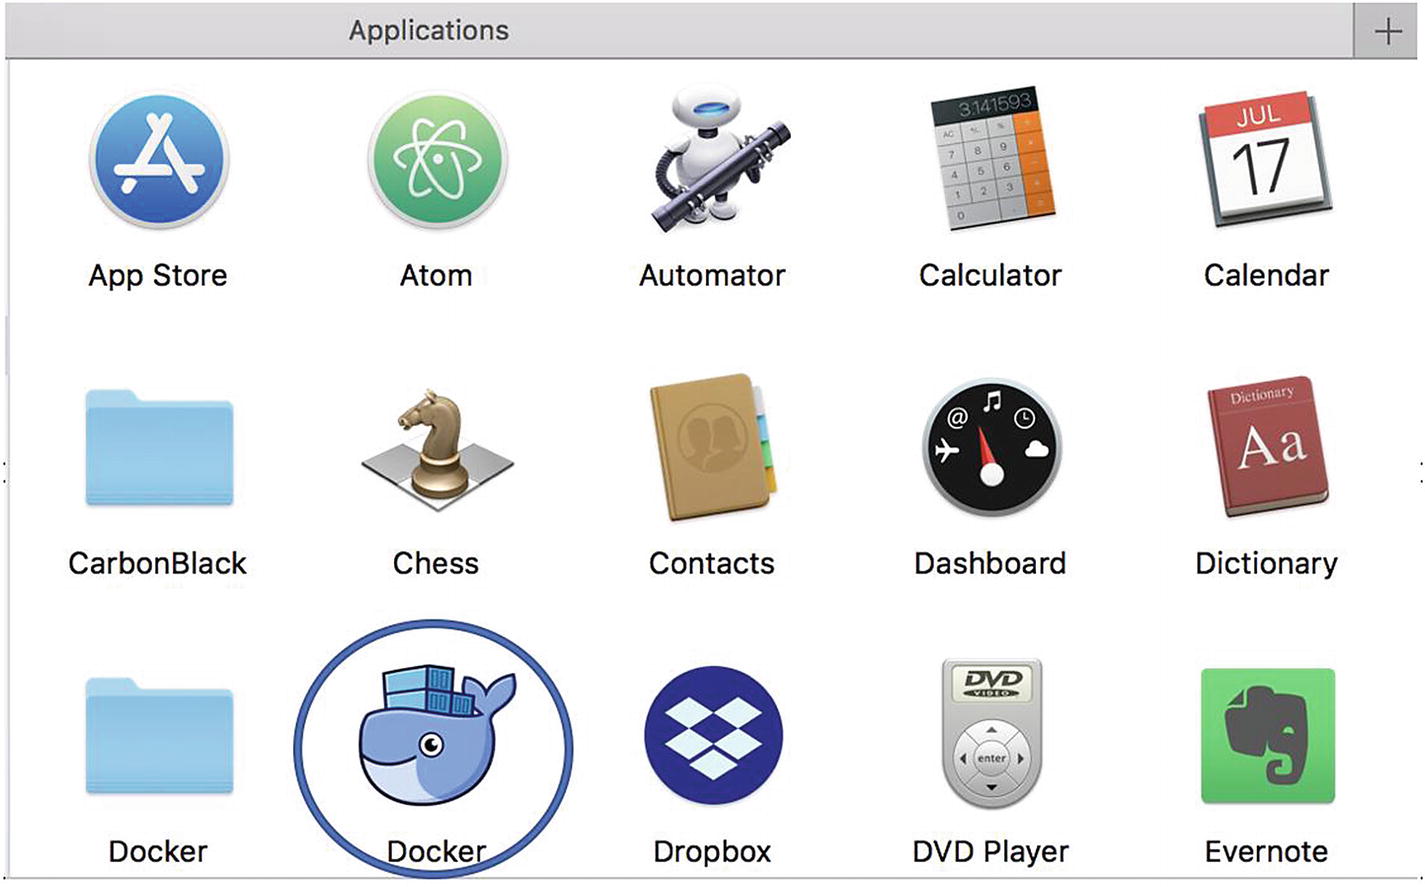
Docker icon as seen in the Applications folder

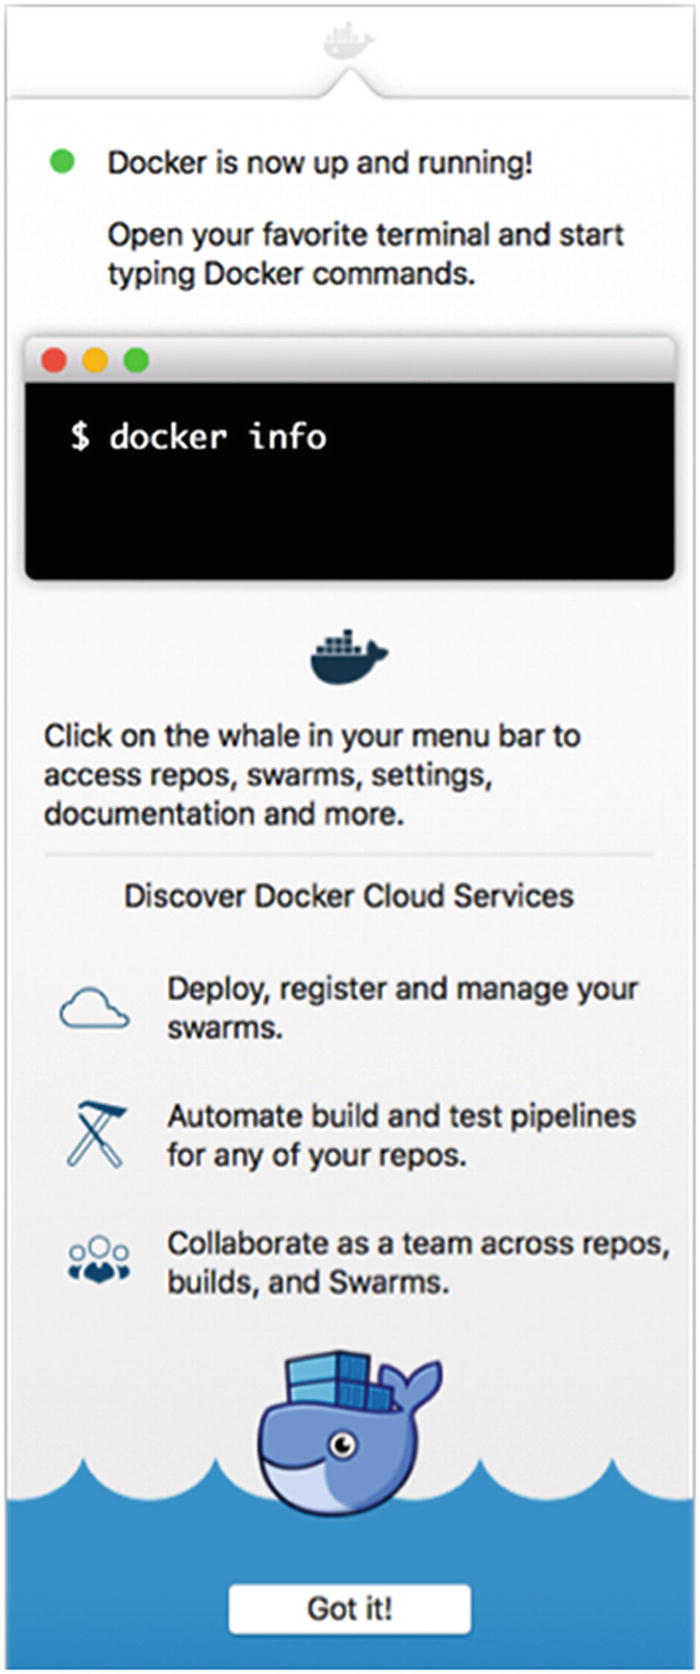
Successful installation of Docker shows a pop-up with next steps
To dismiss this pop-up, click the whale on the top status bar.
- 6.Right-clicking the whale on the status bar will give you options to set or modify your preferences, as shown in Figure 4-8.
 Figure 4-8
Right-click Docker menu on the status bar icon
- 7.
Check About Docker, to ensure you have the latest version.
Now that we have Docker installed and running on our machines, let’s take a look at some basic Docker commands, so that you can play around and experiment with them.
Basic Docker Commands
Following are some basic Docker commands that you can start playing with.
docker container run
This runs a command in a new container. When a user runs the Docker run command, it isolates the containers in its environment and the configuration within its own local file system.
The Docker run command specifies an image, in order to run that image inside a container.
-d: You can choose to let the container run in the background, in detached mode, or in the foreground. By default, when -d is not specified, the container runs in the foreground.
-a: The foreground mode lets you attach your local console to the process’s (running inside the container) standard input output.
docker container create
The docker container create command lets you create a new container from an existing image that has been built previously. This is shown following. The –t command stands for “tty,” which sets a pseudo time of the container to live, and the -I command stands for “interactive” and keeps the standard input open, even if it’s not attached.
docker container start
The docker container start command lets you start a new container or a container that has been previously stopped, as shown here. The –t flag stands for “tty” and is used to give the container a pseudo time to live. The -I flag keeps the standard input open, even when it’s not attached.
docker container stop
The docker container stop command lets you stop a currently running container.
docker image build
The docker image build command builds the docker image using the instructions in the Dockerfile.
docker image pull
The docker image pull command pulls an image from a docker registry.
Usage:
docker image pull [OPTIONS] NAME[:TAG|@DIGEST]
docker search
You can search for Docker images using the docker search command.
docker image ls
The docker image ls command is used to list all the Docker images on the host machine.
docker container ps
The docker container ps command is used to list all containers running on the host.
docker container rm
The docker container rm command is used to remove one or more containers. You cannot remove a running container without the –f flag to force it, which first stops the container and then removes it. In order to do that, you must first stop the container, using docker container stop <container-id>. This command execution is shown following:
Usage:
docker container rm [OPTIONS] CONTAINER [CONTAINER...]
docker container inspect
This command allows you to inspect the details of a container.
These are some basic commands you can start to explore. Let’s go through a little end-to-end Hello World example.
- 1.First, pull the hello-world Docker image. This will pull the image from the Docker Hub registry.kinnaryjangla@dev-abc:~/code/test$ docker image pull hello-worldUsing default tag: latestLatest: Pulling from library/hello-world9bbdshfg673e39ja: Pull completeDigest: sha256: fkjdh7t6dauadubiadadia8dya98777da9fiudfhd9a86fidfbdfid8fydischStatus: Downloaded newer image for hello-world:latest
- 2.Use docker images to view the image that was just pulled, as shown following.kinnaryjangla@dev-abc:~/code/test$ docker image lsREPOSITORY TAG IMAGE ID CREATED SIZEHello-world latest ekjad89sjdfd 2 months ago1.85kB
- 3.Now run the hello-world image, which will run this image inside a new container, as follows.kinnaryjangla@dev-abc:~/code/test$ docker container run hello-worldlatest: Pulling from library/hello-worldd1725b59e92d: Pull completeDigest: sha256:0add3ace90ecb4adbf7777e9aacf18357296e799f81cabc9fde470971e499788Status: Downloaded newer image for hello-world:latestHello from Docker!This message shows that your installation appears to be working correctly.To generate this message, Docker took the following steps:1. The Docker client contacted the Docker daemon.2. The Docker daemon pulled the "hello-world" image from the Docker Hub.(amd64)3. The Docker daemon created a new container from that image which runs the executable that produces the output you are currently reading.4. The Docker daemon streamed that output to the Docker client, which sent it to your terminal.To try something more ambitious, you can run an Ubuntu container with:$ docker run -it ubuntu bashShare images, automate workflows, and more with a free Docker ID:https://hub.docker.com/For more examples and ideas, visit:https://docs.docker.com/get-started/
This preceding example lets you go through an end-to-end scenario of pulling an existing Docker image, viewing the image, and running the image.
In the next chapter, we’ll take a closer look at how to create Docker images using Dockerfiles and run these images inside Docker containers.
Summary
In this chapter, we looked in detail at the Docker terminology that has been commonly used in the previous chapters of this book and that will continue to be used in future chapters.
We also examined the different components of the Docker architecture, including the Docker Engine, Docker Hub, Docker clients, Docker hosts, and Docker registries. We also saw how different Docker objects are created by the Docker daemon. We saw how Docker Hub can be used to pull existing Docker images and buy, sell, or distribute images for free.
Additionally, you saw how to install Docker on the Mac OS platform in detail.
We looked at some basic Docker commands, with sample usage and examples of each command, so that you can explore them further. We then walked through a simple end-to-end example of pulling the existing Hello World image and running it.
In the next chapter, I’ll go more into detail on how to build an image from a Dockerfile and run it inside a container.